About this document
This document provides step-by-step instructions to configure SAFE IRM Connector in ServiceNow portal.
Prerequisites for configuring the application
SAFE API Base URL (e.g. https://us.safeone.ai/ )
SAFE API Username and Password. Refer to https://docs.safe.security/docs/api-credentials
Get SAFE IRM Connector from ServiceNow store
Login to ServiceNow Store as Admin.
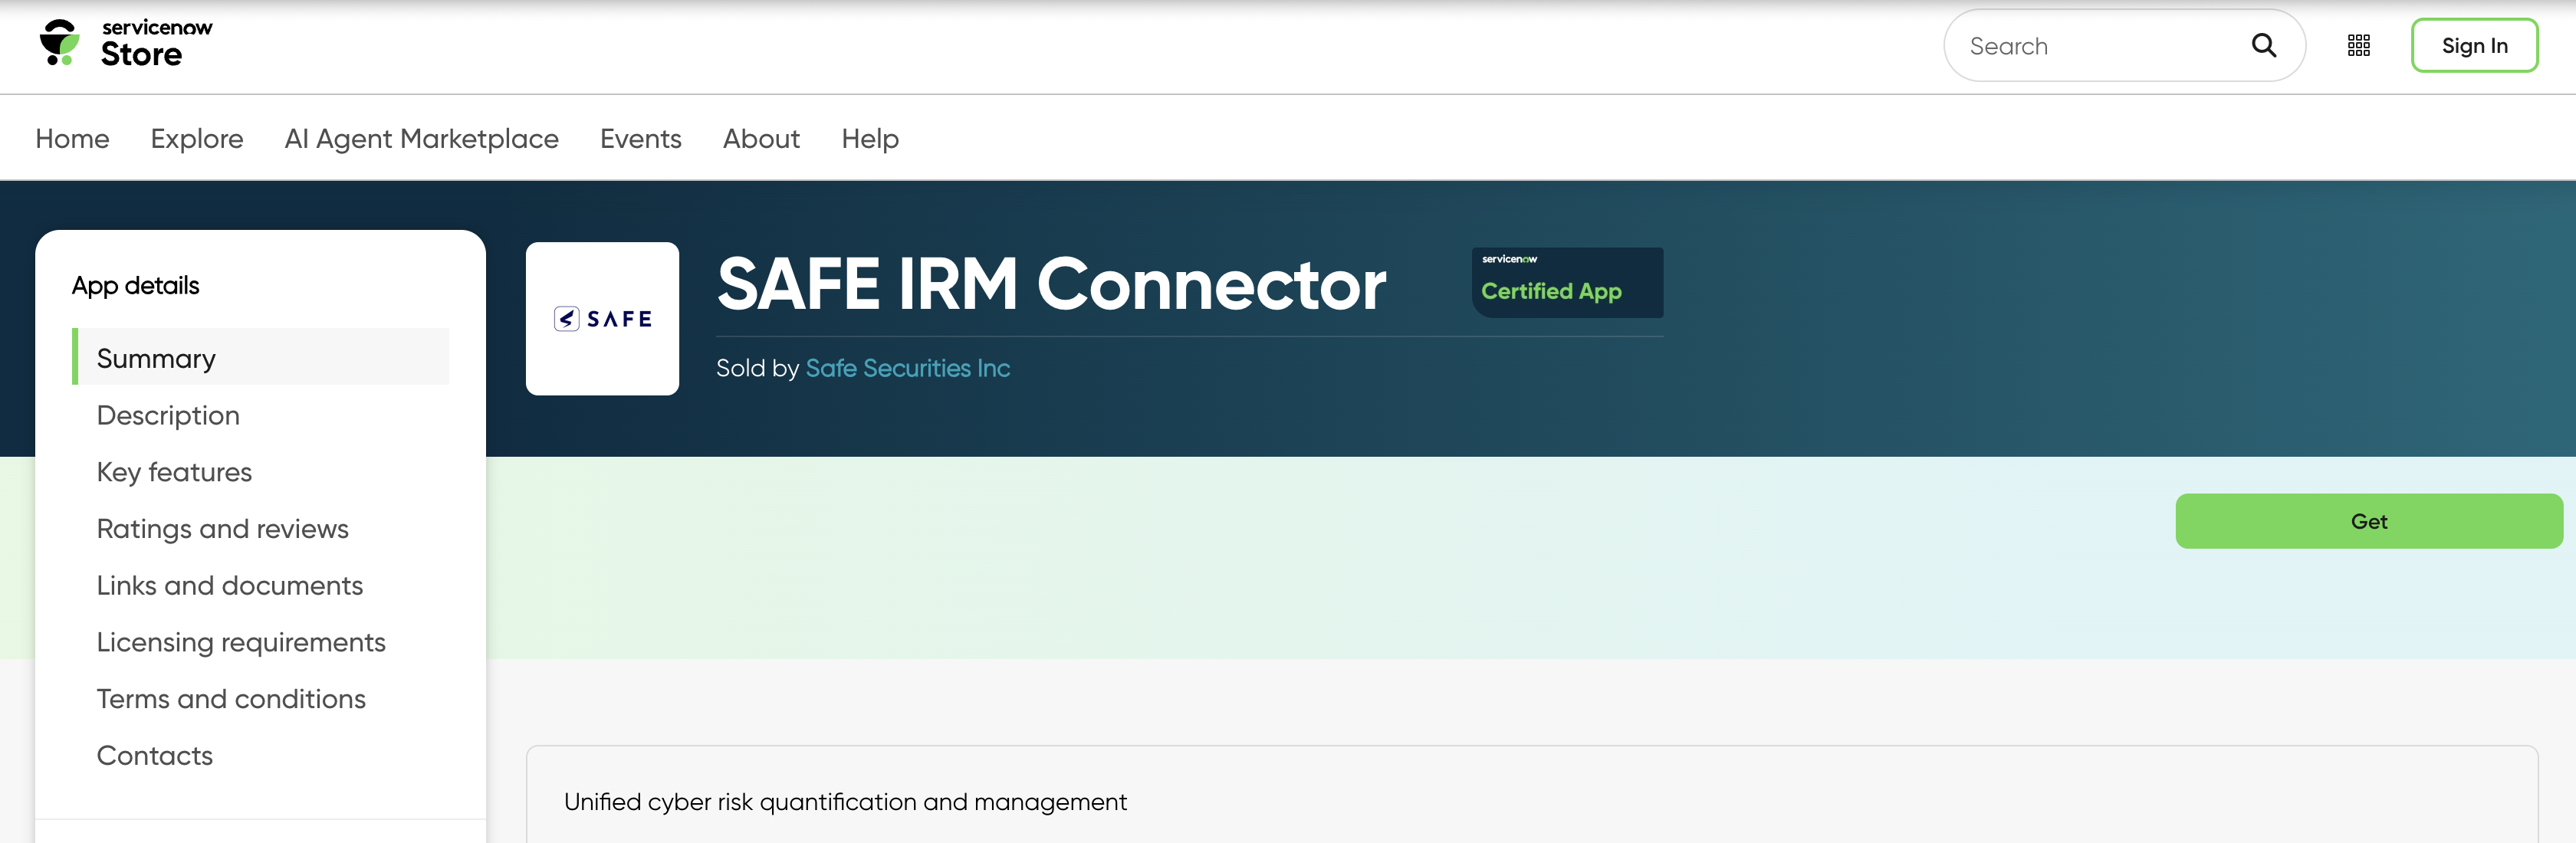
Search for SAFE IRM Connector and click it.
Click the Get button. If you don’t have access, you need approval from your ServiceNow admin, click "Request" to submit a approval request.
Review any prerequisites or system requirements mentioned on the application page, such as required roles or dependencies.
Follow the prompts to install the SAFE IRM application.
Once the installation completes, go to the Application section in the ServiceNow instance and search for SAFE IRM Connector to ensure it's installed
Configure the SAFE IRM Connector Application
To configure SAFE IRM Connector application in ServiceNow:
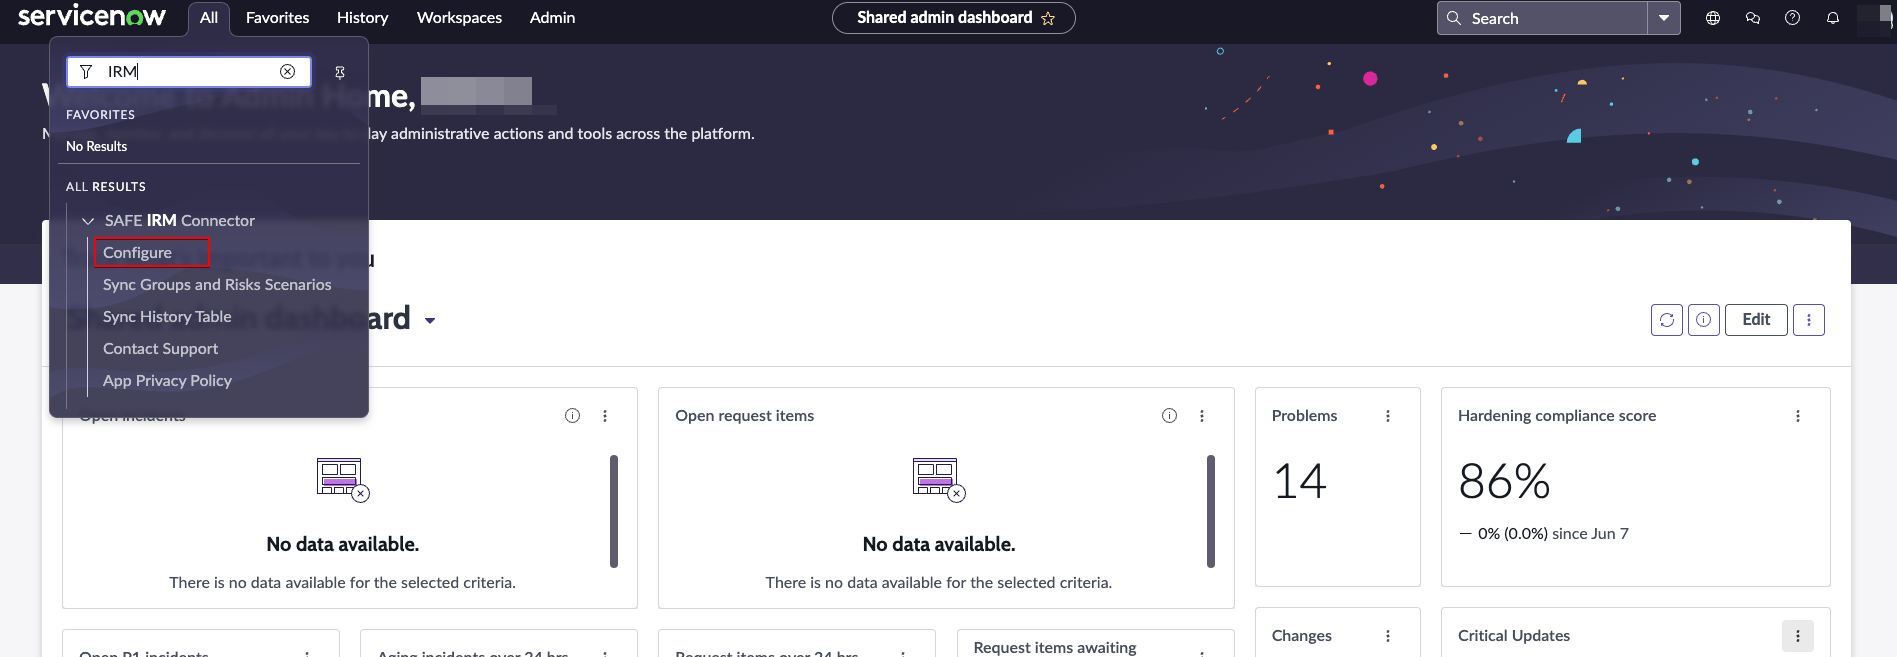
Search for SAFE IRM Connector in the ServiceNow portal
In the SAFE IRM Connector application menu, click on Configure.
Enter the SAFE API URL, API Username and Password.
Click the Save button.
You should see a message saying Properties updated confirming that credentials have been saved.
Sync Groups with SAFE IRM Connector App
To Sync SAFE groups to ServiceNow IRM via SAFE IRM connector:
Search for SAFE IRM Connector in the ServiceNow portal.
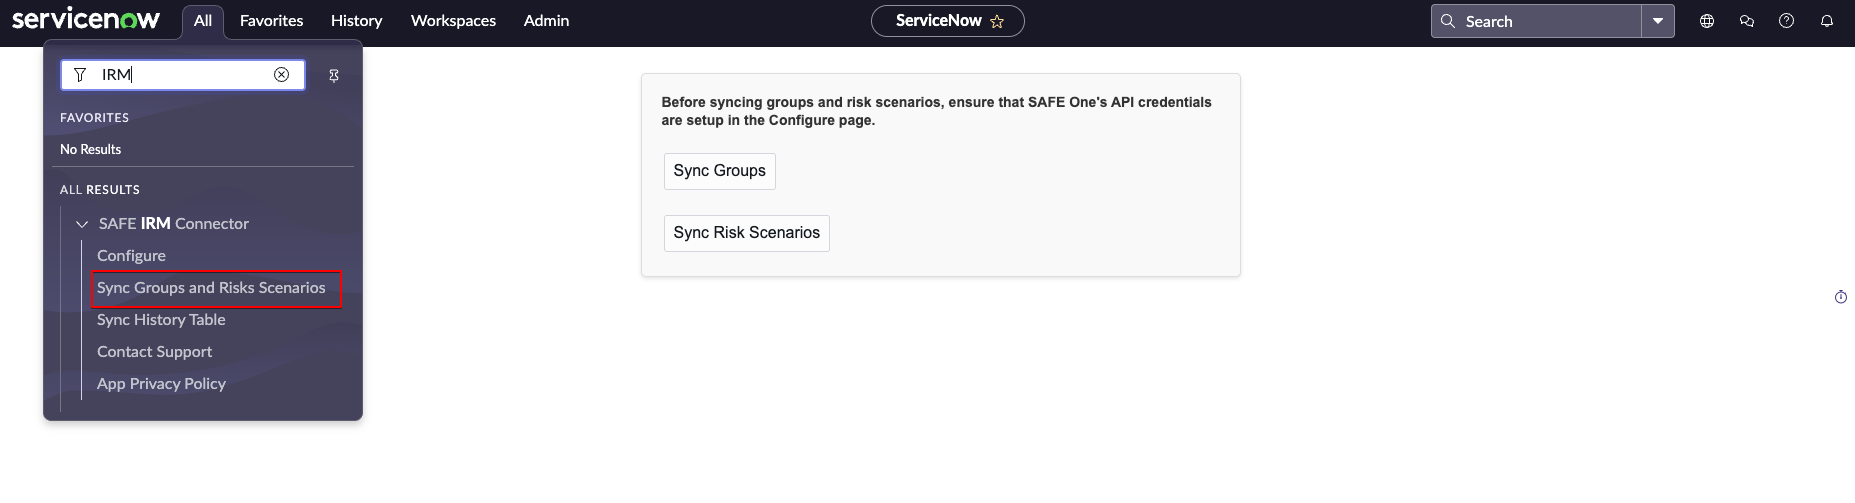
In the SAFE IRM Connector application menu, click on Sync Groups and Risk Scenarios.
Click on the Sync Groups button on the user interface. It will fetch all the groups in SAFE and store them in ServiceNow.
A progress bar will be displayed, indicating the progress of sync.
Once the progress bar reaches 100%, a pop-up window will display with a Sync completed message.
Link a ServiceNow Entity or Risk to a SAFE Group
To link an entity in ServiceNow to a group in SAFE:
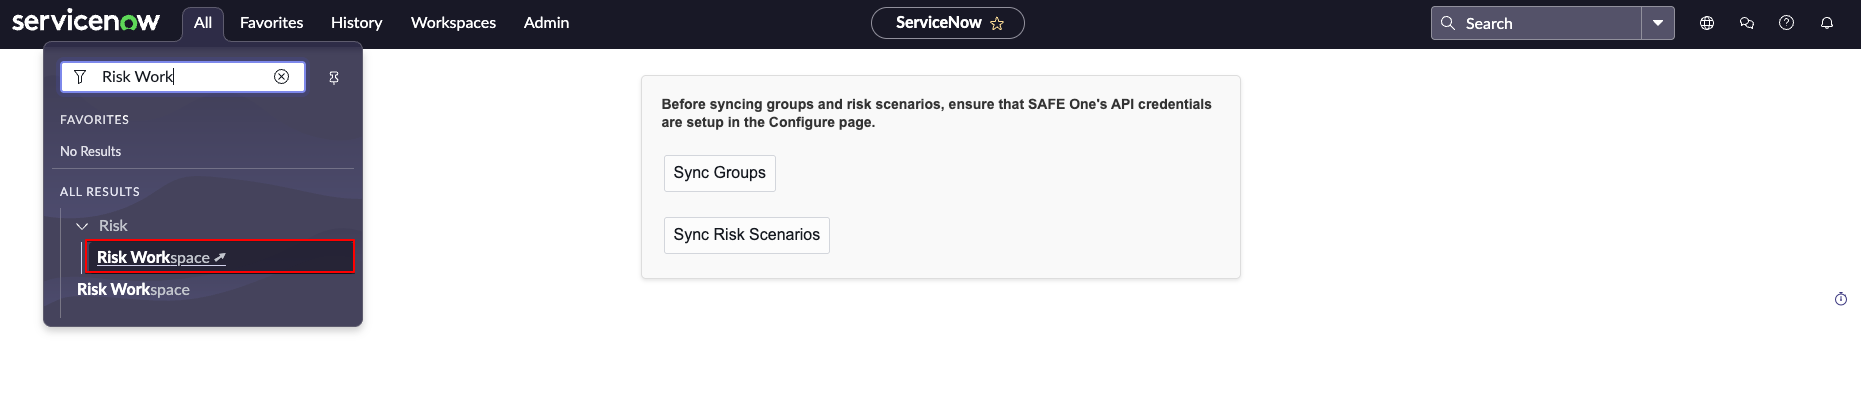
Open Risk Workspace from ServiceNow portal.
Go to lists, and open Entities to see all your entities created in ServiceNow IRM.
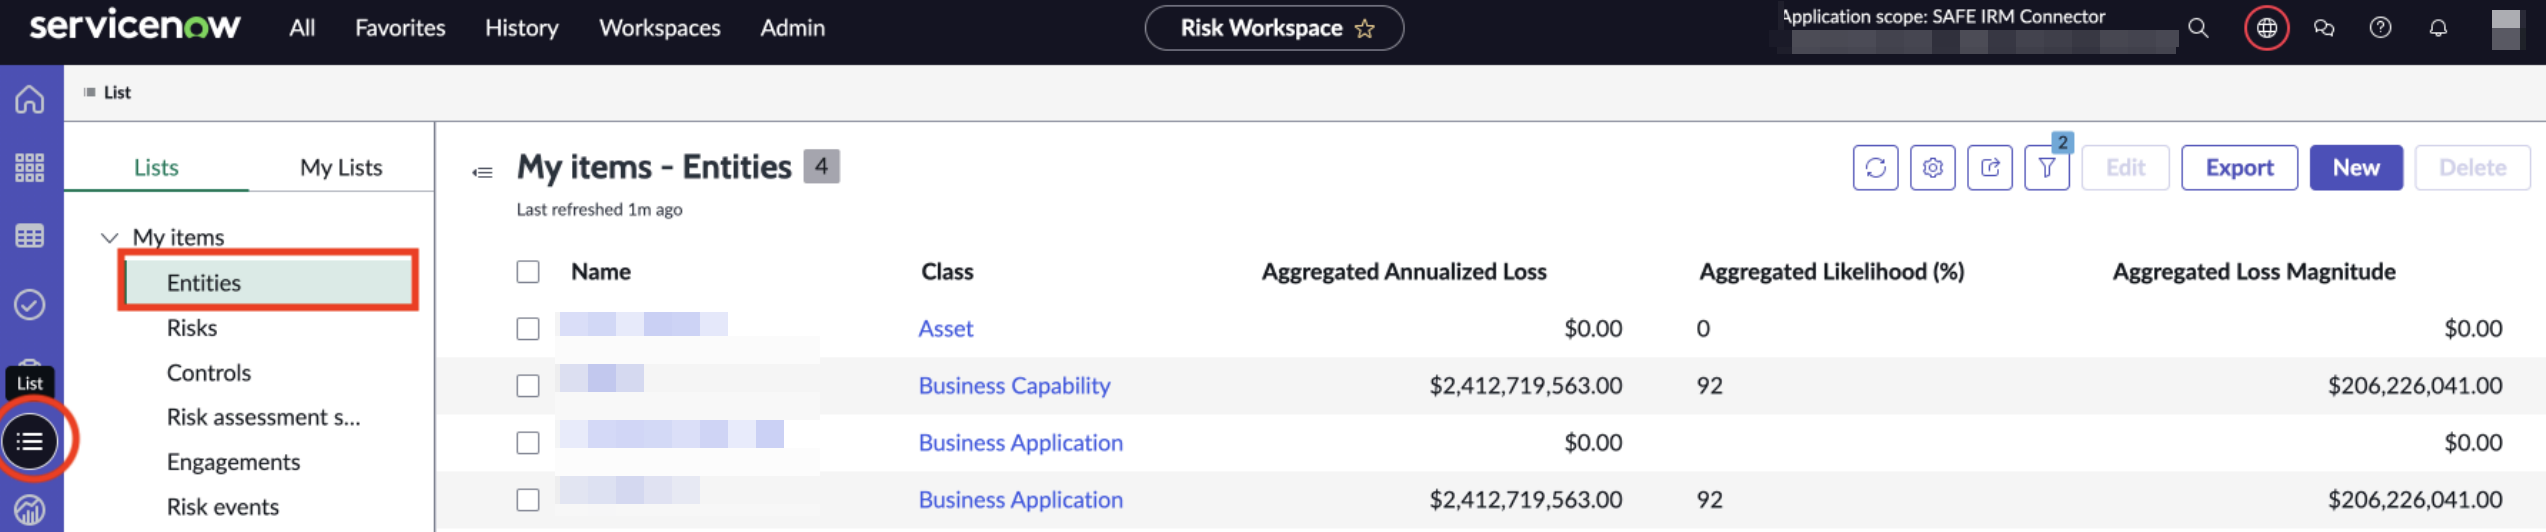
Open an entity and go to its Details tab. There will be a SAFE One section there where you can choose a group in SAFE to link this entity to.
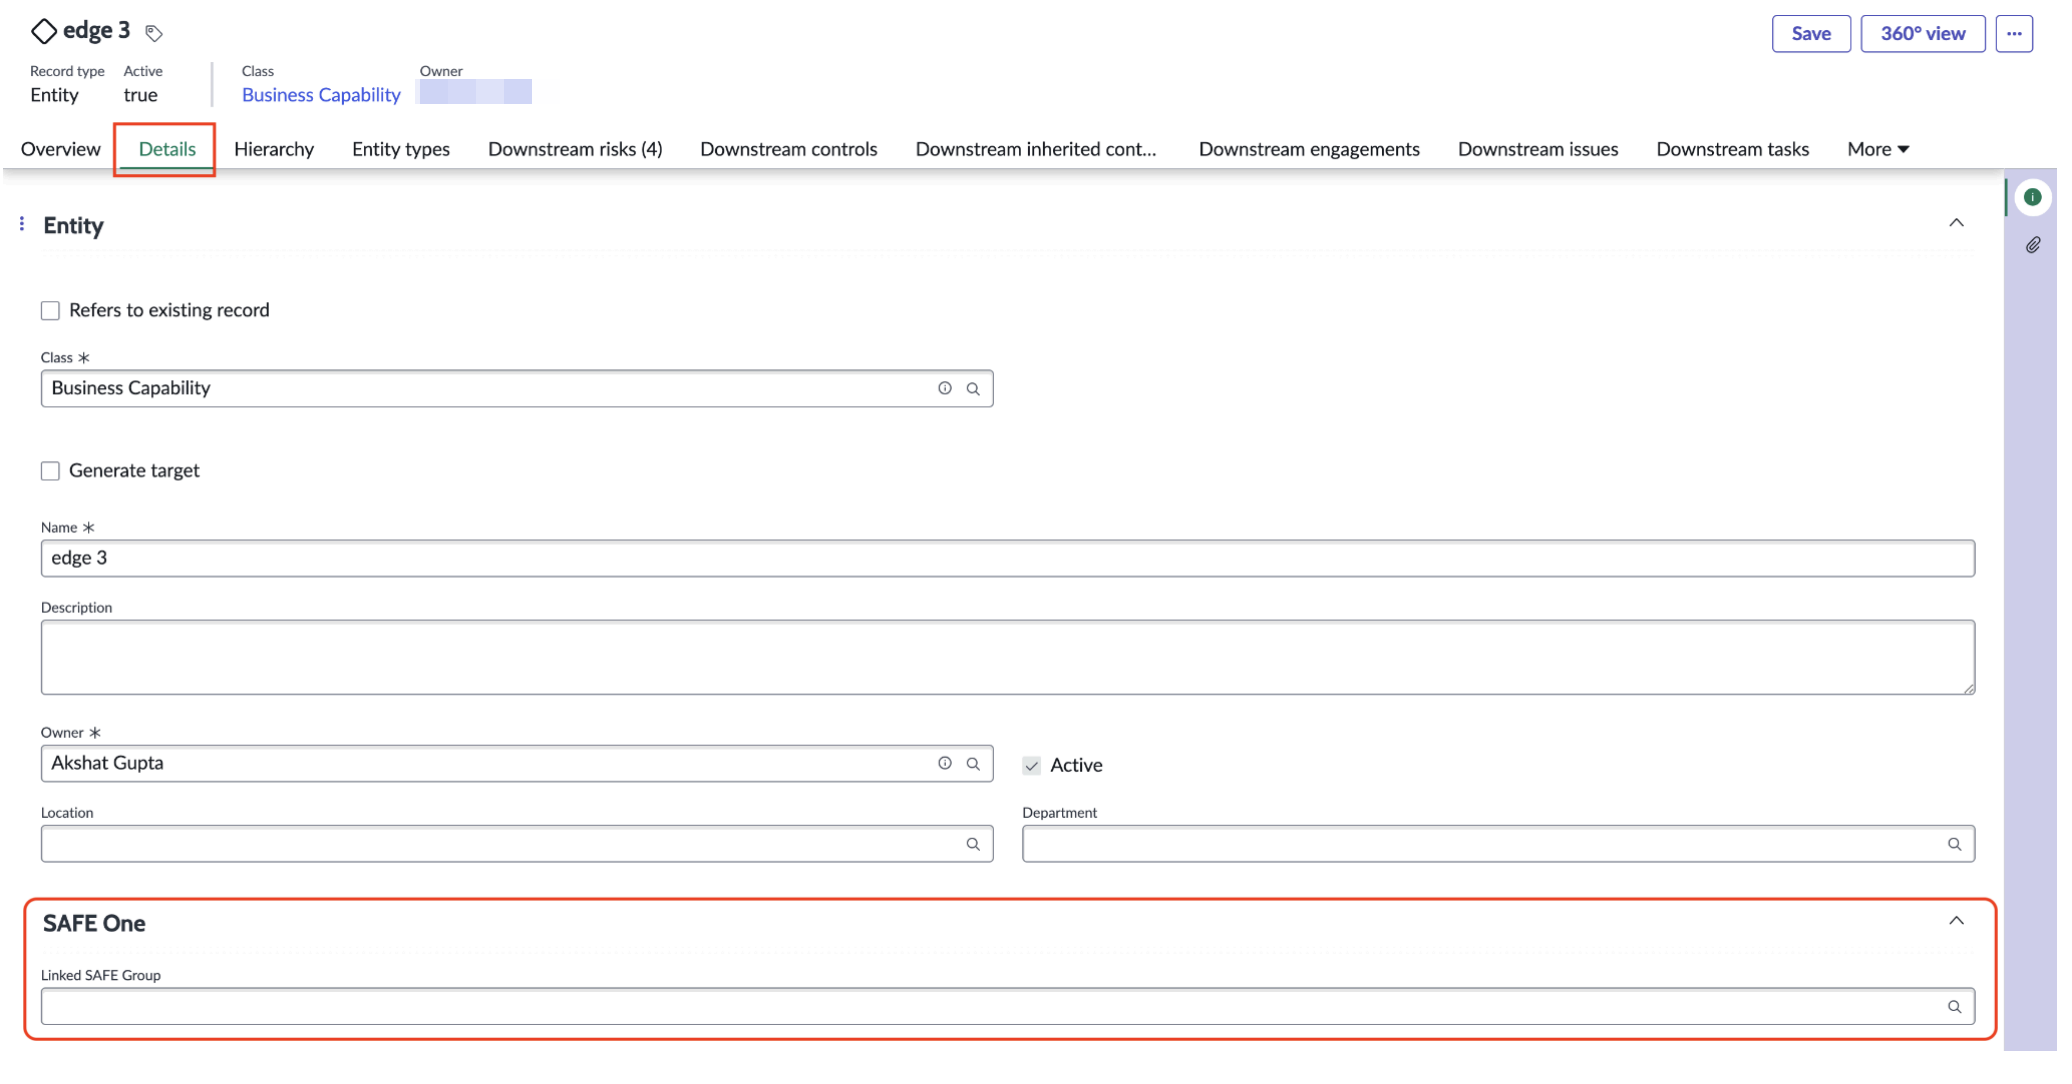
Click on the magnifying glass icon at the far right of the Linked SAFE Group bar.
A dialog window will open displaying all the SAFE Groups. Find the group you want the entity to sync to and choose it.
After choosing the required group, click on Save button on the top right of the entity page to save your selection.
The selection of a SAFE group to link the entity to can also be done while creating a new entity. While creating an entity, the same SAFE One section as above will be visible.
Follow the same steps as above to link the new entity to a SAFE Group.
To link a risk in ServiceNow to a group in SAFE:
Open Risk Workspace from ServiceNow portal as above.
Open a risk from Lists or from within an entity. Go to its Details tab. There will be a SAFE
One section there where you can choose a group in SAFE to link this risk to.
Follow the same steps as above to find and link a SAFE group. Click on Save thereafter to save your selection. This can also be done while creating a new risk.
Sync Risk Scenarios with SAFE IRM Connector App
To Sync SAFE risk scenarios to ServiceNow IRM via SAFE IRM connector:
Search for SAFE IRM Connector in the ServiceNow portal.
In the SAFE IRM Connector application menu, click on Sync Groups and Risk Scenarios.
Click on the Sync Risk Scenarios button on the user interface. It will go over all the entities in ServiceNow and fetch all the risk scenarios for those entities which have a SAFE group linked to them.
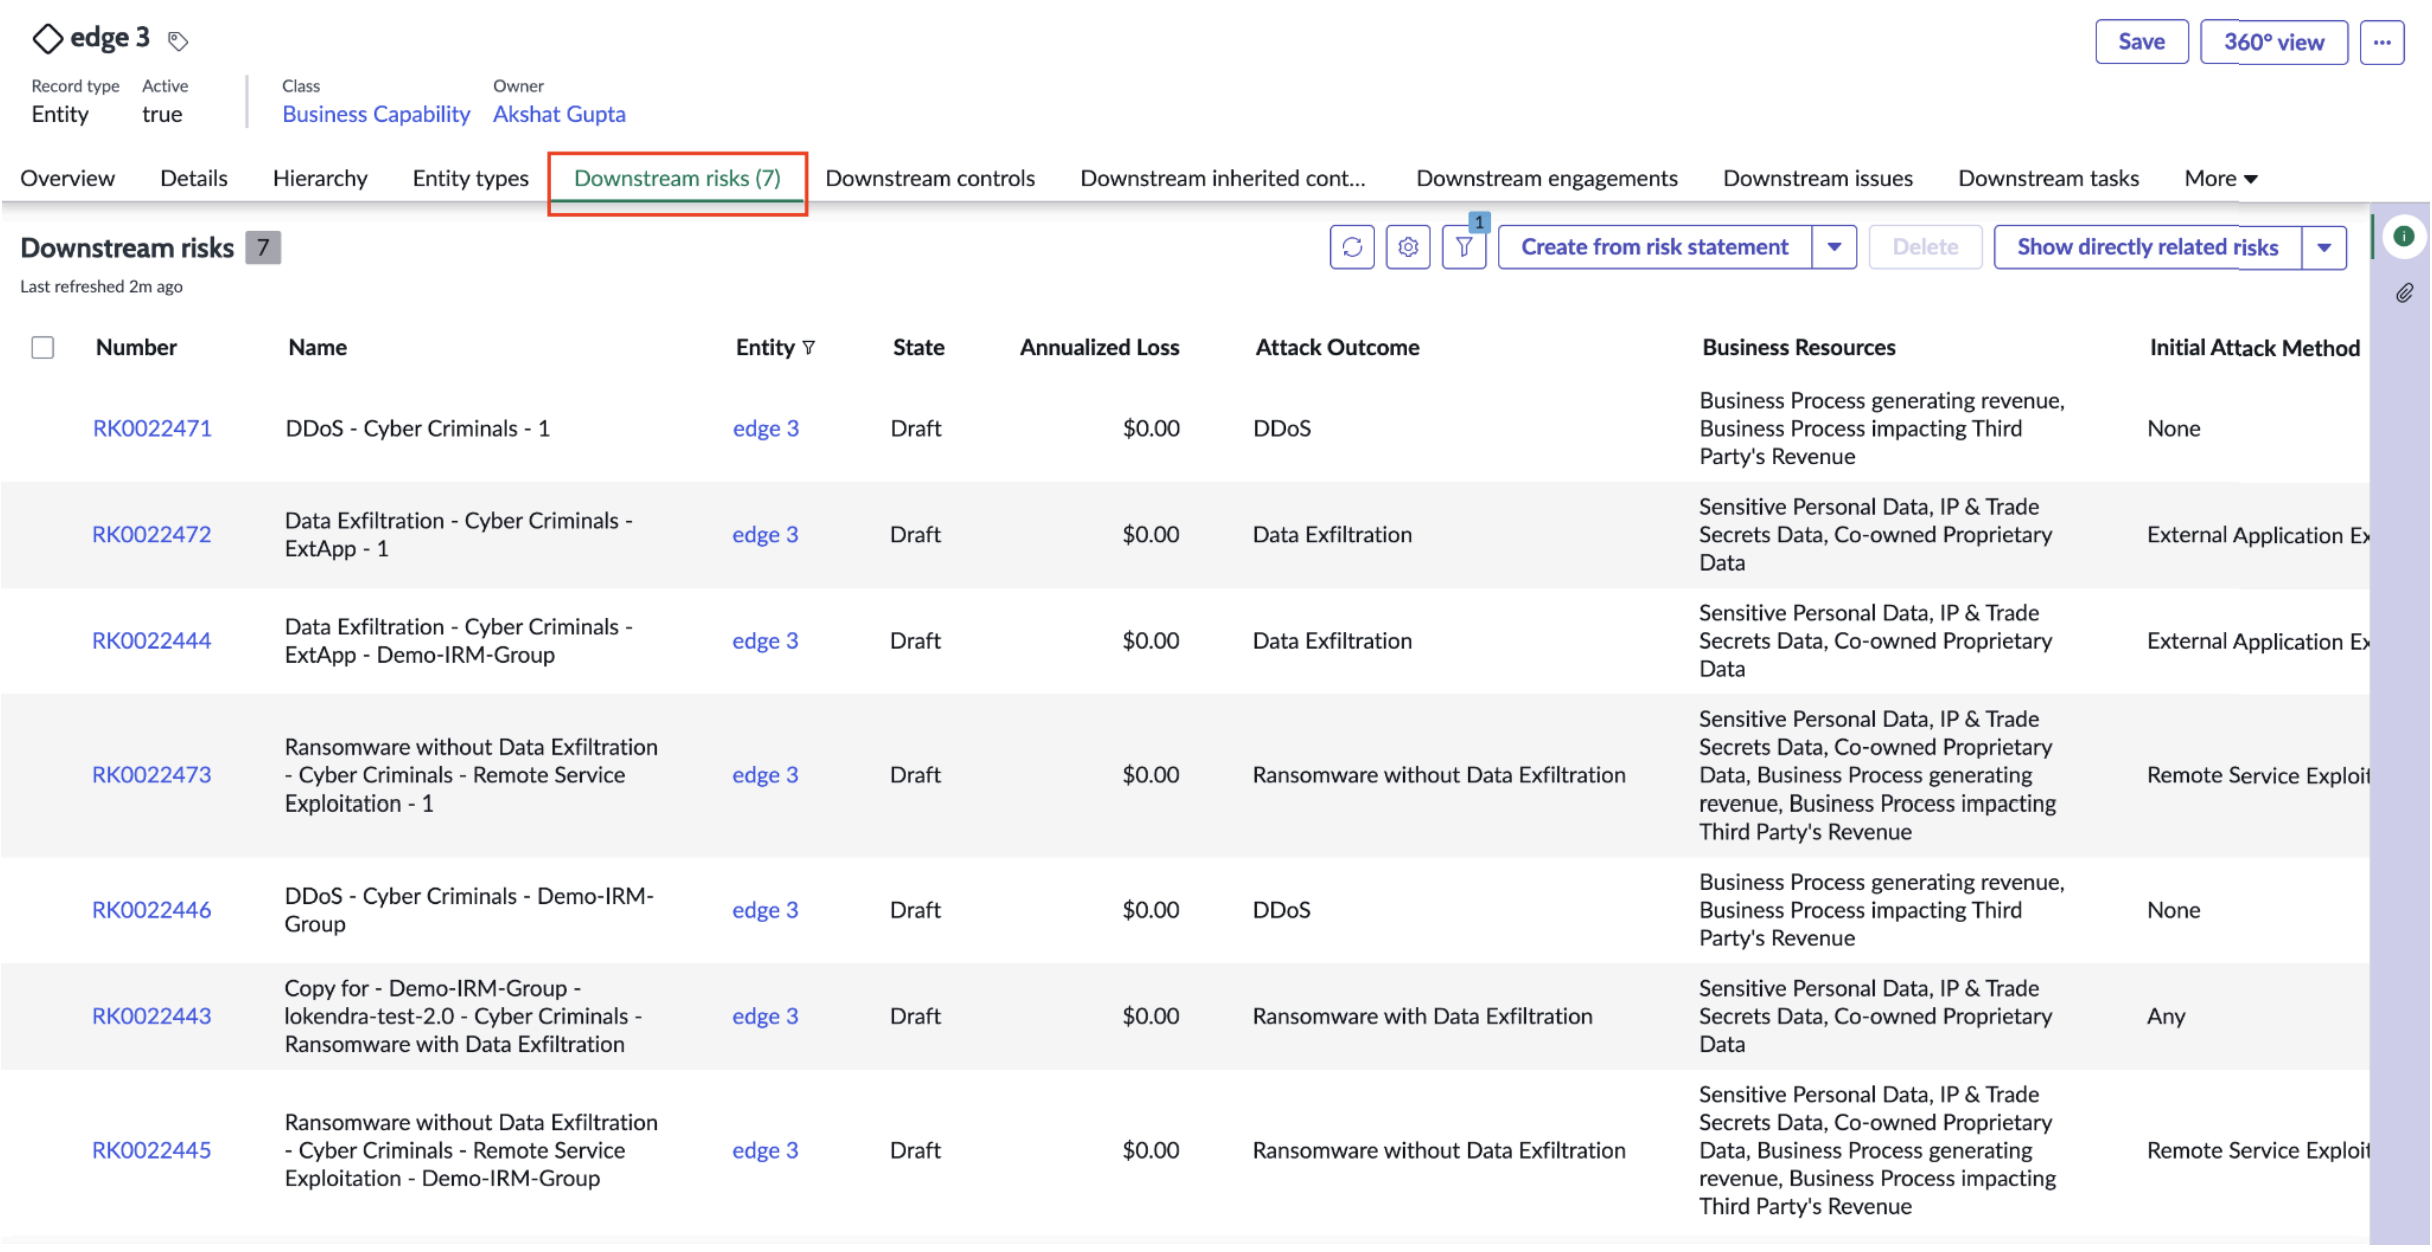
If an entity was linked to a SAFE group, go to an entity in Risk Workspace and open its Downstream Risks tab. All the risk scenarios in SAFE belonging to the group with which this
entity is linked to will be displayed here along with their SAFE specific data.
If a risk was linked to a SAFE group, go to a risk in Risk Workspace. You will find a Risk Scenarios tab at the far right. All the risk scenarios in SAFE belonging to the group with. which this risk is linked to will be displayed here along with their SAFE specific data.
In case this tab is not visible, follow the below steps:
In the ServiceNow portal, in All, type sn_risk_risk_list.DO and press Enter.
A list of all the risks present in ServiceNow will open in a new tab. Open any risk from the list.
Risk details will open up in the classic view. Click on the hamburger menu at top left.
Go to Configure and click on Related Lists.
Click on Edit this view to edit the view of the Risk page.
Select Risk Scenarios in the Available section and move it to the Selected section by clicking on the right arrow button. Click on Save to save your changes.
Refresh your Risk Workspace now. The Risk Scenarios tab will appear in the Risk page.
View Sync History
Search for SAFE IRM Connector Plugin in the ServiceNow portal.
In the SAFE IRM Connector application menu, click on Sync History Table.
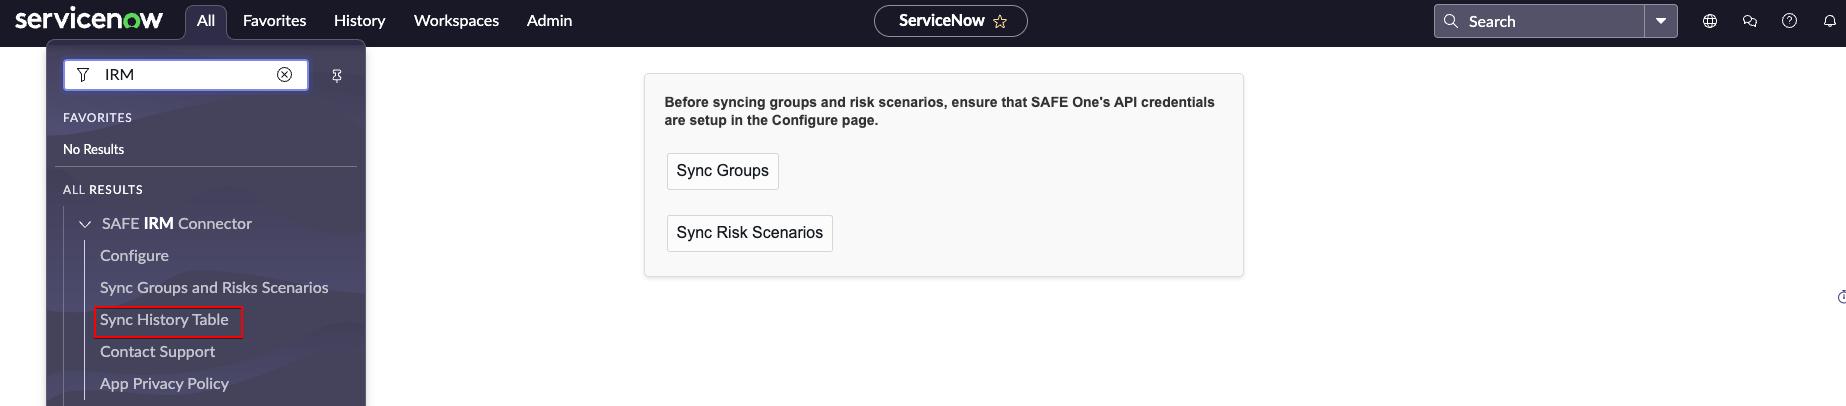
You will see Sync History table that provides a comprehensive overview of sync history.