About this document
Single Sign-On (SSO) enables organizations to use the SAML 2.0 authentication provider for authenticating login into SAFE. Admin can onboard and manage users right from their OneLogin SSO platform, eliminating the need to maintain a separate user authentication mechanism for SAFE.
This document describes the step-by-step procedure to configure Single Sign-On (SSO) for SAFE via OneLogin SSO.
Setting up OneLogin
- Log in to OneLogin as an administrator.
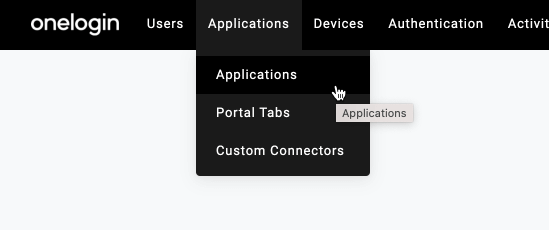
- Navigate to Applications > Applications.
- Click the Add App button at the top right corner.

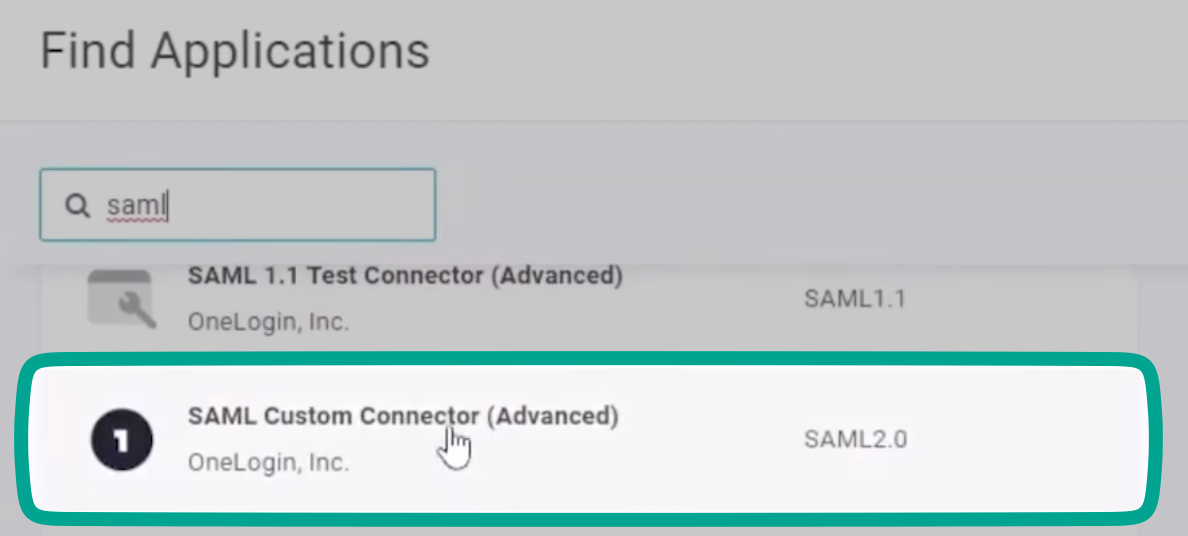
- In the search bar under Find Applications, enter SAML, and then choose SAML Custom Connector (Advanced).
- On the Configuration page, enter a name for the application (Example: Safe Security, Inc.).
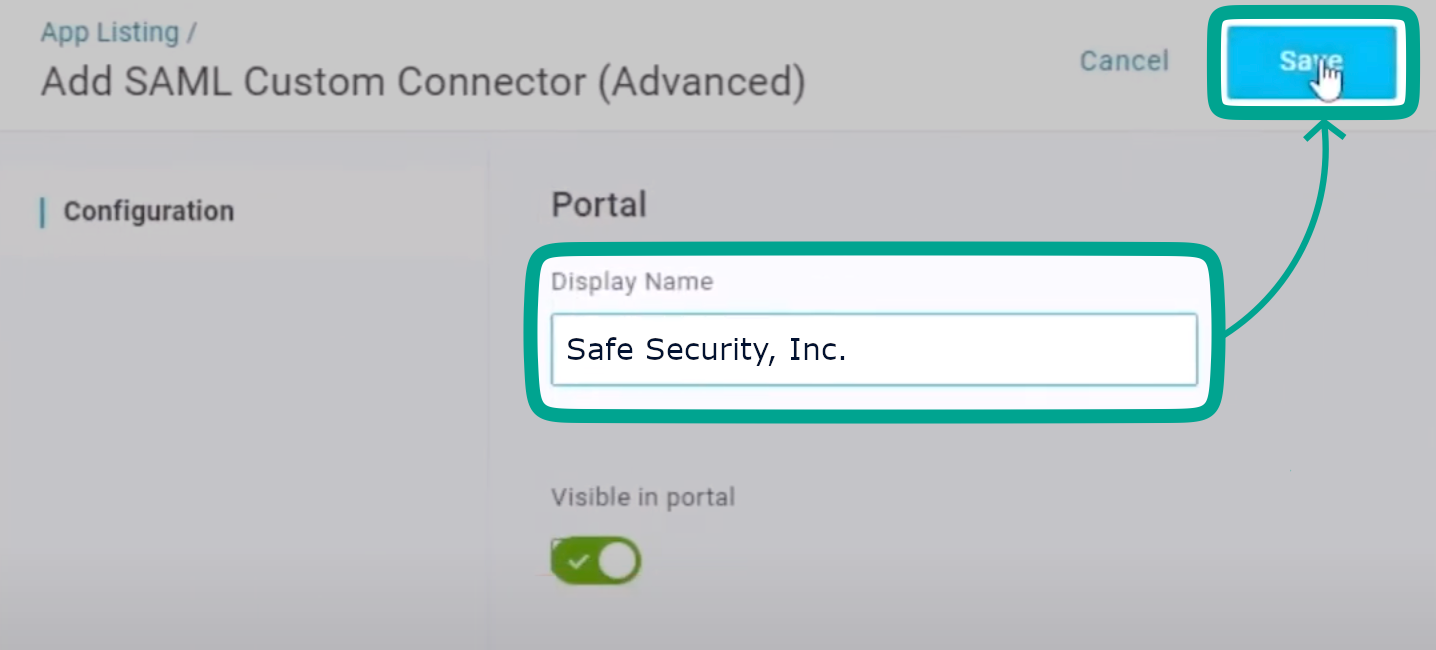
- Click the Save button.
- Once saved, go to the Configuration page from the left navigation page and fill in the details as follows:
- Audience (EntityID) - Select the correct Entity ID for your regional instance.
- Recipient - Select the correct Reply URL for your regional instance.
- ACS (Consumer) URL Validator - Select the correct Reply URL Validator for your regional instance.
- ACS (Consumer) URL - Select the correct Reply URL for your regional instance.
- Everything else - Leave as blank.
- Click Save to store the app settings.
- Click Parameters in the left navigation menu.
- Click the + button to add a new field.
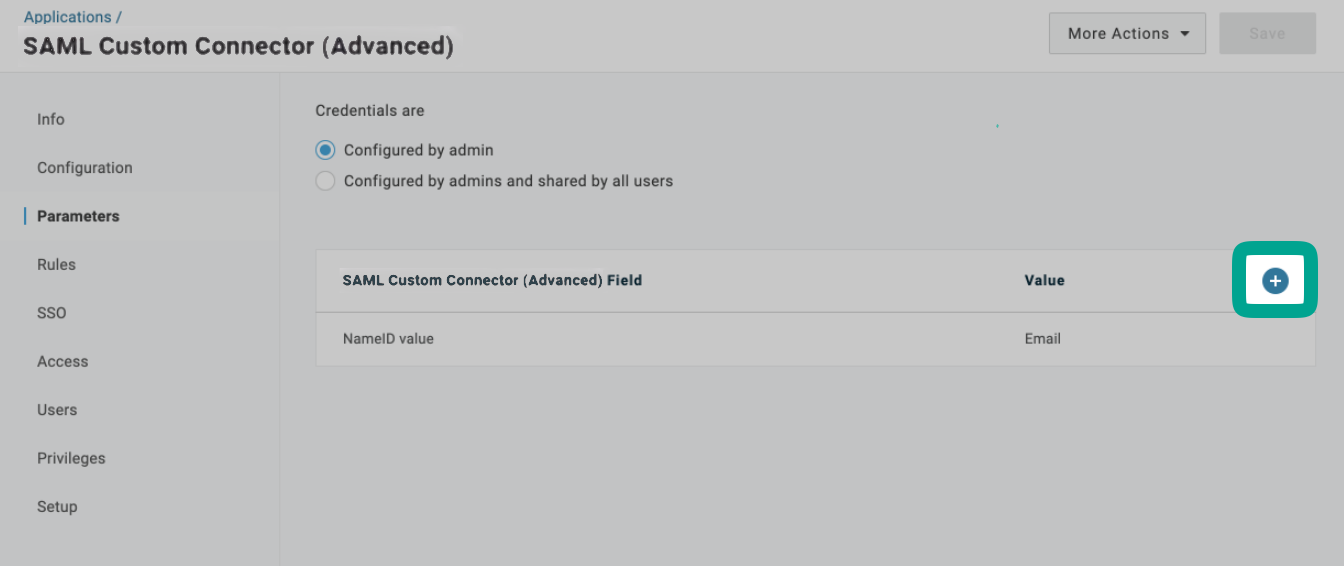
- Note: The Parameters page lists the parameter NameID (fka Email) by default.
- Enter the following parameters:
- For Email:
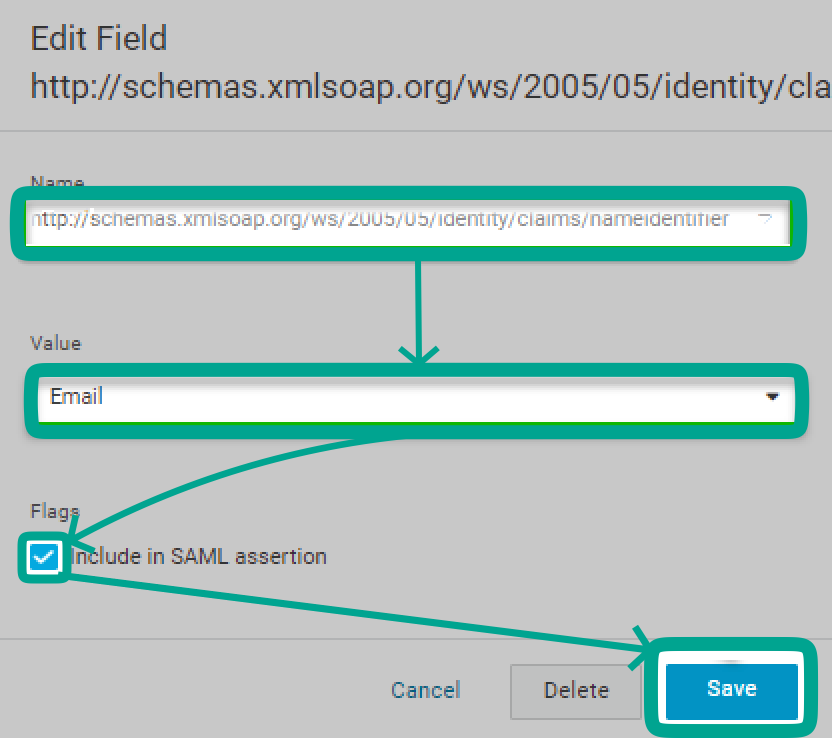
- In the New Field dialogue box, for Field name, enter http://schemas.xmlsoap.org/ws/2005/05/identity/claims/nameidentifier
- For Flags, select the Include in SAML assertion check box.
- Choose Save.
- For Value, choose Email from the list.
- Click on the Save button.
- For Email:
- For First Name: (Optional)
- In the New Field dialogue box, for Field name, enter http://schemas.xmlsoap.org/ws/2005/05/identity/claims/givenname
- For Flags, select the Include in SAML assertion check box.
- Choose Save.
- For Value, choose the First Name from the list.
- Click on the Save button.
- In the New Field dialogue box, for Field name, enter http://schemas.xmlsoap.org/ws/2005/05/identity/claims/givenname
- For Last Name: (Optional)
- In the New Field dialogue box, for Field name, enter http://schemas.xmlsoap.org/ws/2005/05/identity/claims/surname
- For Flags, select the Include in SAML assertion check box.
- Choose Save.
- For Value, choose Last Name from the list.
- Click on the Save button.
- In the New Field dialogue box, for Field name, enter http://schemas.xmlsoap.org/ws/2005/05/identity/claims/surname
- You'll need to grant your users permission to access the application you just created, either by adding individual Users or by adding to Roles or Groups within OneLogin according to how you prefer to manage your Users there.
- Navigate back to the application created in Step 6, and select SSO from the left side navigation.
- Copy the Issuer URL and share it with SAFE’s support team at the Service Desk.

- Click on the Save button to save the application.