About this document
This document gives you the step-by-step procedure to configure Google Workspace in SAFE.
Prerequisites
To configure Google Workspace integration with SAFE, the user needs to provide the service account key.
Configuring and Assessing Google Workspace
Step 1: Creating a Project
Login to the GCP console at https://console.cloud.google.com.
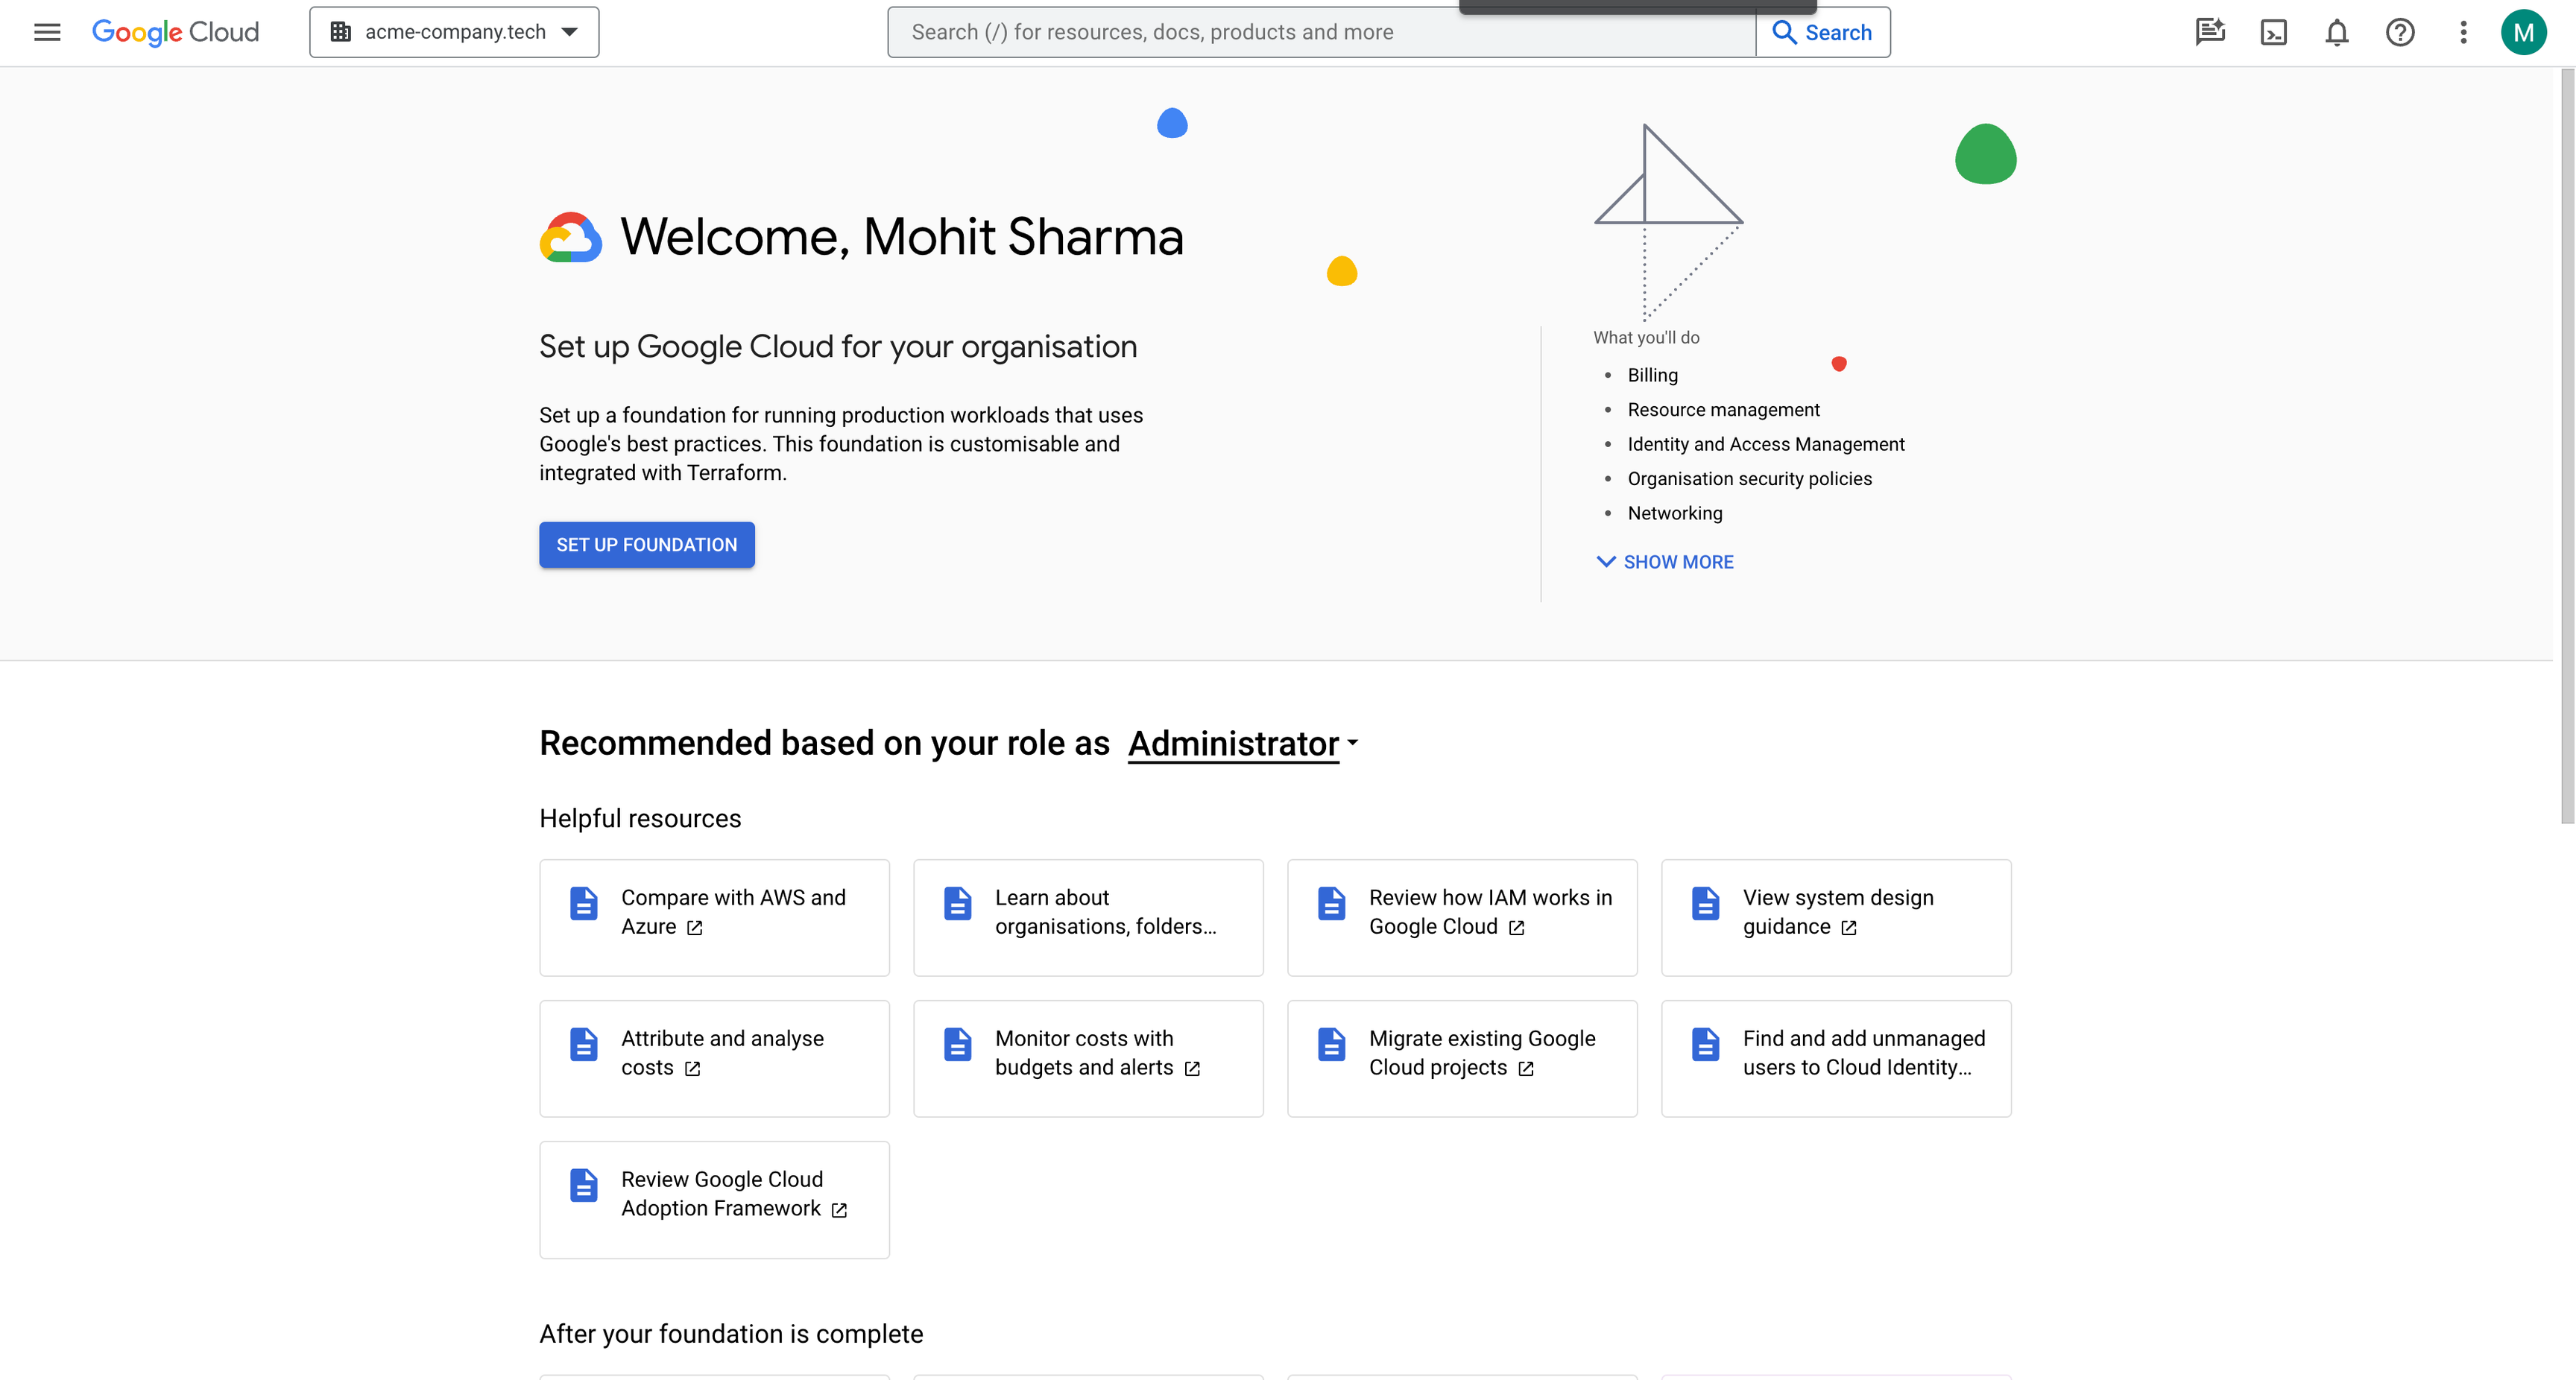
Click on the dropdown menu on the top left of the page, located between the “Google Cloud Platform” label and the search bar.
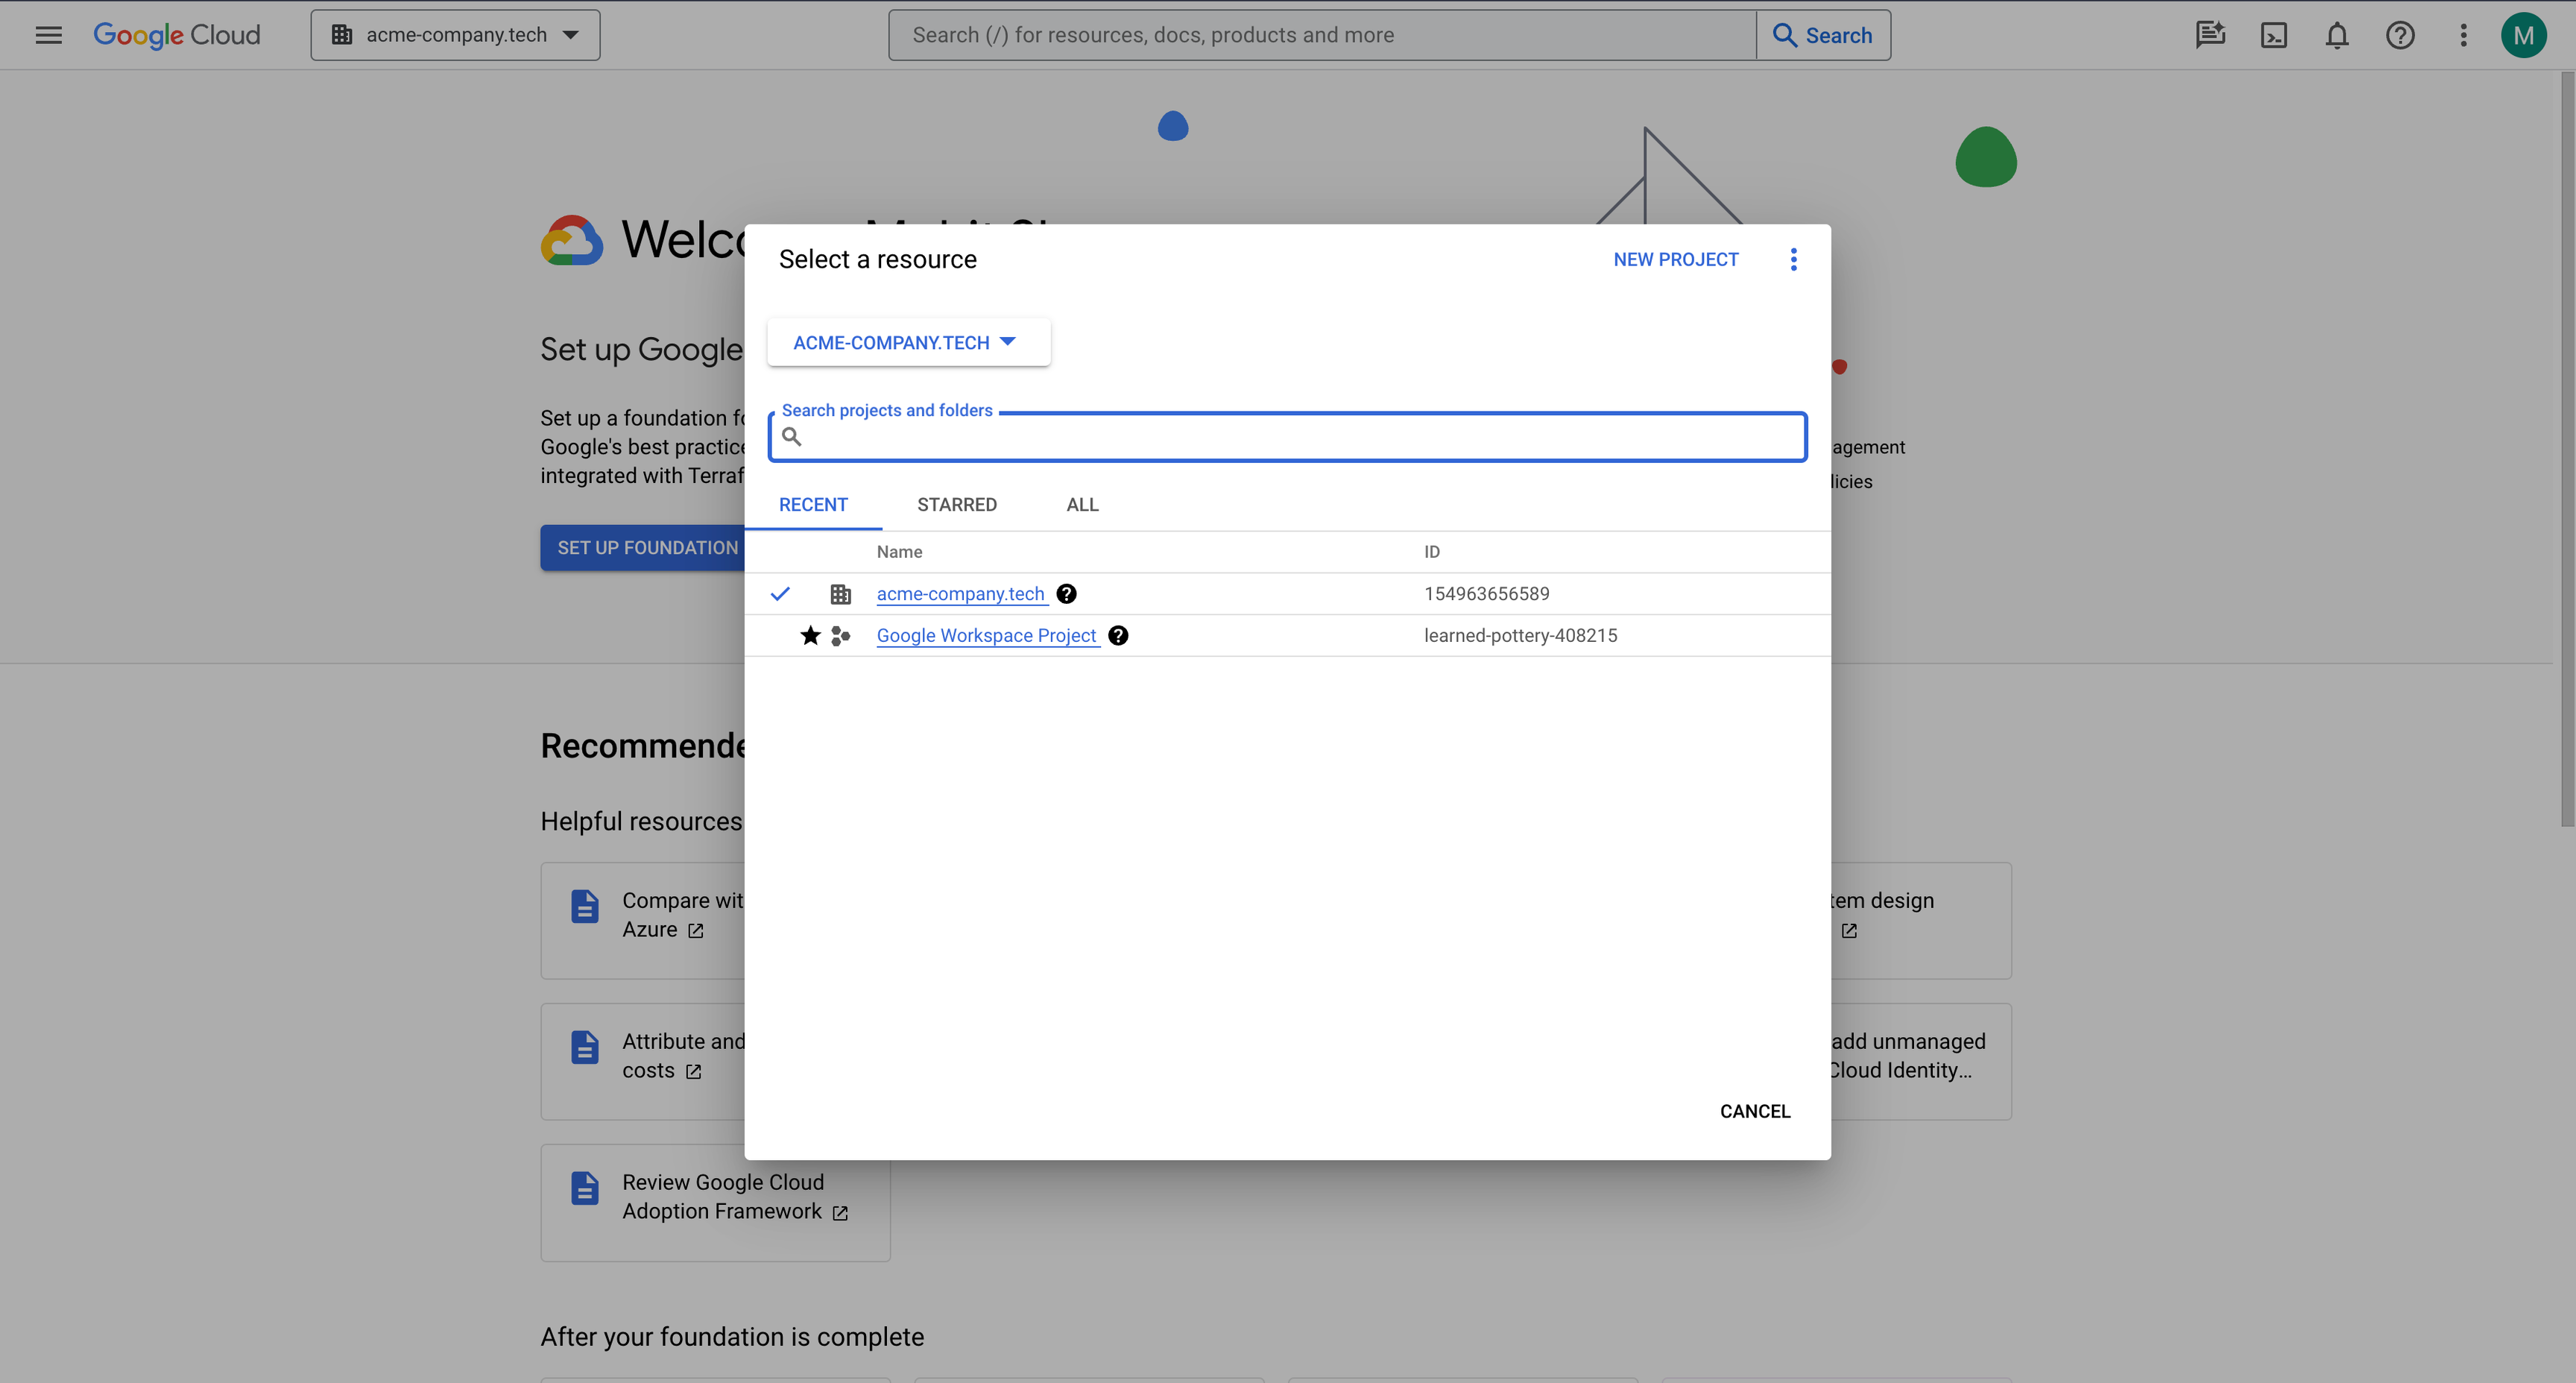
The system lists the hierarchical structure of the organization and all the existing folders and projects within it. Here, click the New Project button to create a new project.
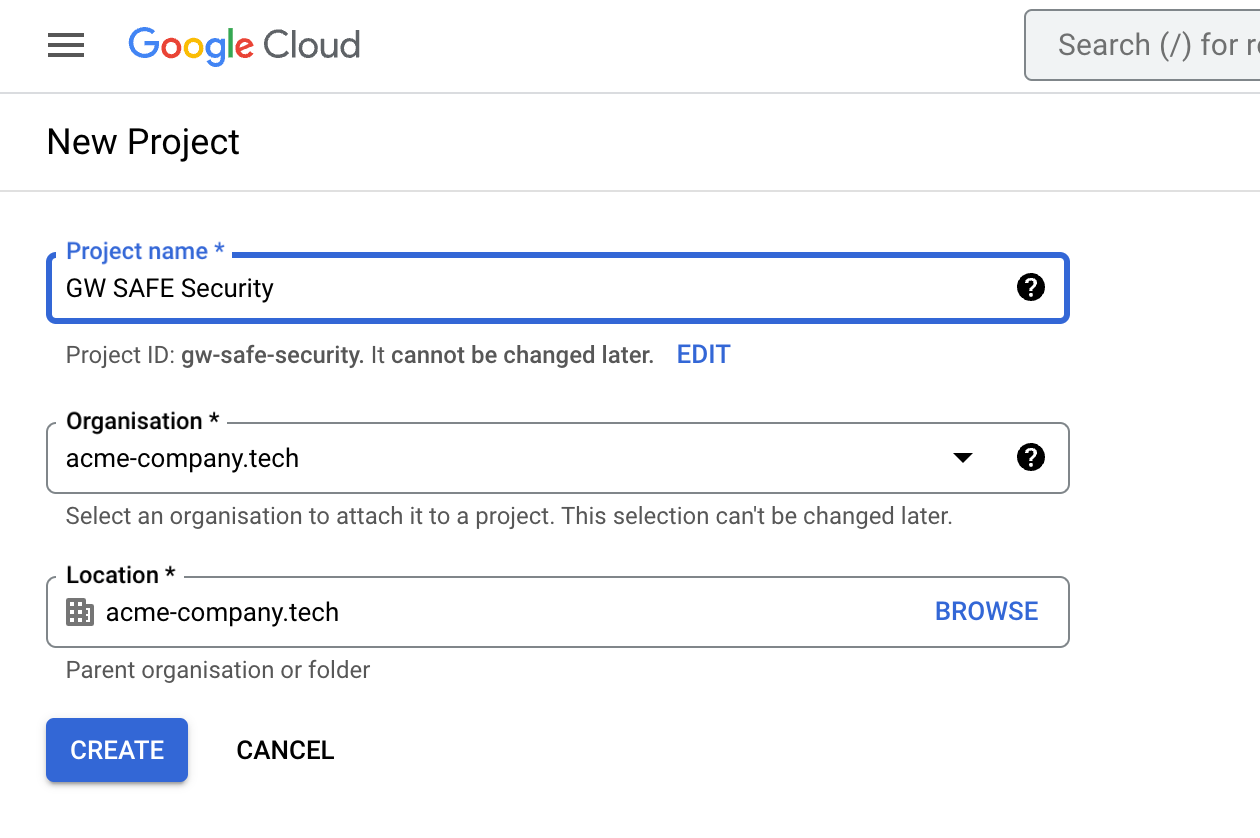
Add a name for the new Project (for example: GW SAFE Security).
Step 2: Enabling API Services on the Project
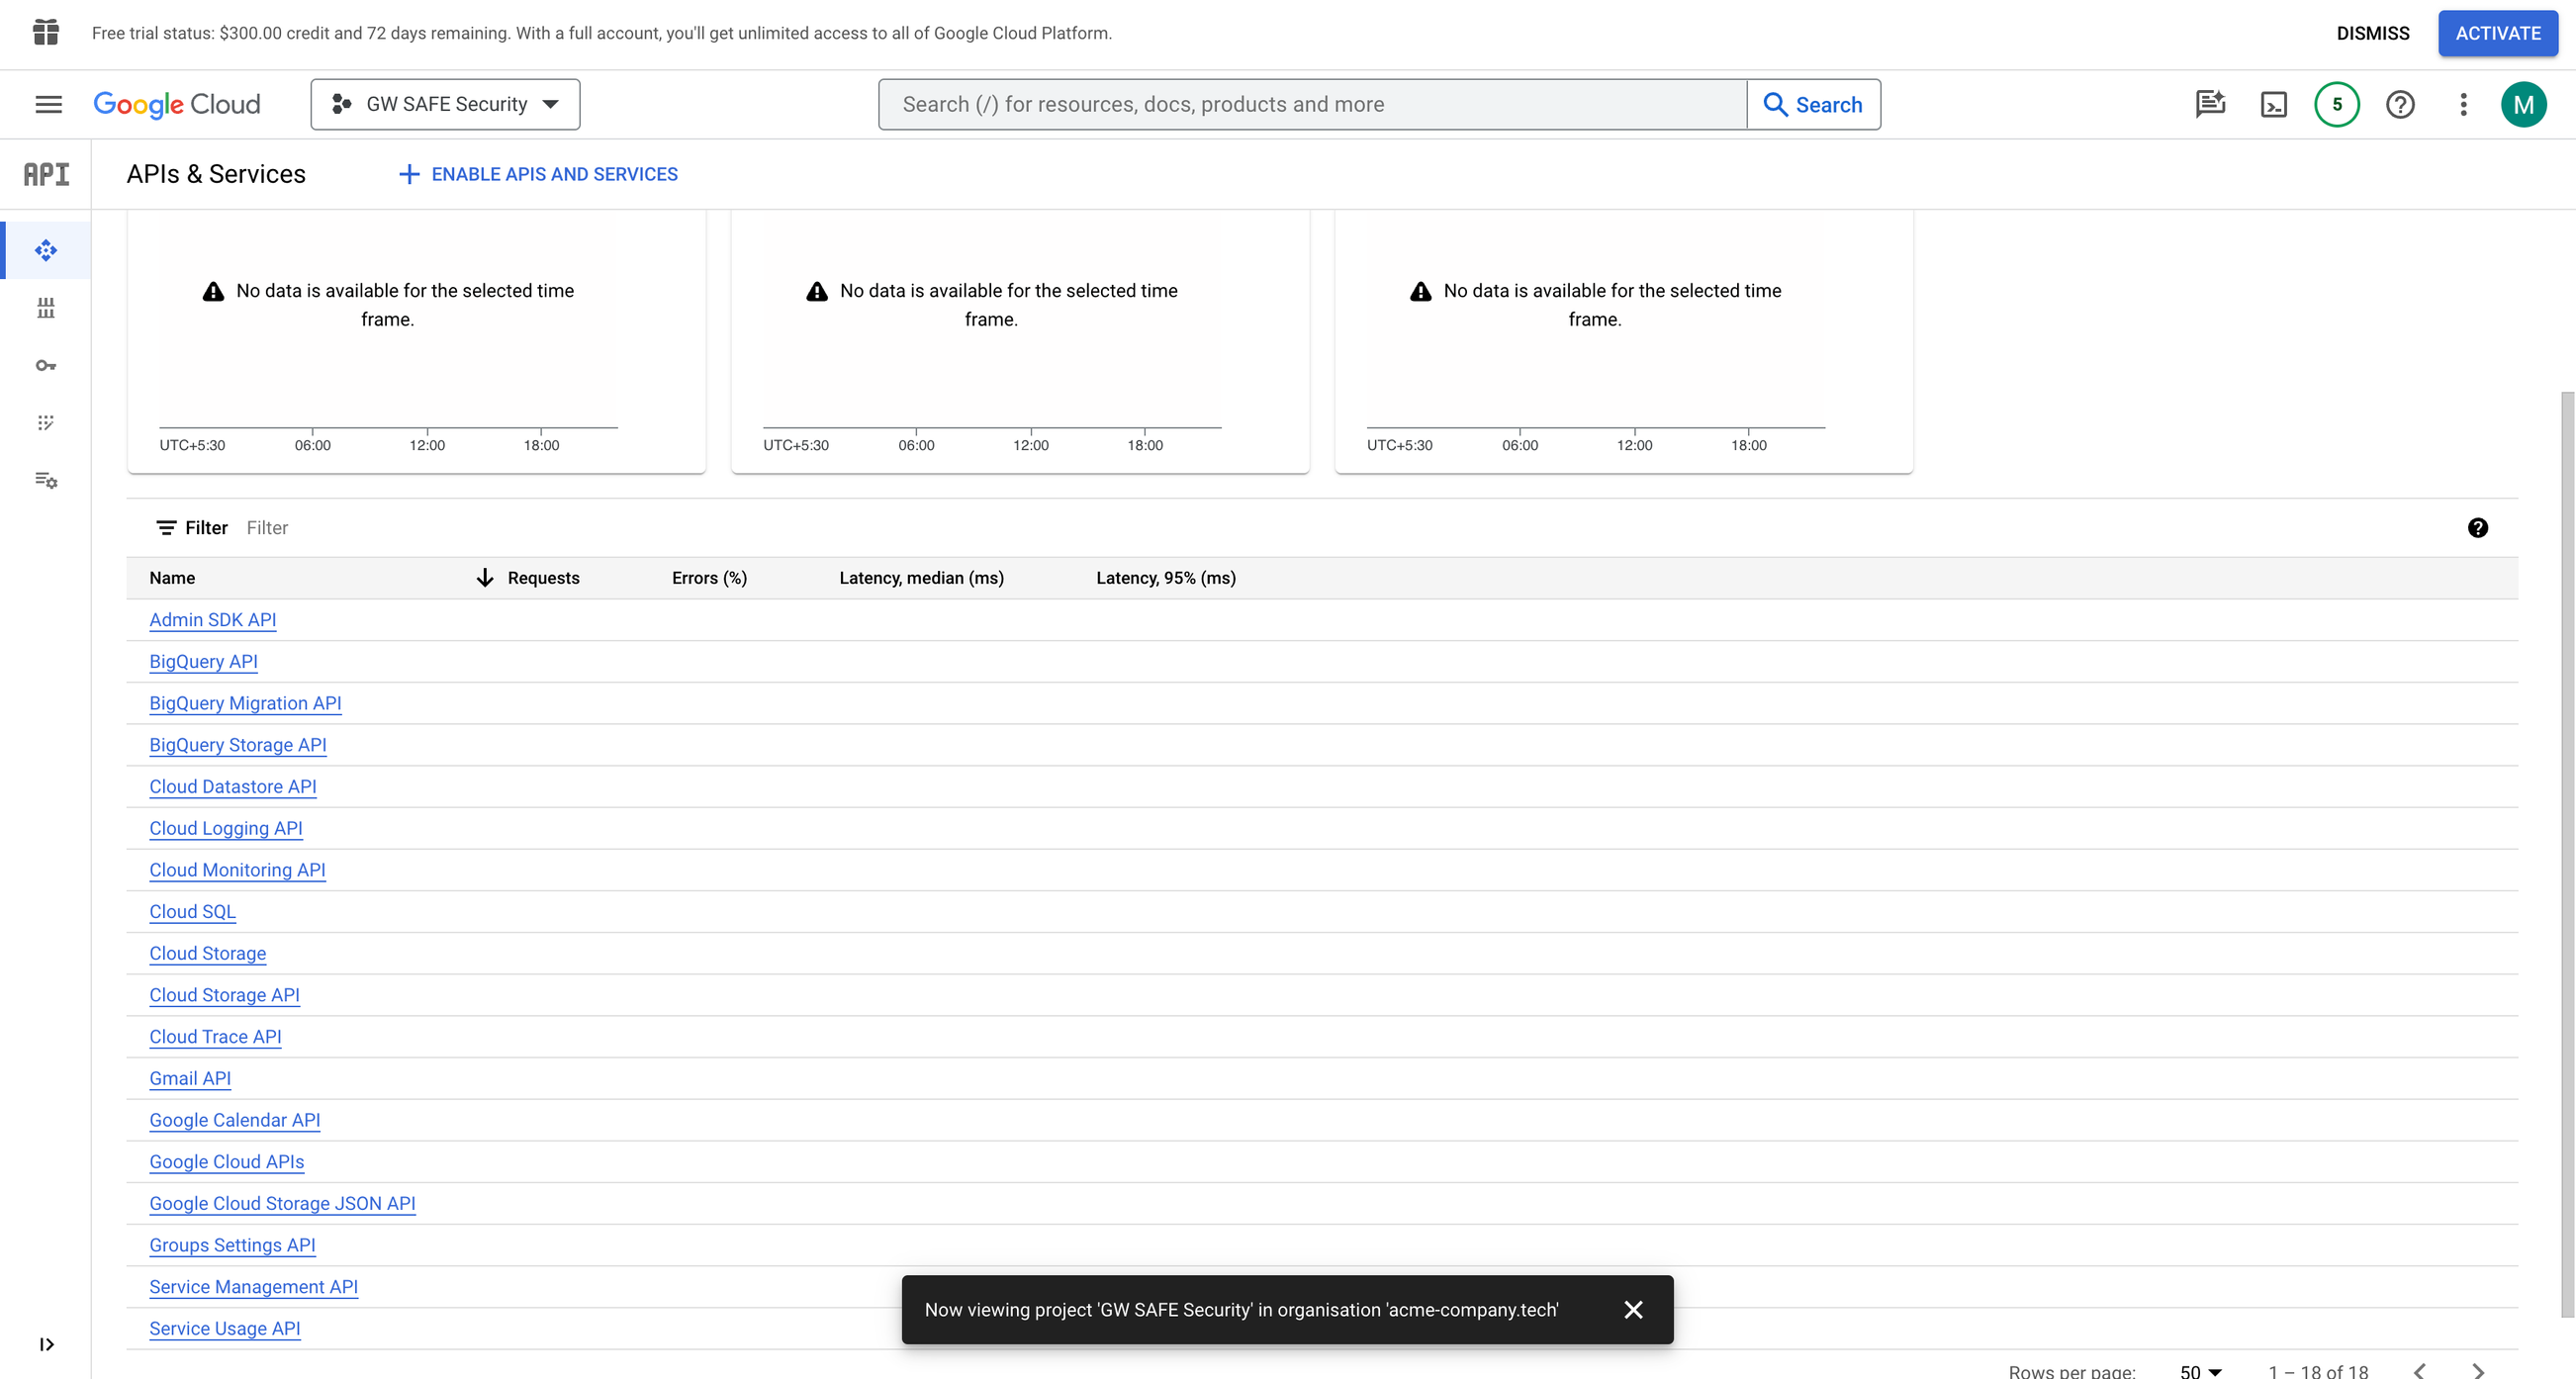
On the Project’s dashboard, click the options menu icon available at the top left corner and then scroll down to click on APIs & Services.

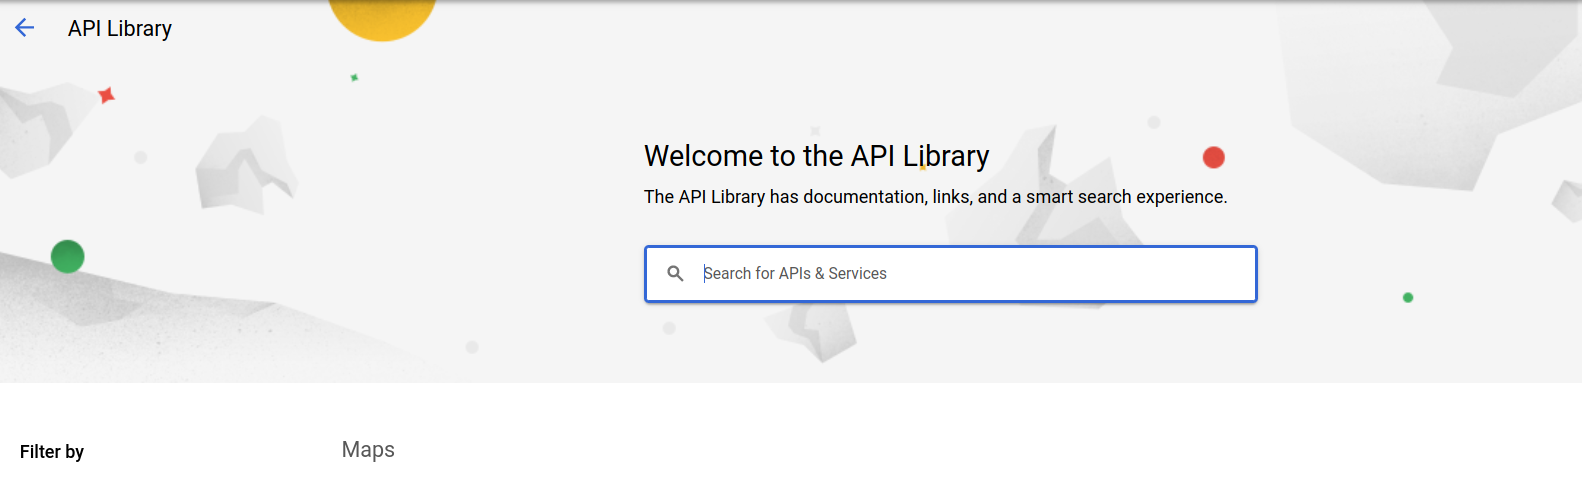
On the APIs and Services dashboard, click on Enable APIs and Services at the top of the page, to go to the APIs Library page.
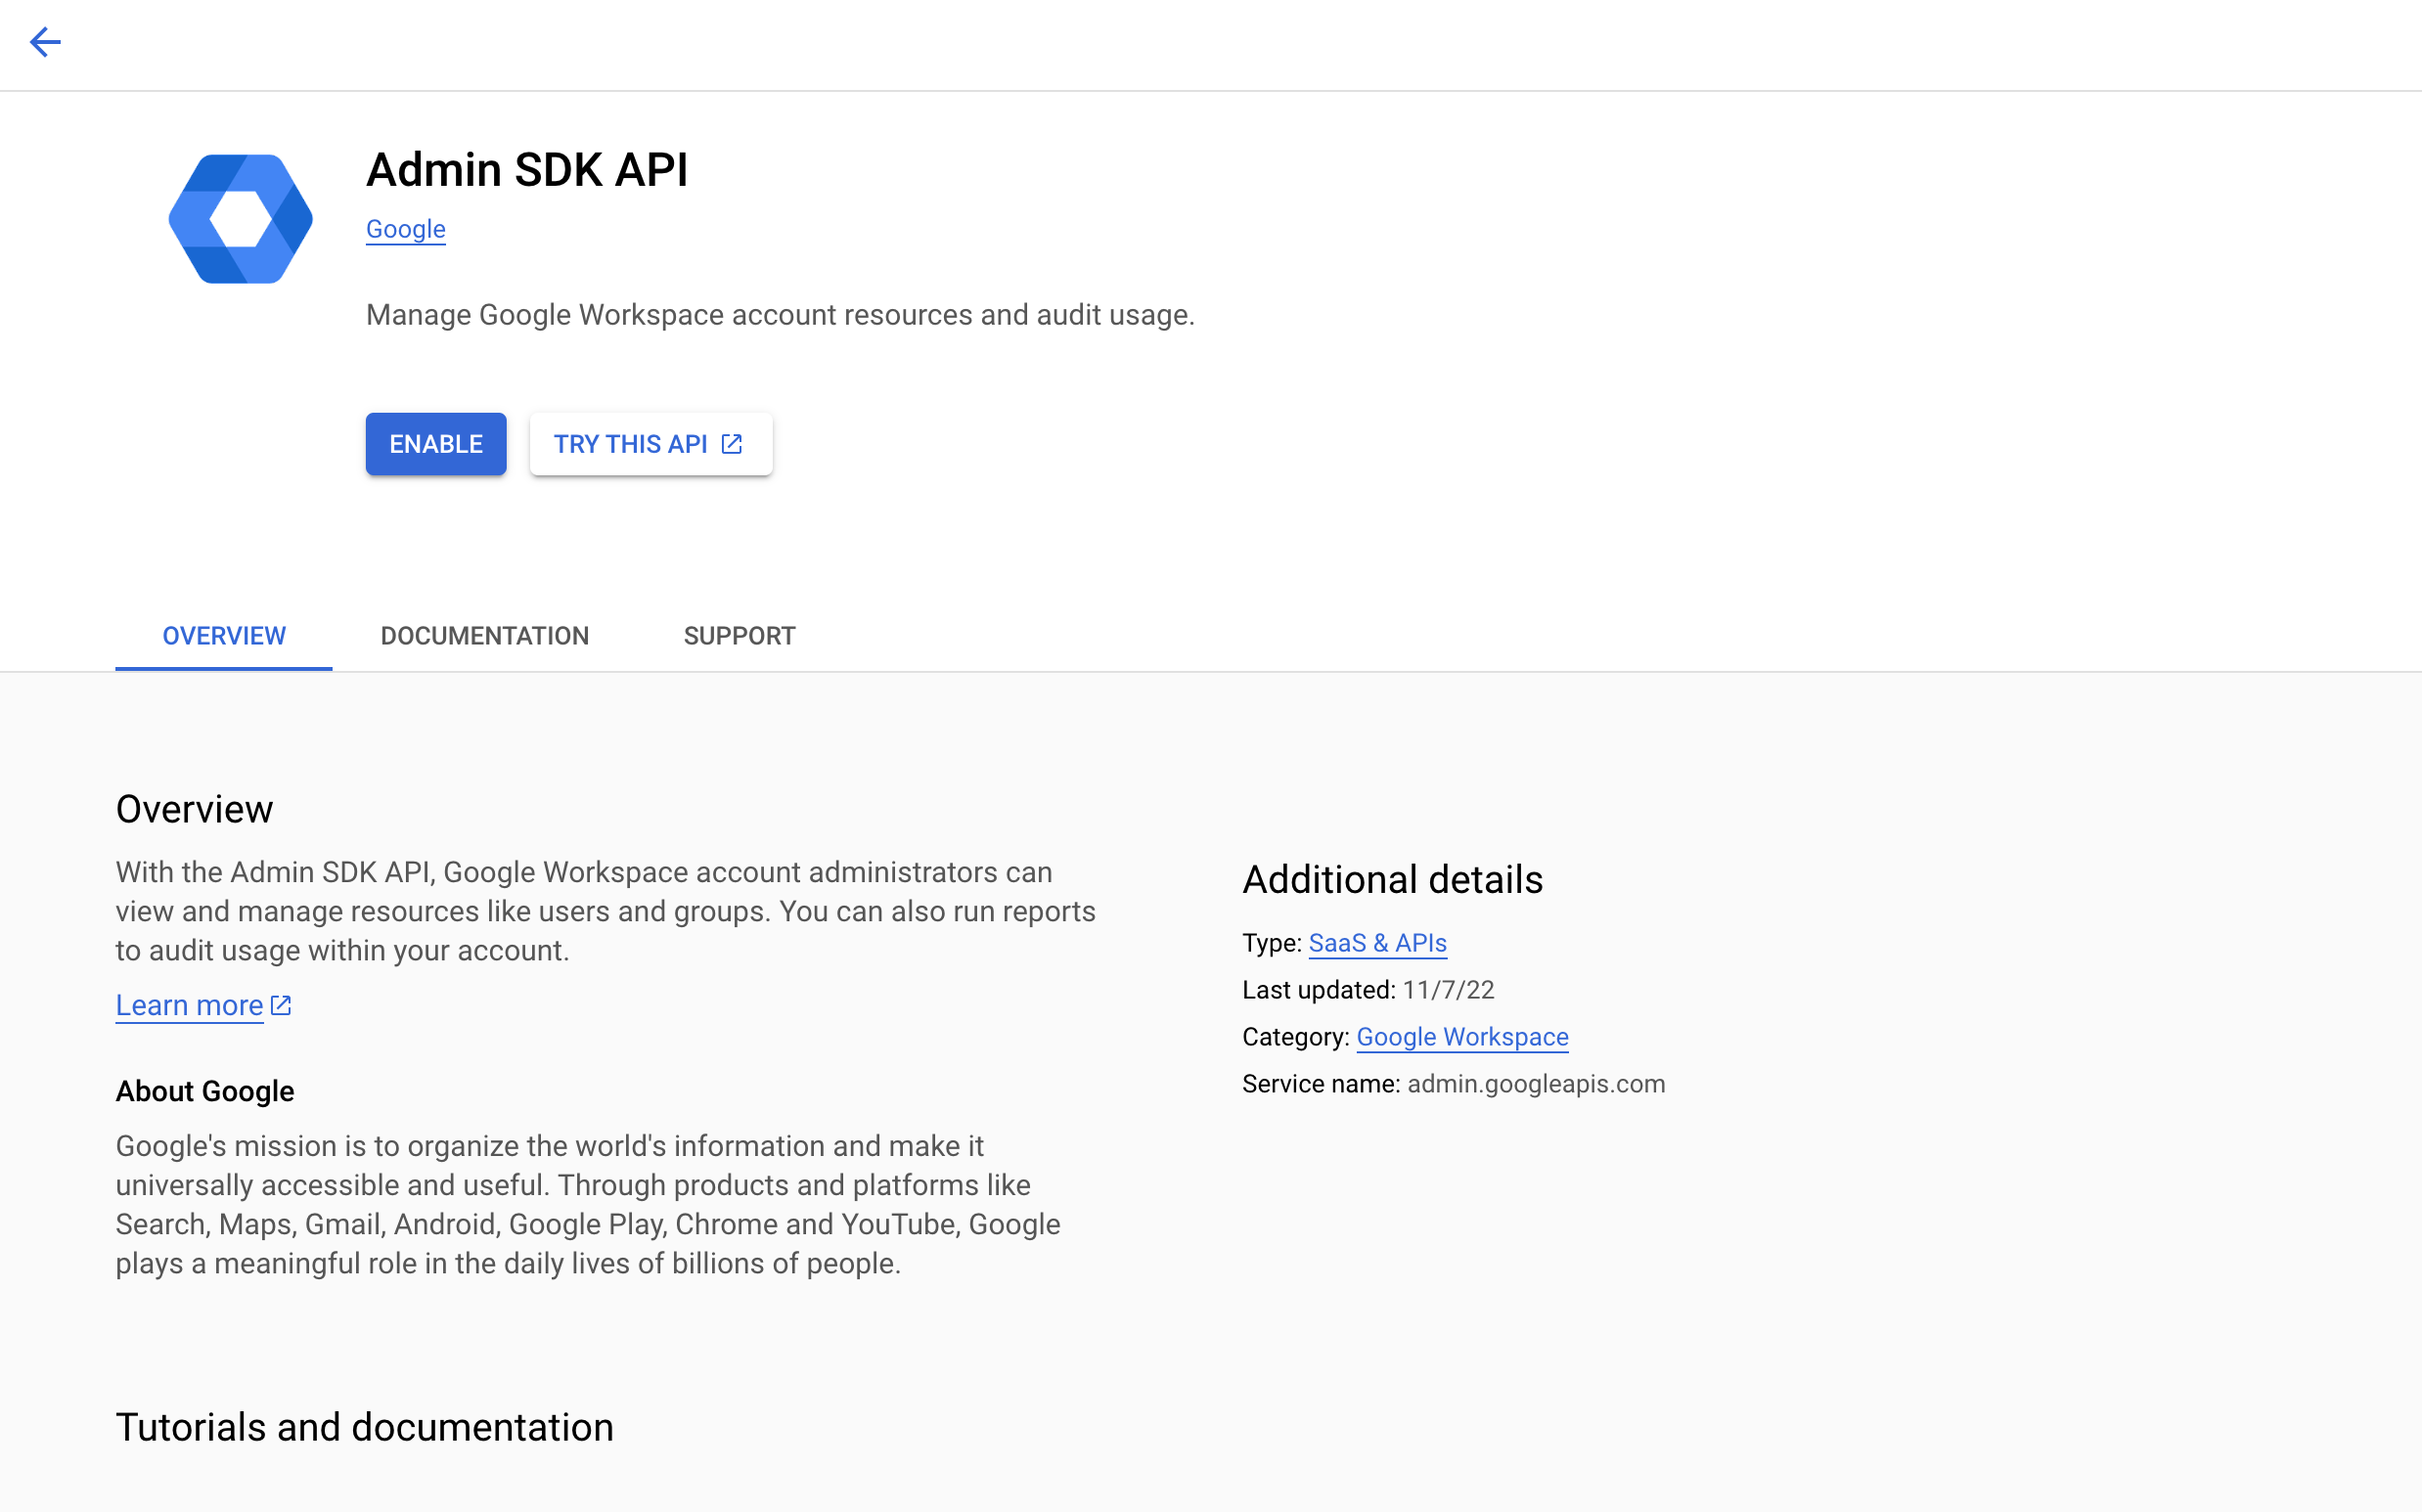
Search for Admin SDK API in the API Library search bar. Click on the link of the Admin SDK API in the search results.
Click the Enable button. Once the process is complete, it can be verified by revisiting the above page. Now there should be a label reading API Enabled.
Repeat the previous two steps to enable the following APIs:
Google Calendar API
Gmail API
Groups Settings API
Verify that all the required APIs have been enabled.
Step 3: Creating a Service Account
From the Project’s dashboard, click on the left navigation and scroll down to click on IAM & Admin.
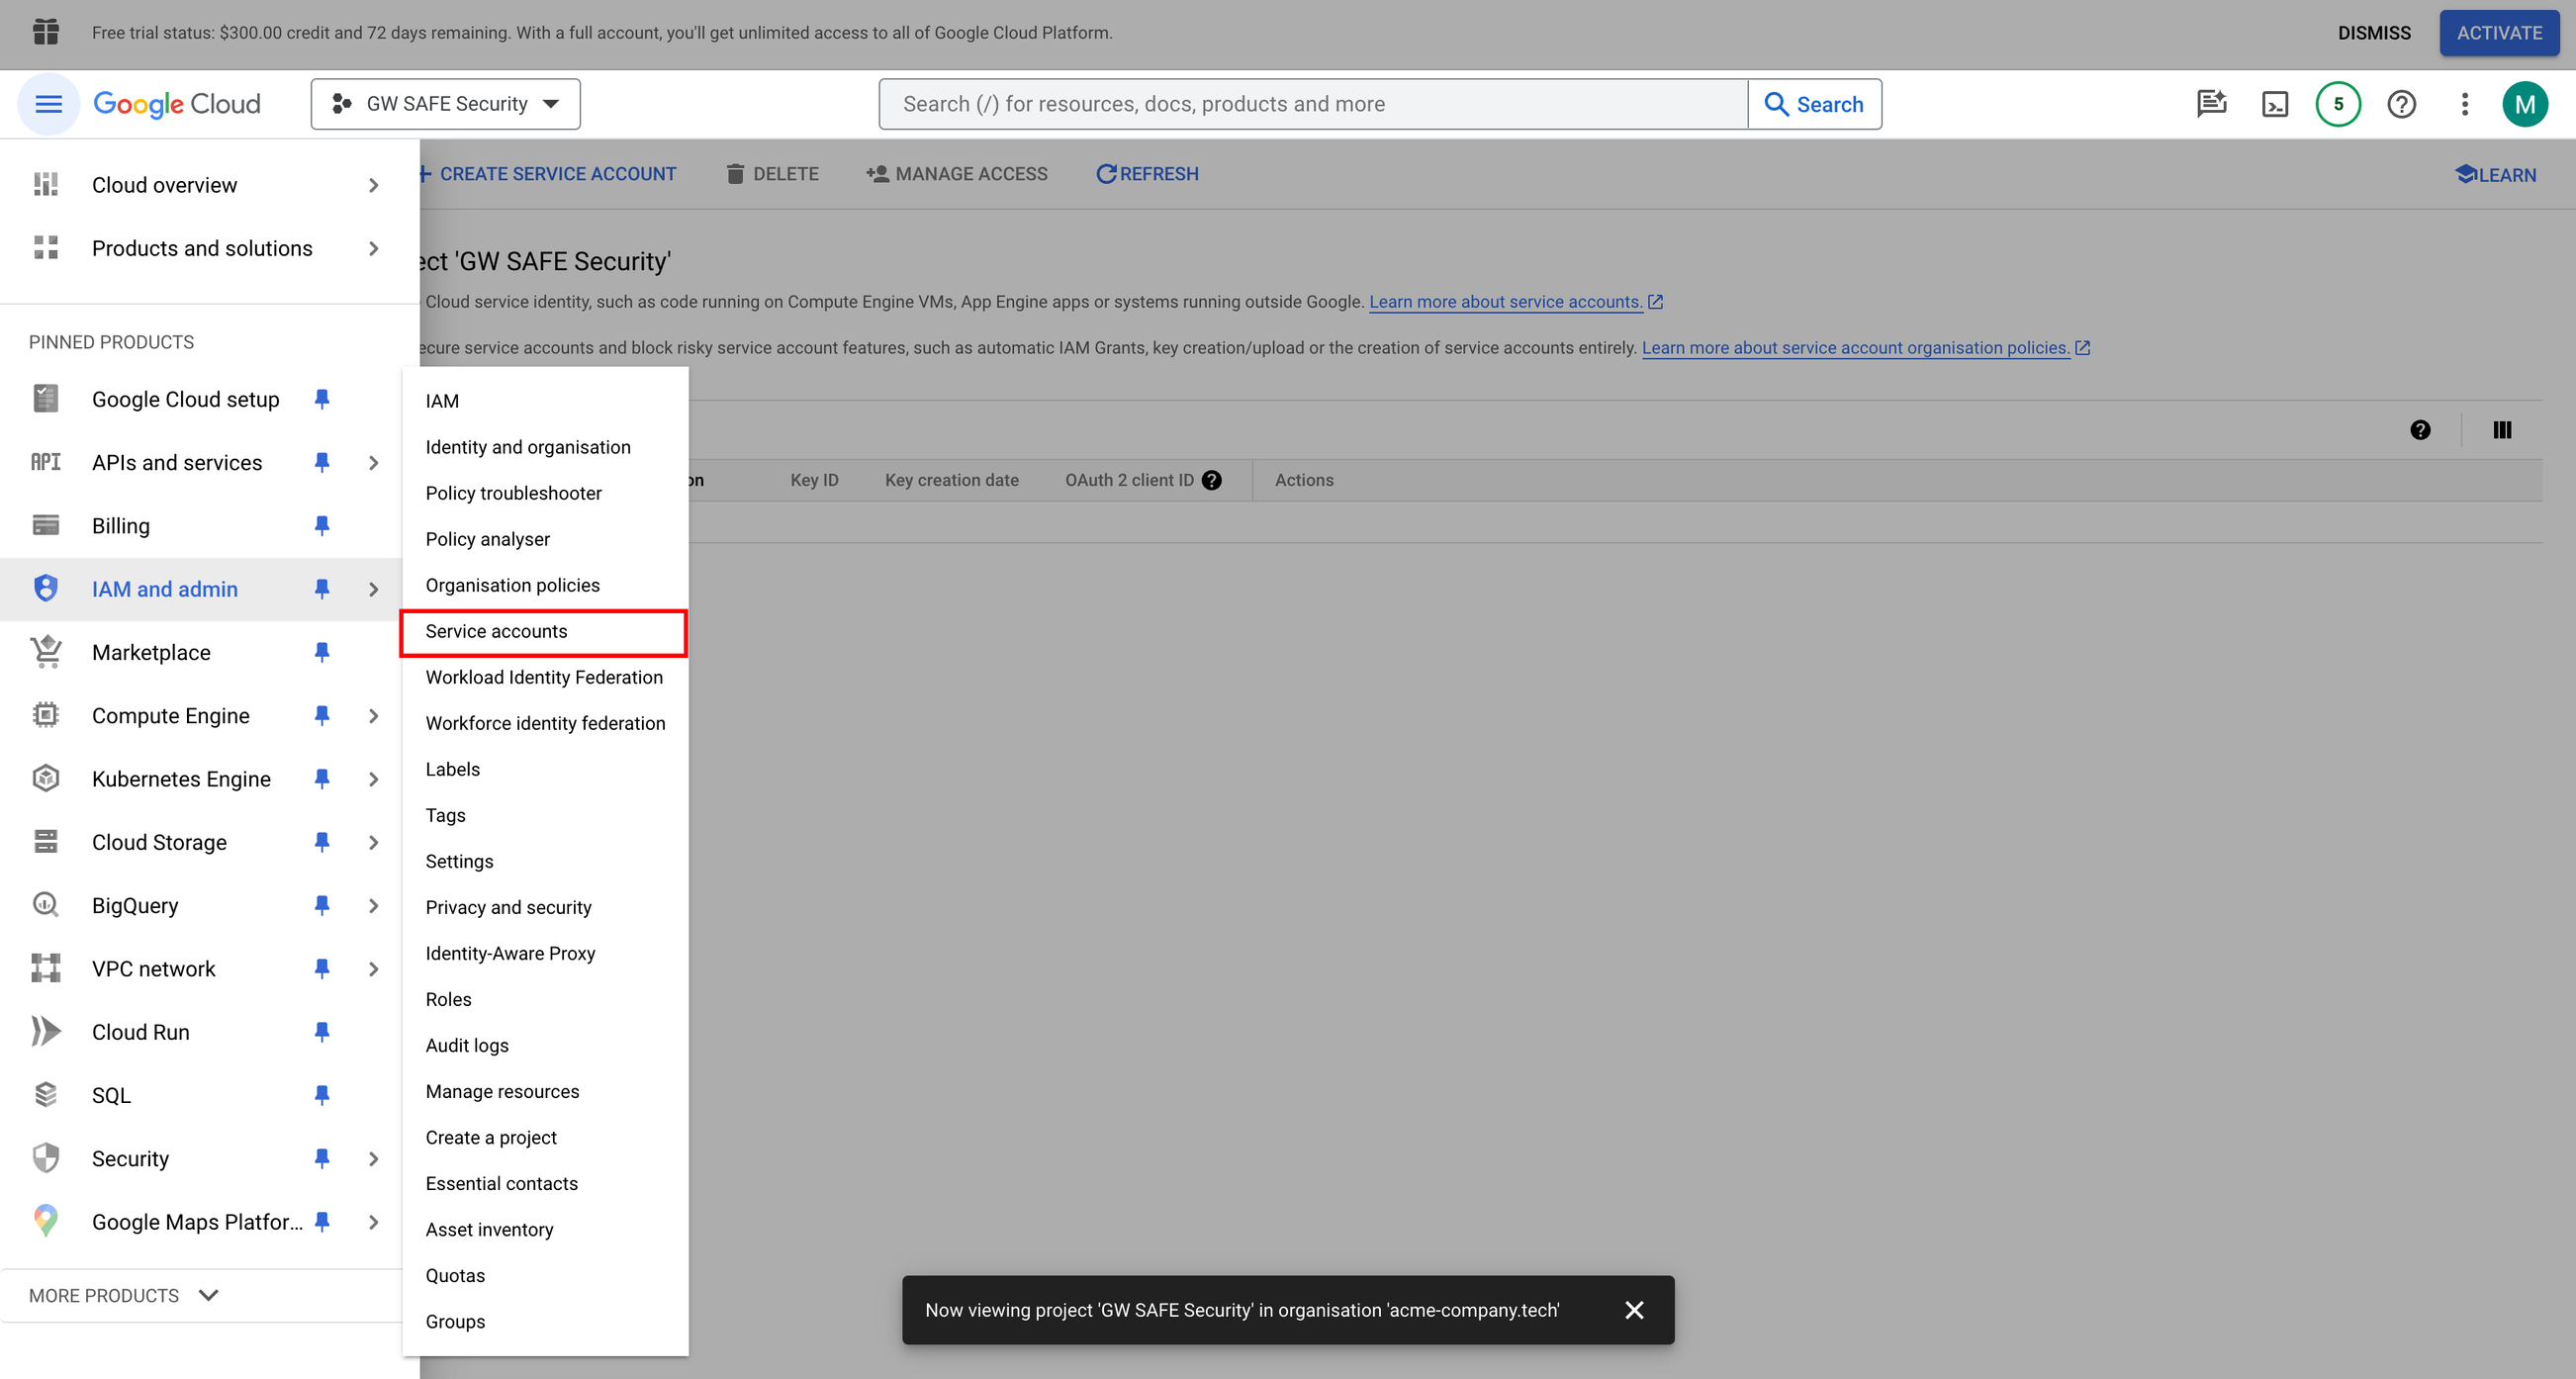
Click the Service Accounts option and then click the CREATE SERVICE ACCOUNT button.
Enter a name for the service account and click on CREATE AND CONTINUE.
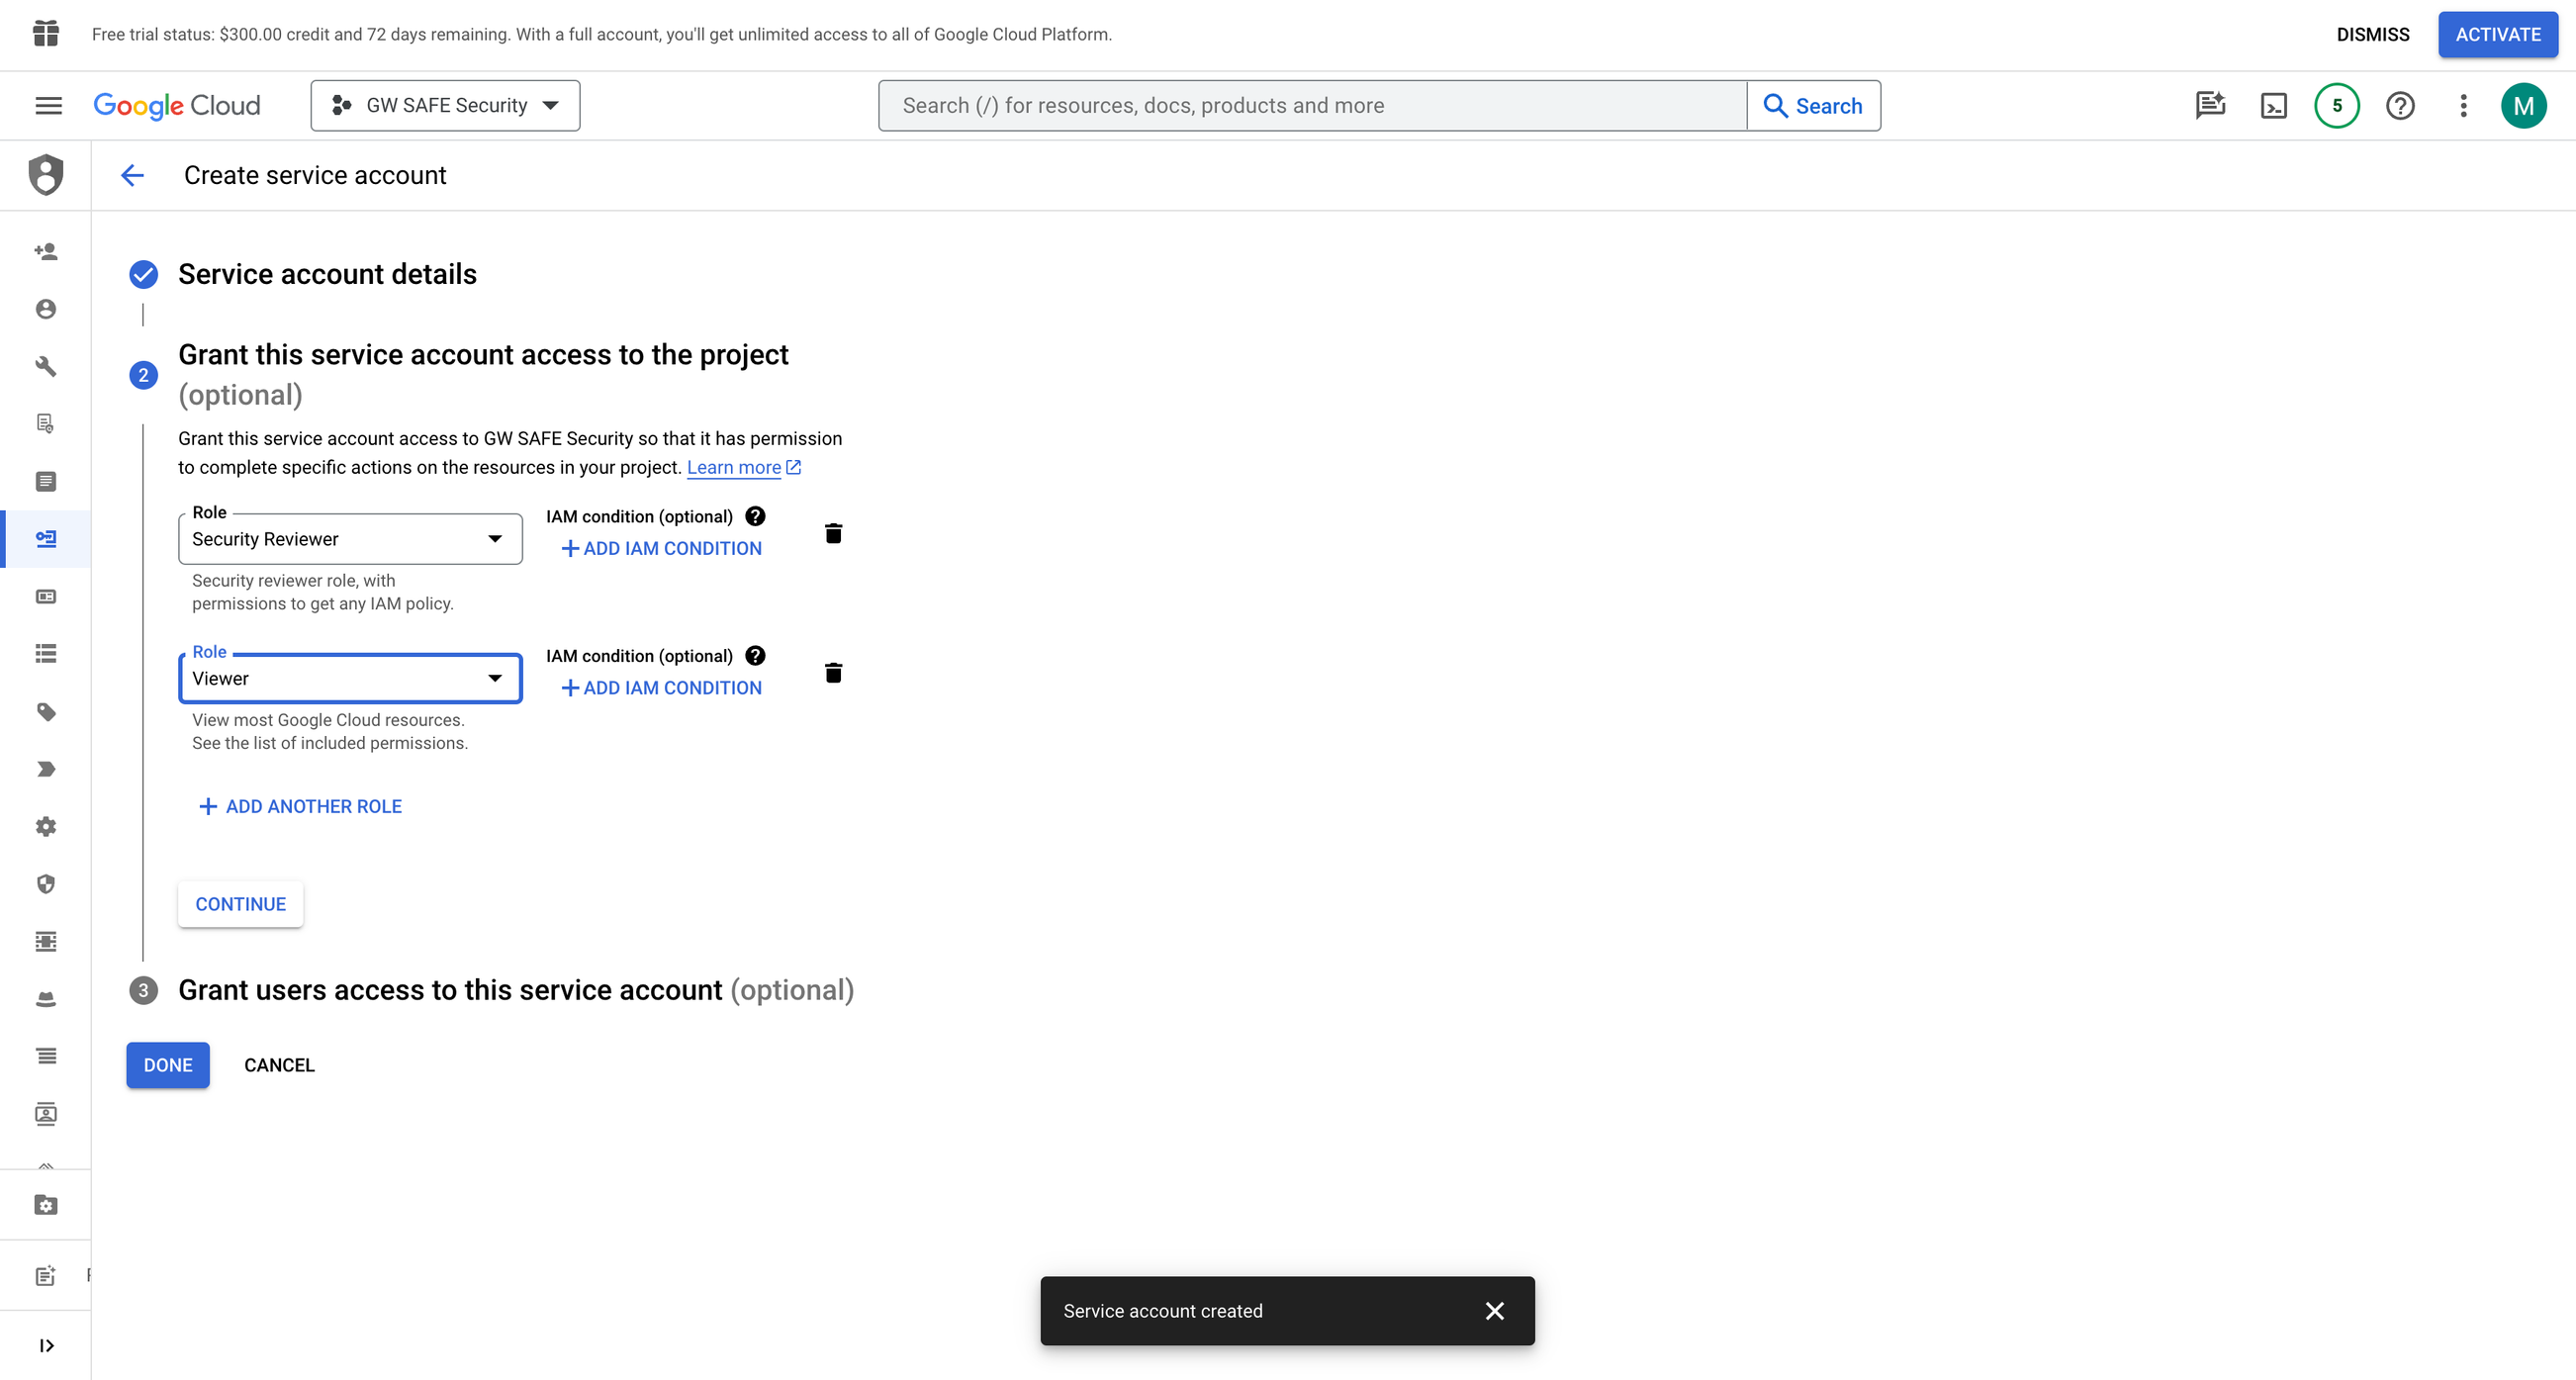
Choose the Viewer role and the Security Reviewer role to assign at least reader permissions to the service account.
Click Continue and then click Done.
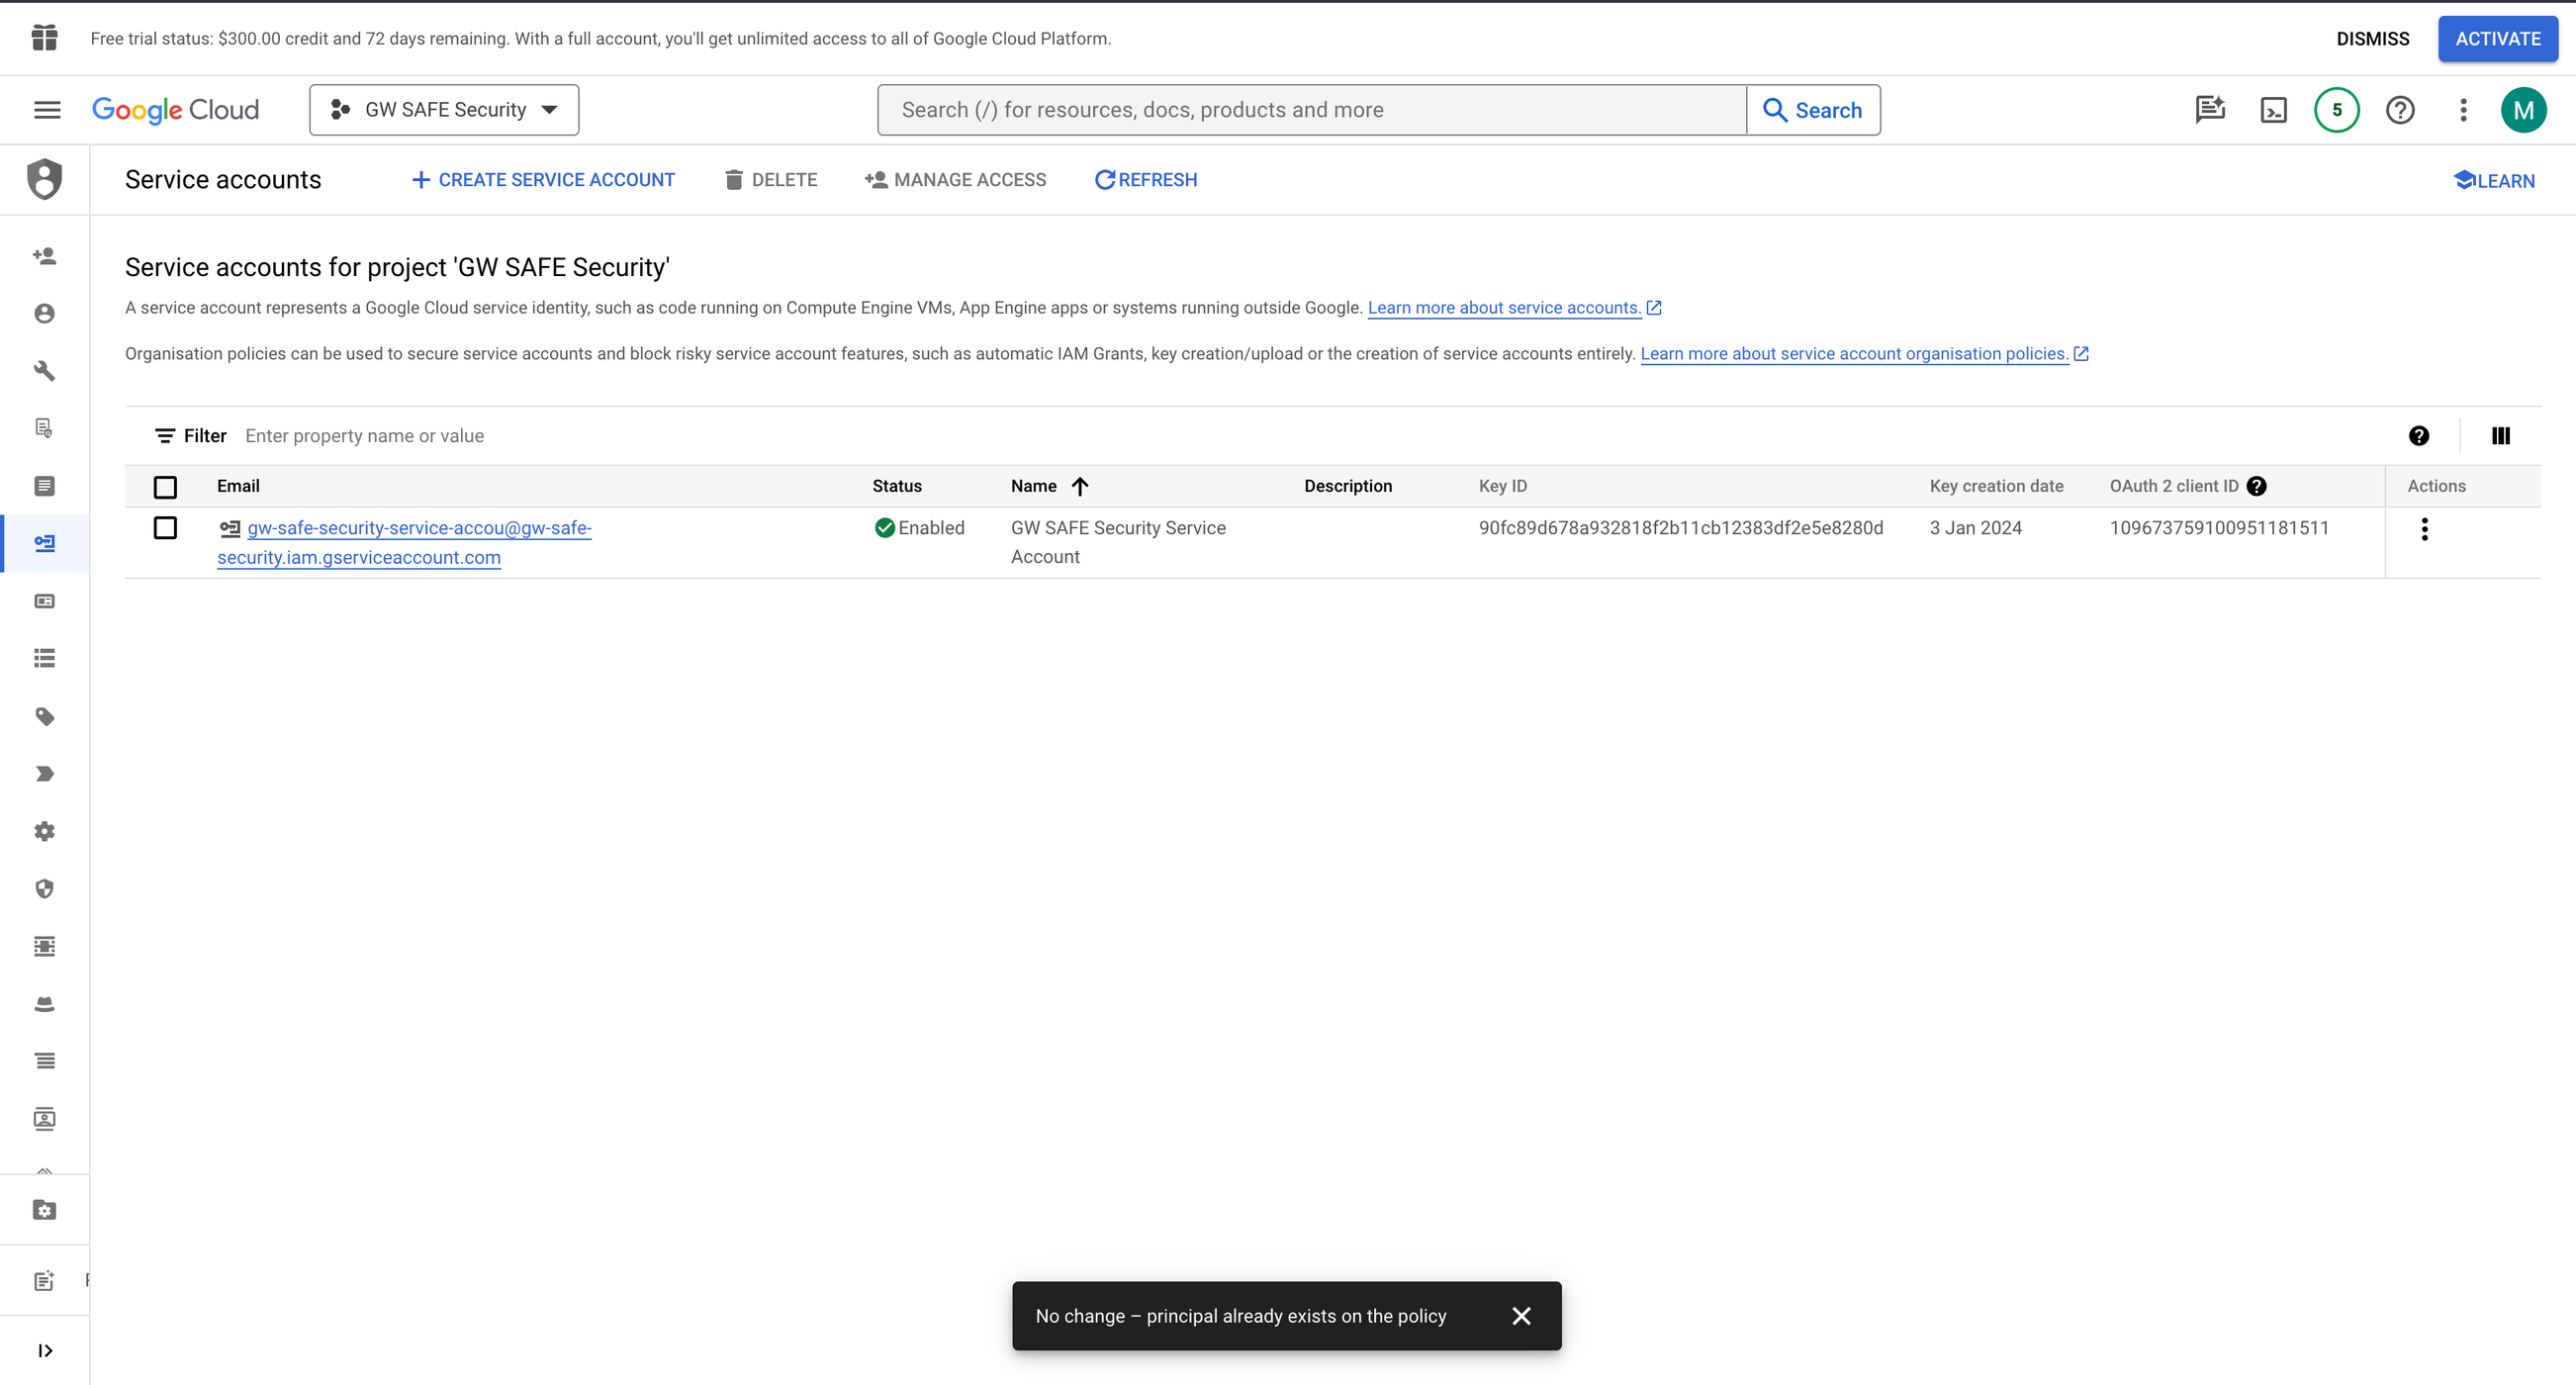
Under Service Accounts, click the Created Service Account button. From the Actions column, click the Manage Keys or Create key option.
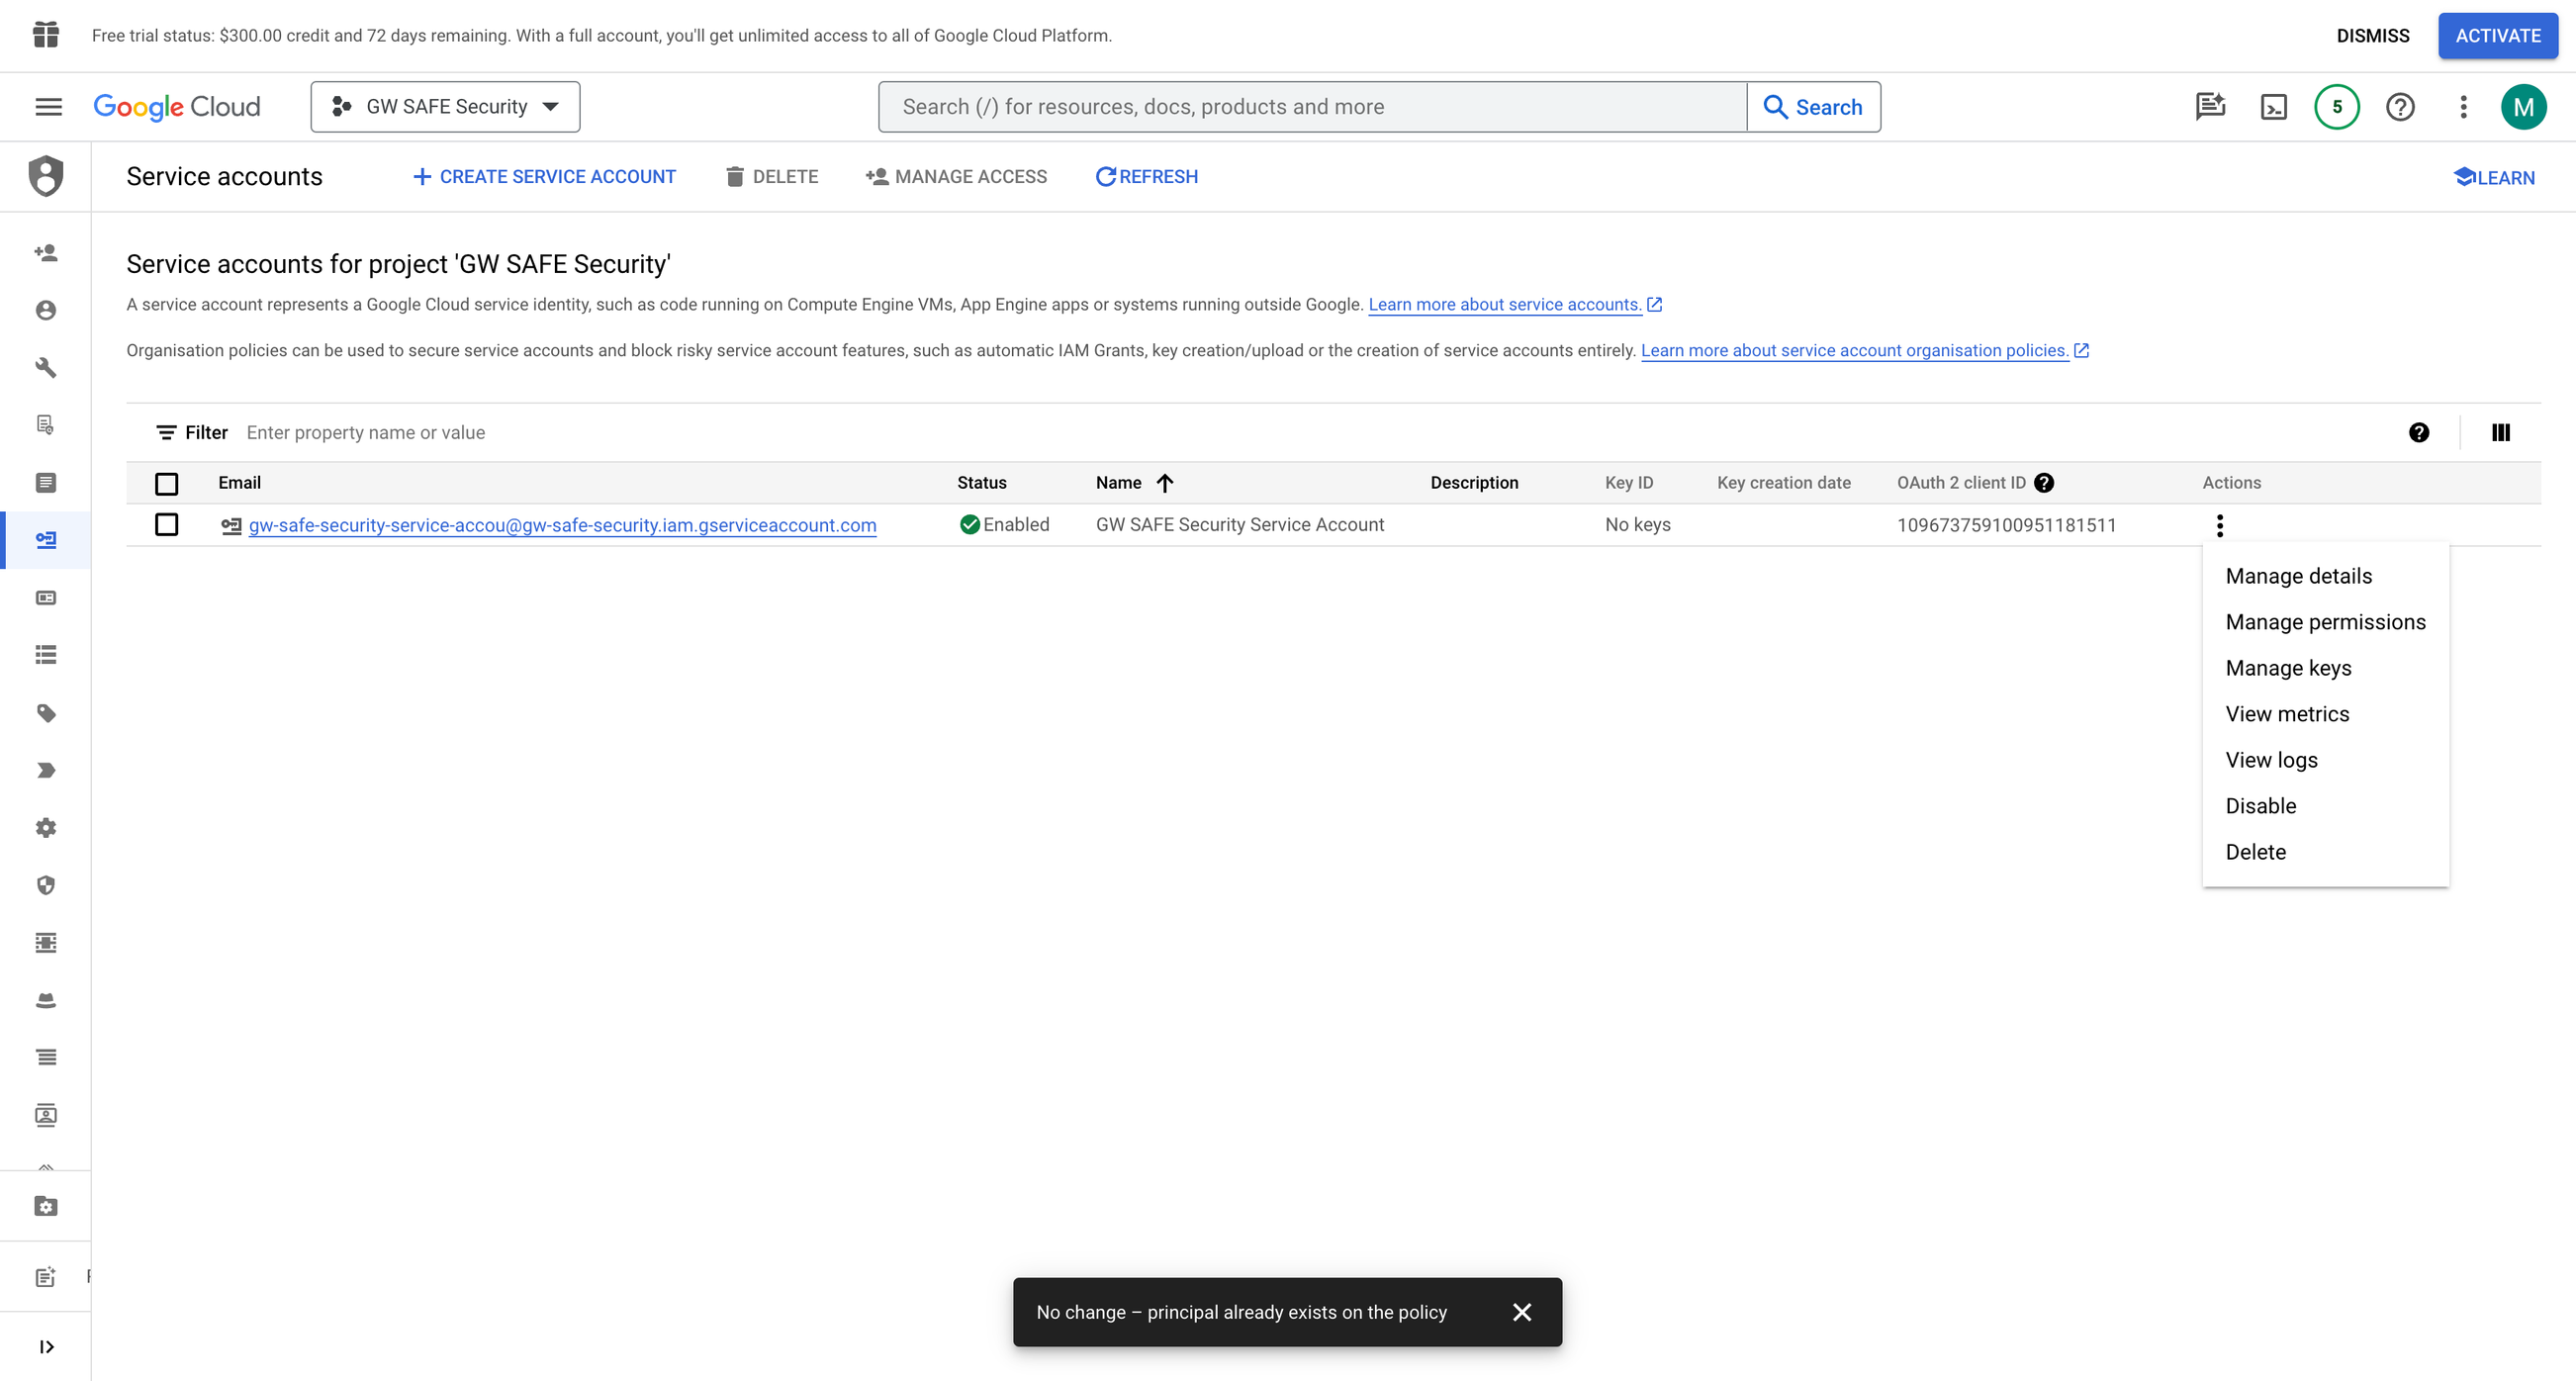
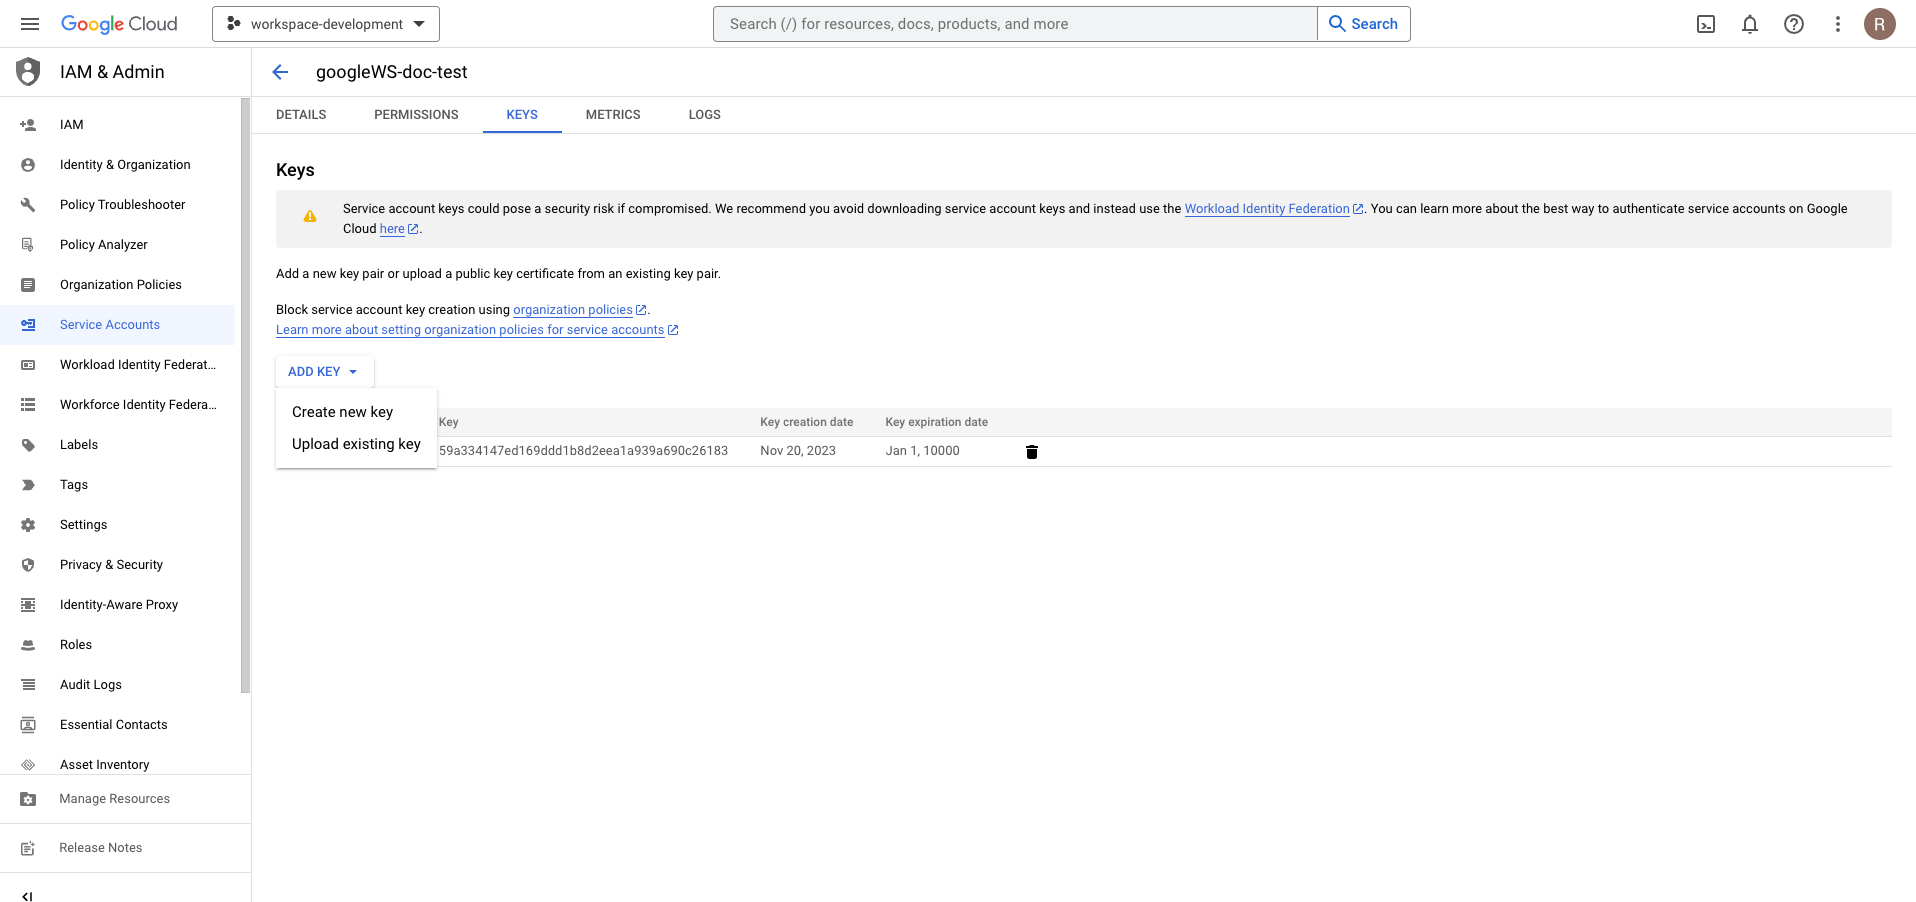
Click on the Keys tab.
Click on ADD KEY and then on Create new key.
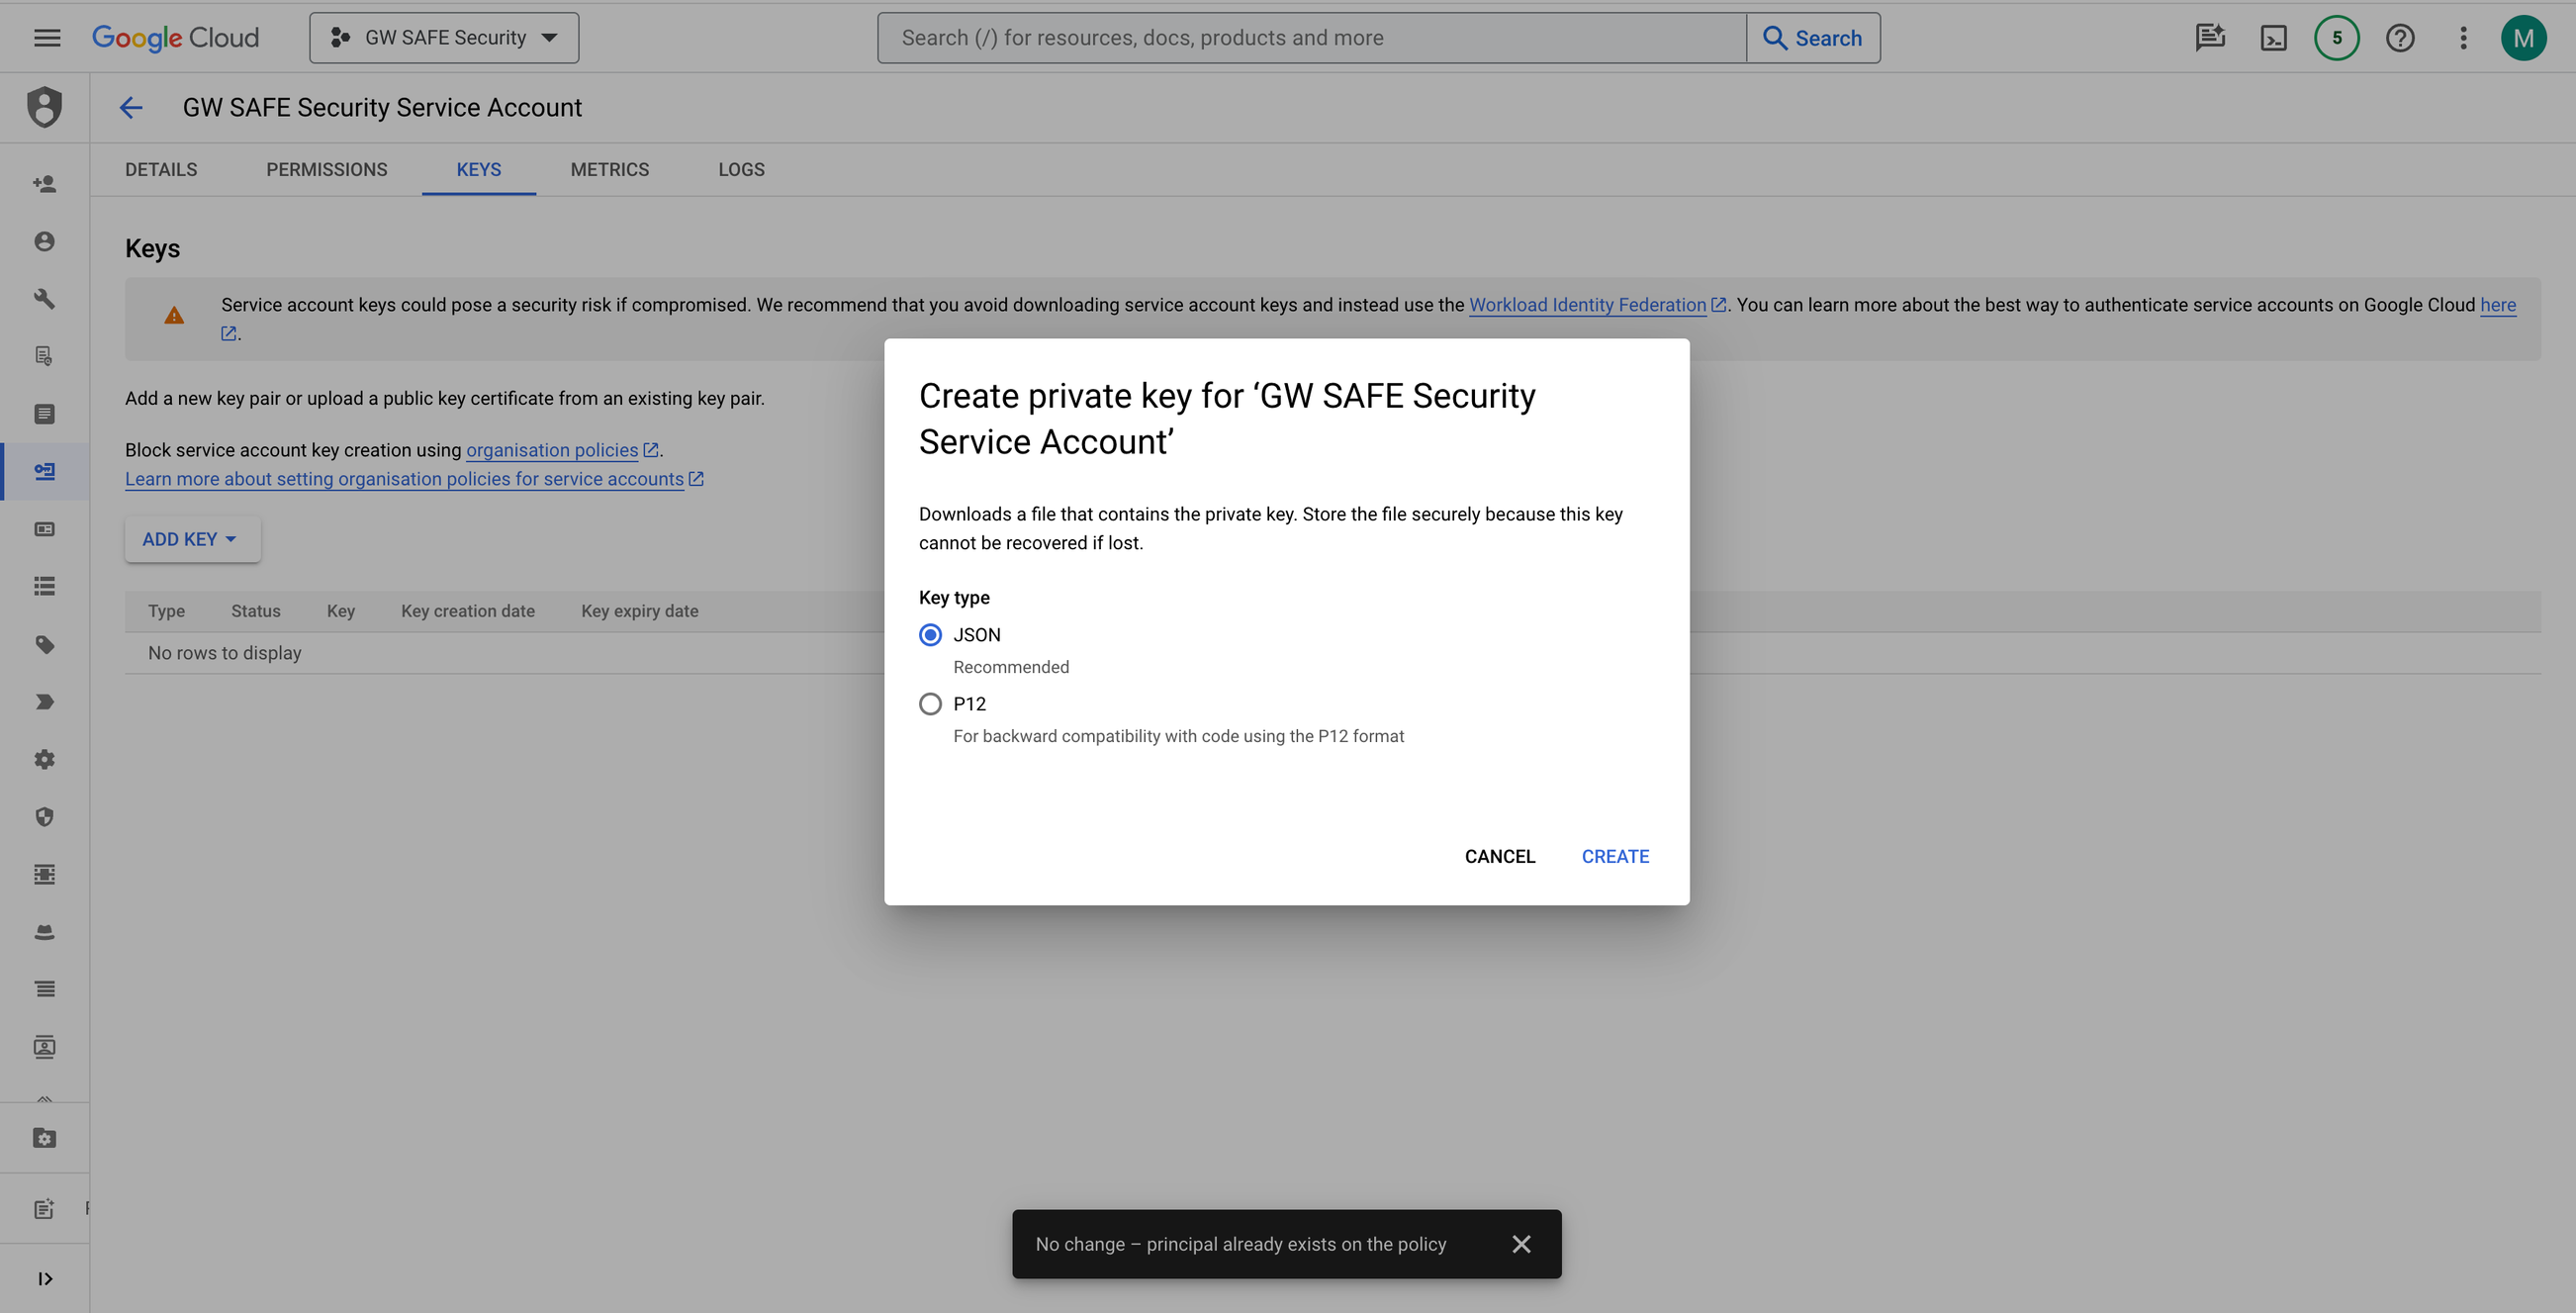
Select the Key type JSON.
Click the CREATE button, and keep the file downloaded in a file on your system.
Step 5: Granting domain-wide access to the Service Account
Note- This step needs to be carried out by a Google Workspace administrator of the domain.
Sign in to the Google Workspace Admin portal at https://admin.google.com.
Go to Main menu > Security > Access and data control > API Controls.
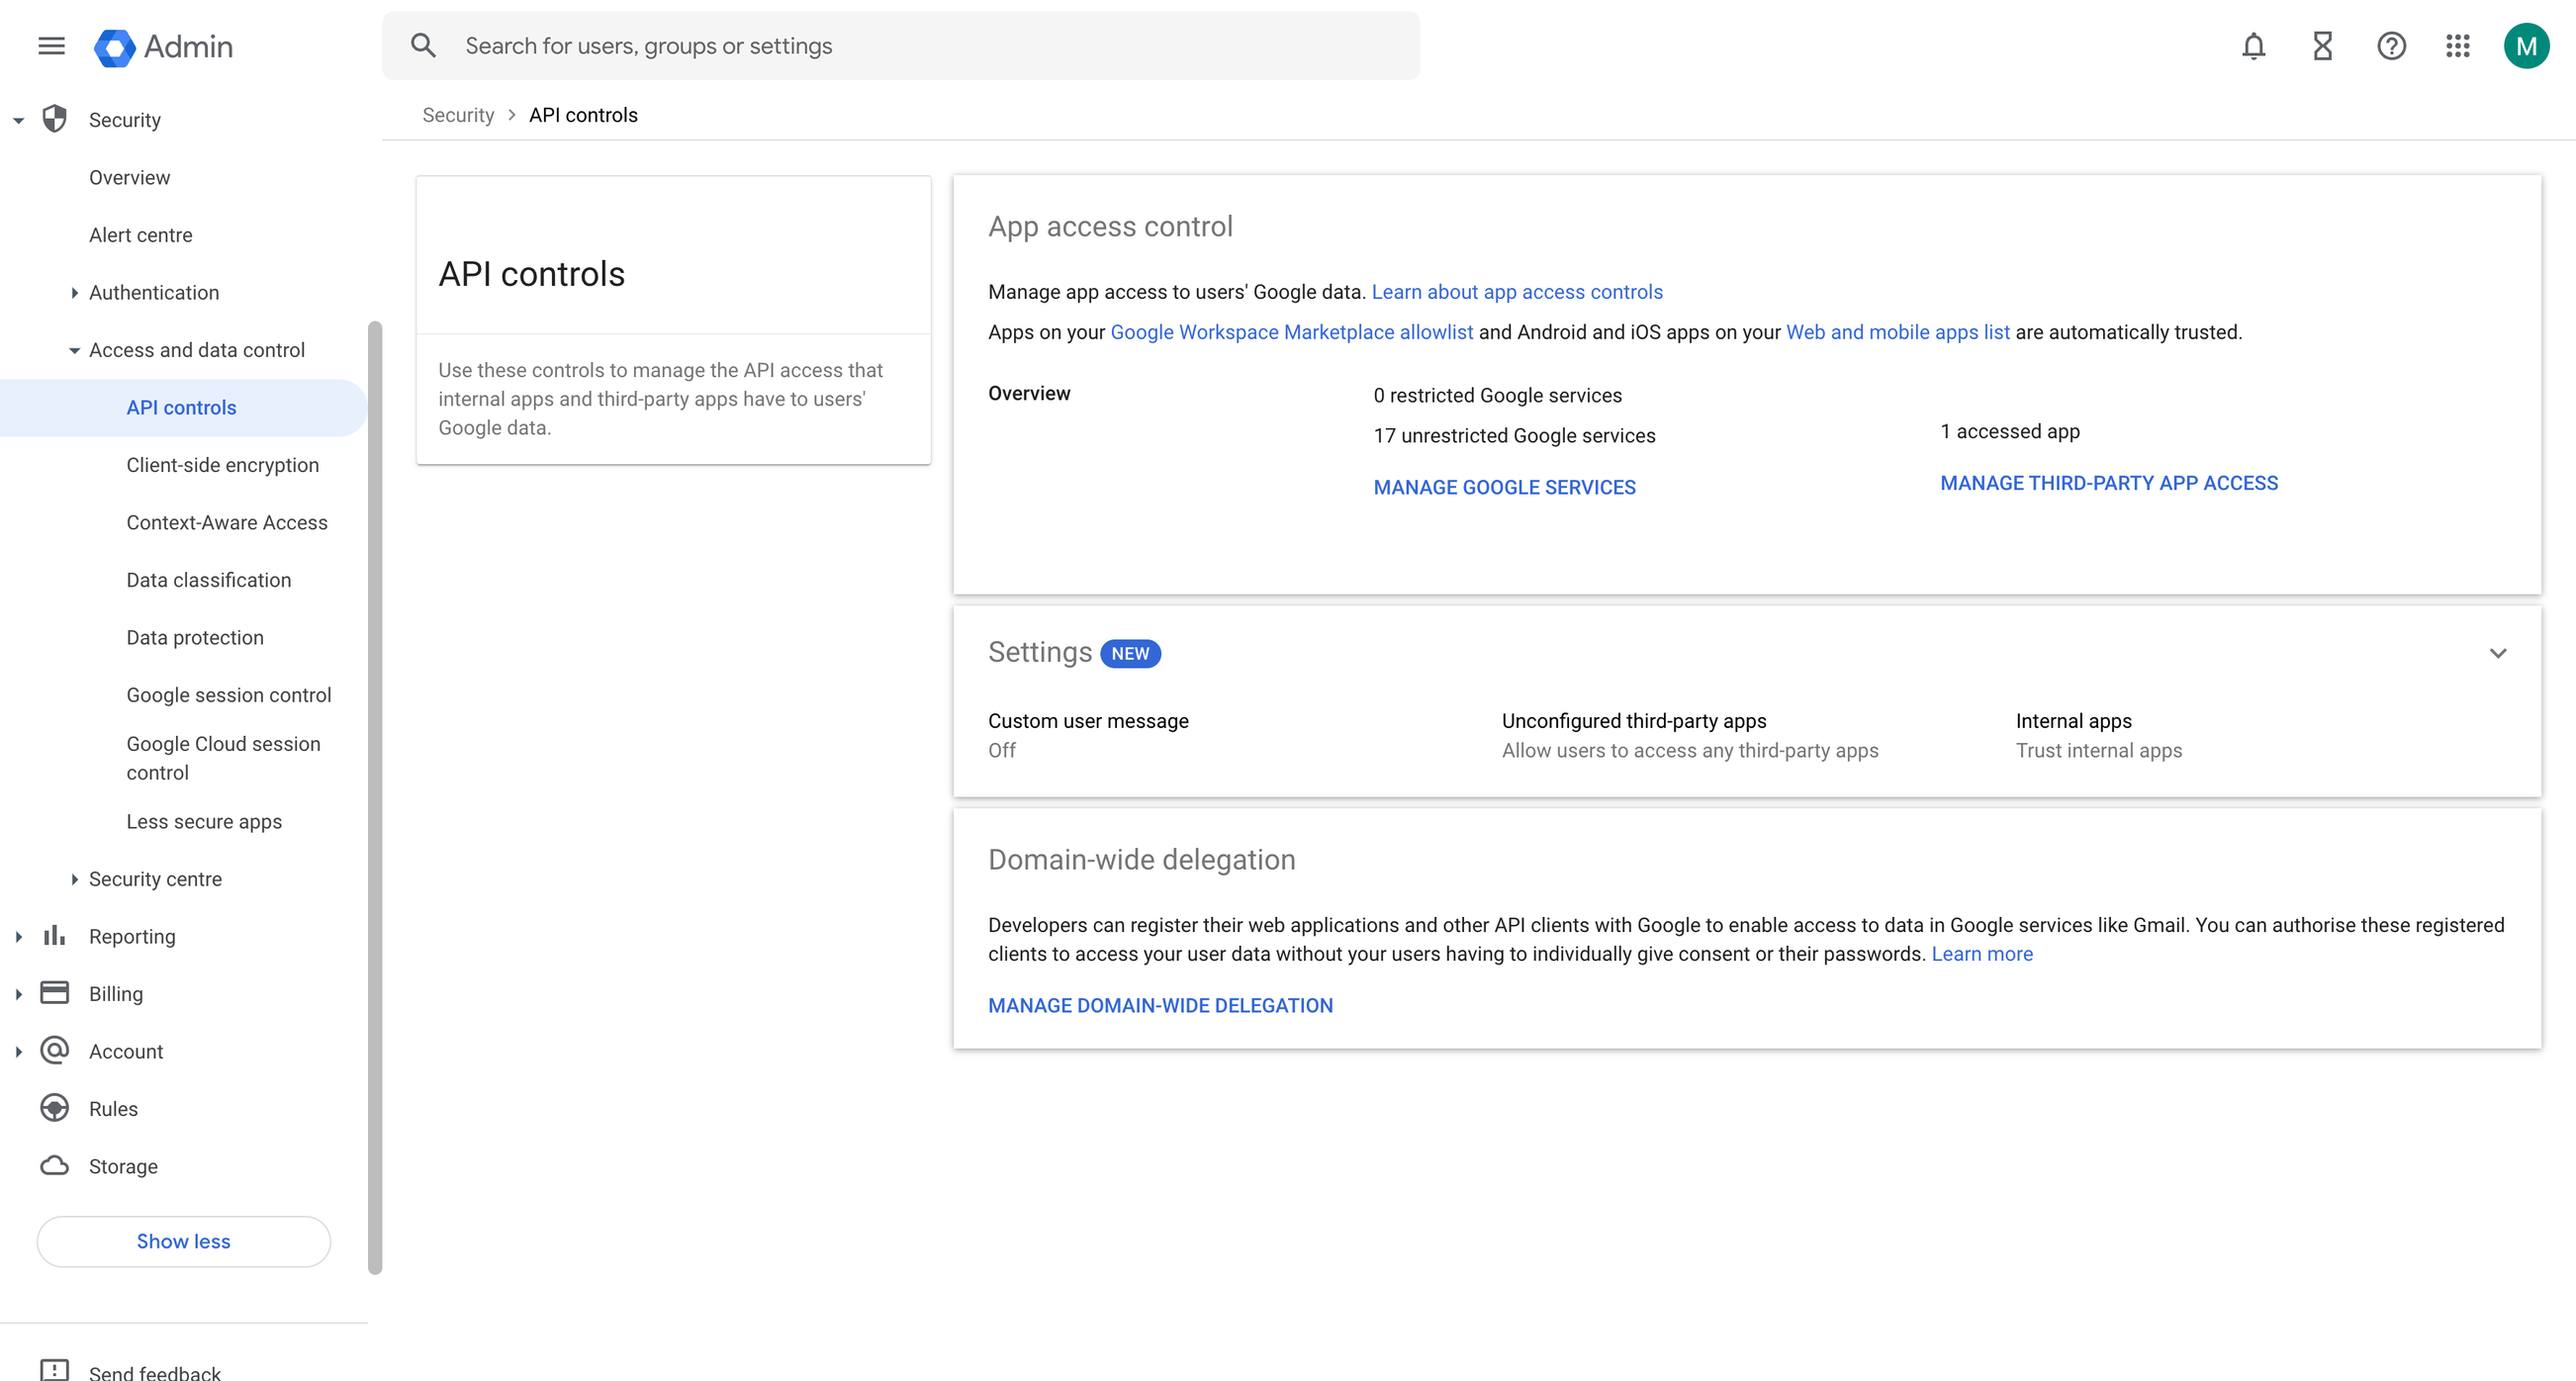
In the Domain-wide delegation page, select Manage Domain-Wide Delegation.
Click Add New.
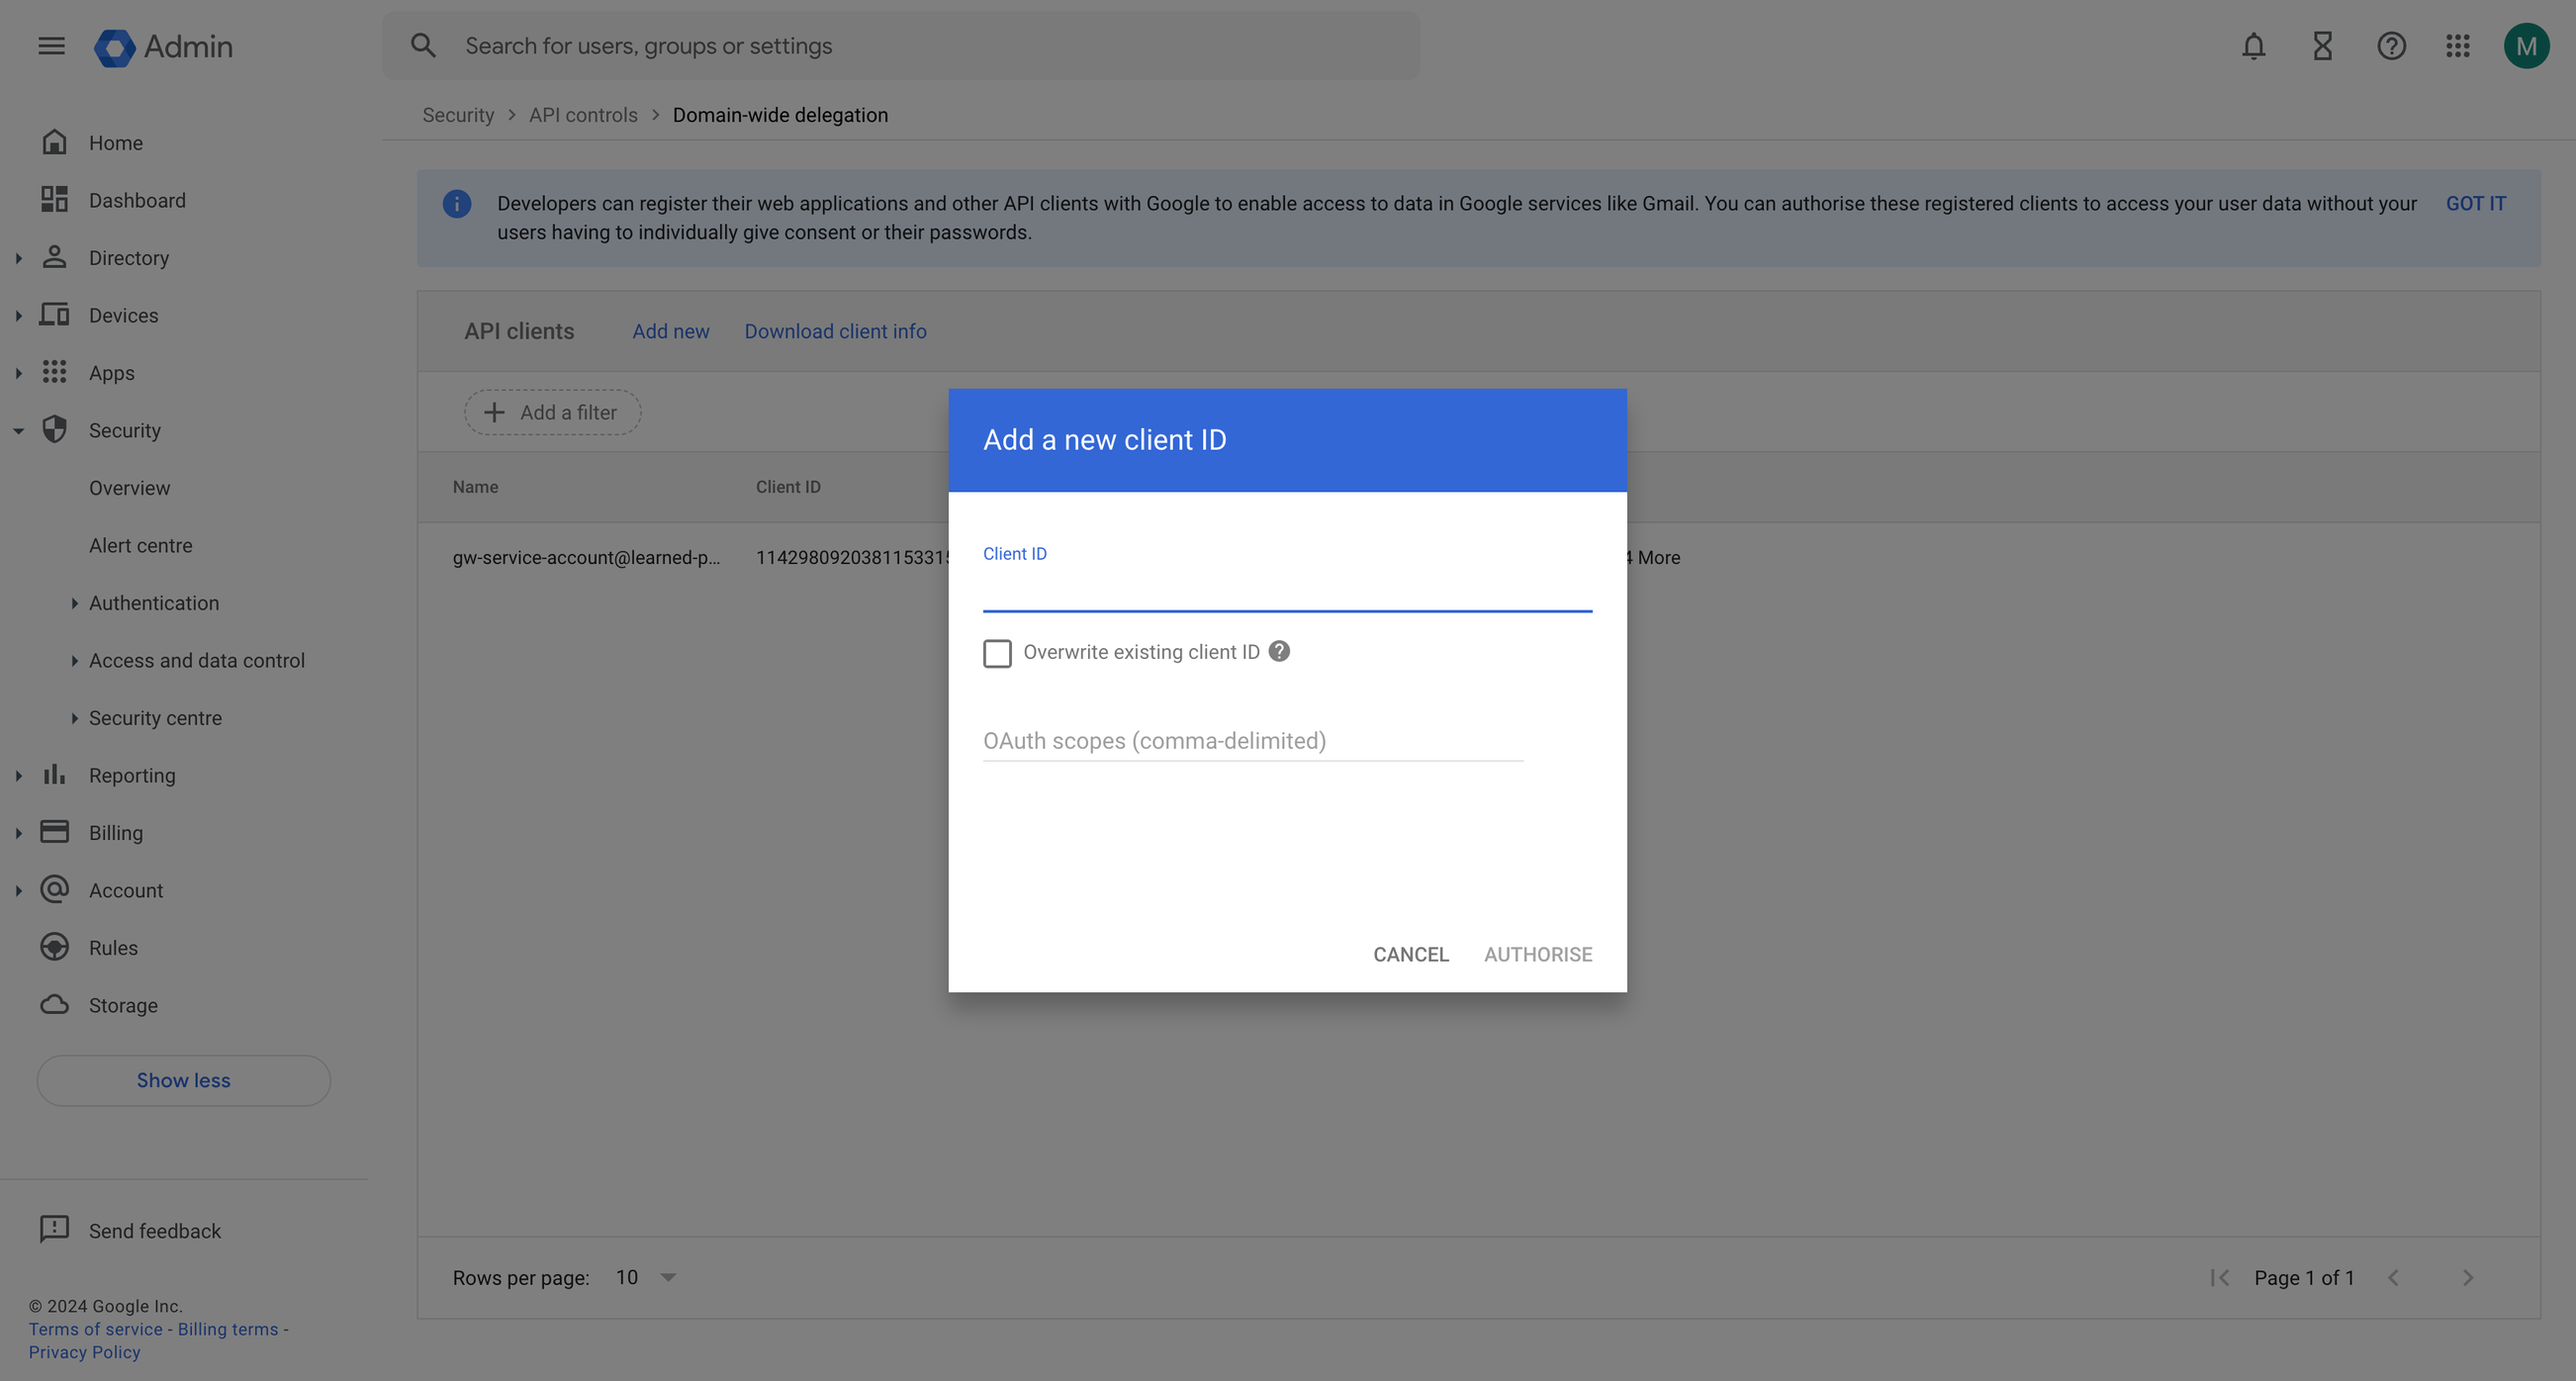
Go to GCP > Enter the service account's Client ID. You can find your service account's client ID on the Service Accounts page.
In the OAuth scopes (comma-delimited) field, Add the following:
Configuring the Google Workspace integration
Sign in to SAFE and navigate to integrations.
Click the Google Workspace card and go to the configuration page.
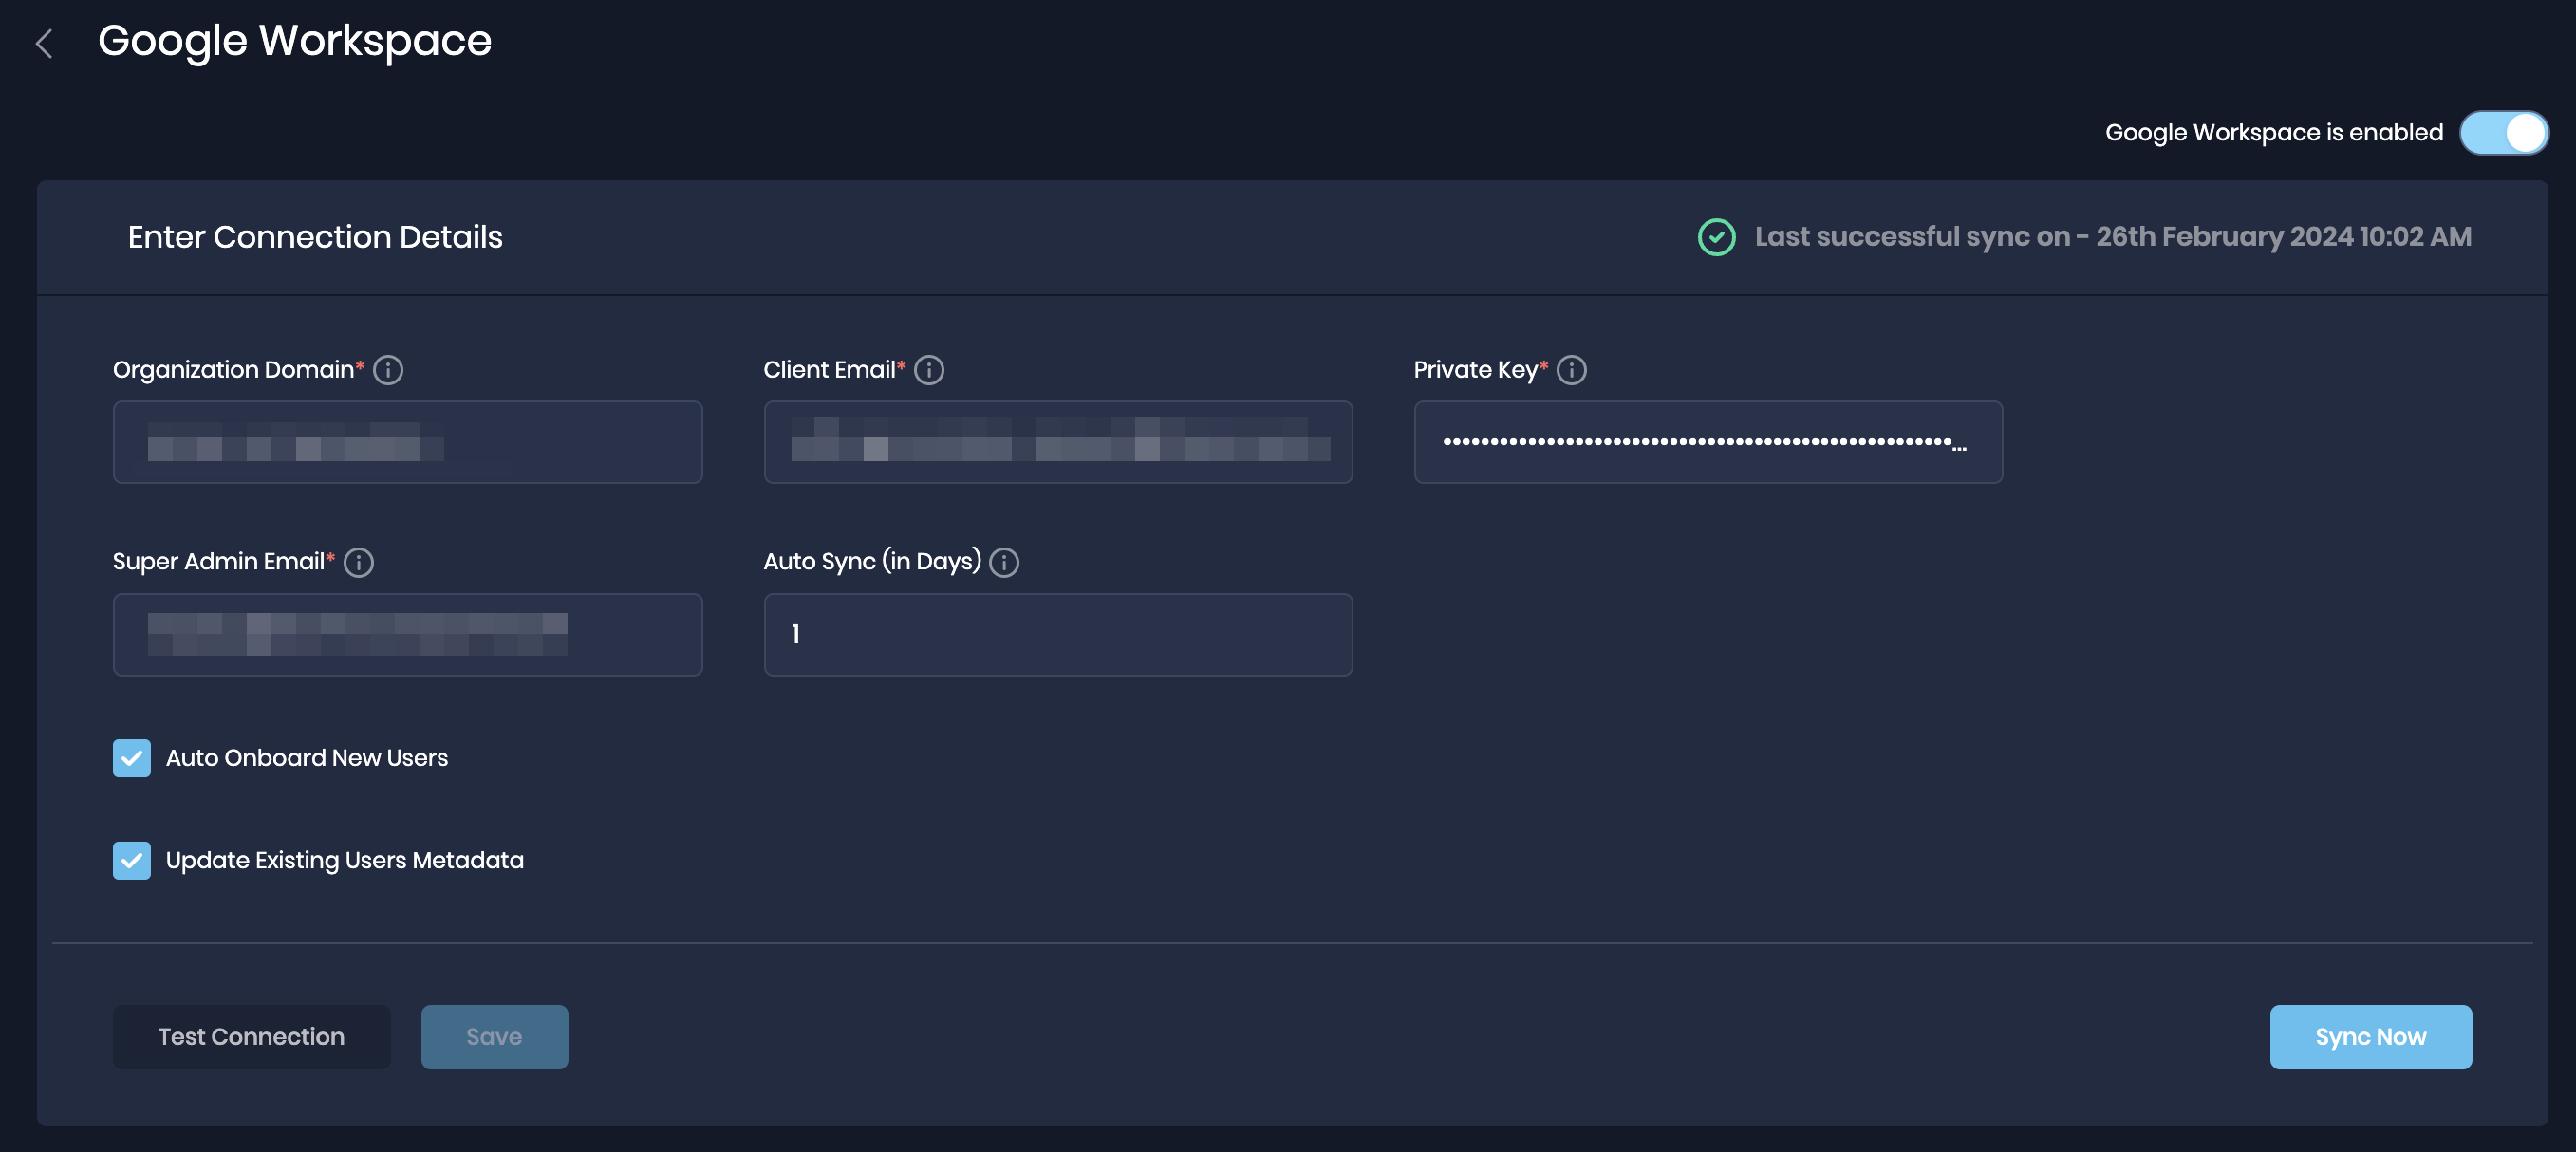
Enter the connection details:
Organization Domain - This is the organization's domain from which to sync the data.
Client Email - This is the client email ID of the service account.
Private Key - The private key of the service account (All the text in the private key field)
Super Admin Email - The email ID of the super admin of the organization (This administrator account must have the Super Admin Role. Note - This account will only be used to delegate access to read specific metadata only)
If required, mark the "Auto Onboard New Users" and the "Update Existing Users Metadata" checkboxes.
Click the Test Connection button.
Once the connection is verified, click the Save button to save the configuration.
Click the Sync Now button available at the bottom-right corner of the screen.
View Results
Finding View and Asset Views are availabe on the integration page.
Findings View: This tab displays all the findings details pulled from the Google Workspace.
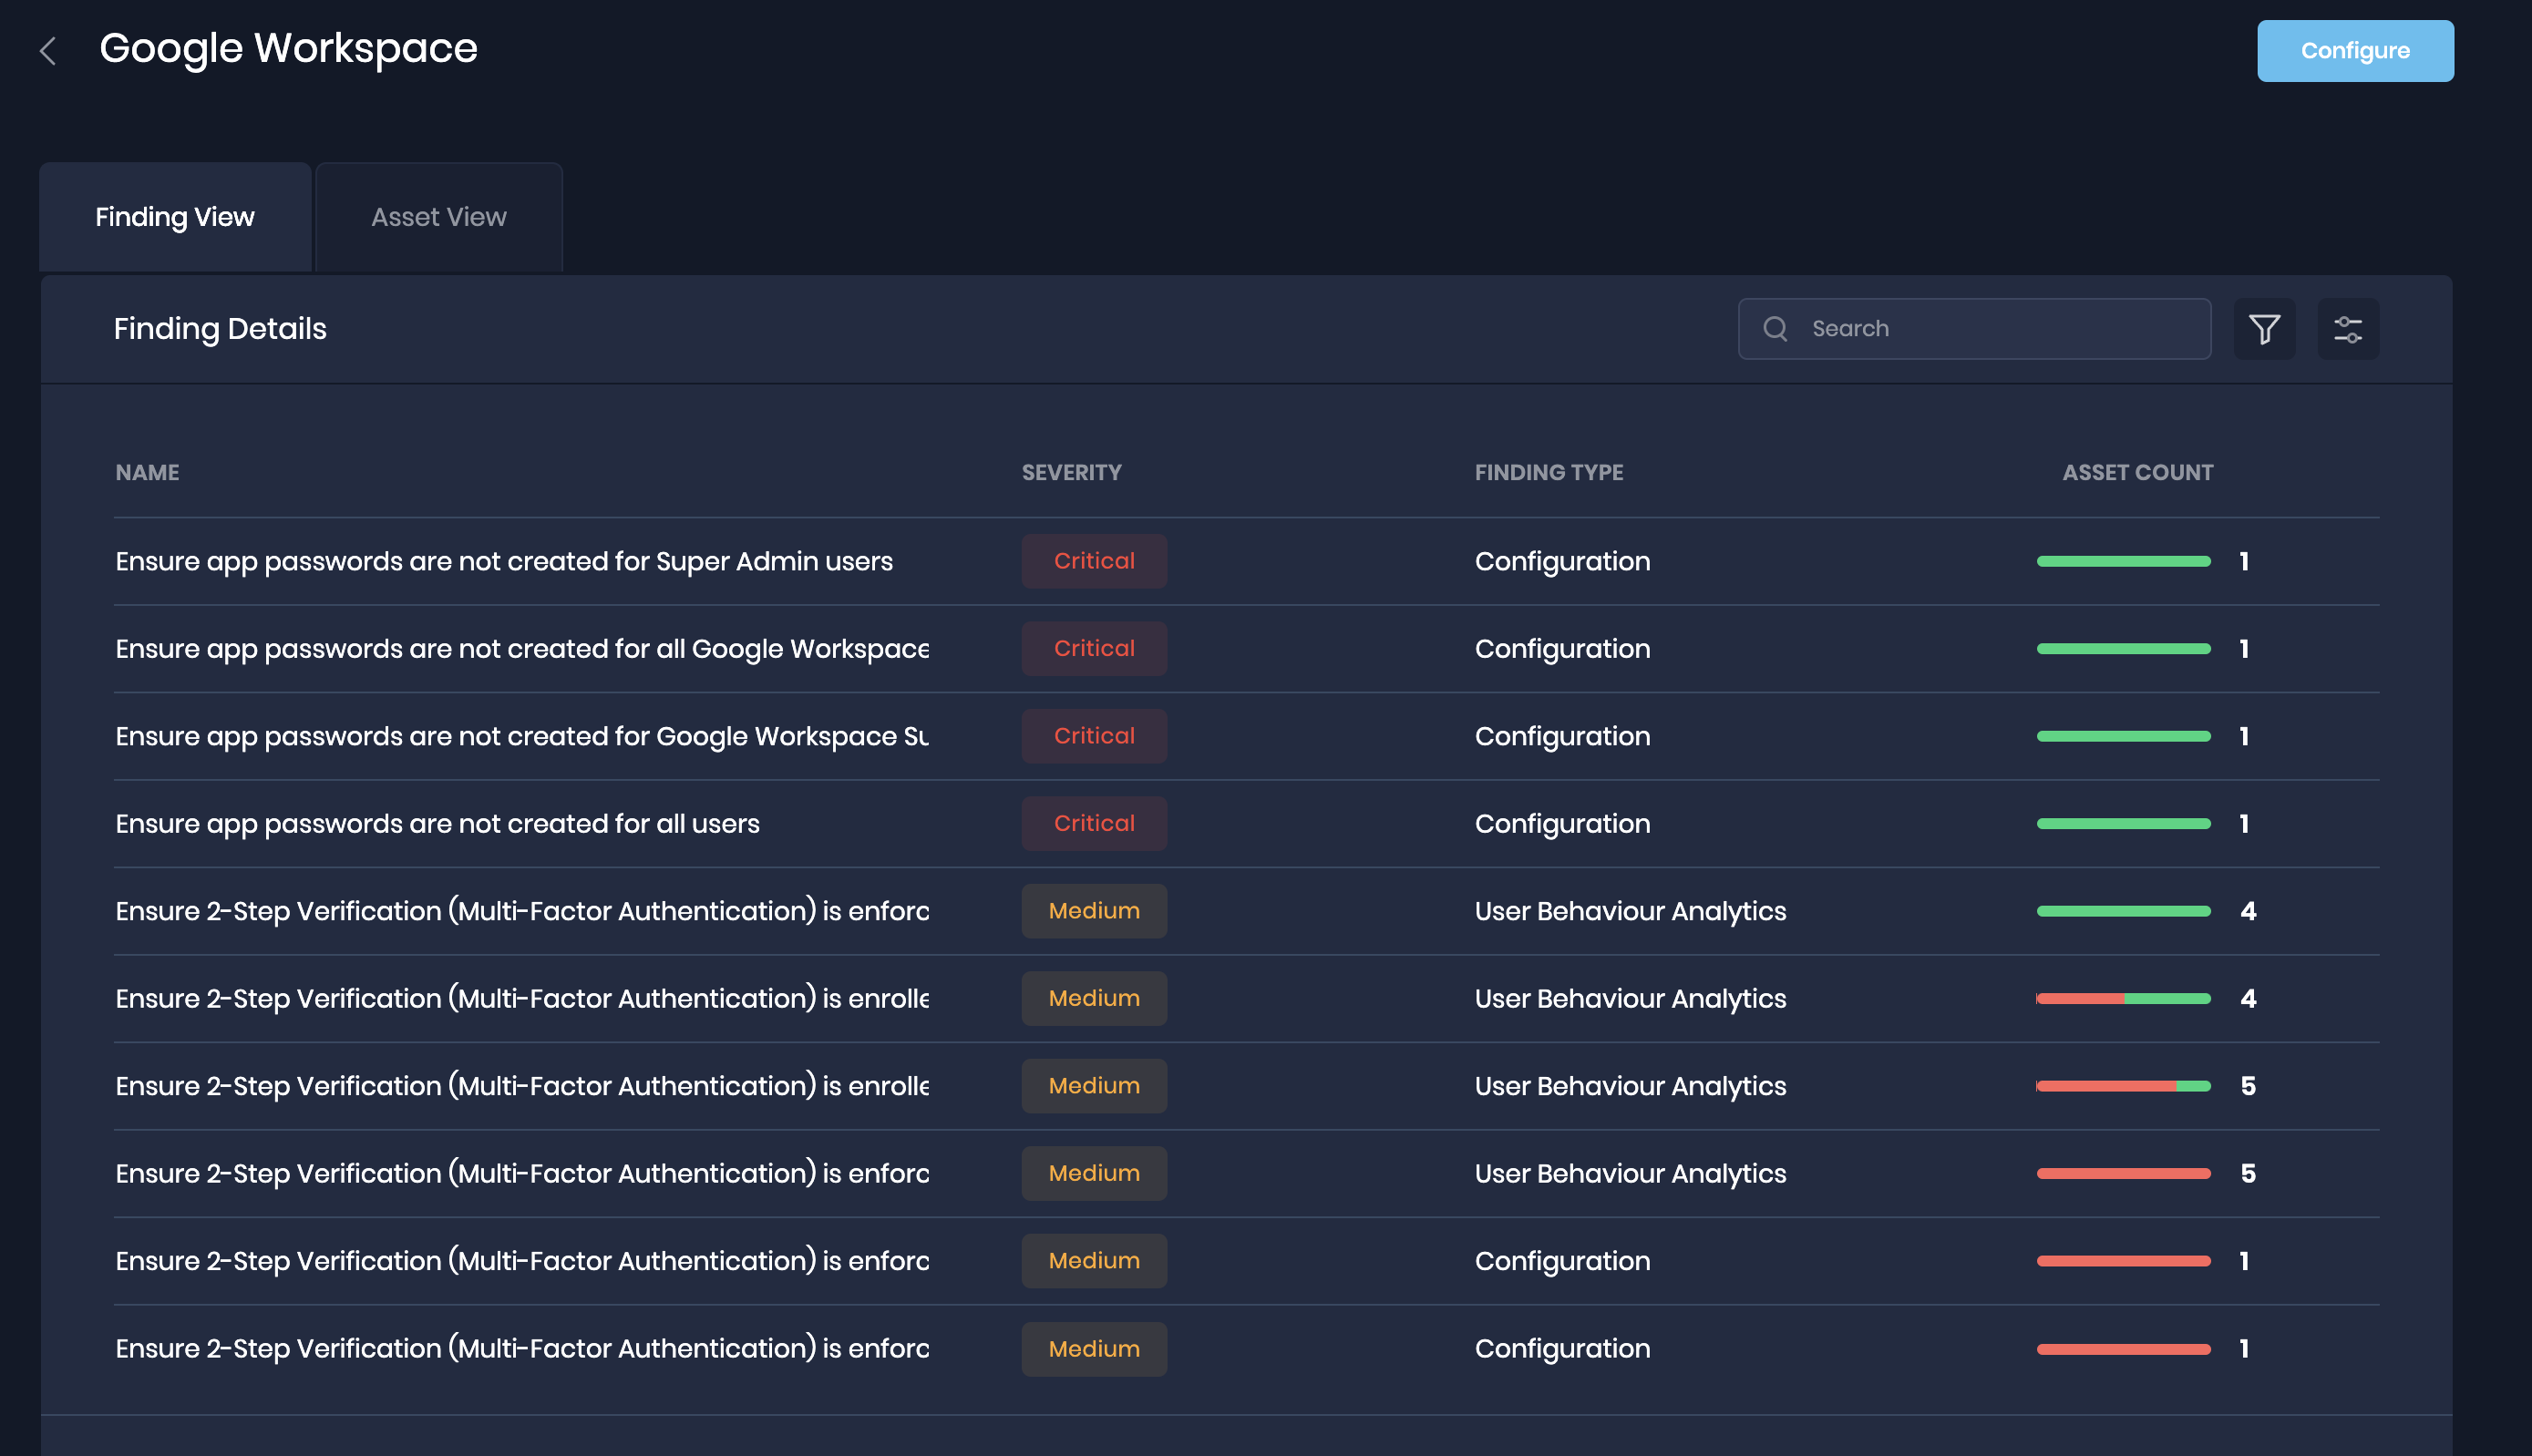
Assets View: This tab displays all the assets pulled from Google Workspace.
FAQs
How can I check the Sync status for Google Workspace Integration?
To view the information related to any saved configuration GET /integrations/:instance_id can be used. It will return all config fields except the fields which are encrypted using the "sensitiveFields" array. It will also return the information regarding the config state and the current Sync status.
What are the possible values of the state of Google Workspace sync?
The following are the possible values for the sync stage:
What is the use of the Auto Onboard New Users flag?
The "Auto Onboard New Users" flag facilitates the automatic inclusion of users from Google Workspace. Furthermore, the retrieval of findings from both the Calendar API and Gmail API occurs exclusively when this flag is enabled. Conversely, if the flag remains unchecked, the retrieval findings related to these APIs are bypassed.