About this document
This document provides a step-by-step guide to onboard the GCP - Security Command Center into SAFE via UI.
Note:
This integration only supports the standard policies or templates in the source product for use in Risk Scenario calculations in SAFE based on their mapping to FAIR CAM controls.
Introduction
SAFE allows you to onboard and assess your GCP - Security Command Center assets. SAFE admins can configure the GCP integration in SAFE from the GCP - Security Command Center card availabe on the Intgerations page.
GCP configuration in SAFE in a 3-step process:
Generate connection details from the GCP console.
Enter and save connection details in SAFE.
Start assessment and view results in SAFE.
Info:
Please refer to the GCP onboarding via SAFE REST APIs for advanced integration.
Prerequisites
To configure GCP - Security Command Center in SAFE, you need the following privileges:
The user must have the SAFE Admin Role.
The user must have the Admin Role in the GCP console.
Note:
SAFE utilizes REST APIs to establish a connection with the GCP security command center and retrieve recommendations. To ensure the successful configuration of authentication and assessment, SAFE necessitates the use of REST APIs connecting through a workload identity federation pool in GCP. SAFE will retrieve and display recommendations for the GCP assets in the Cloud-GCP technology group.
Generate connection details from the GCP console
Create a Project
Log in to the Google Cloud Platform console at https://console.cloud.google.com.
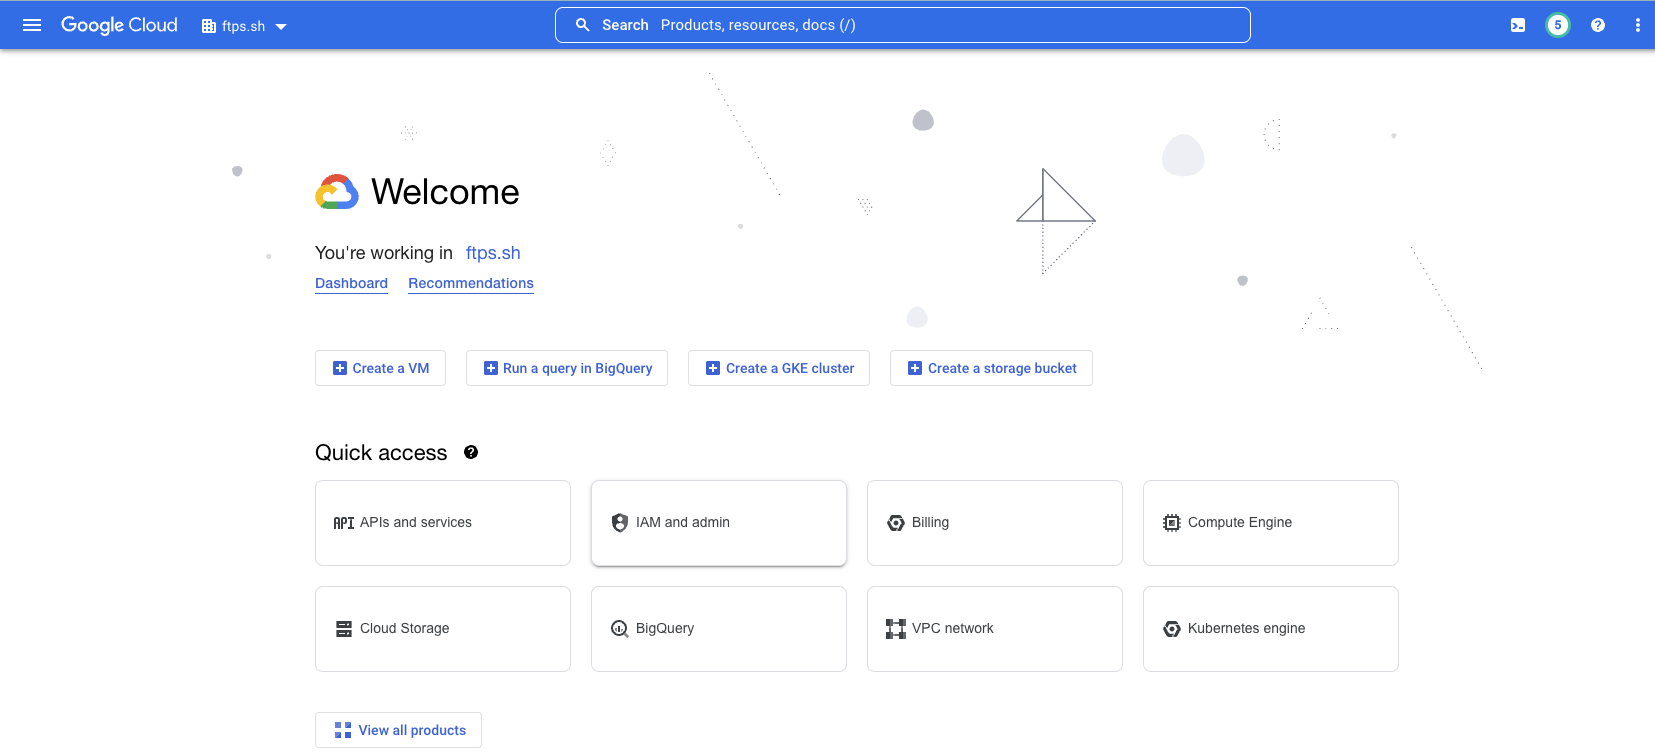
Click the dropdown menu at the top of the page. (To the right of where it says "Google Cloud")
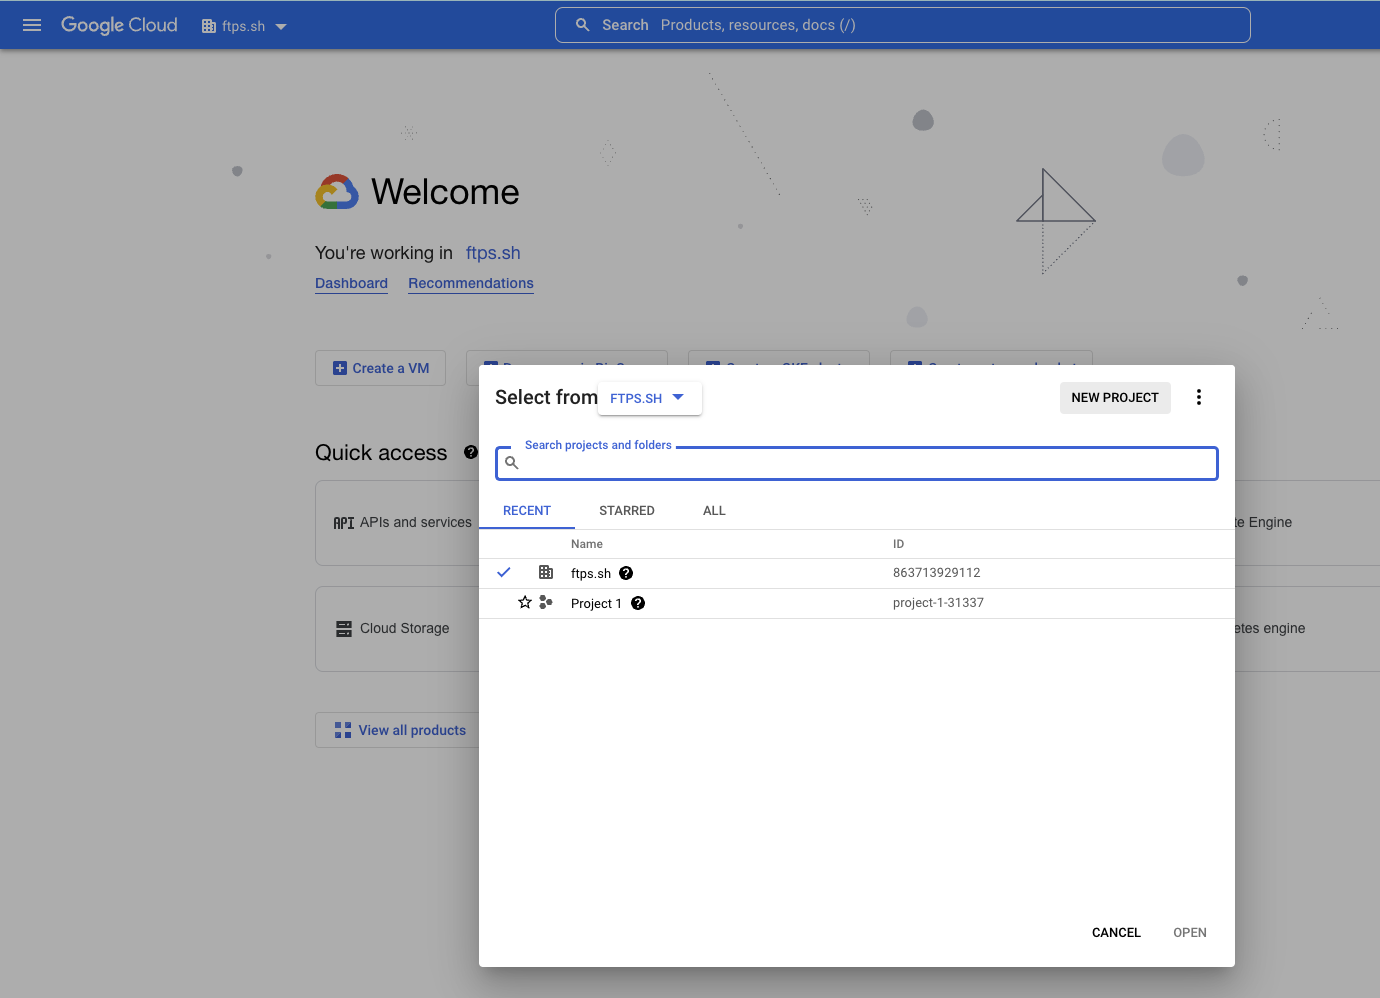
In the pop-up, click the NEW PROJECT button in the top right.
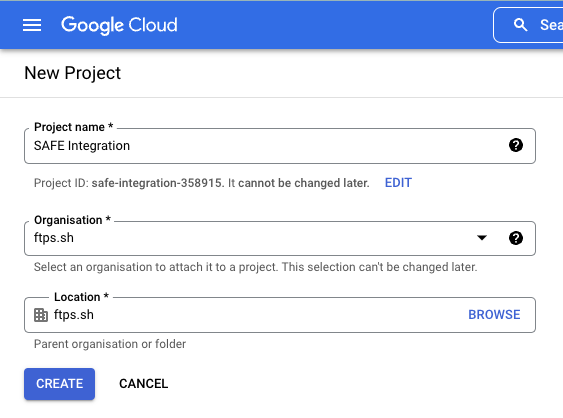
Enter a Project name.
For example: "SAFE Integration"
Select the Organization and Location.
Note:
When creating the project, you can put the project anywhere as per your company's convention. However, while setting up the permissions, the project must go in at the Organization level.
Click the CREATE button.
After the project is created, there will be a pop-in with a link to open the project. Click that link or select the project in the drop-down at the top to move to the next step.
Enable API Services
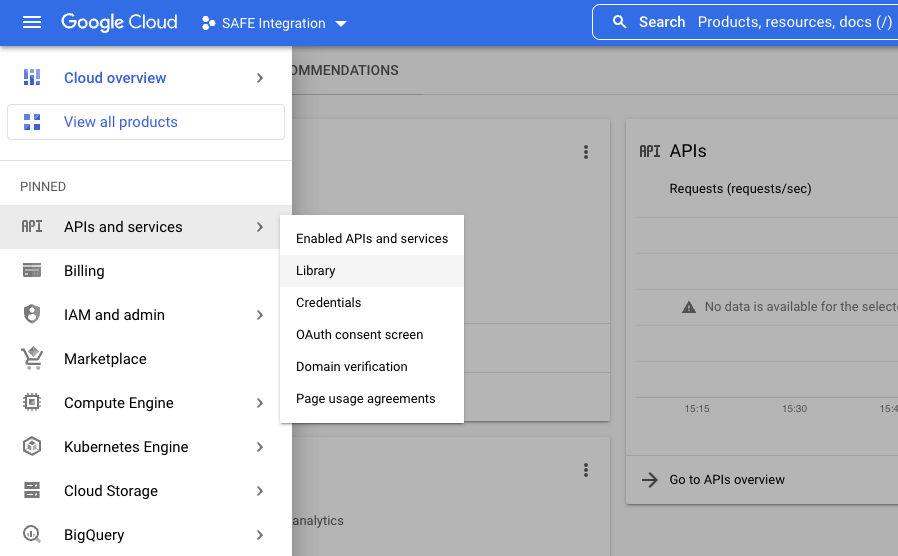
Click the navigation menu available at the top left corner of the screen.
Navigate to APIs & Services > Library.
Option may be hidden
If the APIs & Services option is not pinned, click the "View all products" option and scroll down to find the APIs & Services option.
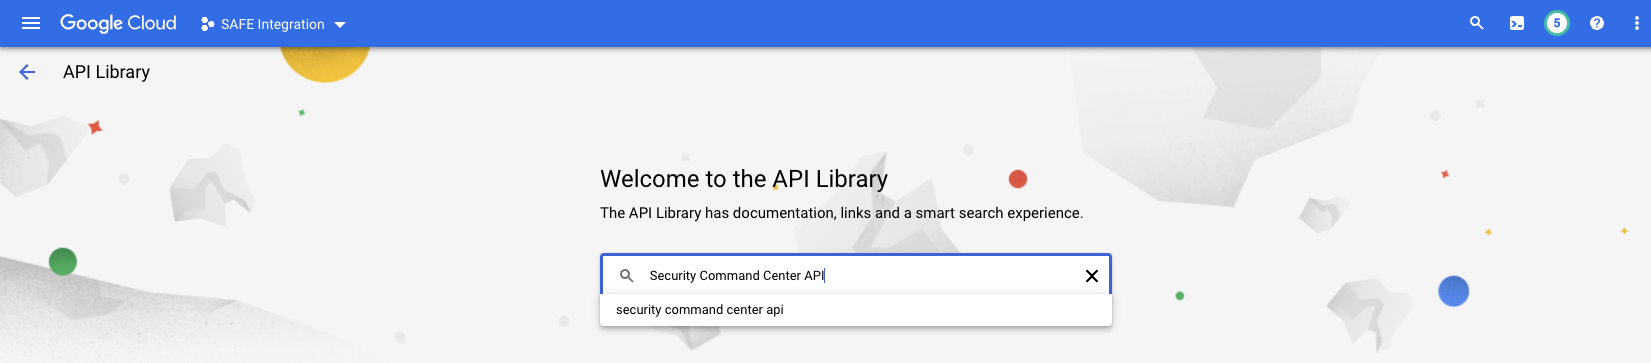
Search for Security Command Center API and click on Security Command Center API from the search results.

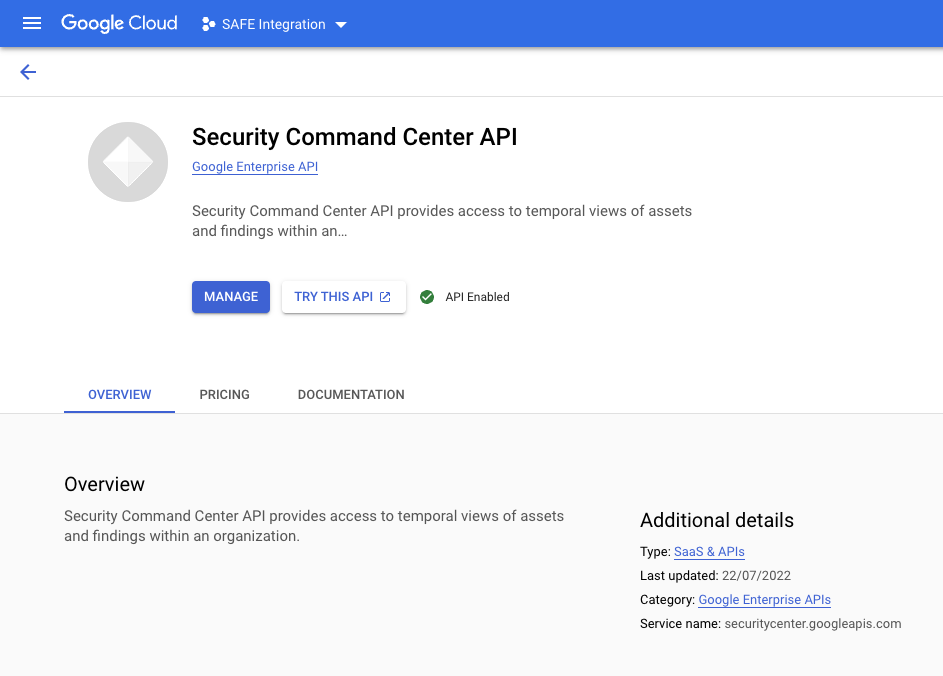
Click the ENABLE button to enable the API for this project.
Once the process completes, it can be verified by revisiting the page.
The page displays the label "API Enabled."
This process needs to be repeated for all 5 or the required APIs.
Security Command Center API (Completed above)
Cloud Resource Manager API
Security Token Service API
IAM Service Account Credentials API
Cloud Asset API
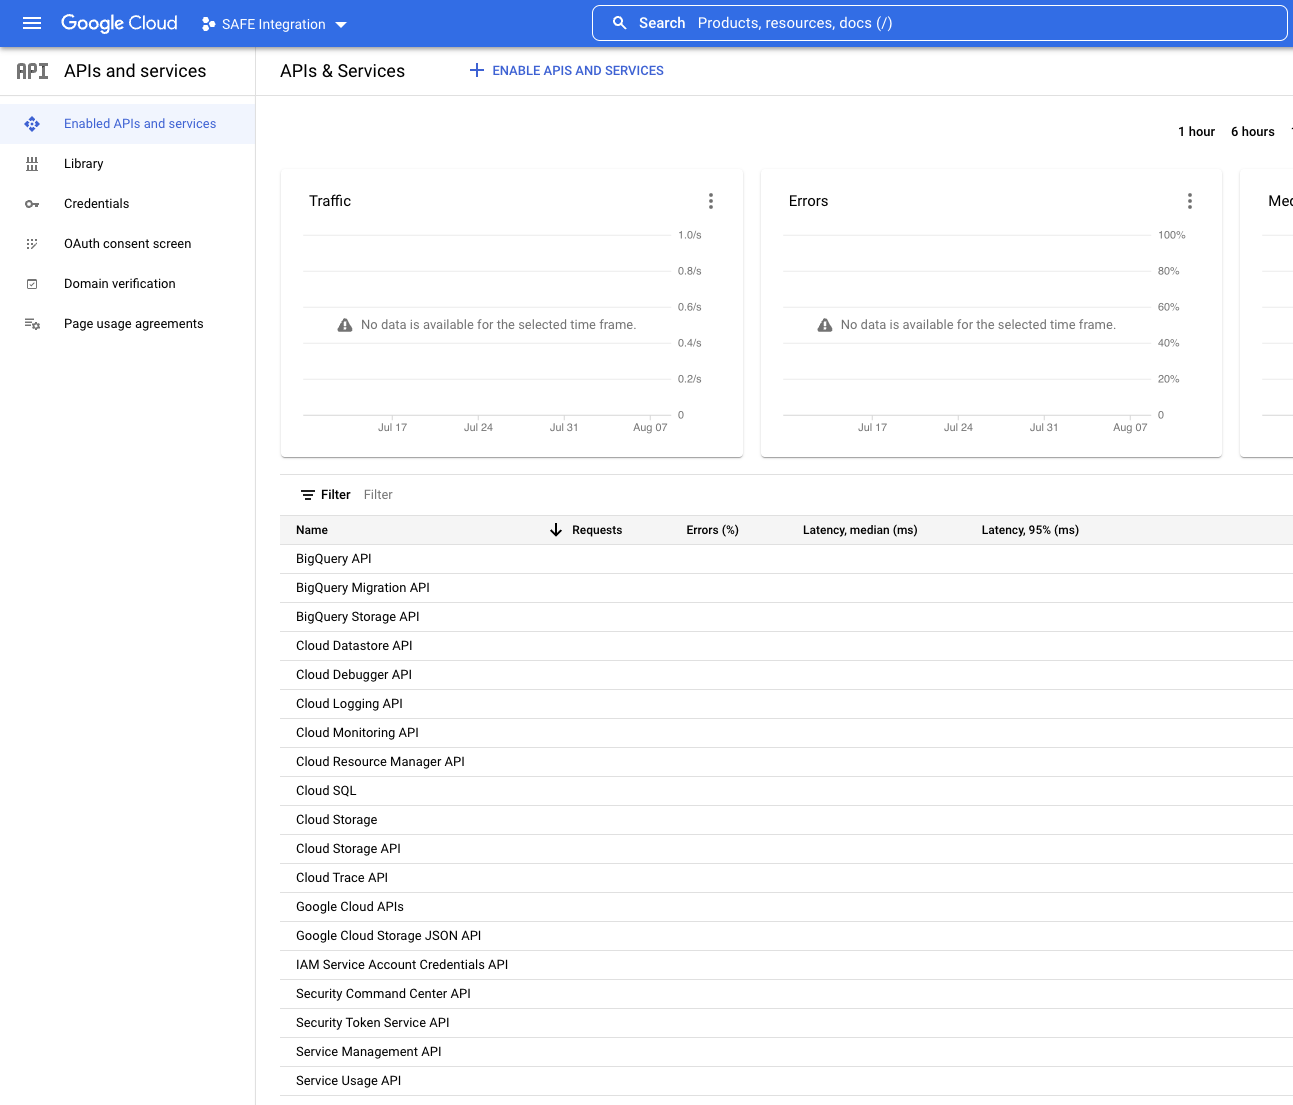
To verify that all the required APIs have been enabled, go to the Enabled APIs & services page and check the table at the bottom of the page for the names of these 5 APIs.
Create a Custom Role
We need to create a custom IAM role at the organization level that can be assigned to the service account of the project used for SAFE to enable SAFE to read the organization’s Security Command Center findings.
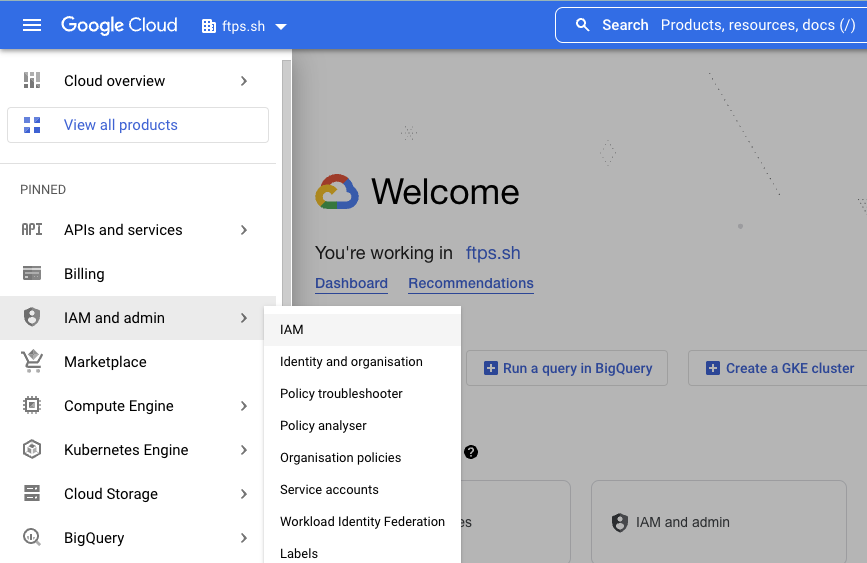
Click the navigation menu available at the top left corner of the screen.
Navigate to IAM and admin > IAM.
On the IAM and admin page, click the drop-down at the top and ensure the parent Organization is selected.
Organization level
If the role is created in the wrong location, then this integration will not work. The role must be configured at the Organization level. This is so that the permissions are inherited, and SAFE will be able to retrieve the information required. If the role is created inside the Project, then the assessments will not work.
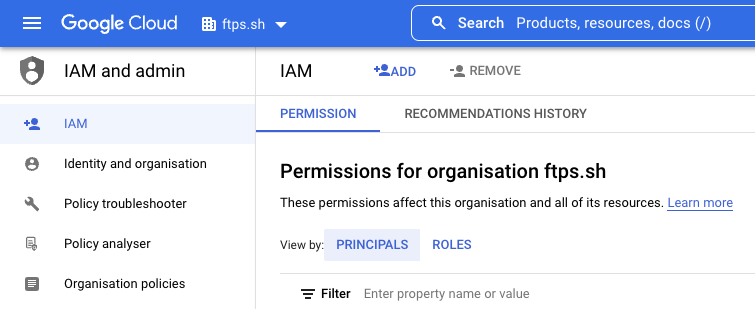
Click Roles from the left navigation bar.
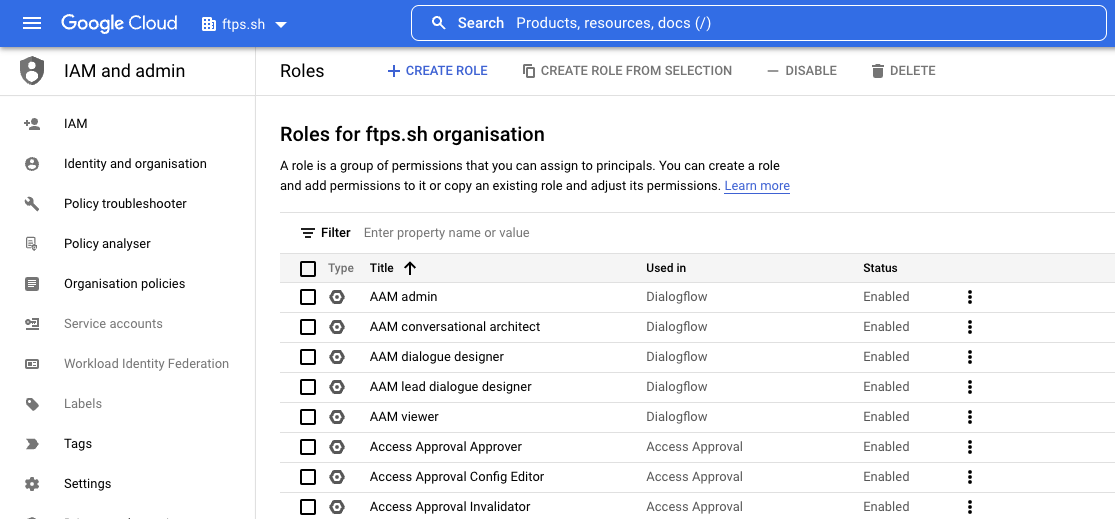
Click the CREATE ROLE button at the top to create a custom role.
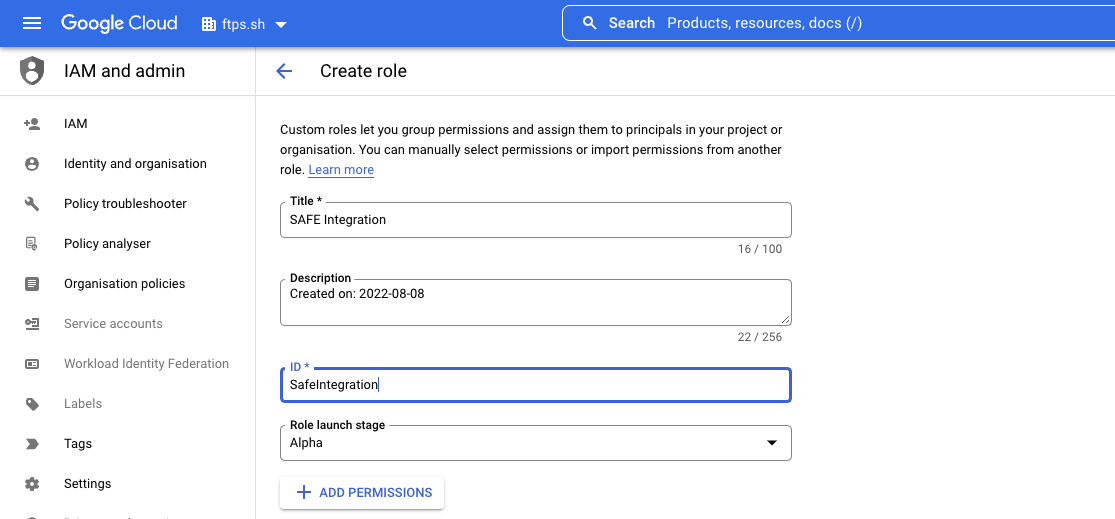
On the Create role page:
Enter a Title for the role.
Change the ID if needed.
Click the ADD PERMISSIONS button.
In the Add permissions pop-up, enter the following list in the filter box one by one. Select the checkbox in the search result for the matching result(s), then click the ADD button. Repeat the process for each permission:
resourcemanager.organizations.get
resourcemanager.projects.get
securitycenter.findings.list
securitycenter.securityhealthanalyticssettings.calculate
cloudasset.assets.searchAllResources
Quick tip
To save time opening a new pop-up for each item, you can use an OR operator to add all the options at once.
.png)
Once all the permissions mentioned in the previous step are added, click the CREATE button.
The new role will now be visible under the list of roles on the IAM Roles page at https://console.cloud.google.com/iam-admin/roles under the Organization view.
Create a Service Account
Note:
Change the project created for SAFE (refer section 1.1) from the drop-down at the top. The goals of this step is to create a service account under SAFE’s project and link it back to the role created earlier in section 1.3 at the org level.
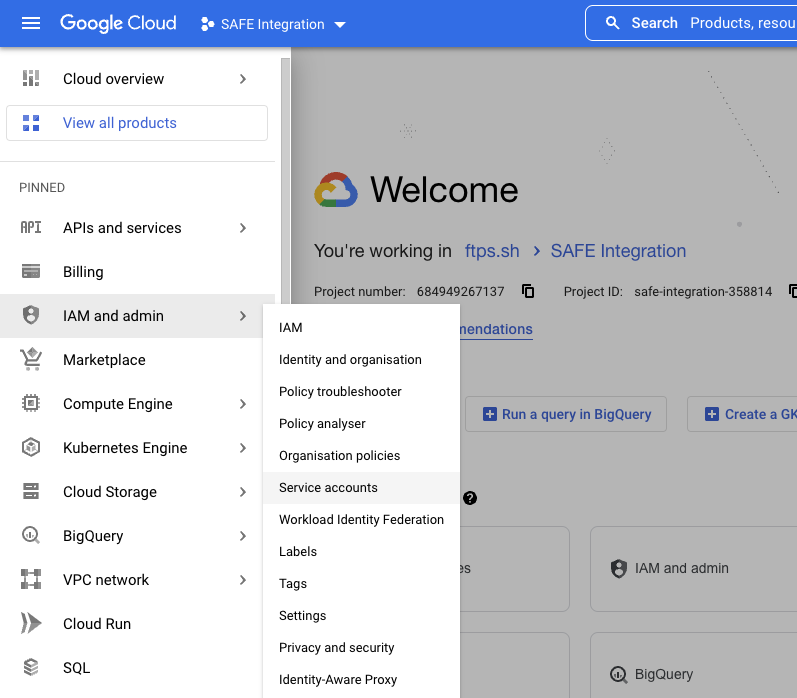
Click the navigation menu available at the top left corner of the screen.
Navigate to IAM and admin > IAM.
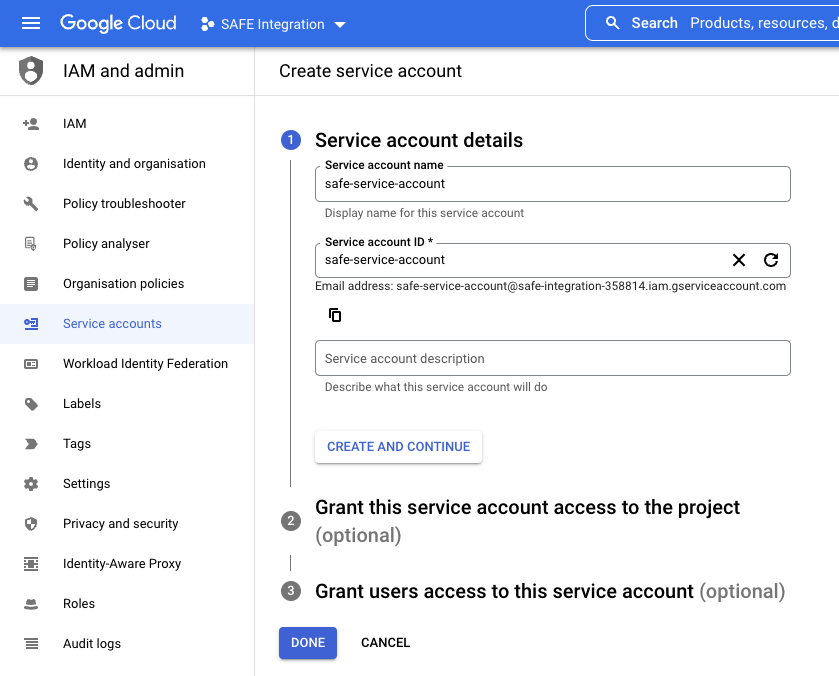
At the top, click the CREATE SERVICE ACCOUNT button.
Enter a name for the service account and click CREATE AND CONTINUE.
Under the Grant this service account access to the project section, select the custom role created previously from the drop-down, and then click CONTINUE.
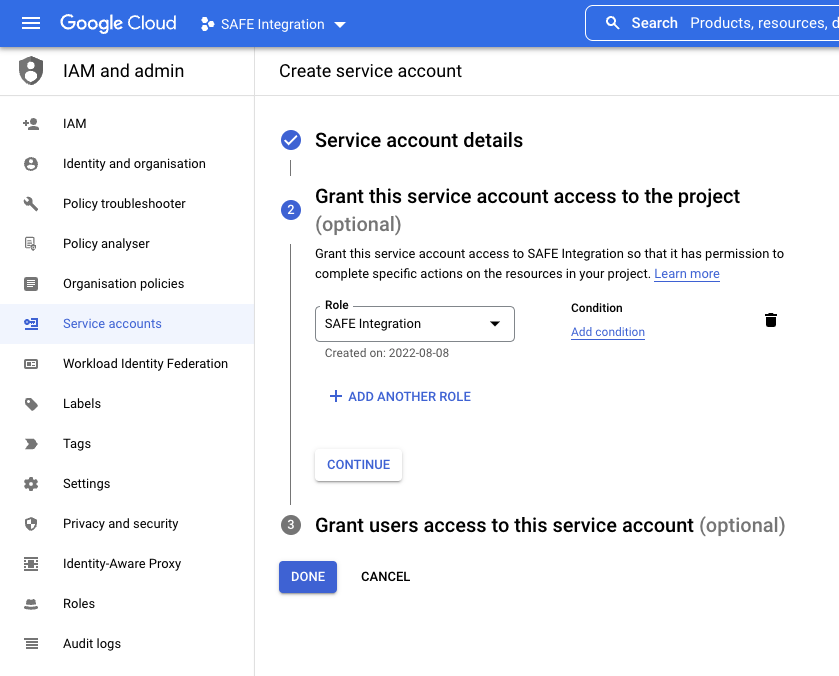
Under Grant users access to this service account, click DONE to complete the process.
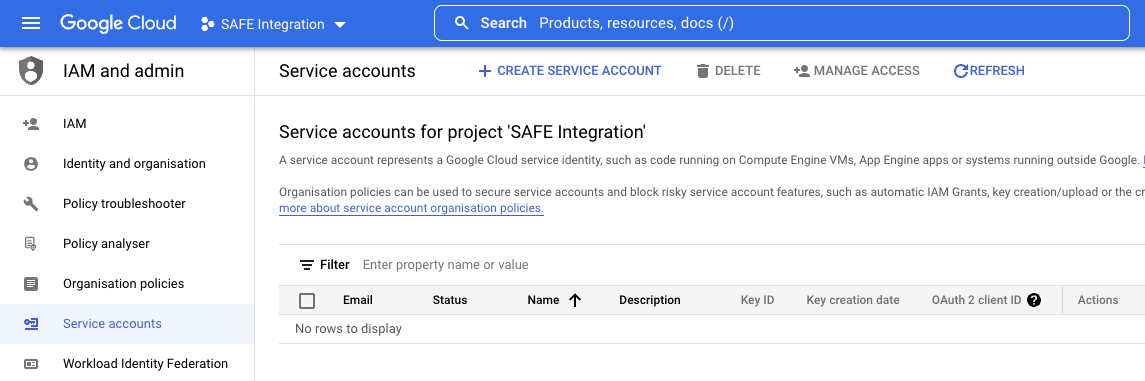
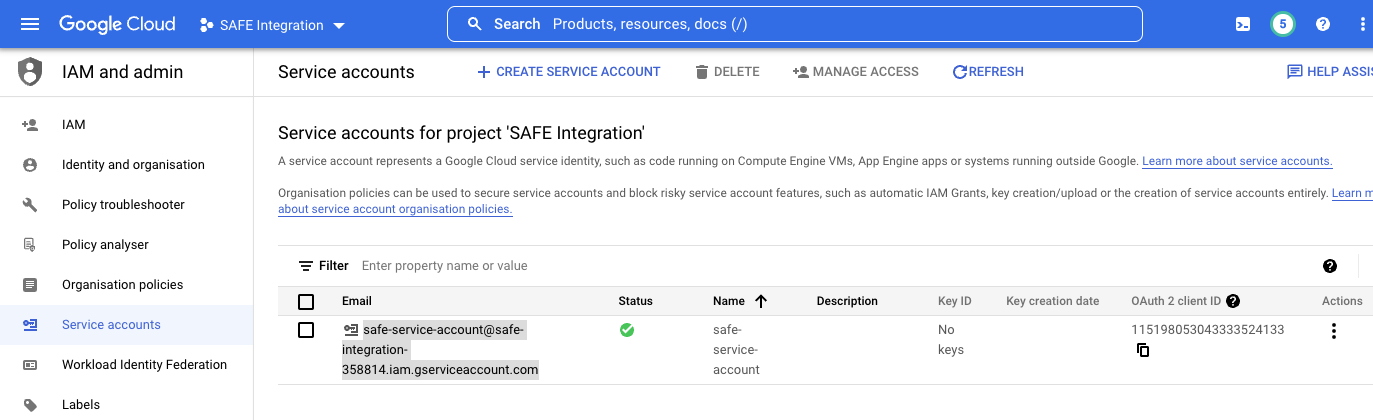
The new service account should be present under the list of service accounts for the project at https://console.cloud.google.com/iam-admin/serviceaccounts.
Copy the value for Email as you will need this later.
Click IAM in the left navigation bar.
At the top of the table, make sure View by: PRINCIPALS is selected and not ROLES.
Click the drop-down at the top and ensure the parent Organization is selected.
Note:
Change the organization to the parent organization for the next steps.At the top of the page, click the ADD button.
Enter the email from step 7 in the New principals field (You can also type and search for it if you prefer).
Under Role, select the role created earlier in section 1.3.
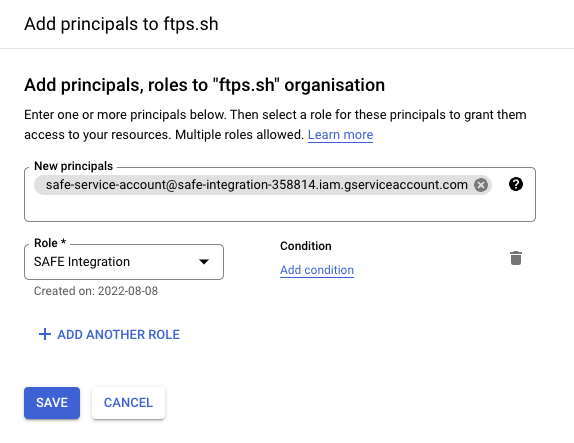
Click SAVE.
The new service account can now be seen in the IAM principals table at the Organization level - https://console.cloud.google.com/iam-admin/iam.
Create a Workload Identity Federation Pool
Click the drop-down at the top and select the project you created for SAFE.
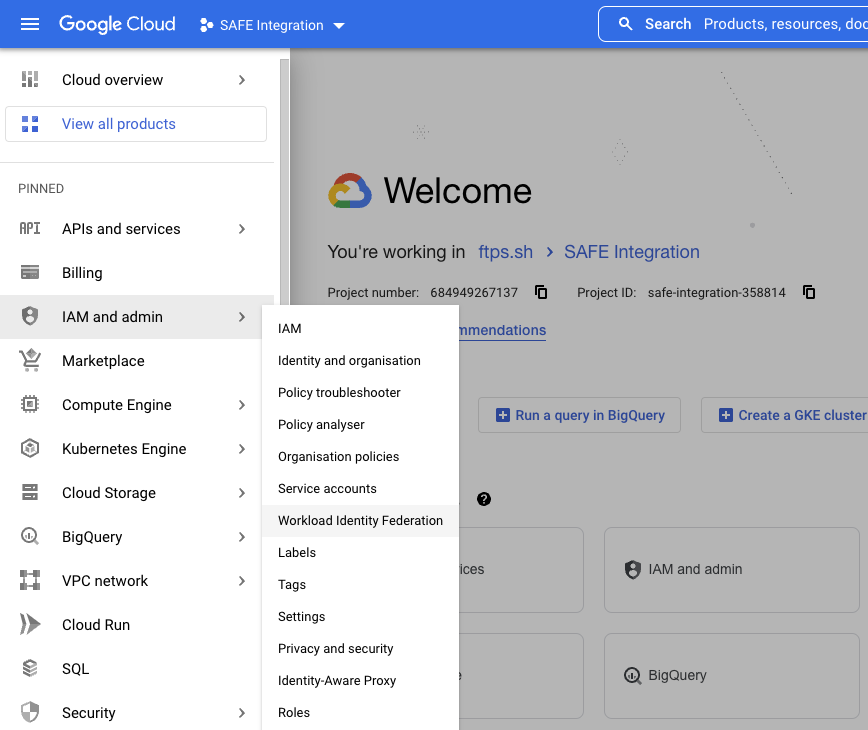
Click the navigation menu available at the top left corner of the screen.
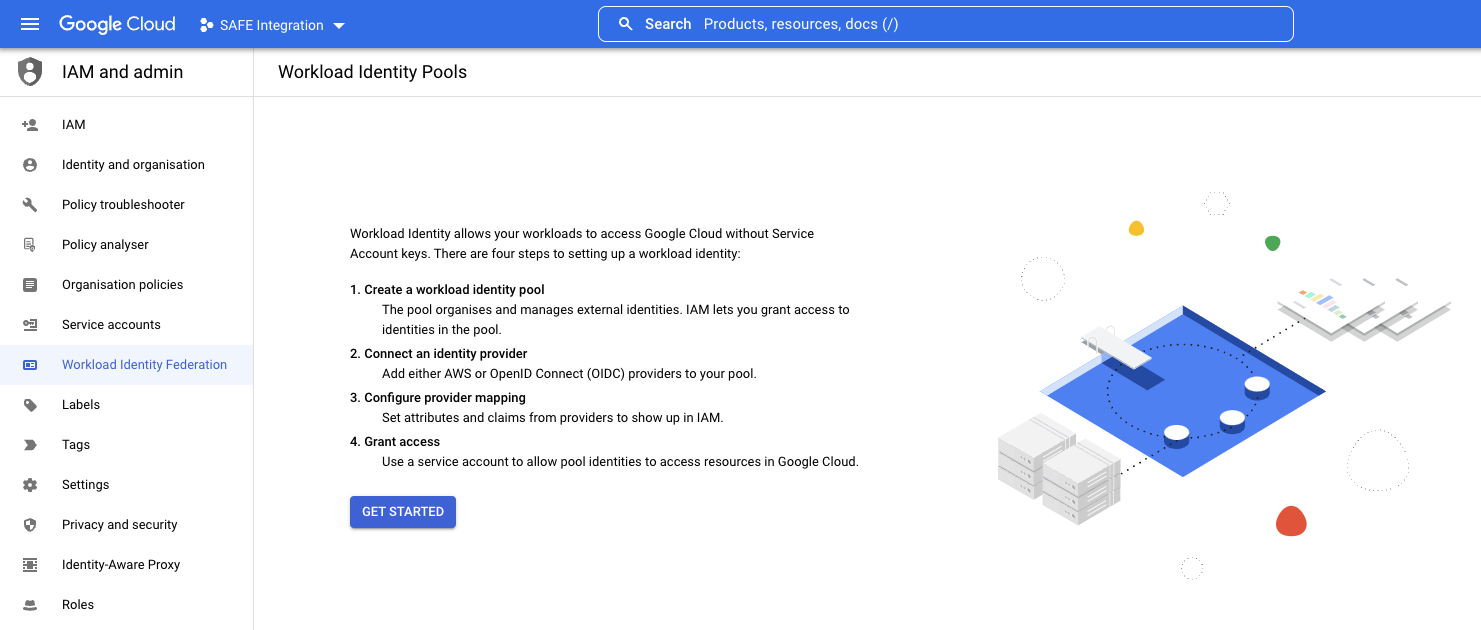
Navigate to IAM and admin > Workload Identity Federation.
Click GET STARTED.
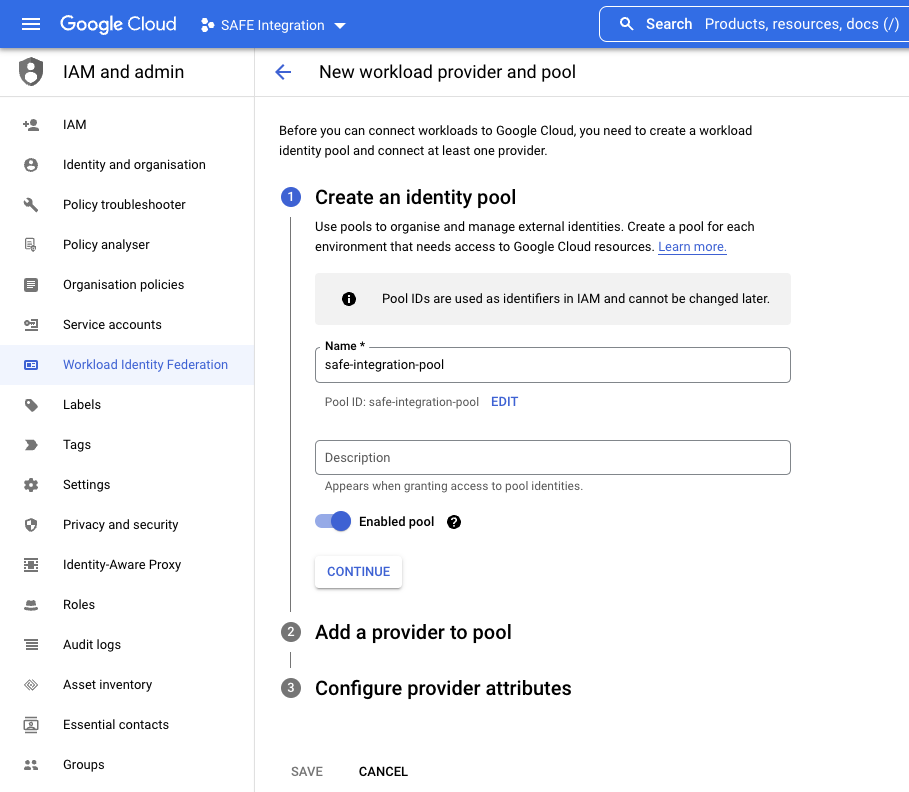
Enter a Name and Description.
Ensure Enabled Pool switch is enabled.
Click the CONTINUE button.
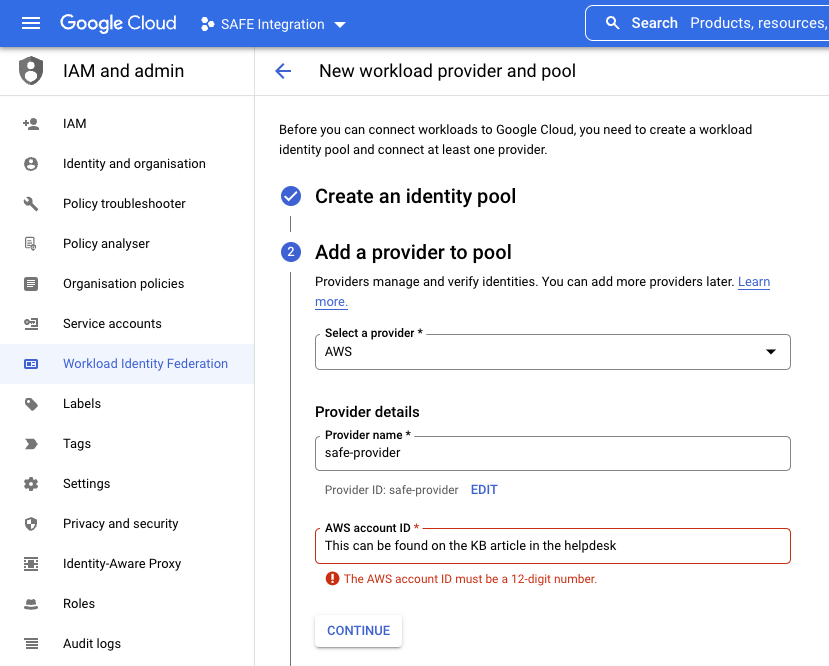
In the Select a provider drop-down, select AWS.
Enter a Provider name and Provider ID.
Enter the Safe AWS Account ID as the AWS account ID.
You can access this ID by going to the private knowledge base article here.
To access this link, you will require a login to the Safe Helpdesk.
Do not use your own AWS ID
This is the Safe AWS ID. This is required to grant access from the Safe AWS infrastructure into your GCP account. Using any other AWS account ID here will result in the integration failing.
Click the CONTINUE button.
Under Configure provider attributes, click on EDIT MAPPING to display the additional settings
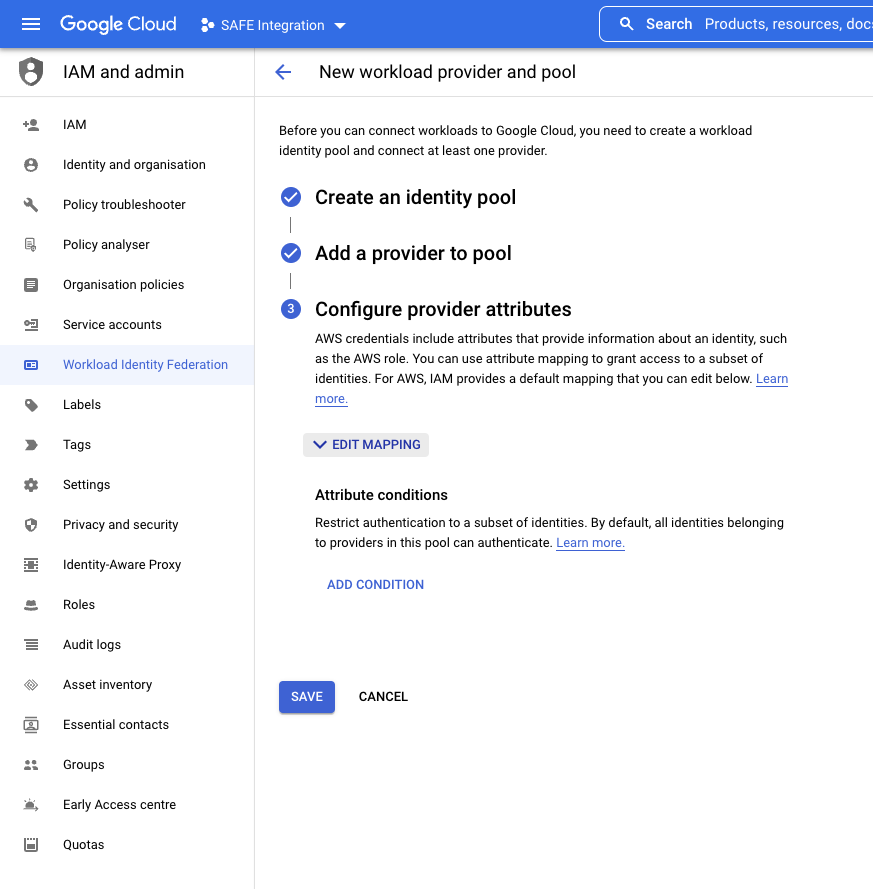
Change the value in the AWS box that maps with google.subject to
"safe". Also, keep the default value in the AWS box that maps with attribute.aws_role, the value should beassertion.arn.contains('assumed-role') ? assertion.arn.extract('{account_arn}assumed-role/') + 'assumed-role/' + assertion.arn.extract('assumed-role/{role_name}/') : assertion.arnIn this example, this is shown as Google 1 mapping to AWS 1 and Google 2 mapping to AWS 2.
.png "image-20240412-073336(1).png")
Click the SAVE button.
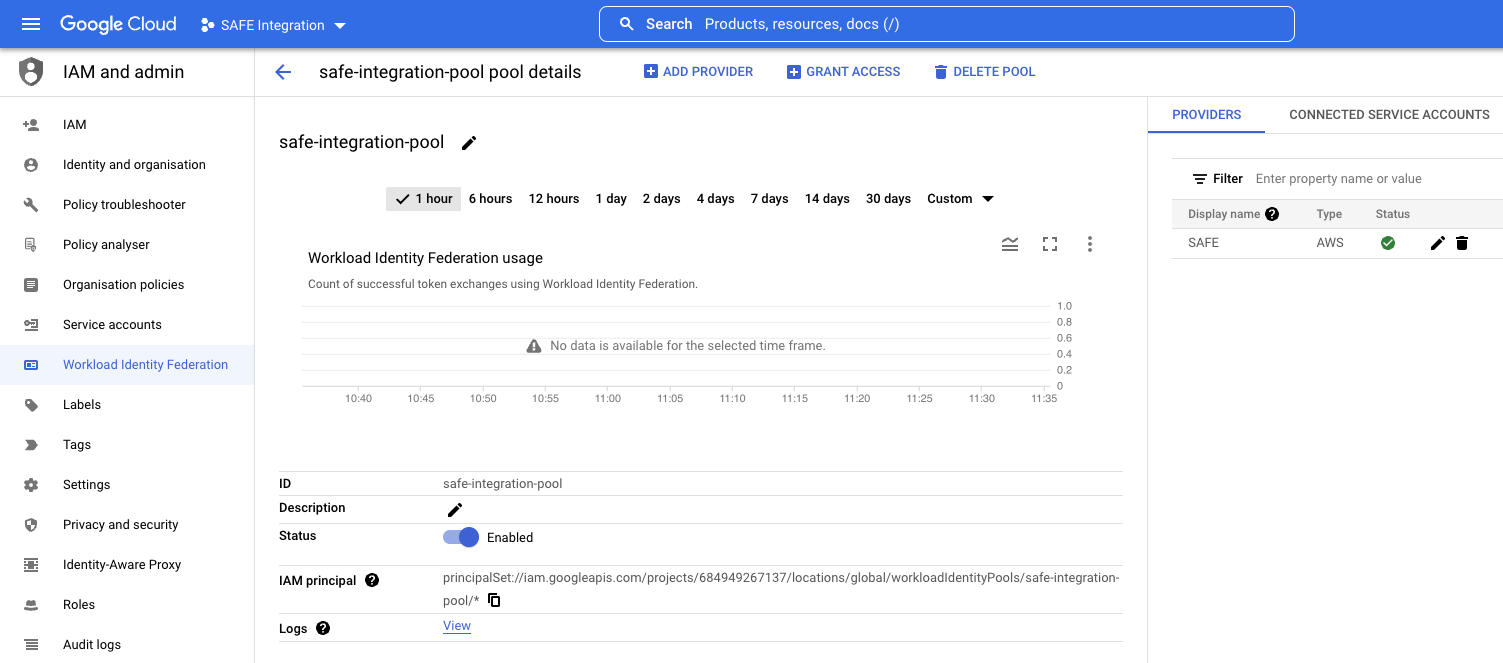
On the next page, at the top, click GRANT ACCESS.
In the Grant access to service account pop-up, select the service account that was created in 1.4, choose subject as Attribute name, enter safe as the Attribute Value and click SAVE.

On the following pop-up, select the Provider you configured in step 8 and click DOWNLOAD CONFIG to save the WIF file to your local disk.
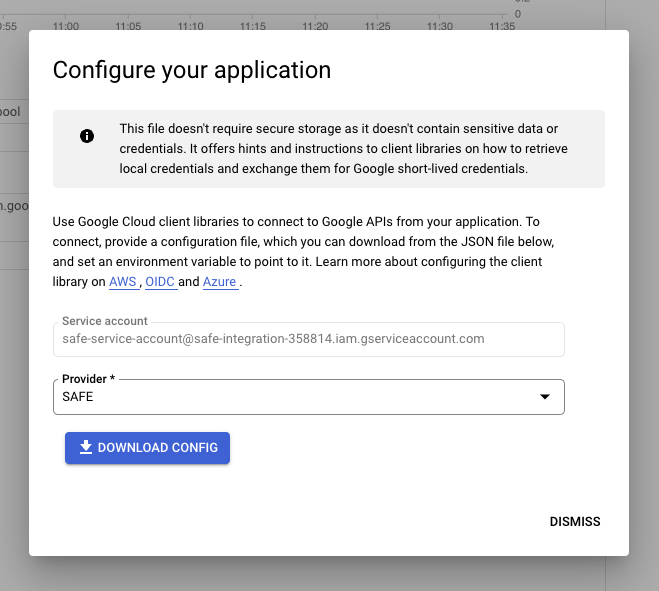
Once downloaded, click the DISMISS to close the pop-up.
Find the connection Details
Take the content of the WIF file that was downloaded in the previous step and replace everything in the config section.
This is the value for the connection details for your GCP Organization. It is not in the WIF file you downloaded, so you will need to find this value separately and add it in.
Example
{
    "type": "cloud",
    "subtype": "gcp",
    "config": {
        "organizationIds": [
            "your GCP Org ID goes here"
        ],
        "type": "external_account",
        "audience": "//iam.googleapis.com/projects/684949267137/locations/global/workloadIdentityPools/safe-integration-pool/providers/safe-provider",
        "subject_token_type": "urn:ietf:params:aws:token-type:aws4_request",
        "service_account_impersonation_url": "https://iamcredentials.googleapis.com/v1/projects/-/serviceAccounts/safe-service-account@safe-integration-358814.iam.gserviceaccount.com:generateAccessToken",
        "token_url": "https://sts.googleapis.com/v1/token",
        "credential_source": {
            "environment_id": "aws1",
            "region_url": "http://169.254.169.254/latest/meta-data/placement/availability-zone",
            "url": "http://169.254.169.254/latest/meta-data/iam/security-credentials",
            "regional_cred_verification_url": "https://sts.{region}.amazonaws.com?Action=GetCallerIdentity&Version=2011-06-15"
        }
    }
}
Configure GCP in SAFE
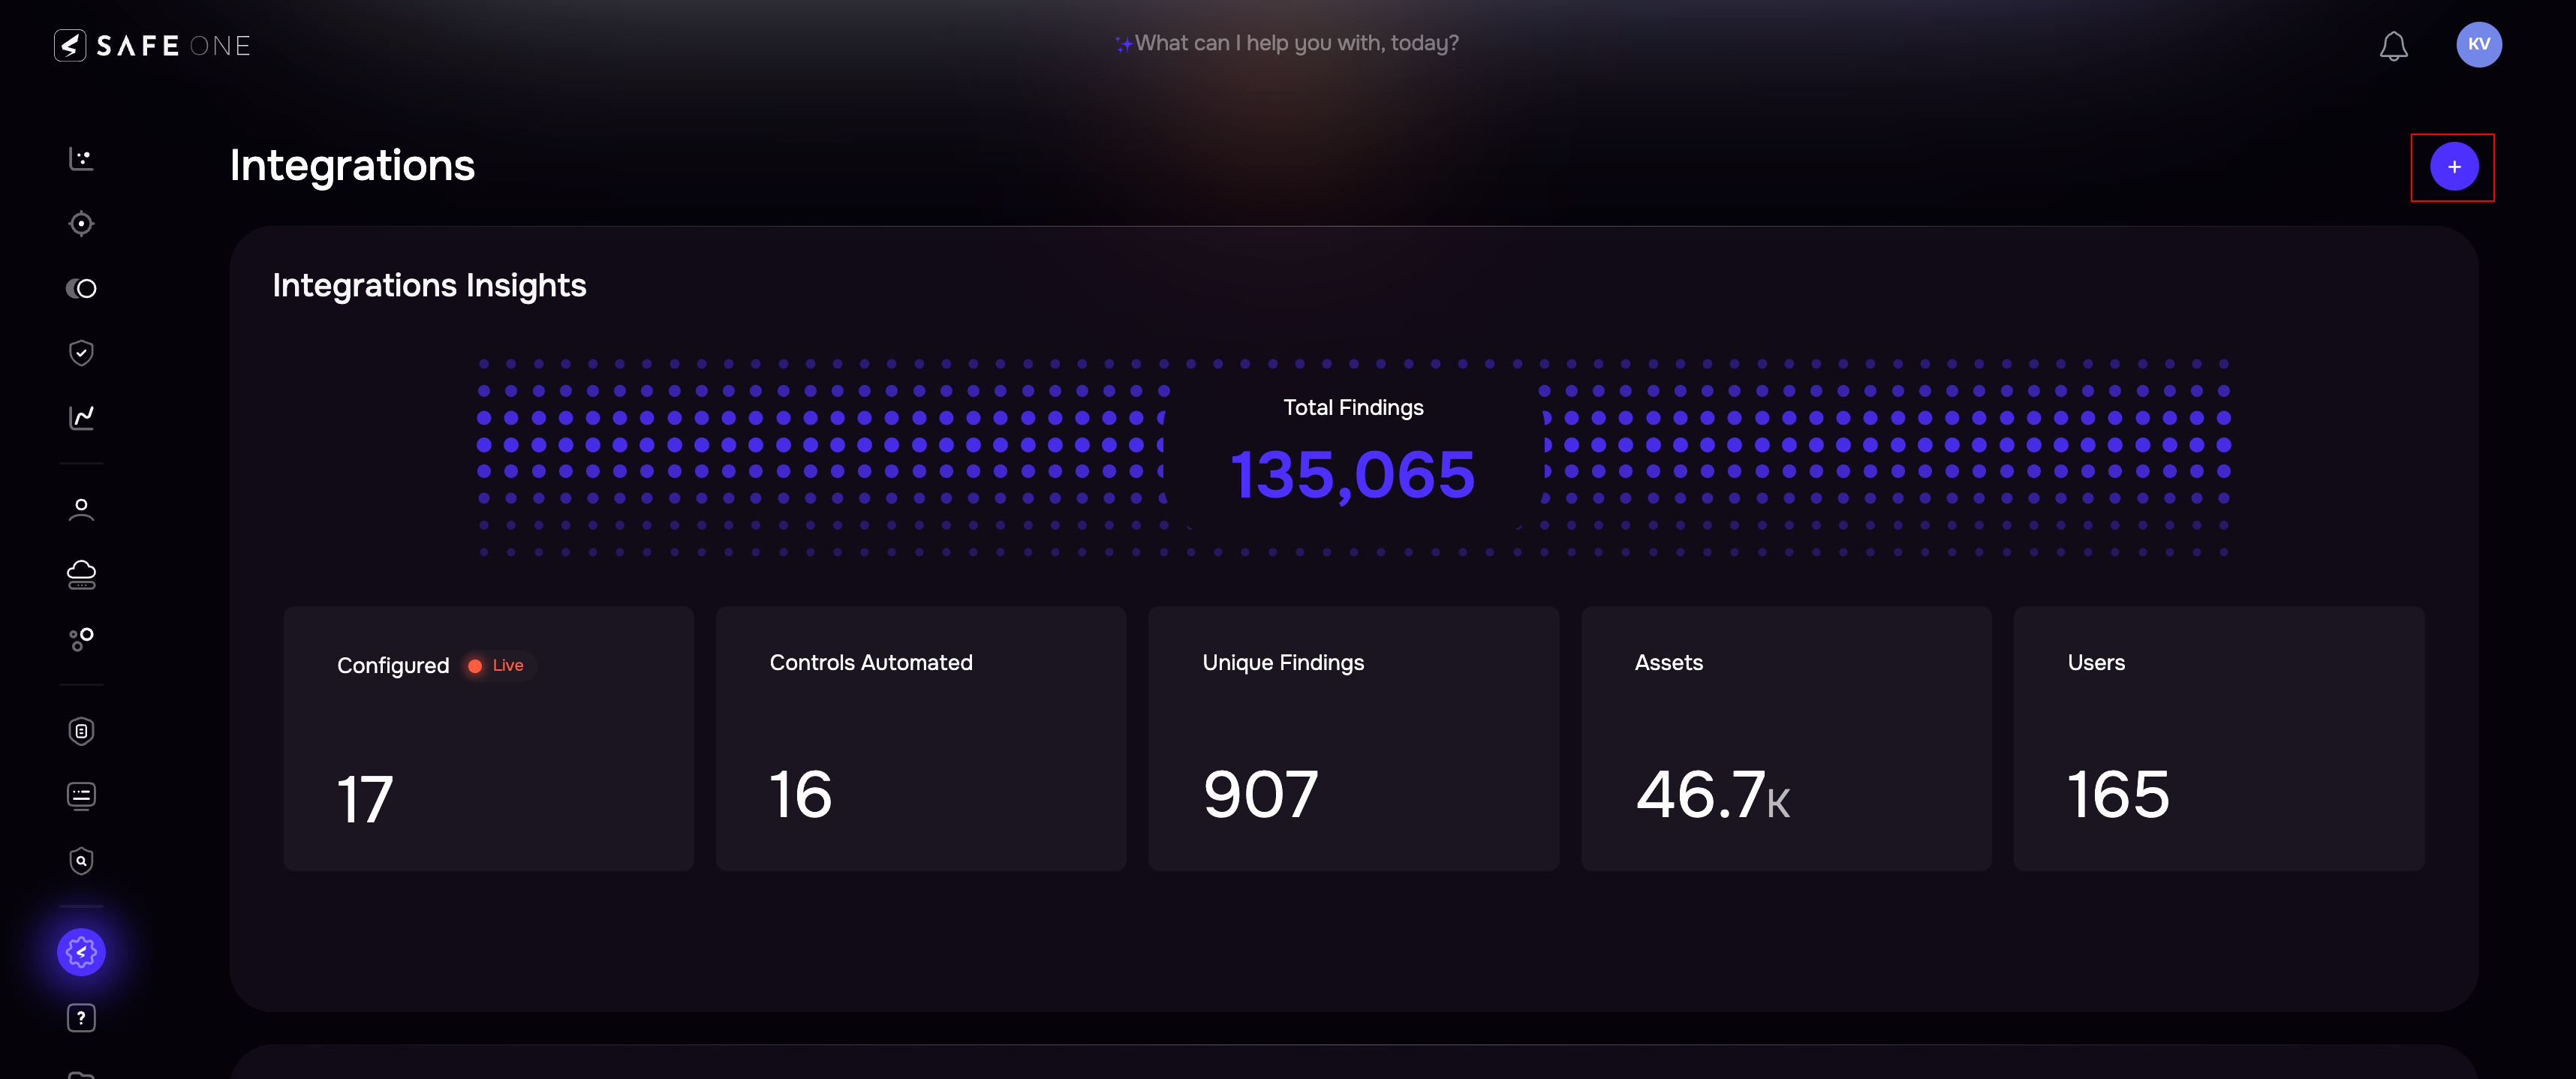
Navigate to Integration, on the left navigation.
Click the + icon and navigate to GCP - Security Command Center card.
On the configuration page, enter the name, connection details (generated above), and the auto-sync frequency.
[Optional] Enter the Asset Types to Exclude from pulling into SAFE.
By default, SAFE will pull findings from GCP for all the assets. Enter a comma separated list of GCP asset types to filter out certain asset types.
For example: Entering serviceusage.googleapis.com/Service, cloudresourcemanager.googleapis.com/Project will exclude these asset types from sync.Click the Test Connection button.
Once the connection is verified, Click the Save button.
Click the Sync Now button to start the assessment.
.png)
View results in SAFE
After a successful sync, the GCP - Security Command Center assets are automatically imported into SAFE.
To view the assets pulled from GCP - Security Command Center
Go to the integration homepage.
Scroll to find the GCP - Security Command Center integration card or search for GCP - Security Command Center in the search bar.
Click on the GCP - Security Command Center integration card for Finding View and Asset View.
Finding View: This tab displays all the findings details pulled from GCP - Security Command Center.
Asset View: This tab displays all the findings details pulled from GCP - Security Command Center.
Import Labels from Google Cloud Platform (GCP) into SAFE
Refer to the Import Azure Tags and GCP Labels in SAFE.
Make sure that GCP integration is configured under Integrations.
Create custom fields for technology corresponding to the GCP tag keys you want to import in SAFE. You can create the custom fields from the Settings > Custom Fields.
In the next GCP sync, the system will update the custom field values automatically. Alternatively, you can manually trigger a sync using SAFE API’s. Refer to the GCP Integration Guide.
Notes
The system imports only those labels from GCP for which the corresponding custom fields are present in SAFE.
On every subsequent scan, the system updates the custom field values automatically.