Introduction
Single Sign-On (SSO) enables organizations to use the SAML 2.0 authentication provider to log in to SAFE. Admins can onboard and manage users right from their Okta SSO platforms, eliminating the need to maintain a separate user authentication mechanism for SAFE.
SAFE does not support IdP-initiated SSO flow. To navigate directly to SAFE and log in from within your Okta enterprise application, you must request that Safe provide a URL that can be bookmarked in Okta.
Setting up Okta
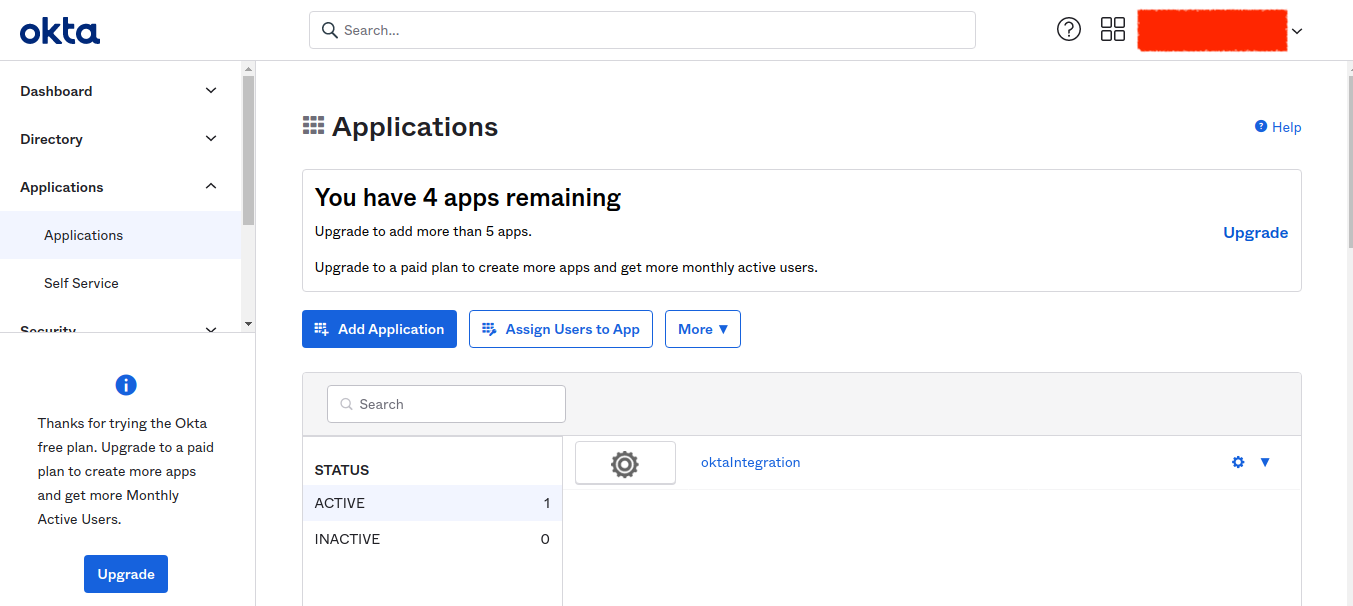
Click on Applications from the left navigation bar in the Okta developer console.
On the Add Application page, click the Create New App option.
For the Sign-on method, choose SAML 2.0.
Choose to Create. SAML app will be created.
Now on the Create SAML Integration page, under General Settings, enter a name for your app.
The logo field is optional
Click Next.
Go to the GENERAL settings.
Enter the Audience URI (SP Entity ID) and Reply URL (Single Sign-On URL) using the details for your regional instance.
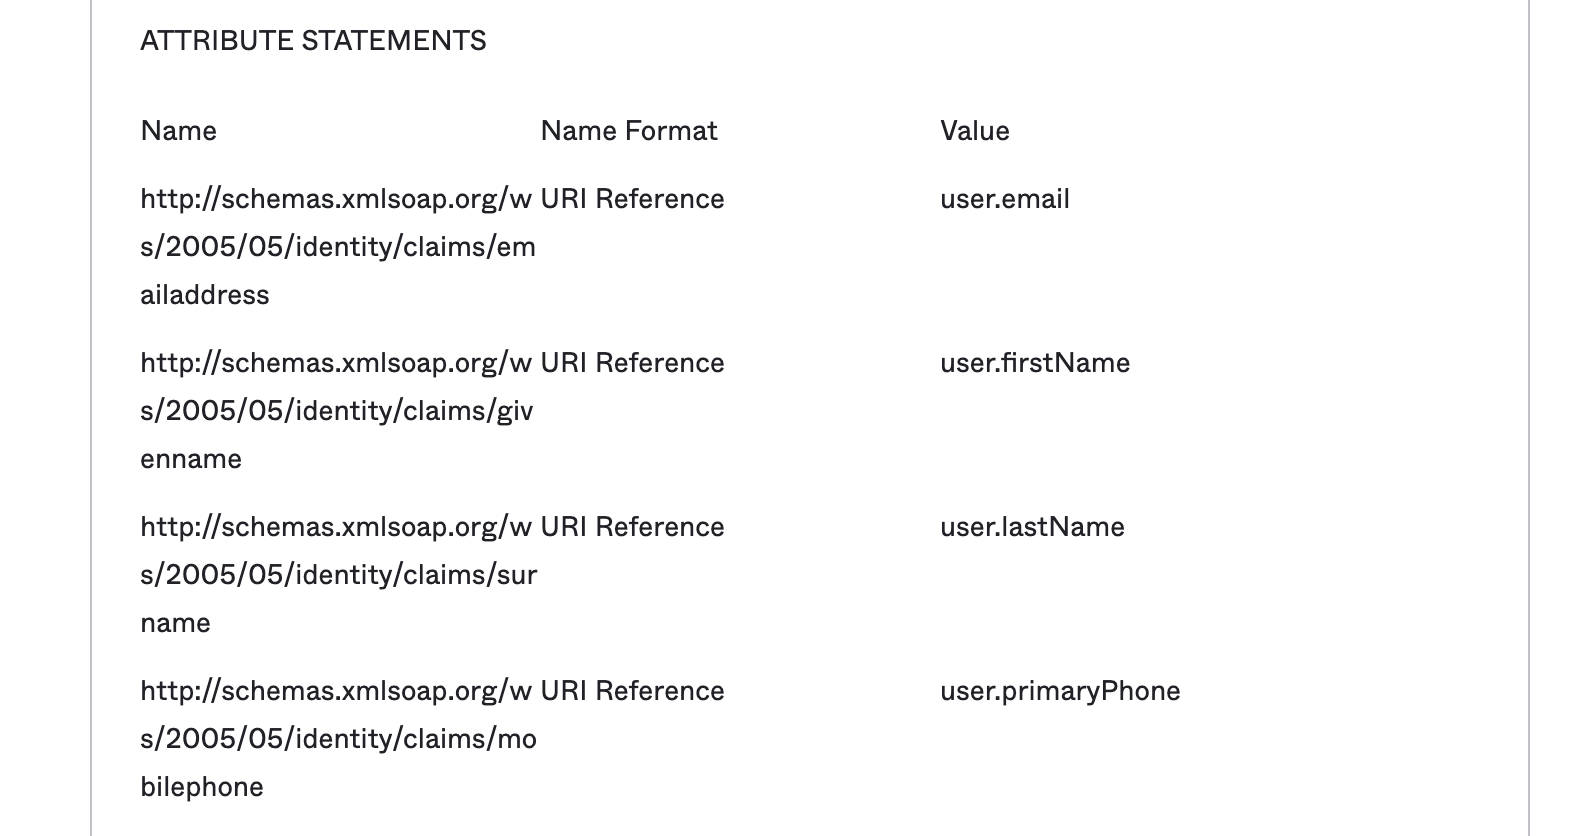
Under ATTRIBUTE STATEMENTS, add a statement with the following information:
For Name, enter the SAML attribute name -
http://schemas.xmlsoap.org/ws/2005/05/identity/claims/emailaddressFor Value, enter user.email
Optionally- It is not mandatory to configure the following attributes since they do not affect SAFE integration with Okta. However, if they are configured, they will be synced with the respective fields for the onboarded users in SAFE, and SAFE Admin does not have to separately update these fields in SAFE whenever there’s an update in Okta.
For First Name:
For Name, enter the SAML attribute name -
http://schemas.xmlsoap.org/ws/2005/05/identity/claims/givennameFor Value, enter user.firstName
For Last Name:
For Name, enter the SAML attribute name -
http://schemas.xmlsoap.org/ws/2005/05/identity/claims/surnameFor Value, enter user.lastName
For Mobile Phone:
For Name, enter the SAML attribute name -http://schemas.xmlsoap.org/ws/2005/05/identity/claims/mobilephone
For Value, enter user.primaryPhone or user.mobilePhone. (This has to be in international format without any symbol other than +, if this is added and the format is not as per the international format, the login will break for that user. Also, if in the profile of the user, one has set primaryphone but in an attribute value, one has set mobilePhone, it fails to fetch the number.)
The overall attribute settings should be set as per the below screenshot:
Choose Next and Finish.
Assign a user to your Okta application
First, onboard a user on the Okta developer console
Navigate to Dashboard > Choose Directory > People > Onboard a user.
Note: Onboard the user with the domain that should be there in the SAFE application. For example: USER@DOMAIN_GIVEN_TO_SAFE.
Now assign that user to the Okta application you created.
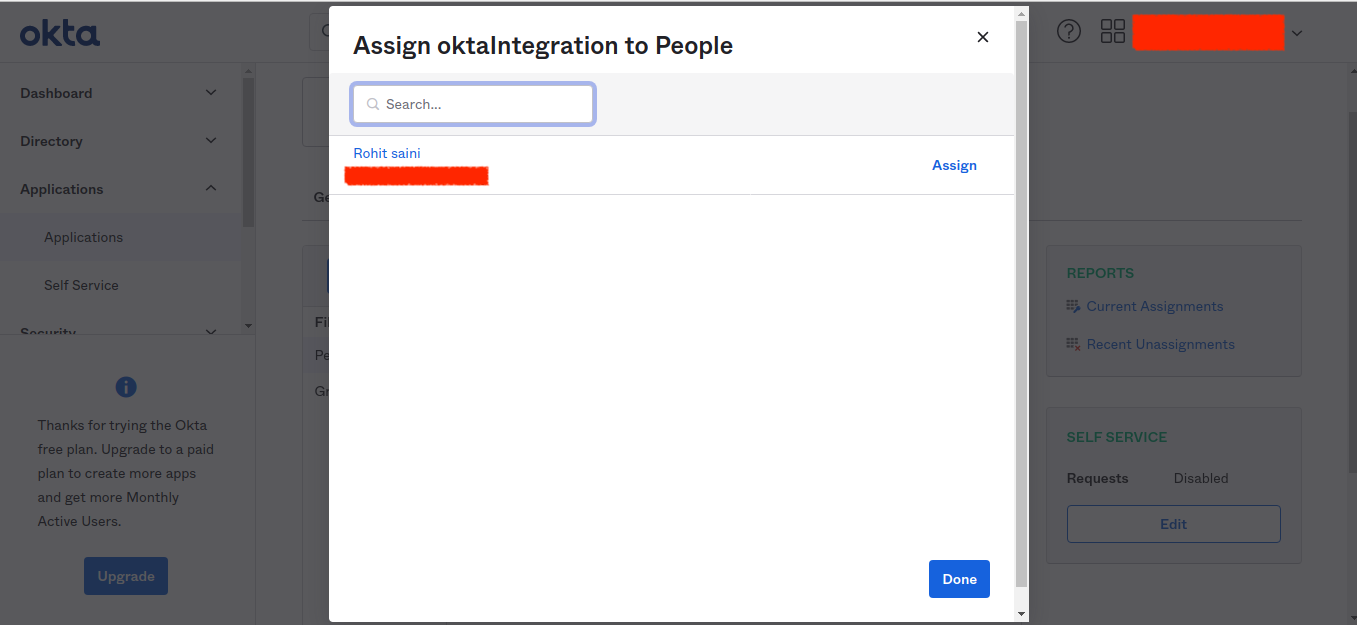
On the Assignments tab for your Okta app, for Assign, choose Assign to People.
Choose Assign next to the user that you want to assign.
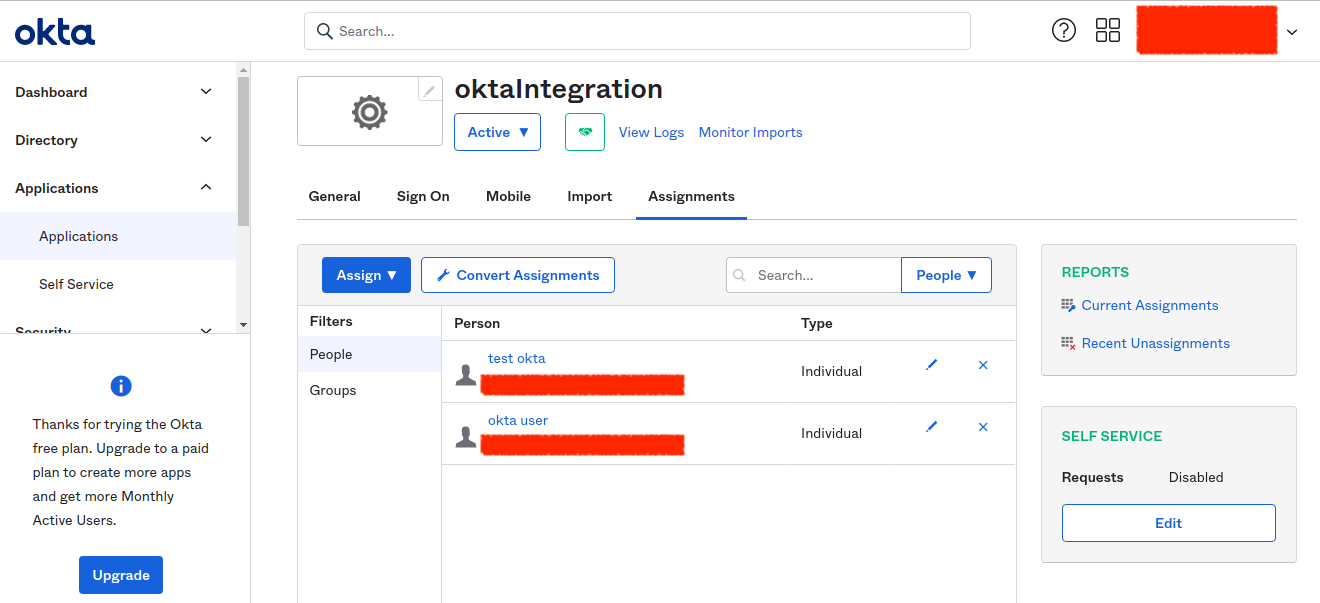 Note: If this is a new account, the only option available is to choose yourself (the admin) as the user.
Choose Done and Go Back. Your user is assigned.
Extract Metadata from your Okta application
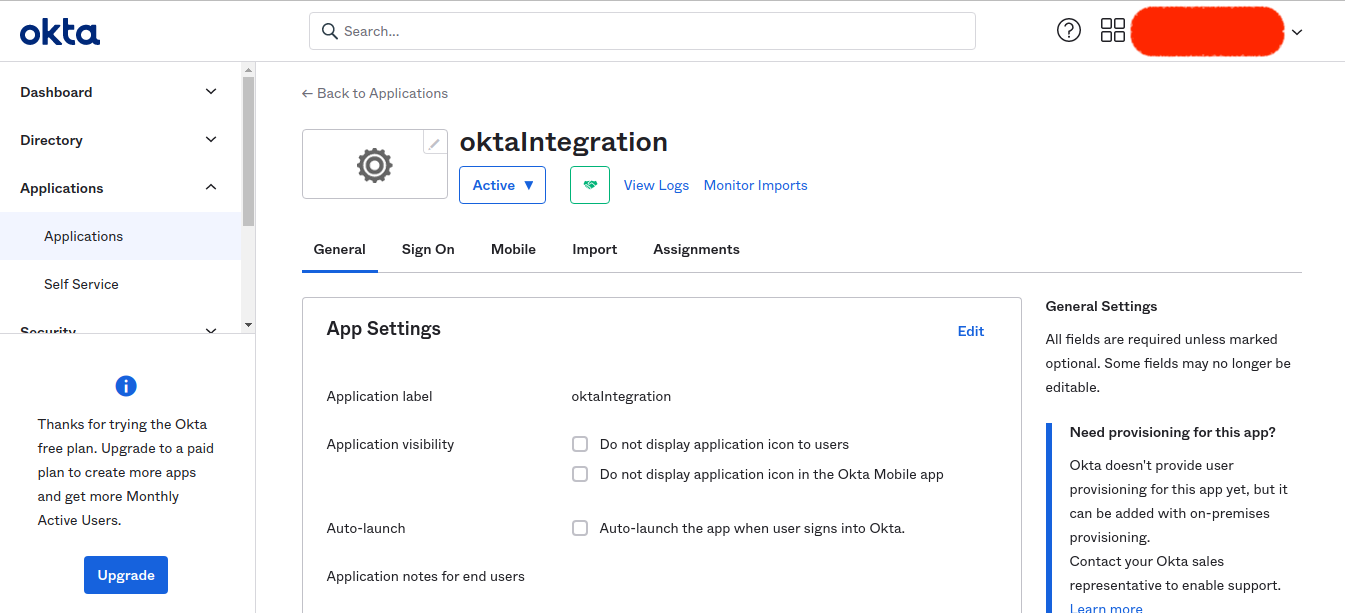
Click on the "Sign On" tab of your application
Copy the metadata URL as seen in the screenshot.
.png)
Open a new tab in your browser, paste and go to the metadata URL copied in the previous step.
Your browser should show an XML like the following.
.png)
Right-click on the page, and save it on your device.
Submit your XML metadata file and SSO-applicable email domain to the SAFE Service Desk.
Adding User(s) to SAFE
To log in to SAFE with an SSO-configured email, the customer must log in with the existing SAFE Admin user and add the users into SAFE. This can be done by manually creating the user in SAFE.
Once the users are onboarded, they can start logging into SAFE using their email ID and the domain configured in SSO. After entering the correct Email ID, the Okta authentication page will open, where they can enter their Okta credentials.