About this document
This document provides a step-by-step procedure to configure SSO in SAFE with Active Directory Federation Service 2.0 (AD FS 2.0).
Introduction
Single Sign-On (SSO) enables organizations to use the SAML 2.0 authentication provider to authenticate SAFE login.
Info
SAFE supports SSO based on SAML 2.0 and can integrate with Active Directory through Active Directory Federation Service 2.0 (AD FS 2.0).
Prerequisites
To configure the AD FS in SAFE for your organization, you require the following:
- An existing AD FS 2.0 is installed and running.
- A Pool ID and a SAML Service endpoint URL provided by SAFE.
- Pool ID: Use the correct Entity ID for your regional instance.
- SAML Link: Use the correct Reply URL for your regional instance.
Configure SSO with Active Directory Federation Service (AD FS)
The configuration involves mainly the following three steps:
- Add a claims-aware relying party trust in AD FS
- Configure claims issuance policy
- Verify Configuration
1. Add a claims-aware relying party trust in AD FS
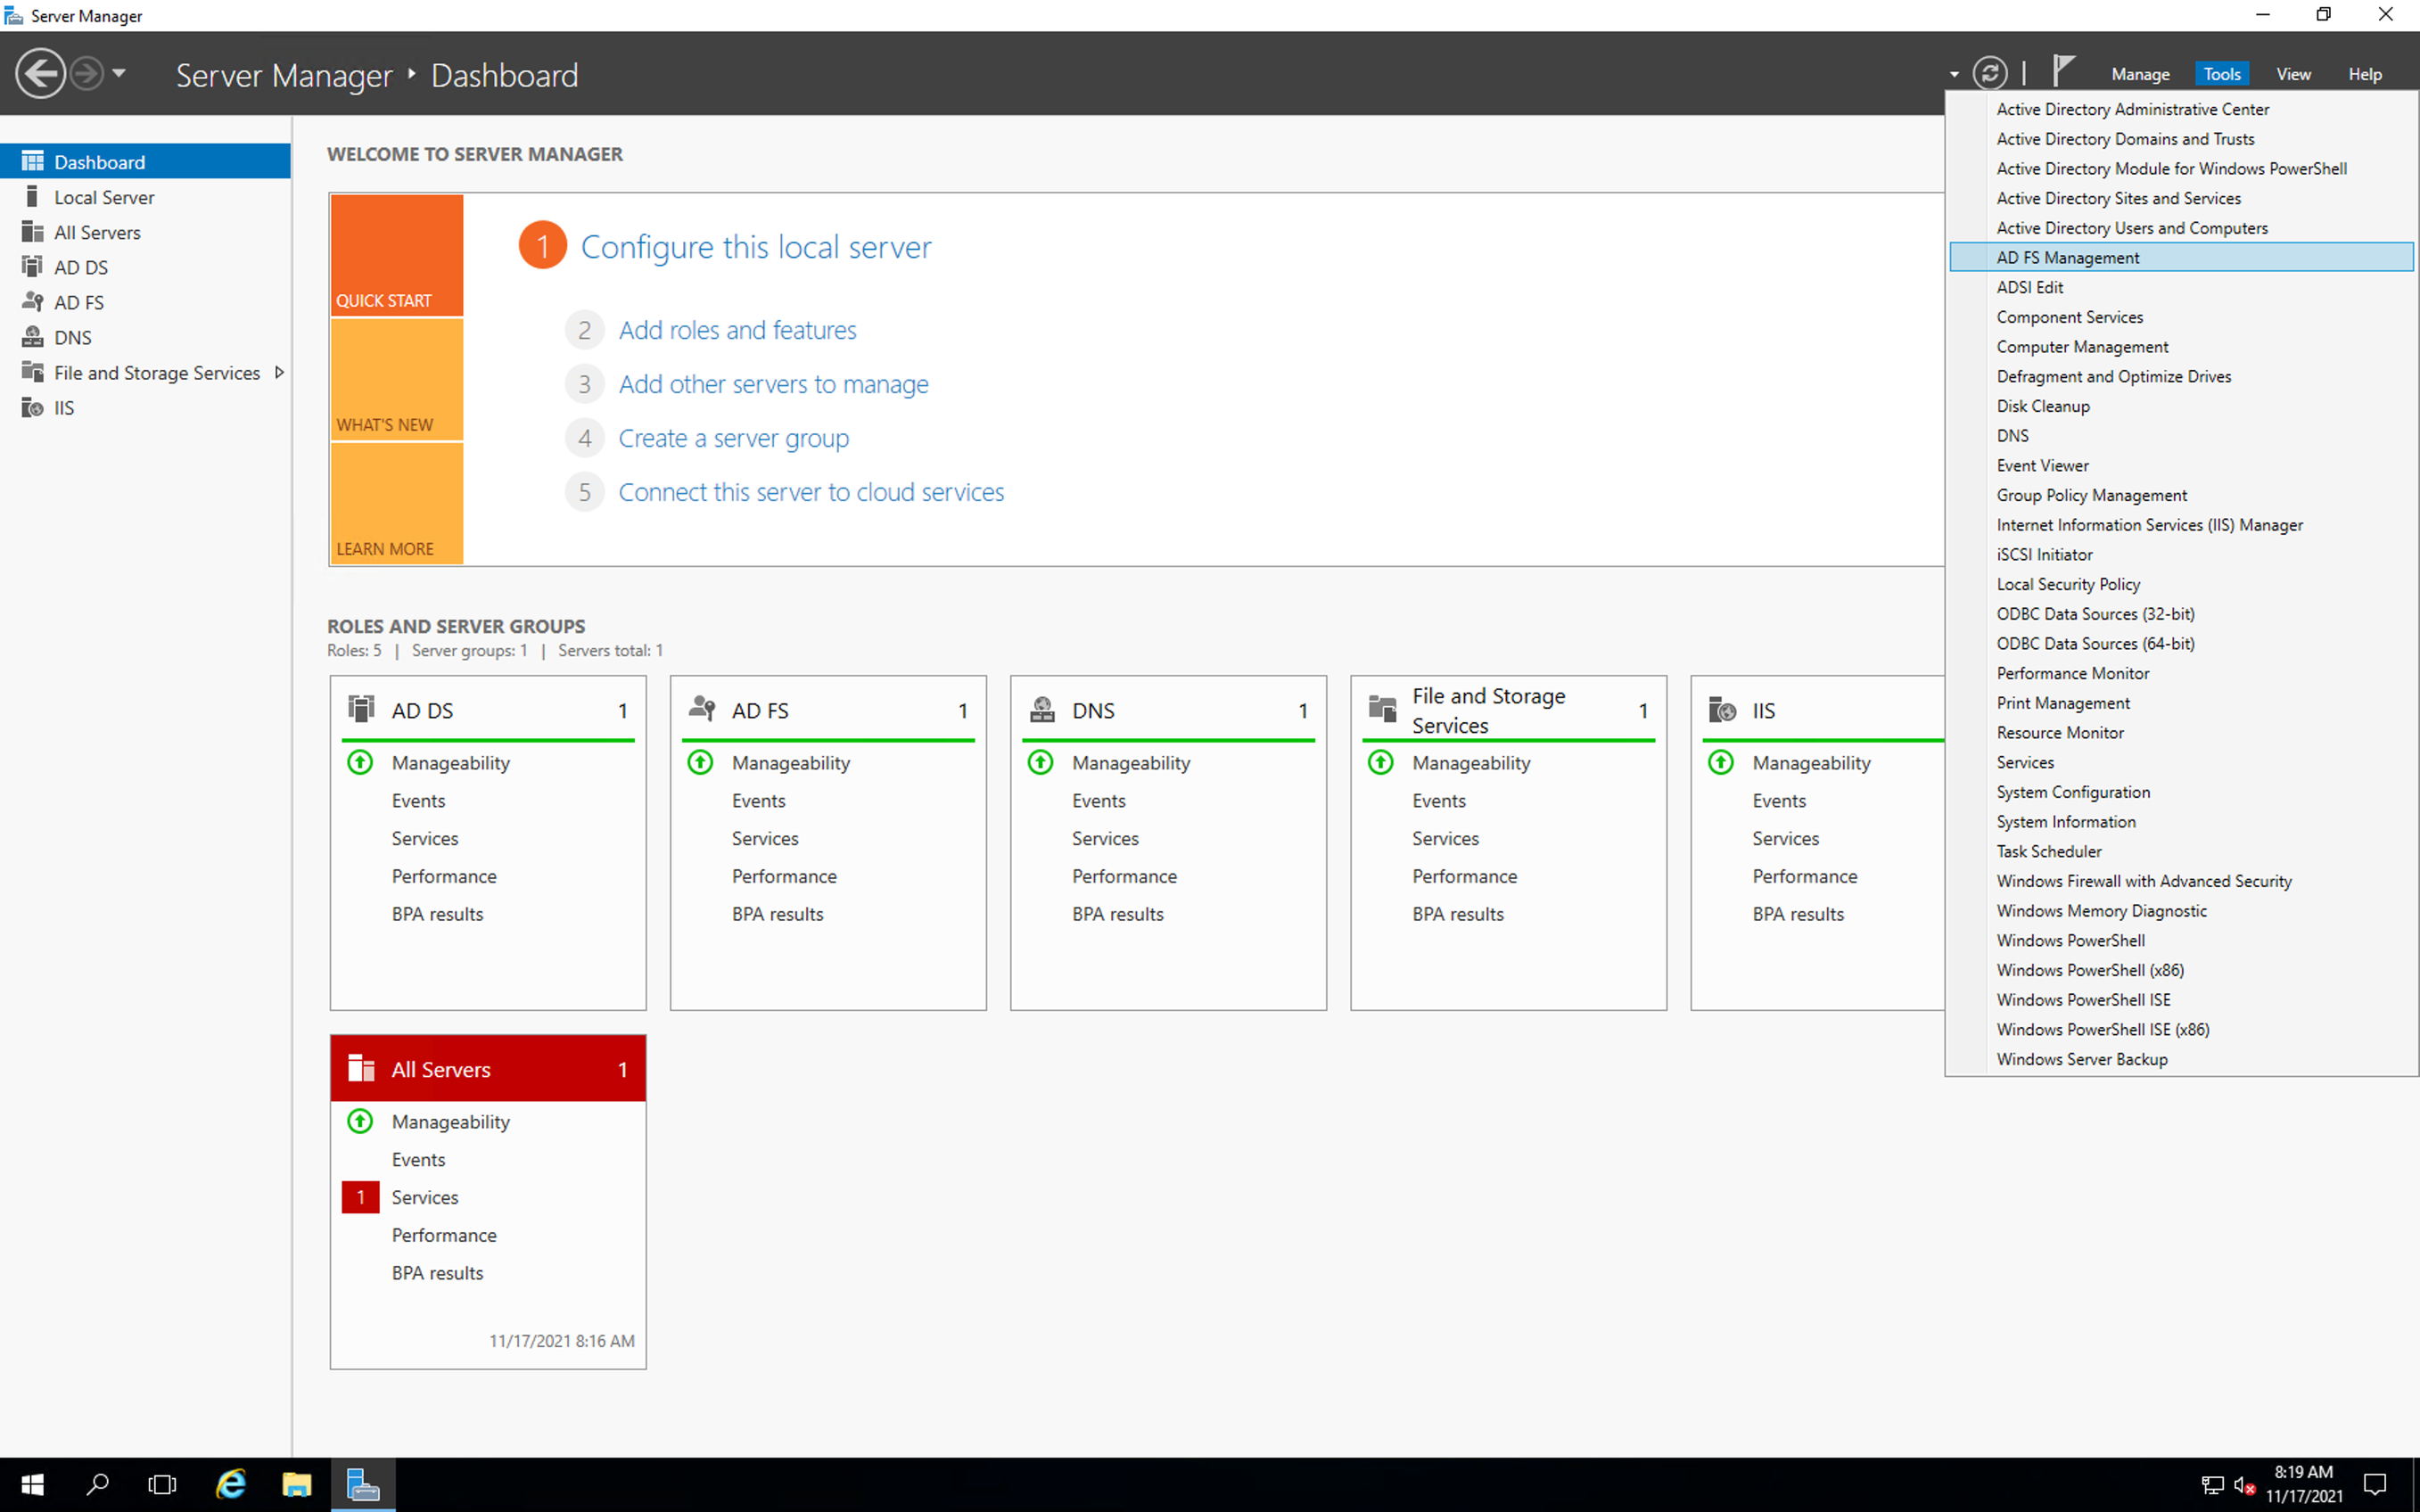
- On Server Manager, click the Tools option available at the top-right corner of the page and then click the AD FS Management. The system displays the AD FS Window.
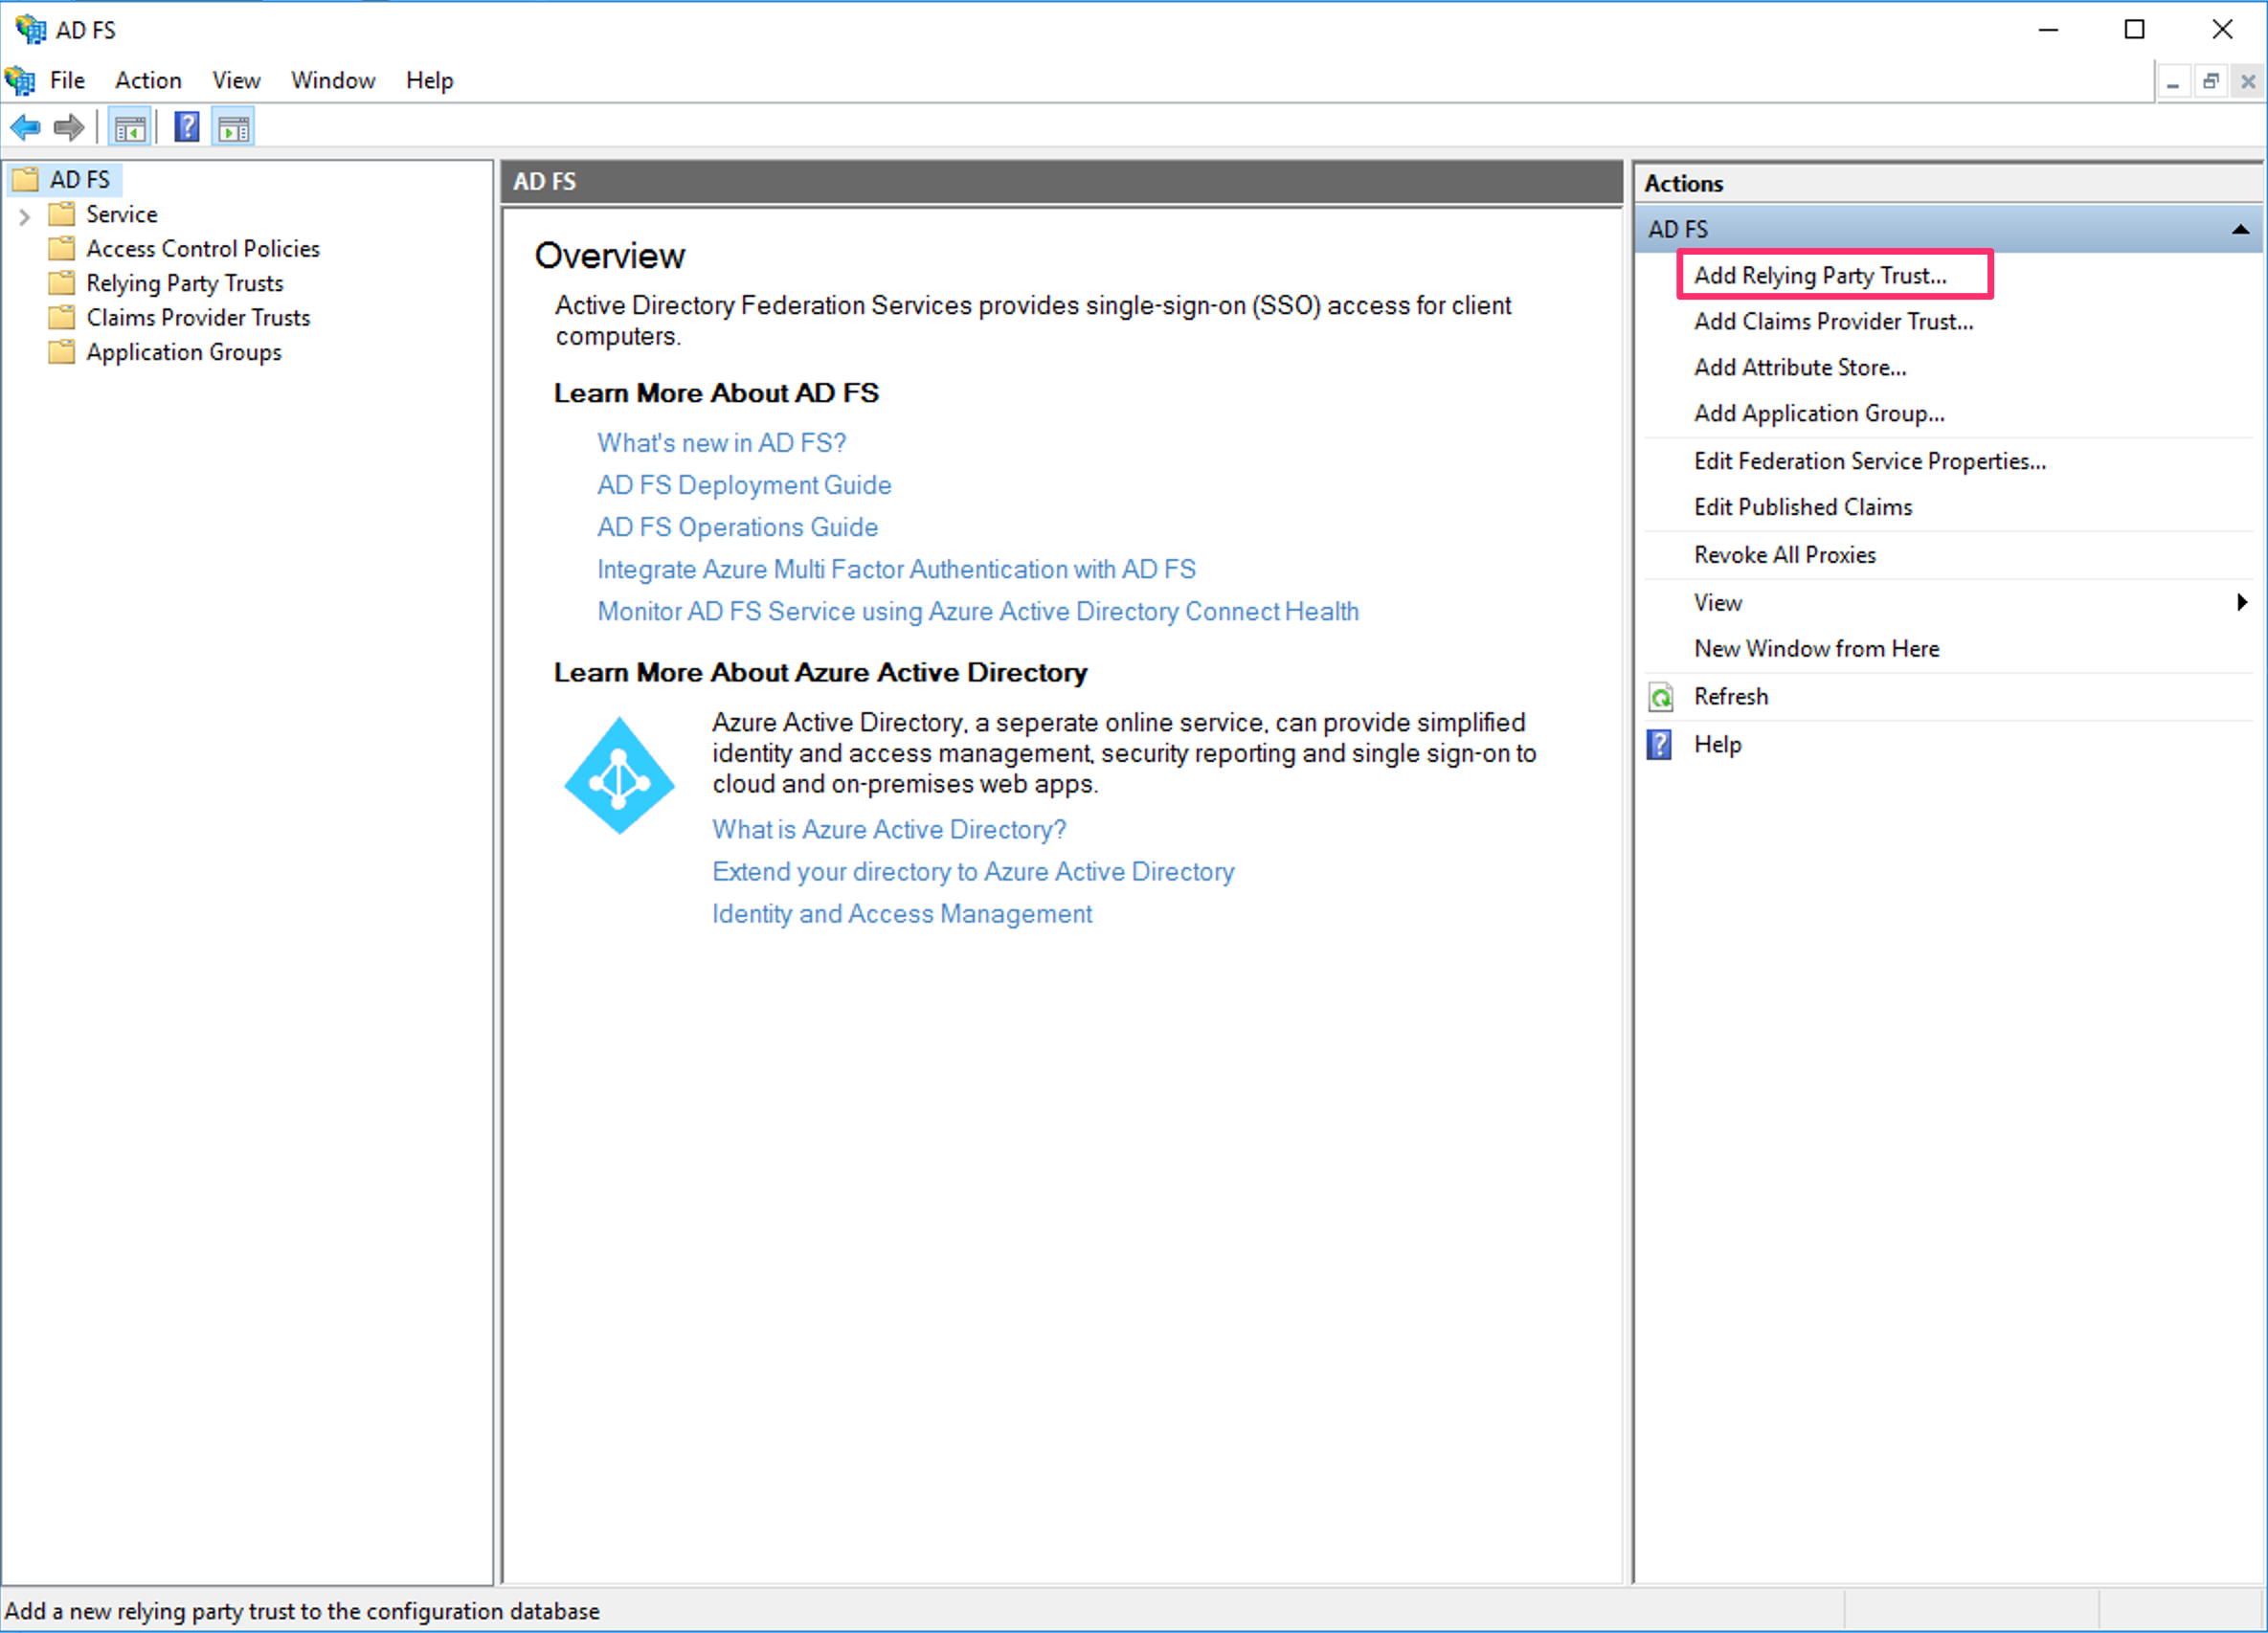
- Click Add Relying Party Trust from the Actions Pane. The system opens up the Add Relying Party Trust Wizard.
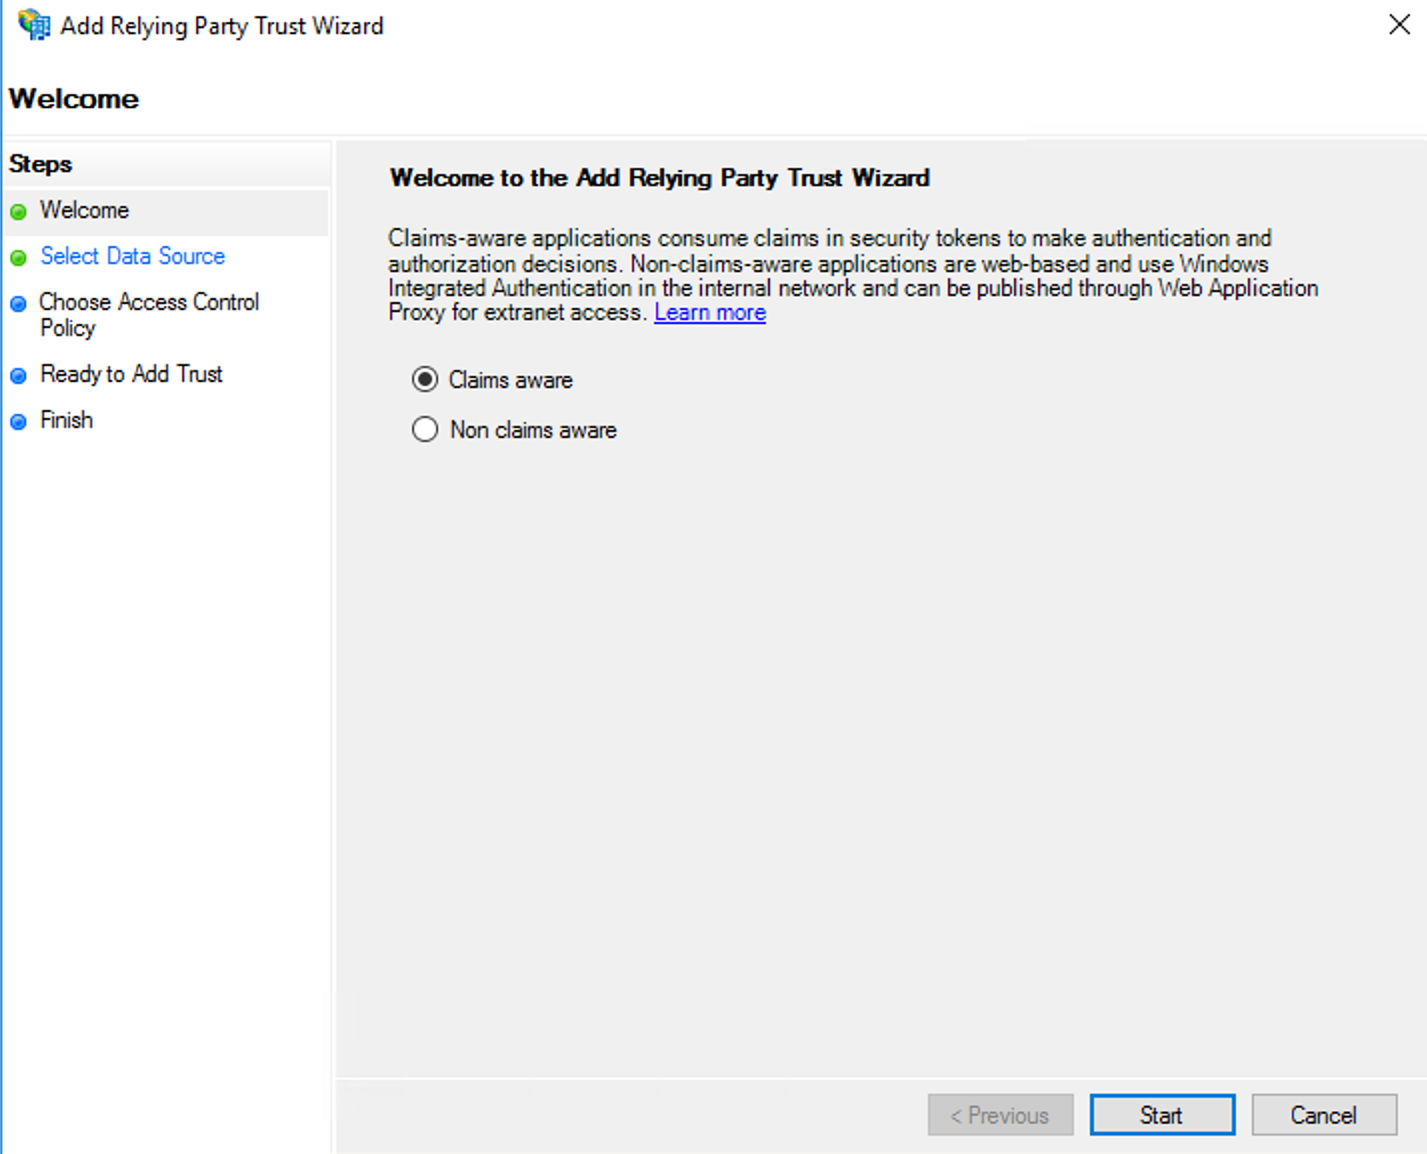
- On the Welcome page, select the Claims aware option and then click the Start button.
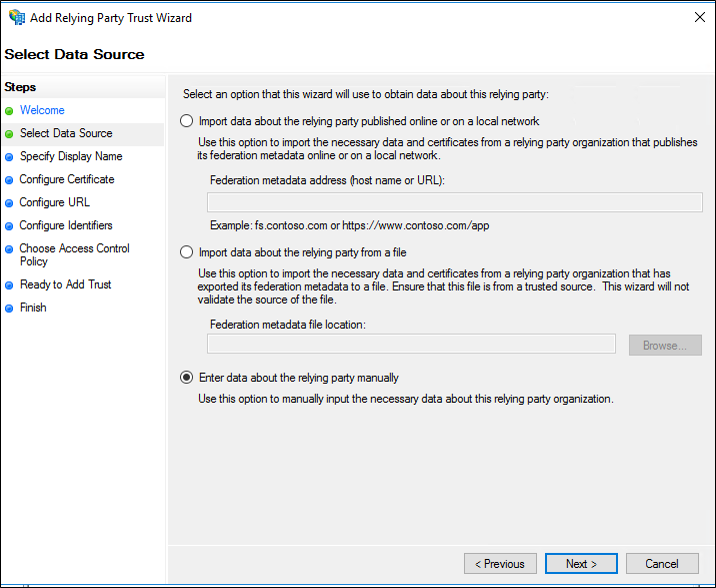
- On the Select Data Source page, select the Enter data about the relying party manually, and then click the Next button.
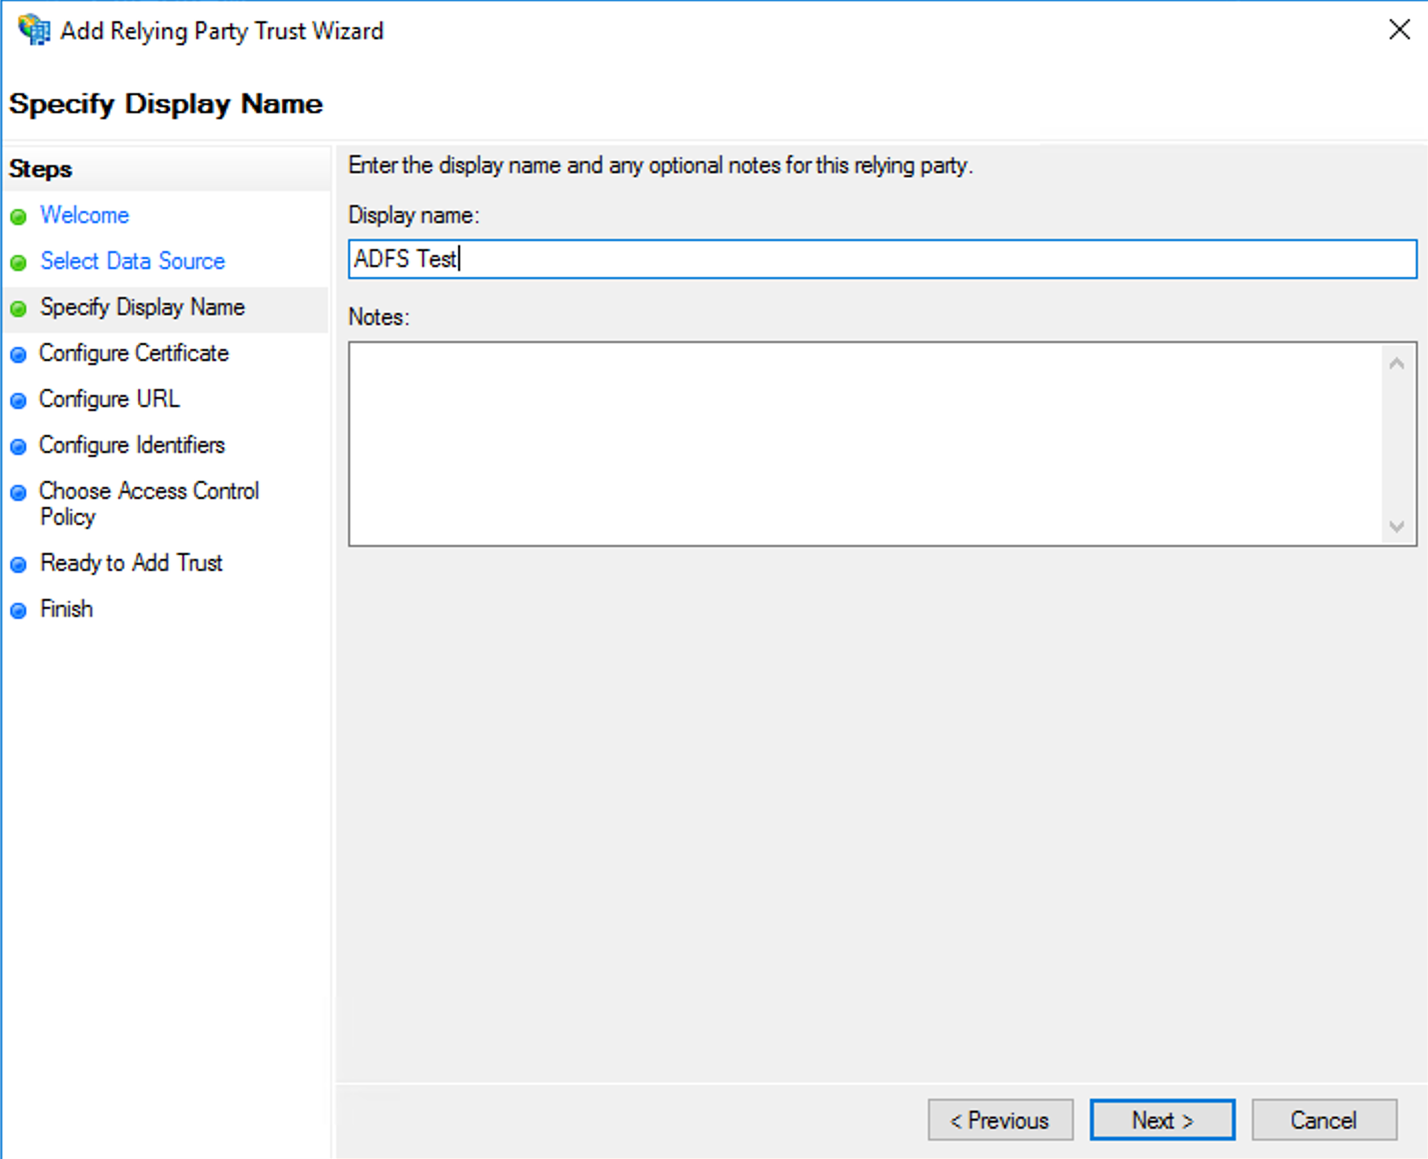
- On the next screen, enter the Display Name and click Next. Optionally you can enter a description in the Notes field.
- On the Configure Certificate page, click Next.
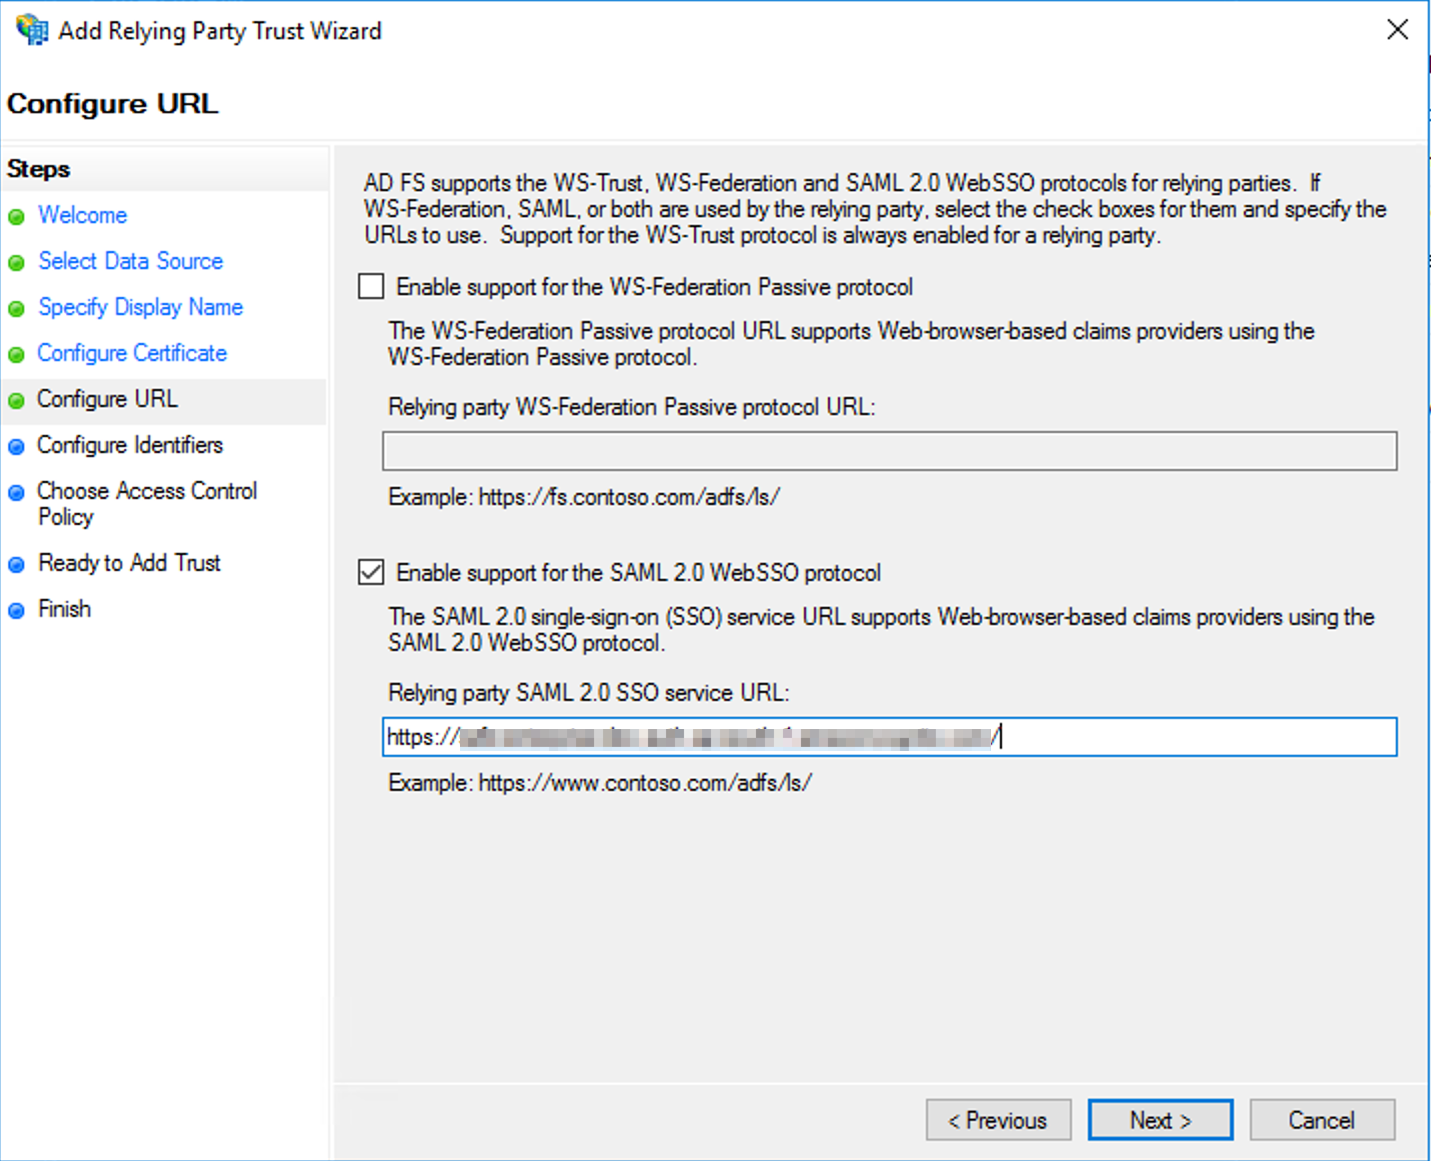
- On the Configure URL page, choose to Enable support for the SAML 2.0 WebSSO protocol.
- Under Relying party SAML 2.0 SSO service URL, type the Reply URL for your regional instance and then click Next.
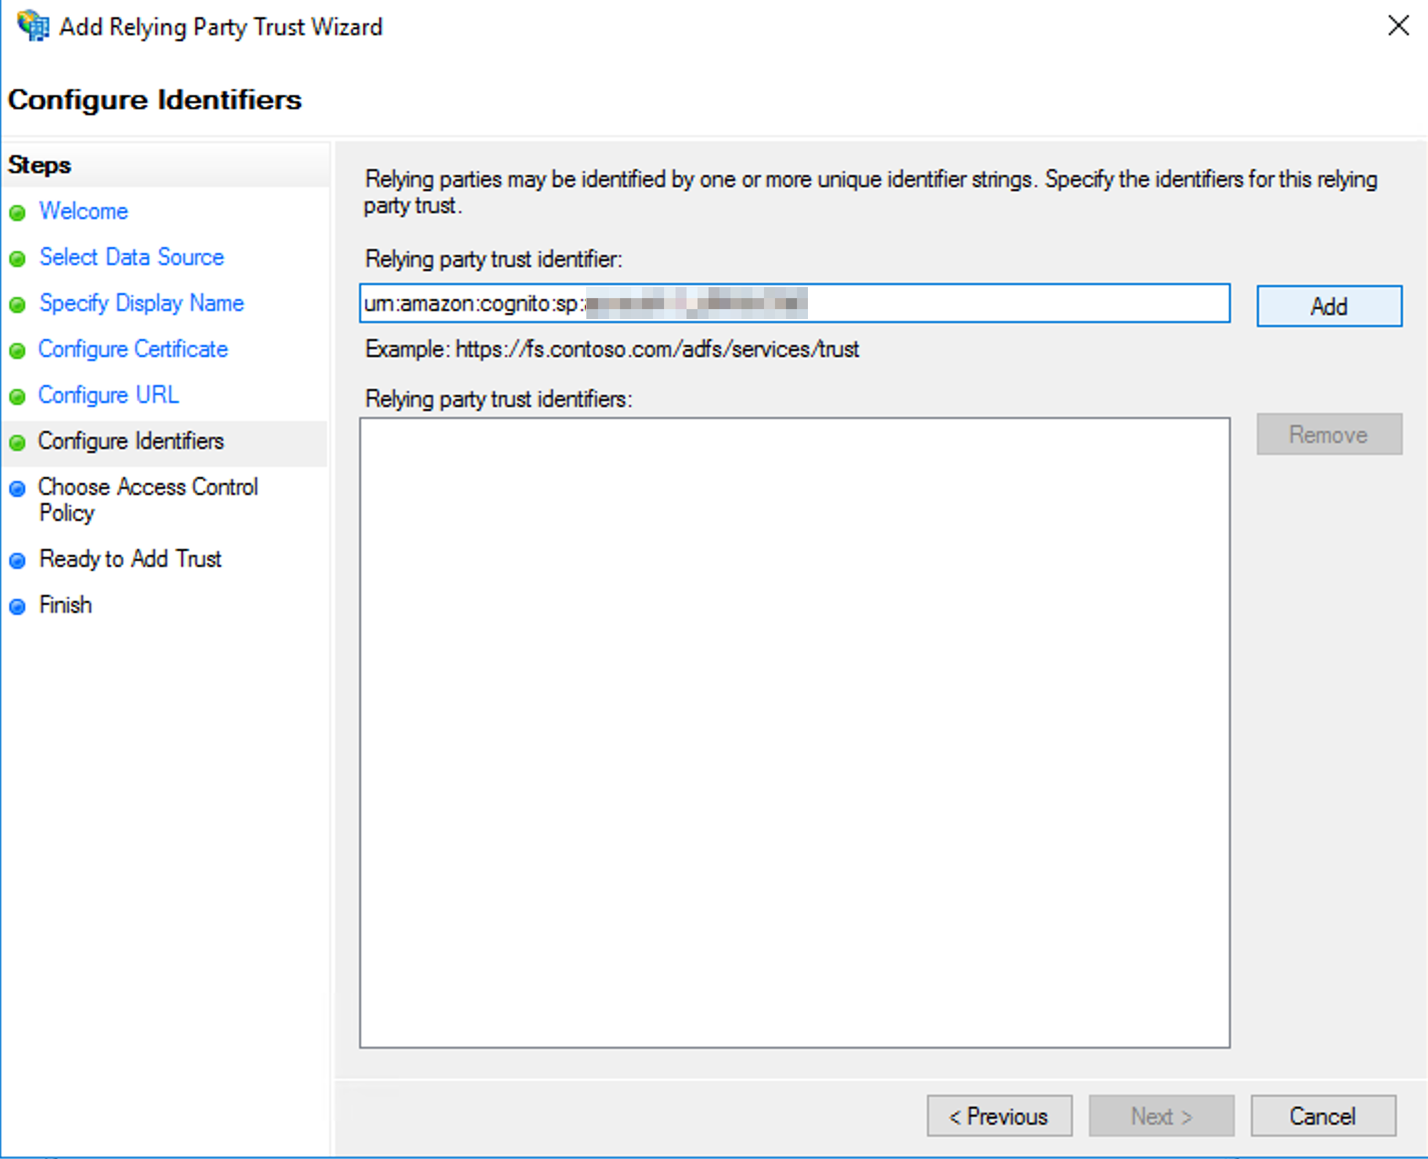
- Prepare the URN for your Relying party trust identifier, by replacing yourSAFEPoolID in the following with the Entity ID for your regional instance.
- On the Configure Identifiers page, for Relying party trust identifier, enter the prepared URN and click Add, and then click Next.
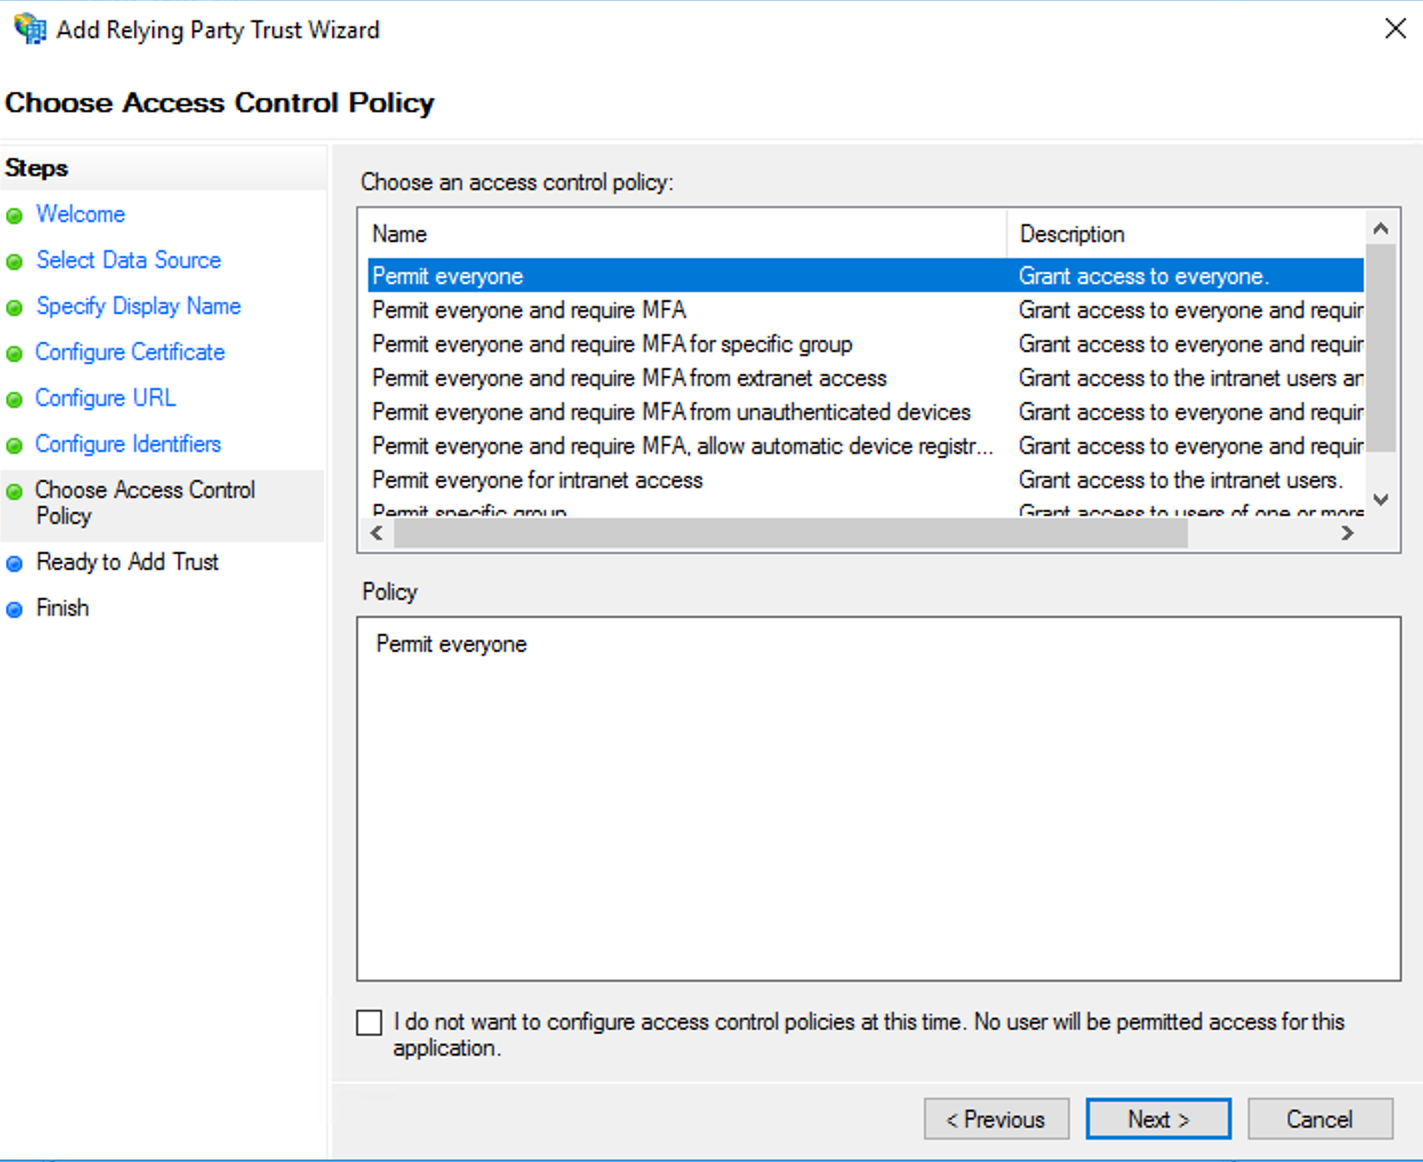
- On the Choose Access Control Policy, select a suitable policy and click Next.
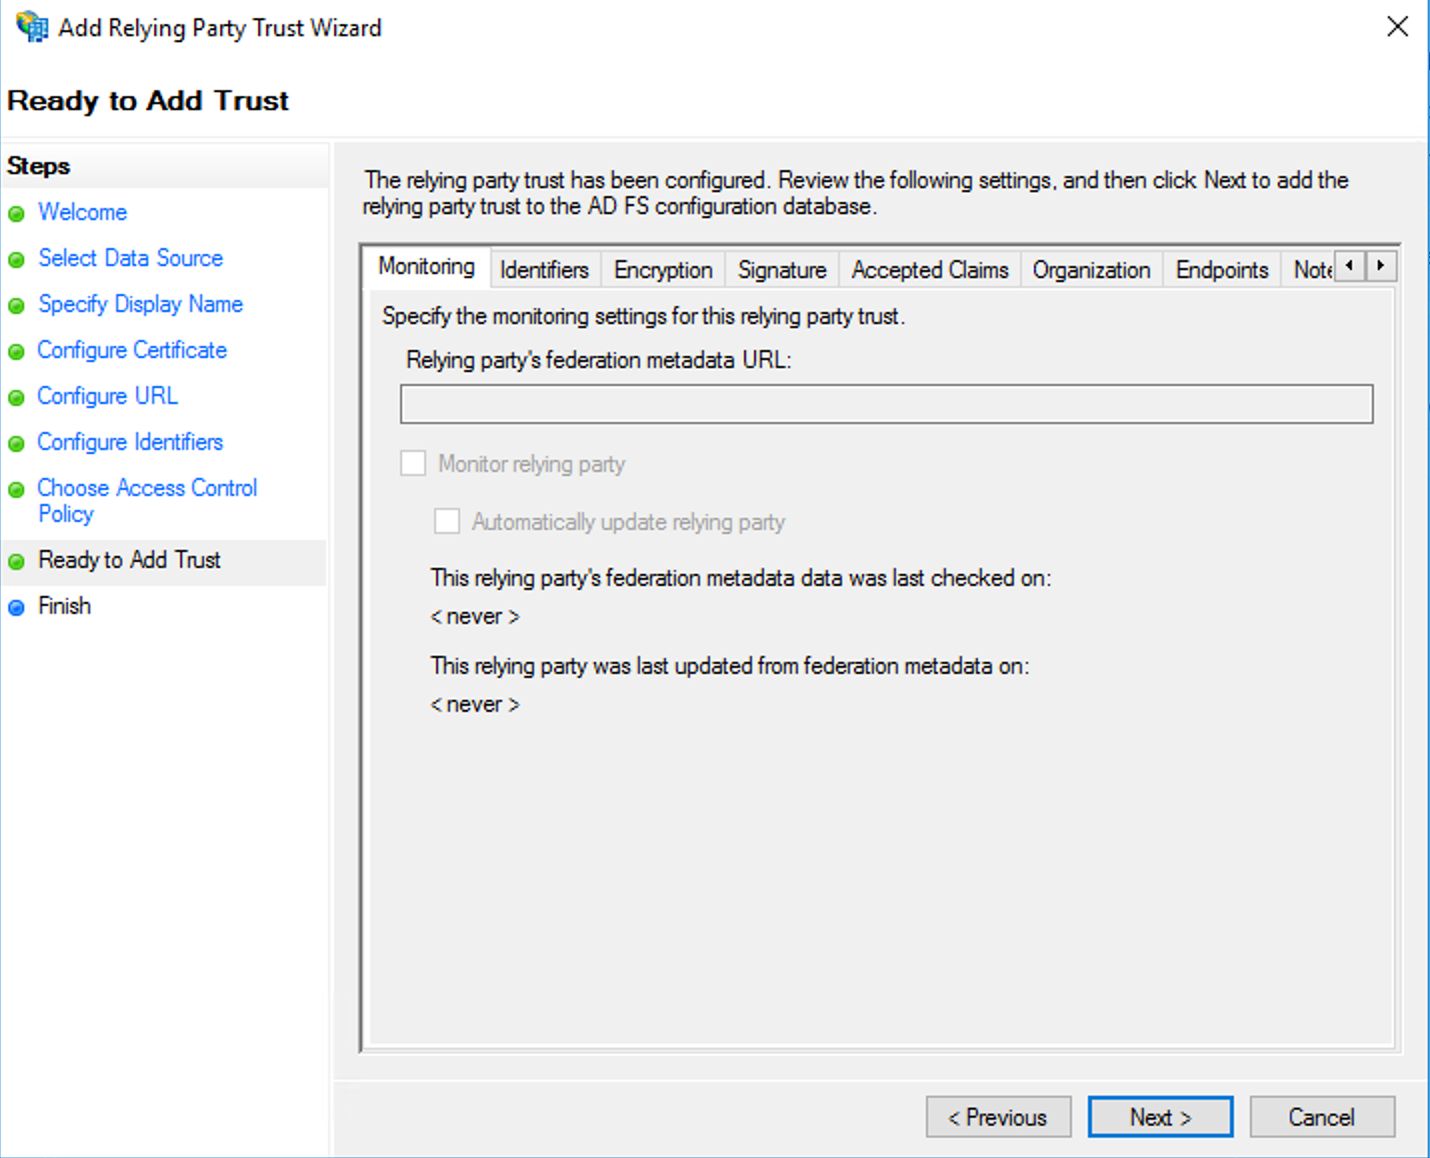
- On the Ready to Add Trust page, review the settings, and then click Next to save your relying party trust information.
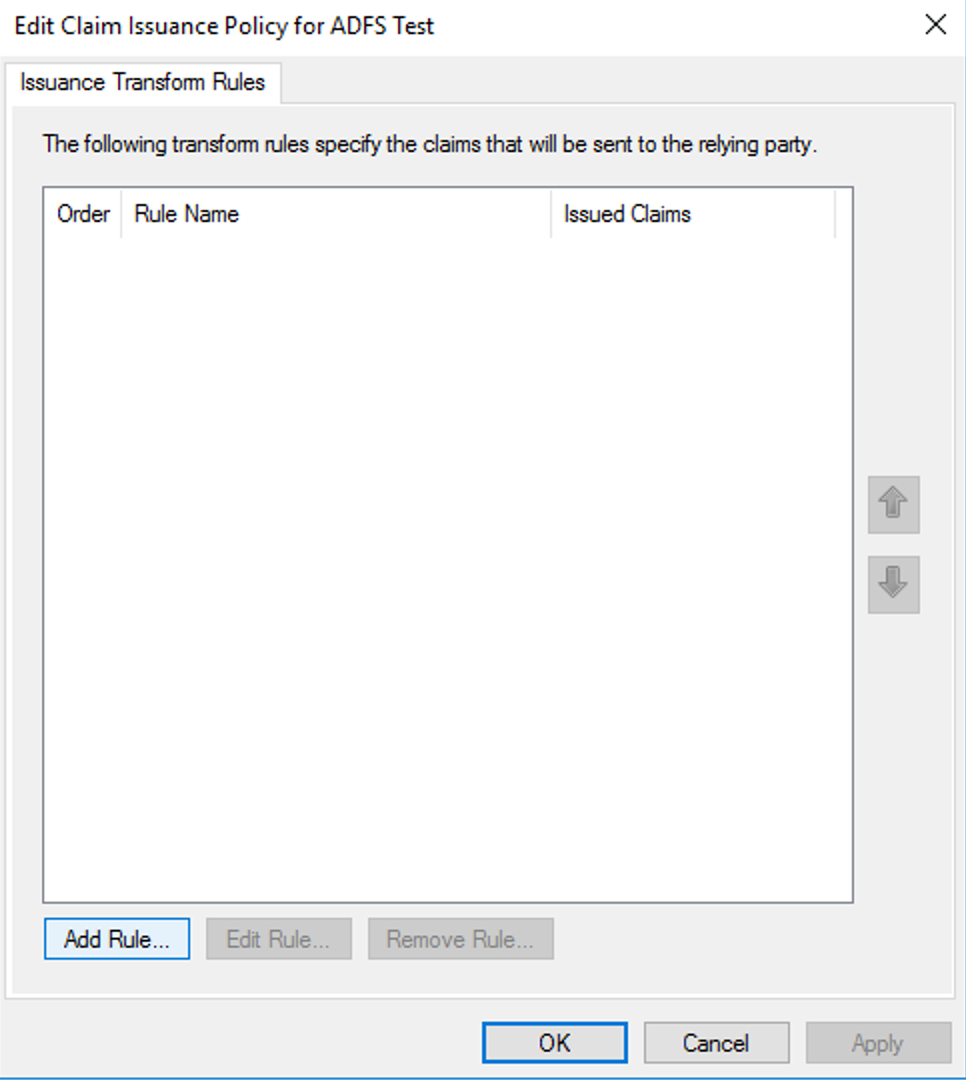
- On the Finish page, ensure the option Configure claims issuance policy for this application is selected, then click Close. This opens the Edit Claim Issuance Policy window.

2. Configure claims issuance policy
- On the Edit Claim Issuance Policy, click Add Rule.
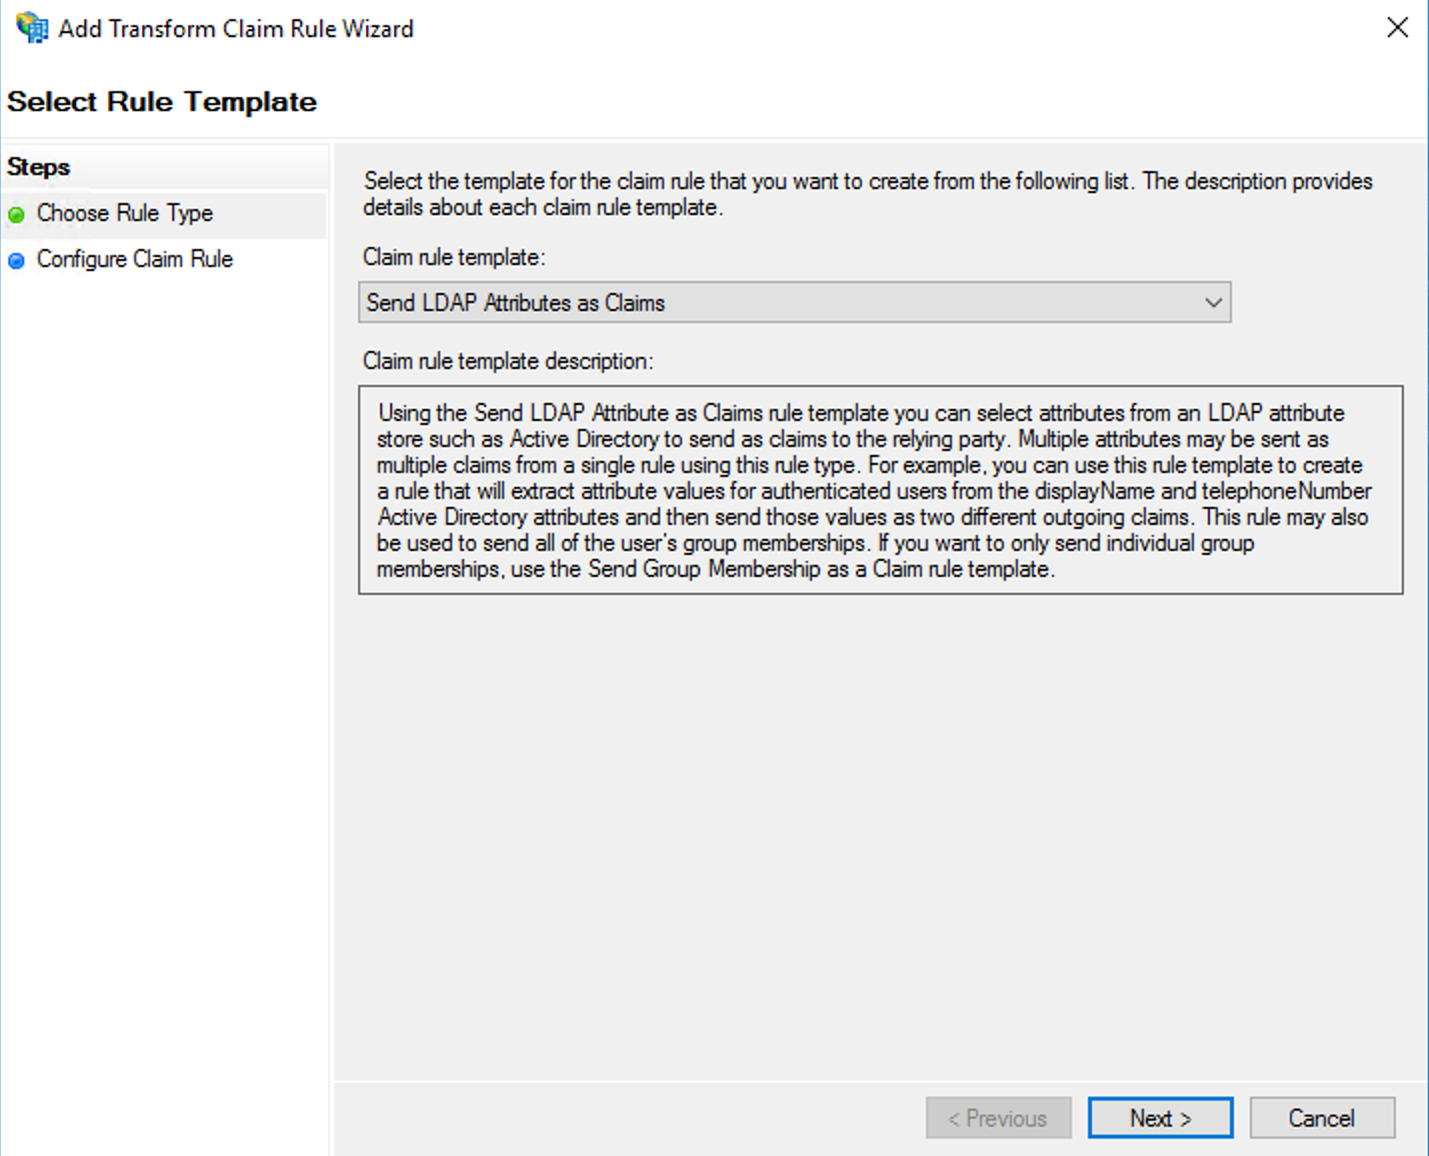
- On the Select Rule Template page, select Send LDAP Attributes as Claims from the list, and then click Next.
- On the Configure Rule page, under the Claim rule name, type a name for this rule.
- For the Attribute store, choose Active Directory from the list.
- Under the section for Mapping of LDAP attributes to outgoing claim types, choose E-Mail-Addresses for both LDAP Attribute and Outgoing claim types.
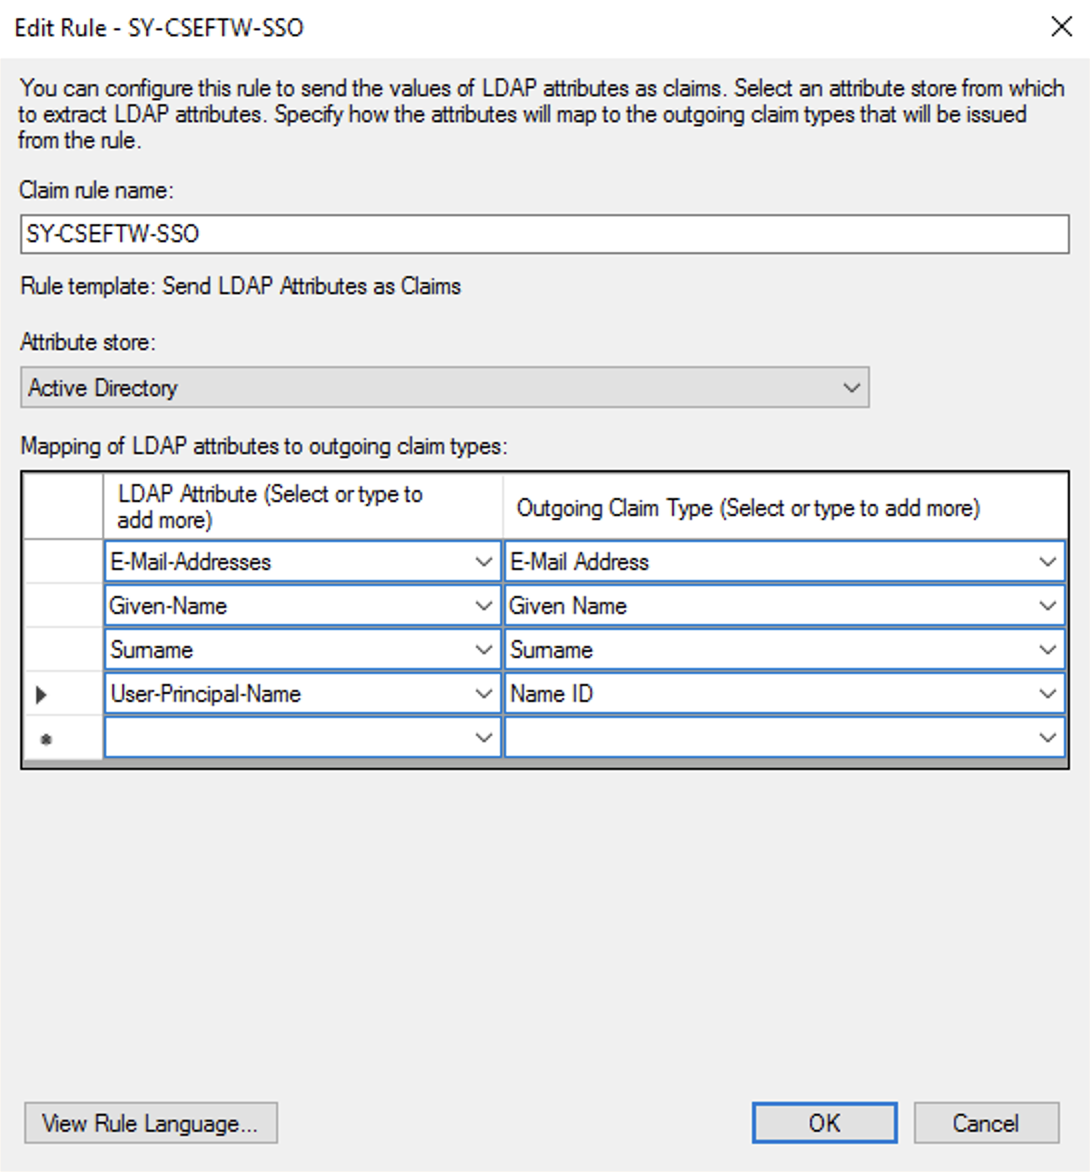
- You can also choose to configure the optional attributes for the user here based on the below table.
- Click the Finish button.
- In the Edit Claim Issuance Policy window, click OK to save the rule.
| Safe Attribute | LDAP Attribute | Outgoing Claim Type |
|---|---|---|
| First Name | Given Name | Given Name |
| Last Name | Surname | Surname |
Note
It is not mandatory to configure the following attributes since they do not affect SAFE integration with AD FS. However, if they are configured, they will be synced with the respective fields for the onboarded users in SAFE, and SAFE Admin does not have to separately update these fields in SAFE whenever there’s an update in the Active Directory.
3. Verify Configuration
- Enter the below URL in your browser, replacing your domain with the appropriate domain name of the AD FS Server.
https://yourDomain/federationmetadata/2007-06/federationmetadata.xml - If you're prompted to download the file federationmetadata.xml, everything is configured correctly.
- Now provide both the federationmetadata.xml file and the URL to SAFE to proceed with the integration.
User Login Flow
The entire process of login for a user configured in Active Directory is summarised in the below diagram.

Once the configuration is completed, you can log in to SAFE as follows:
- Visit the URL of your SAFE instance, enter the email address of a user configured in the Active Directory.
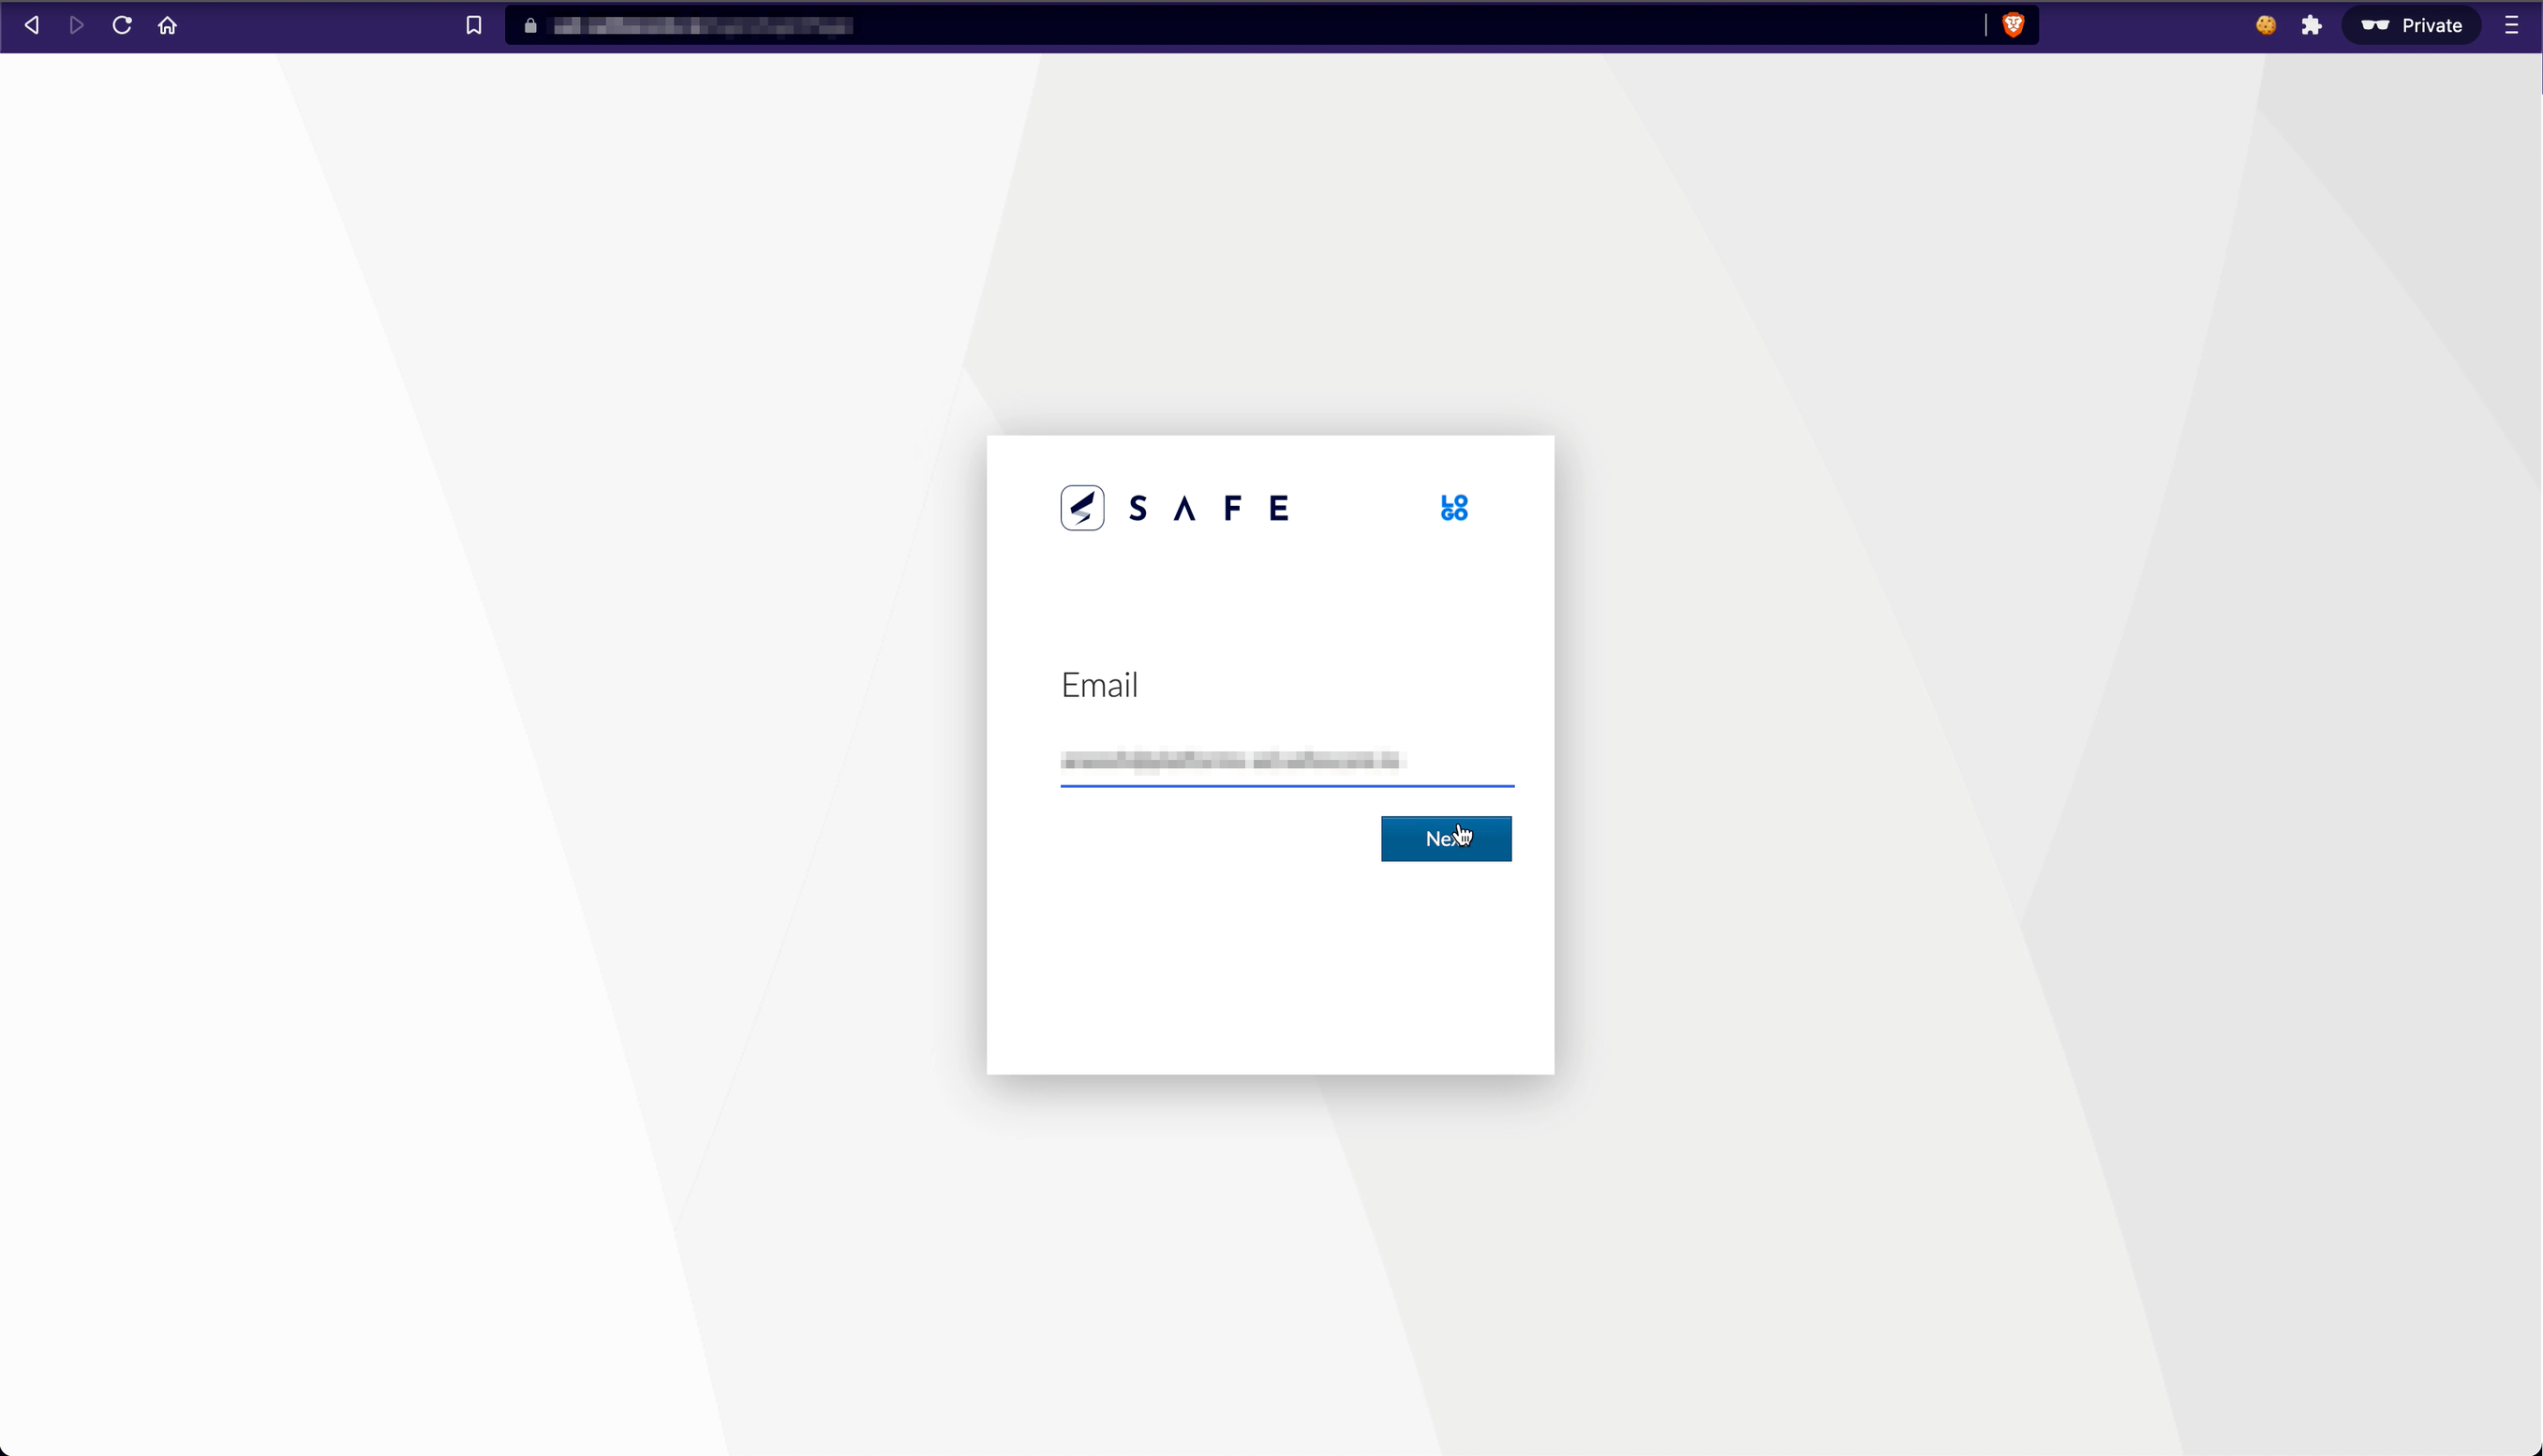
- Click Next. You will now be redirected to the IdP Login Page of AD FS.
- Enter your email address and the password configured in the Active Directory.
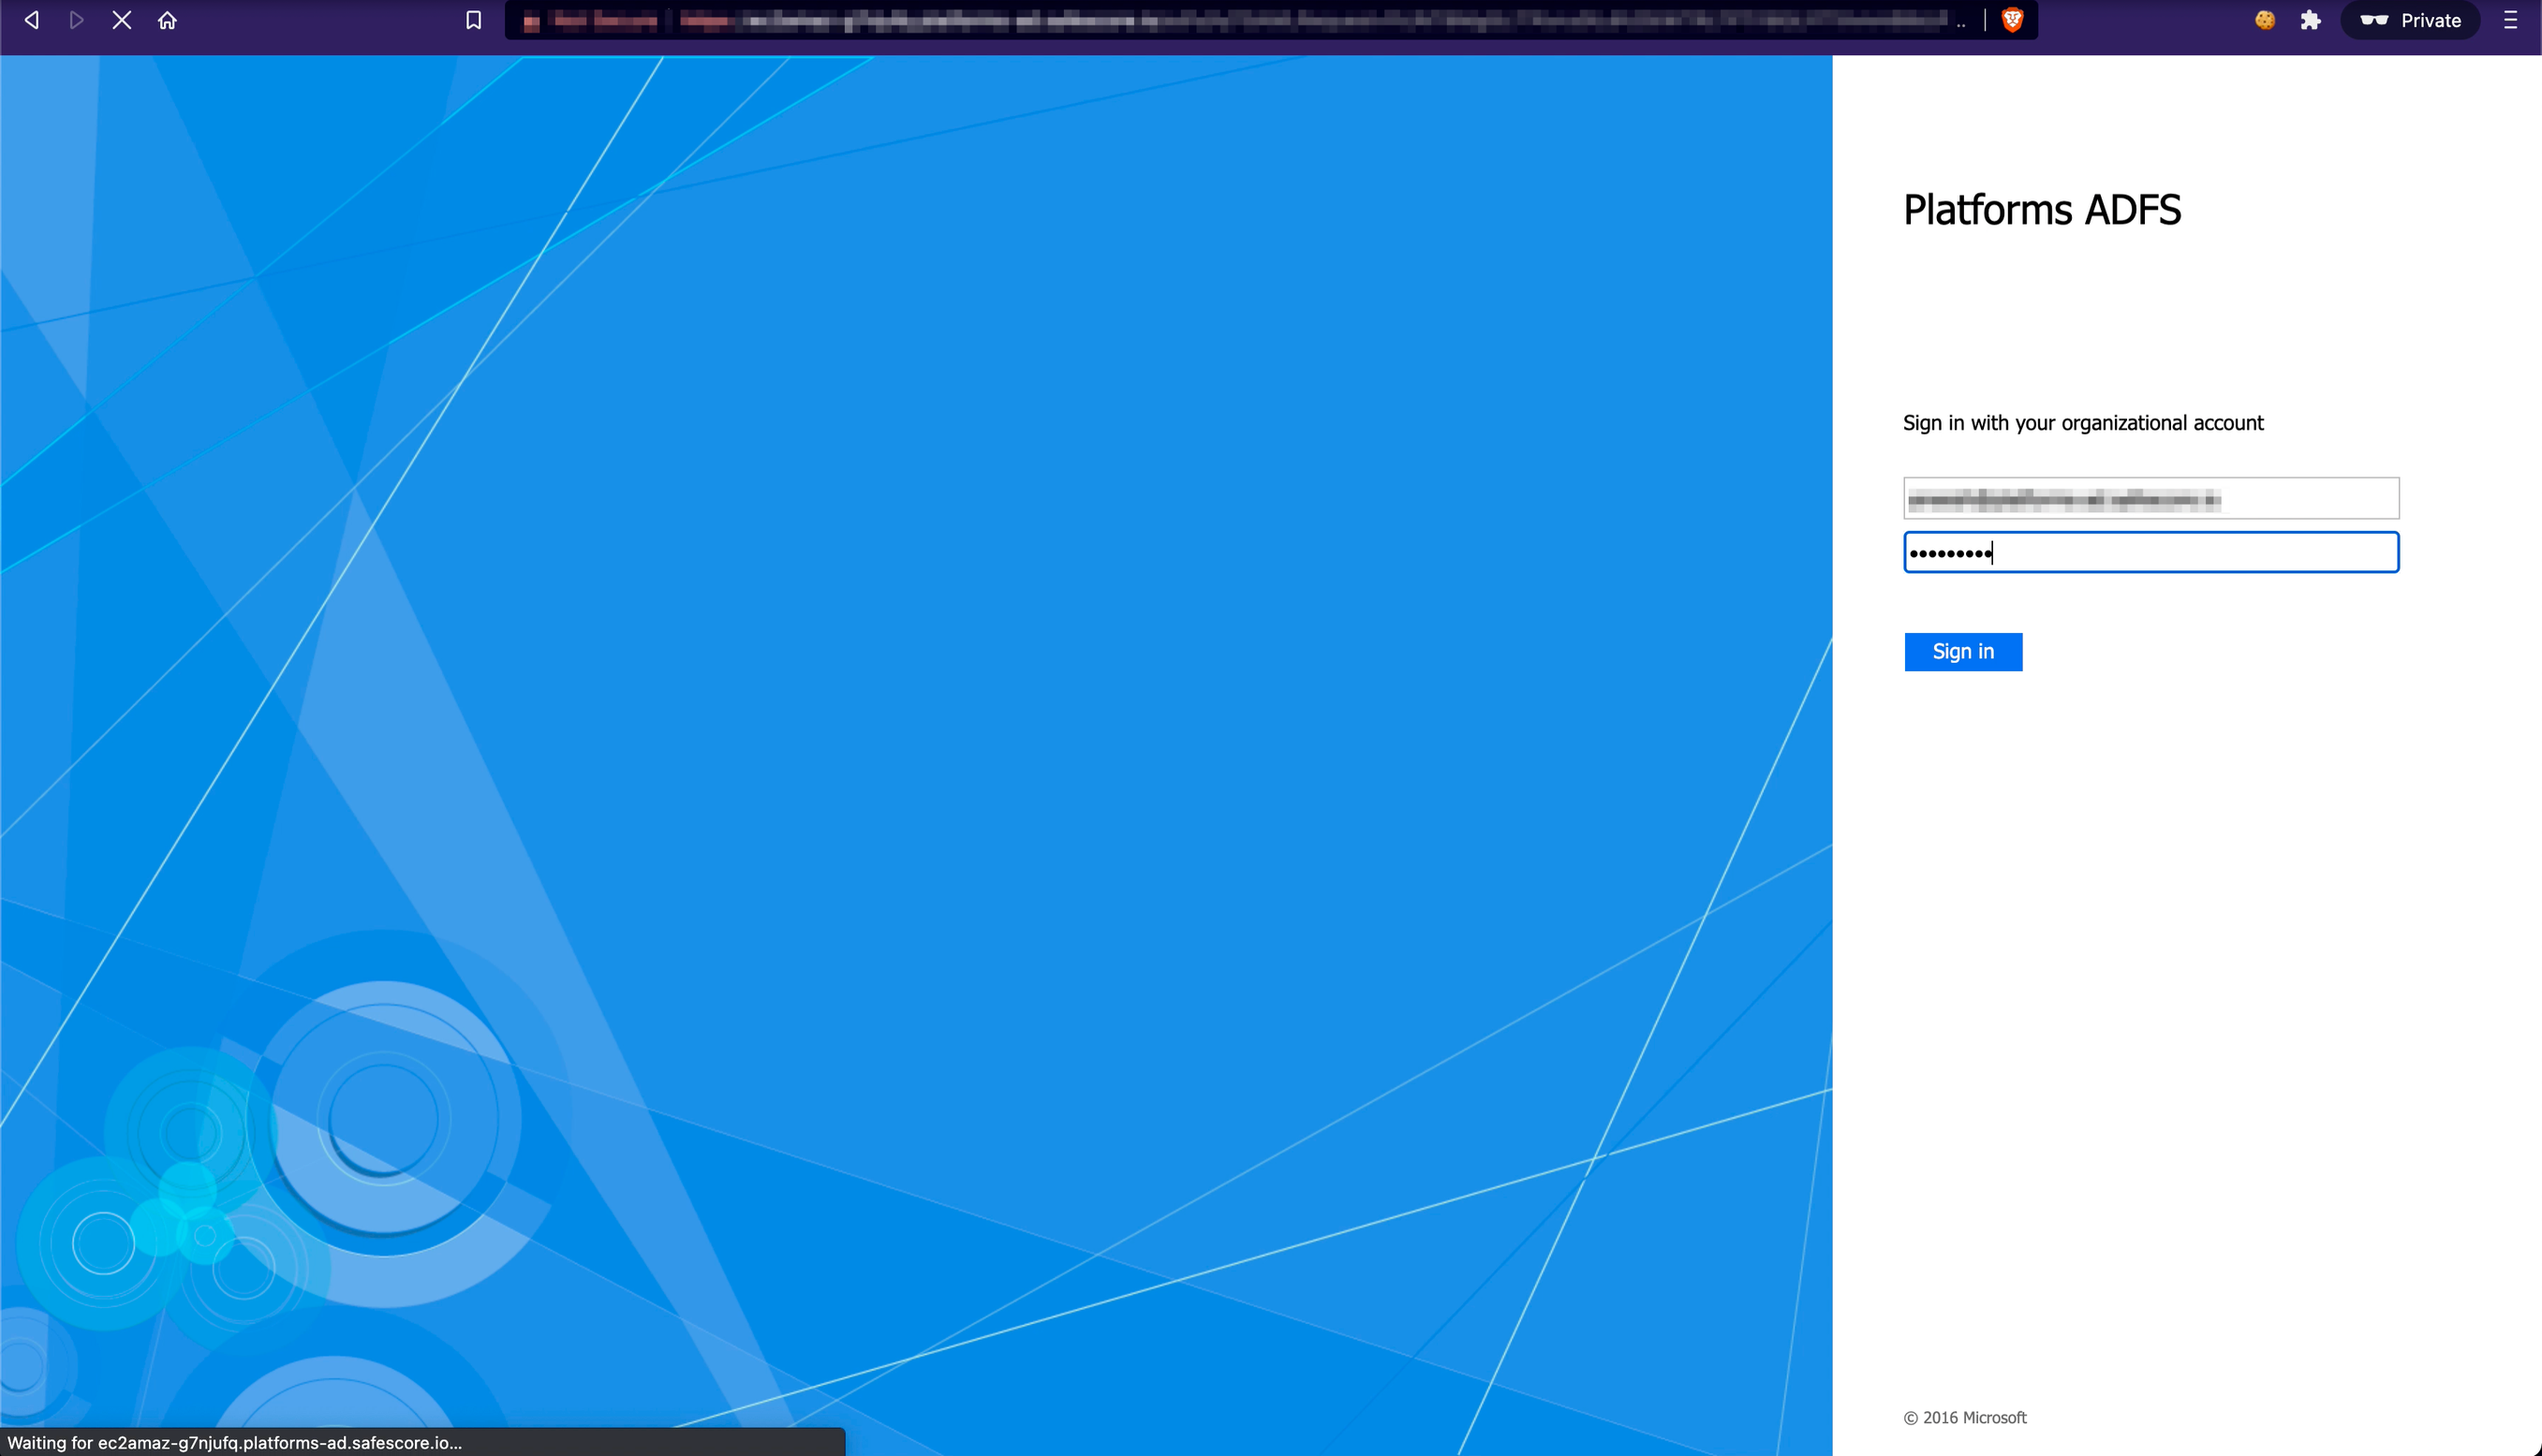
- Click the Sign In button. You will be redirected to the SAFE Dashboard.