Introduction
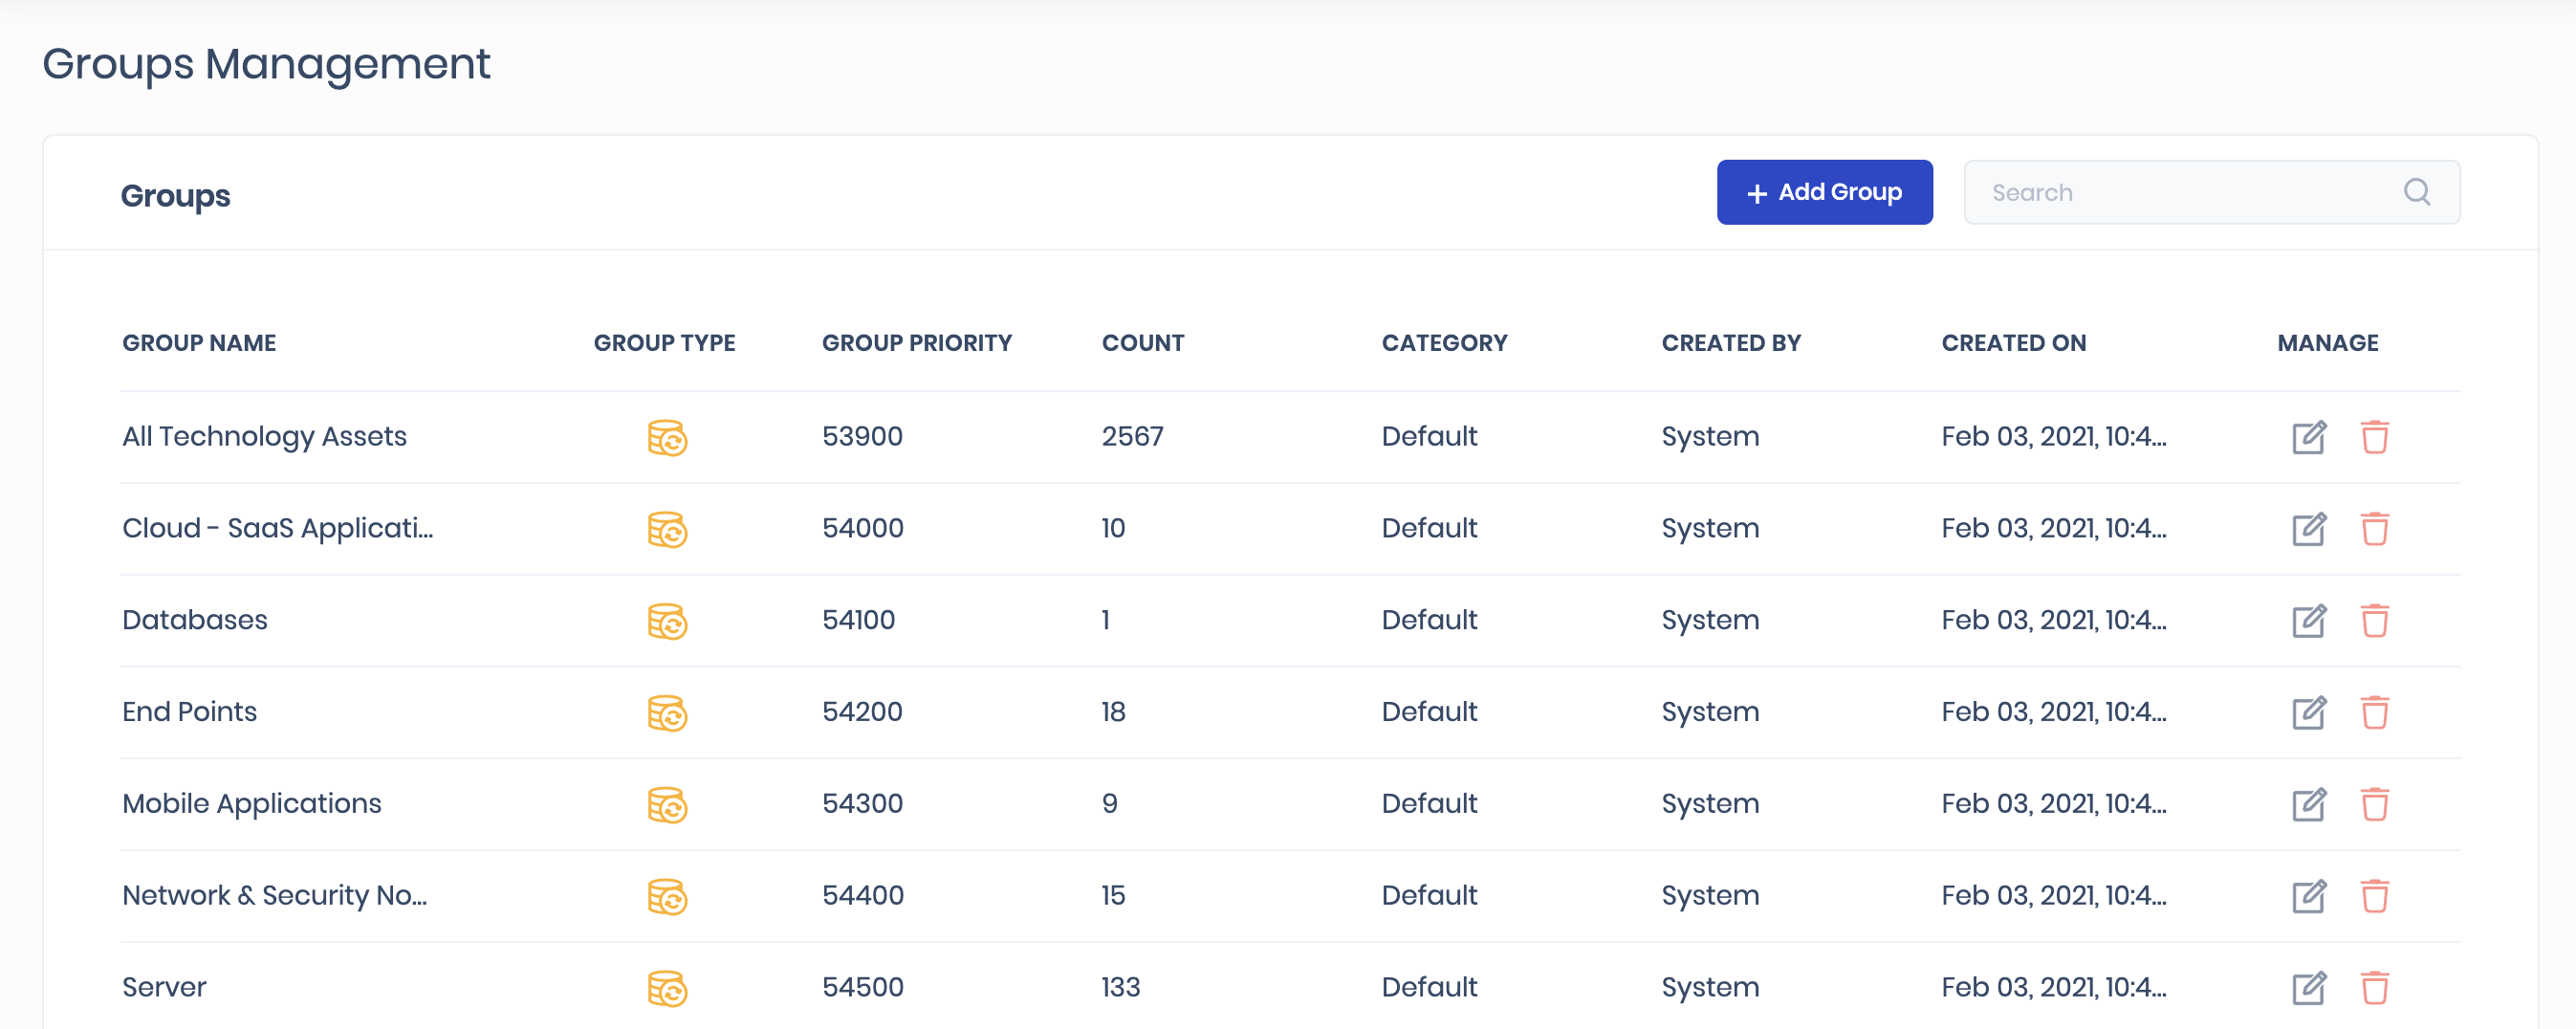
The Groups page lists all the asset groups and user groups in SAFE. From this option, users can create and manage asset groups or user groups in SAFE.
The group list includes details such as SAFE score, group type, priority, group category (default or custom group), asset count, owner, and other details. It allows SAFE admins to create and manage Smart Group and Static Group.
Smart Group
Managing Groups manually in the dynamically changing IT environment is time-consuming and needs human intervention whenever a new asset is added or deleted. This feature of SAFE automates Group management; with this, SAFE automatically adds/manages attack surfaces in the groups based on predefined criteria such as location, criticality, agent type, technology, region, applicability, and many more. Users can create multiple criteria for a Smart Group.
Create a Group
To create a Group:
- Navigate to Groups.
- Click the Create Group button.
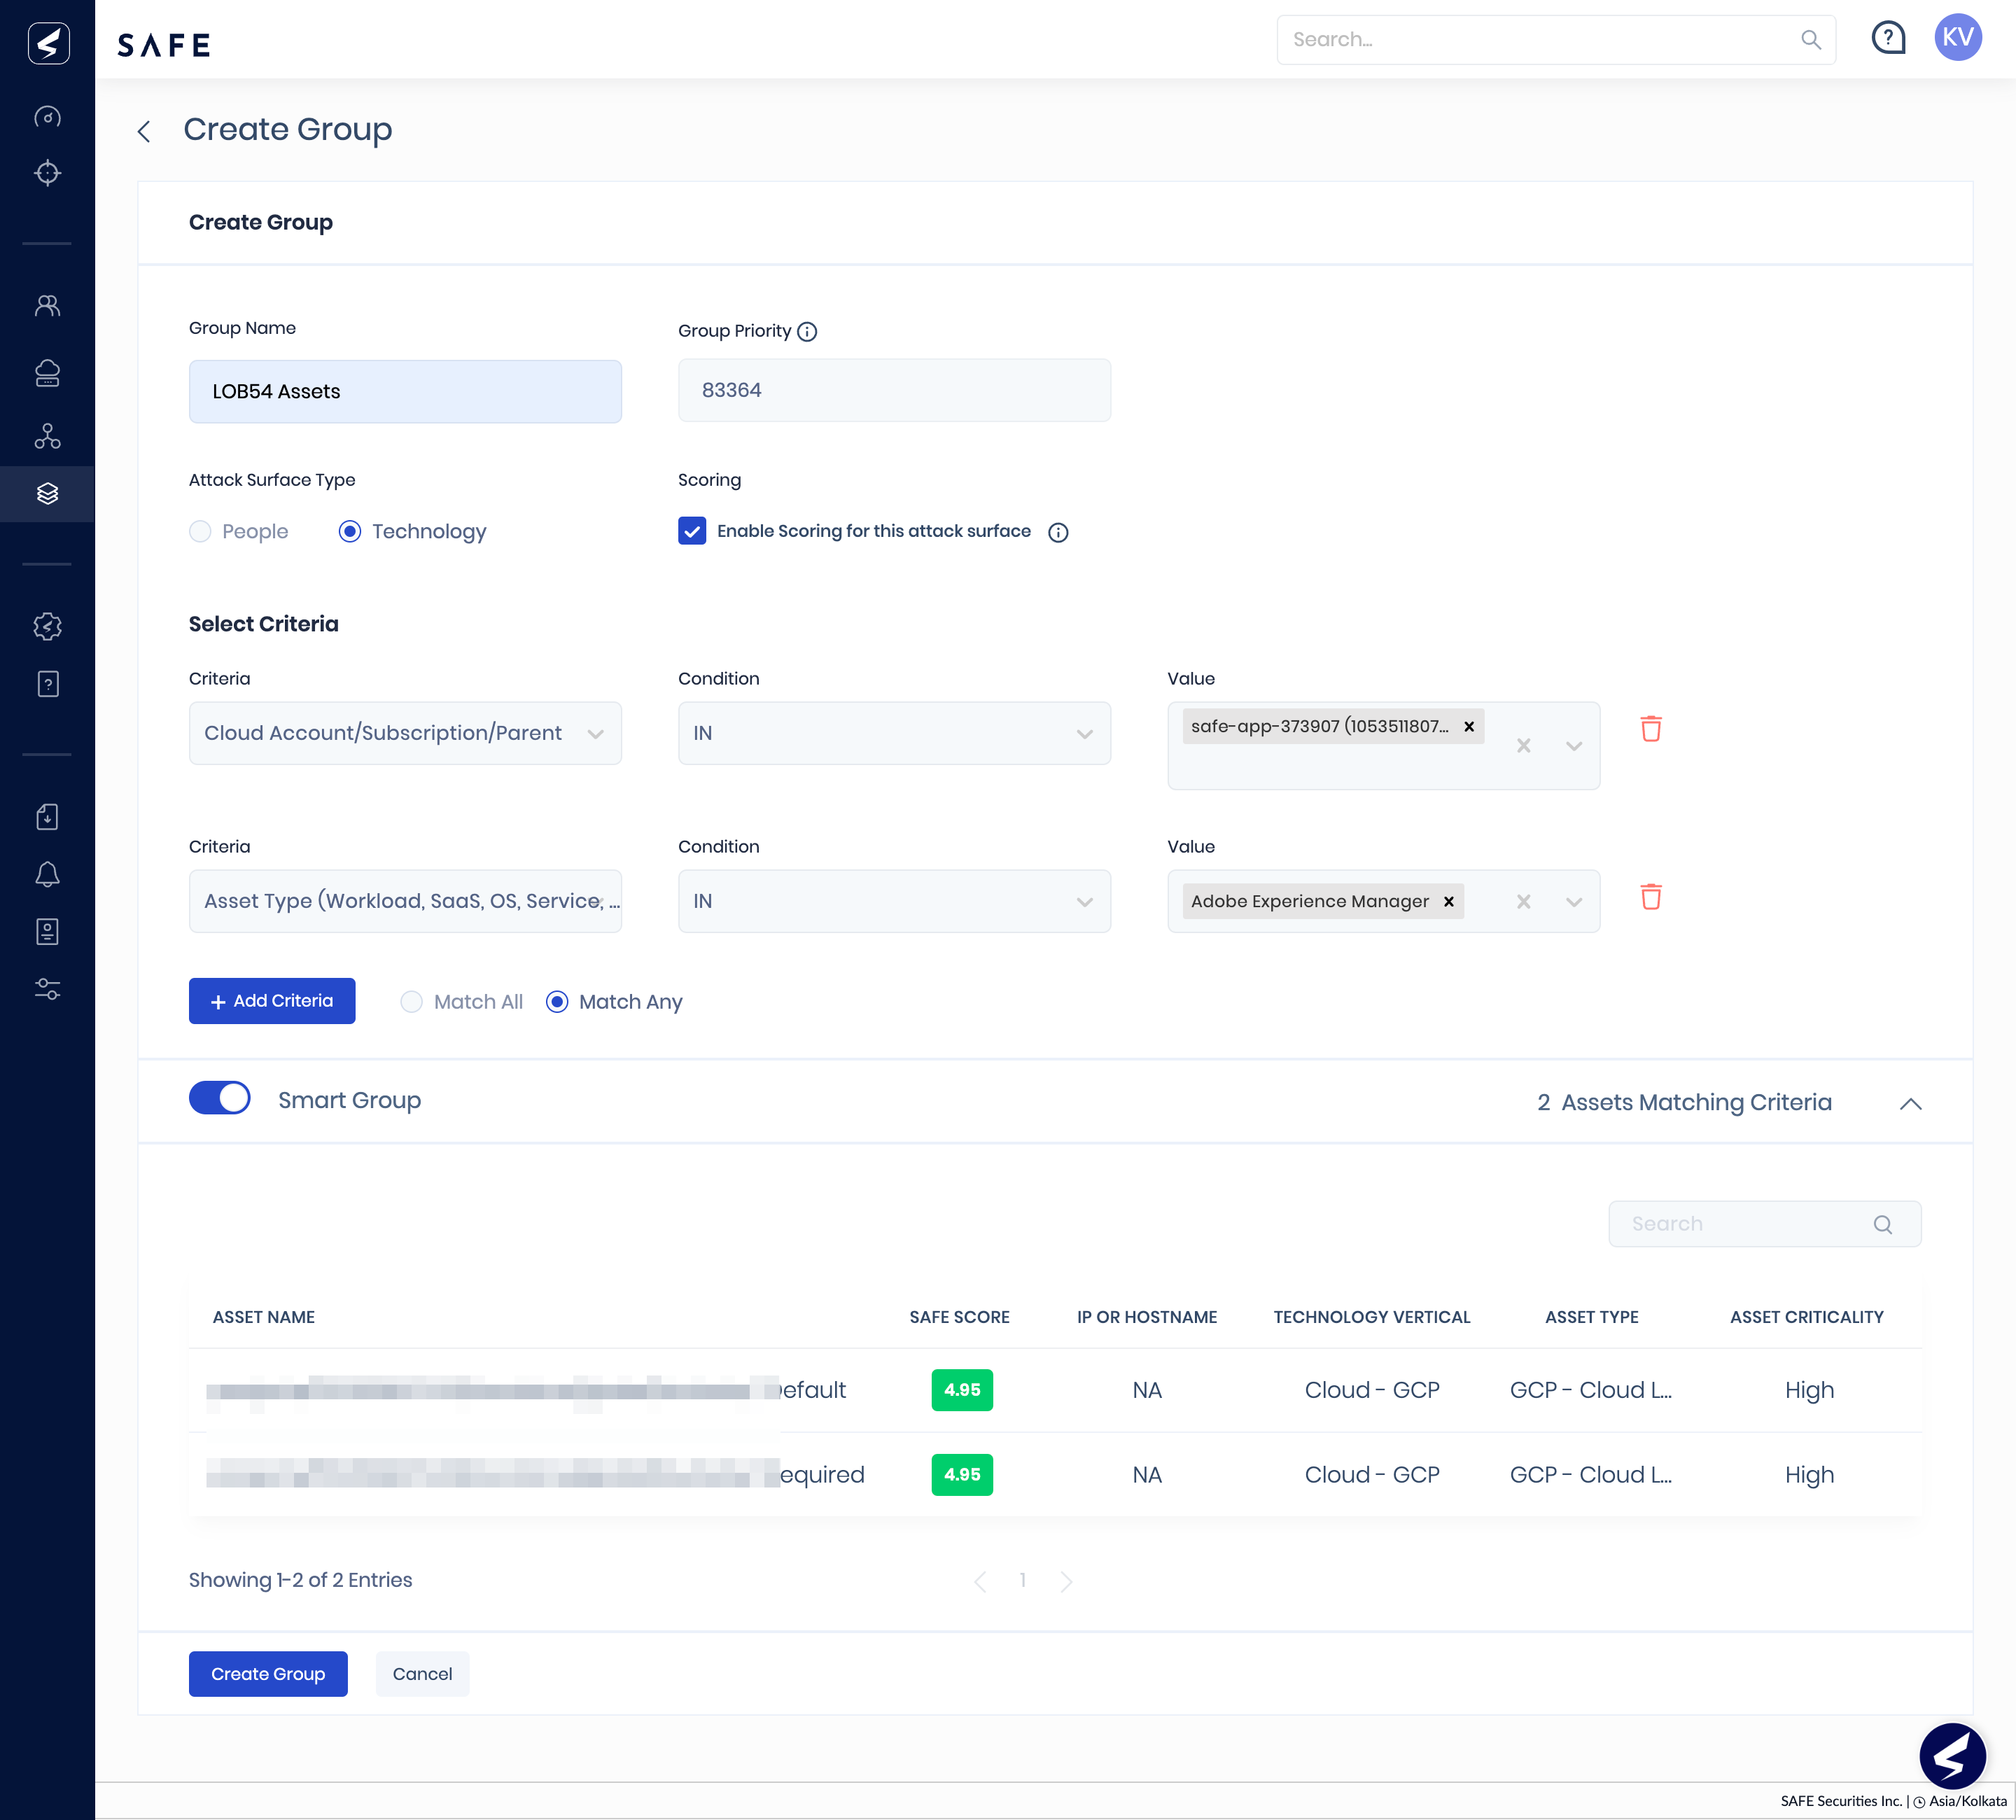
- Enter the Group Name.
- The Group Priority field will be automatically populated.
- Select the Attack Surface type as People or Technology by marking the radio button. Selecting People creates a user group, and selecting Technology creates an asset group.
- If required, enable scoring for the asset group by marking the scoring checkbox. Marking the scoring checkbox, the system enables scoring for the attack surface and automatically creates a Group Risk Scenario for this group.
- Select criteria for the asset group as follows:
- Select a field value for the Criteria drop-down.
- Select a condition from the drop-down.
- Select or enter the value for selected criteria and conditions.
- You can add multiple criteria by clicking the plus icon.
- Select the Match All or Match Any option as per your requirement.
- Match All: Upon selecting the Match All option, the system adds the assets to the asset group if the assets fall under each of the selected criteria.
- Match Any: Upon selecting the Match Any option, the system adds the assets to the asset group if the assets fall under any of the selected criteria.
- Make sure the Smart Group button is enabled. If this button is not enabled, the system creates a static group.
- All the attack surfaces with matching criteria will be listed at the bottom of the page. You need to click the expand icon to view the list.
- Click the Create Group button. The group will be created.
Delete Asset Group
To delete an Asset Group:
- Navigate to Groups.
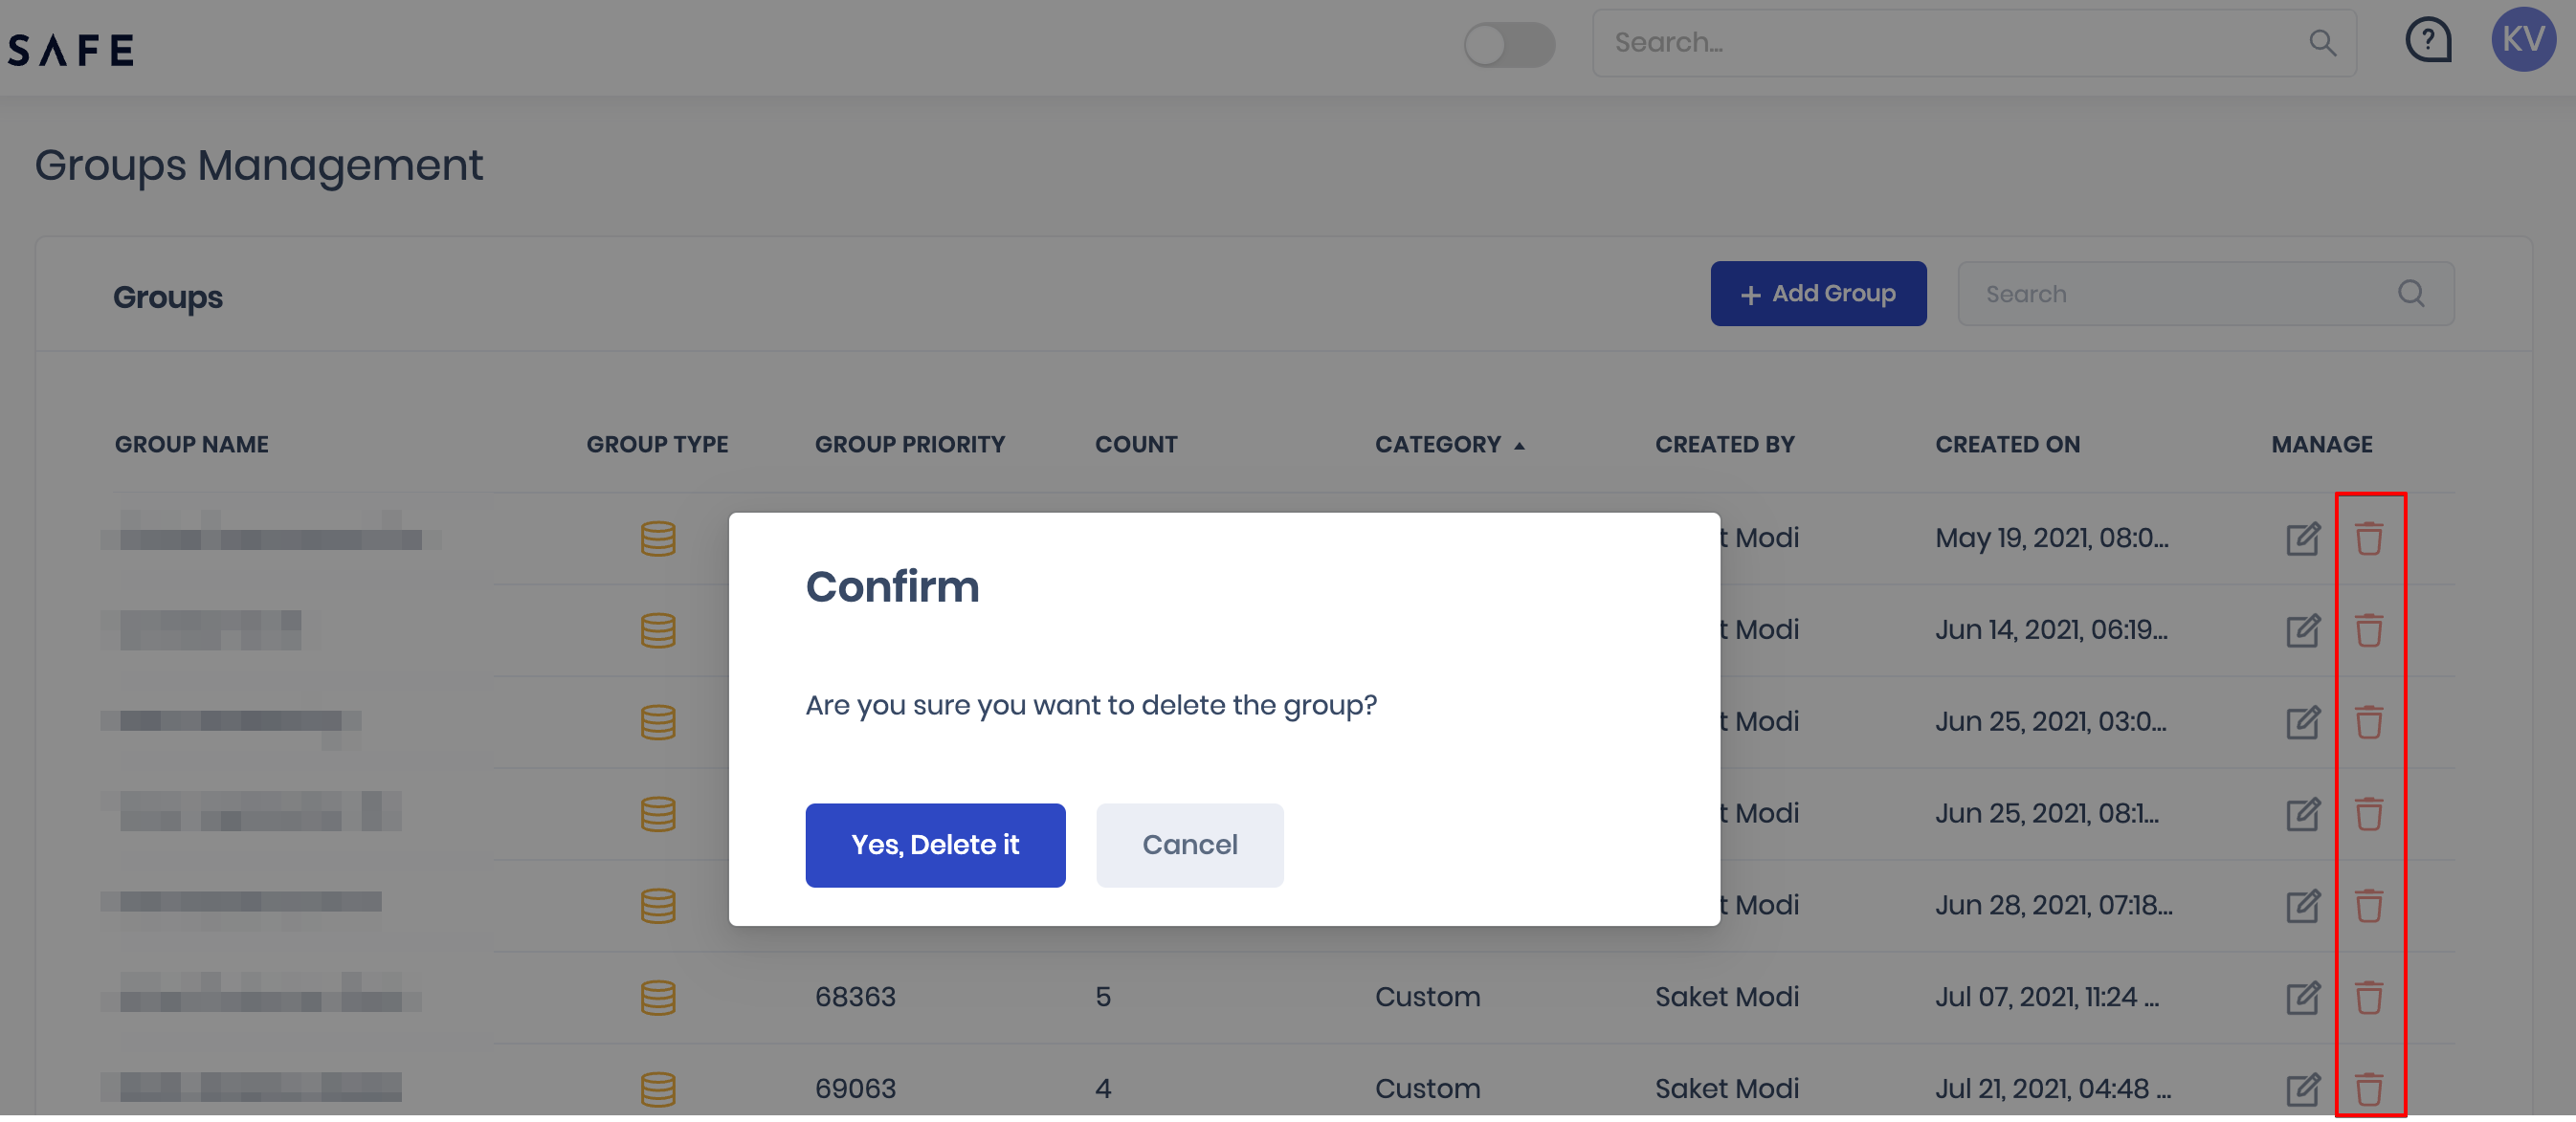
- Click the Delete icon available in the Manage column. This option will not be available for the default groups.
- Click the Yes button on the confirmation screen.
Edit Asset Group
To edit an Asset Group:
- Navigate to Groups.
- Click the Edit icon available in the Manage column. This option will not be available for the default groups.
- Update the details.
- Click the UpdateGroup button available at the bottom of the screen.
Group Details
Clicking any of the asset groups from the groups list redirects users to the group details page. On the asset group details page, users can find the following information:
- Group Details
- Associated Risk Scenarios List
- Entity List
Group Details
This section includes Group Criteria, Group Type, Group Owner, Attack Surface Type, and other group details.
.png)
Associated Risk Scenarios
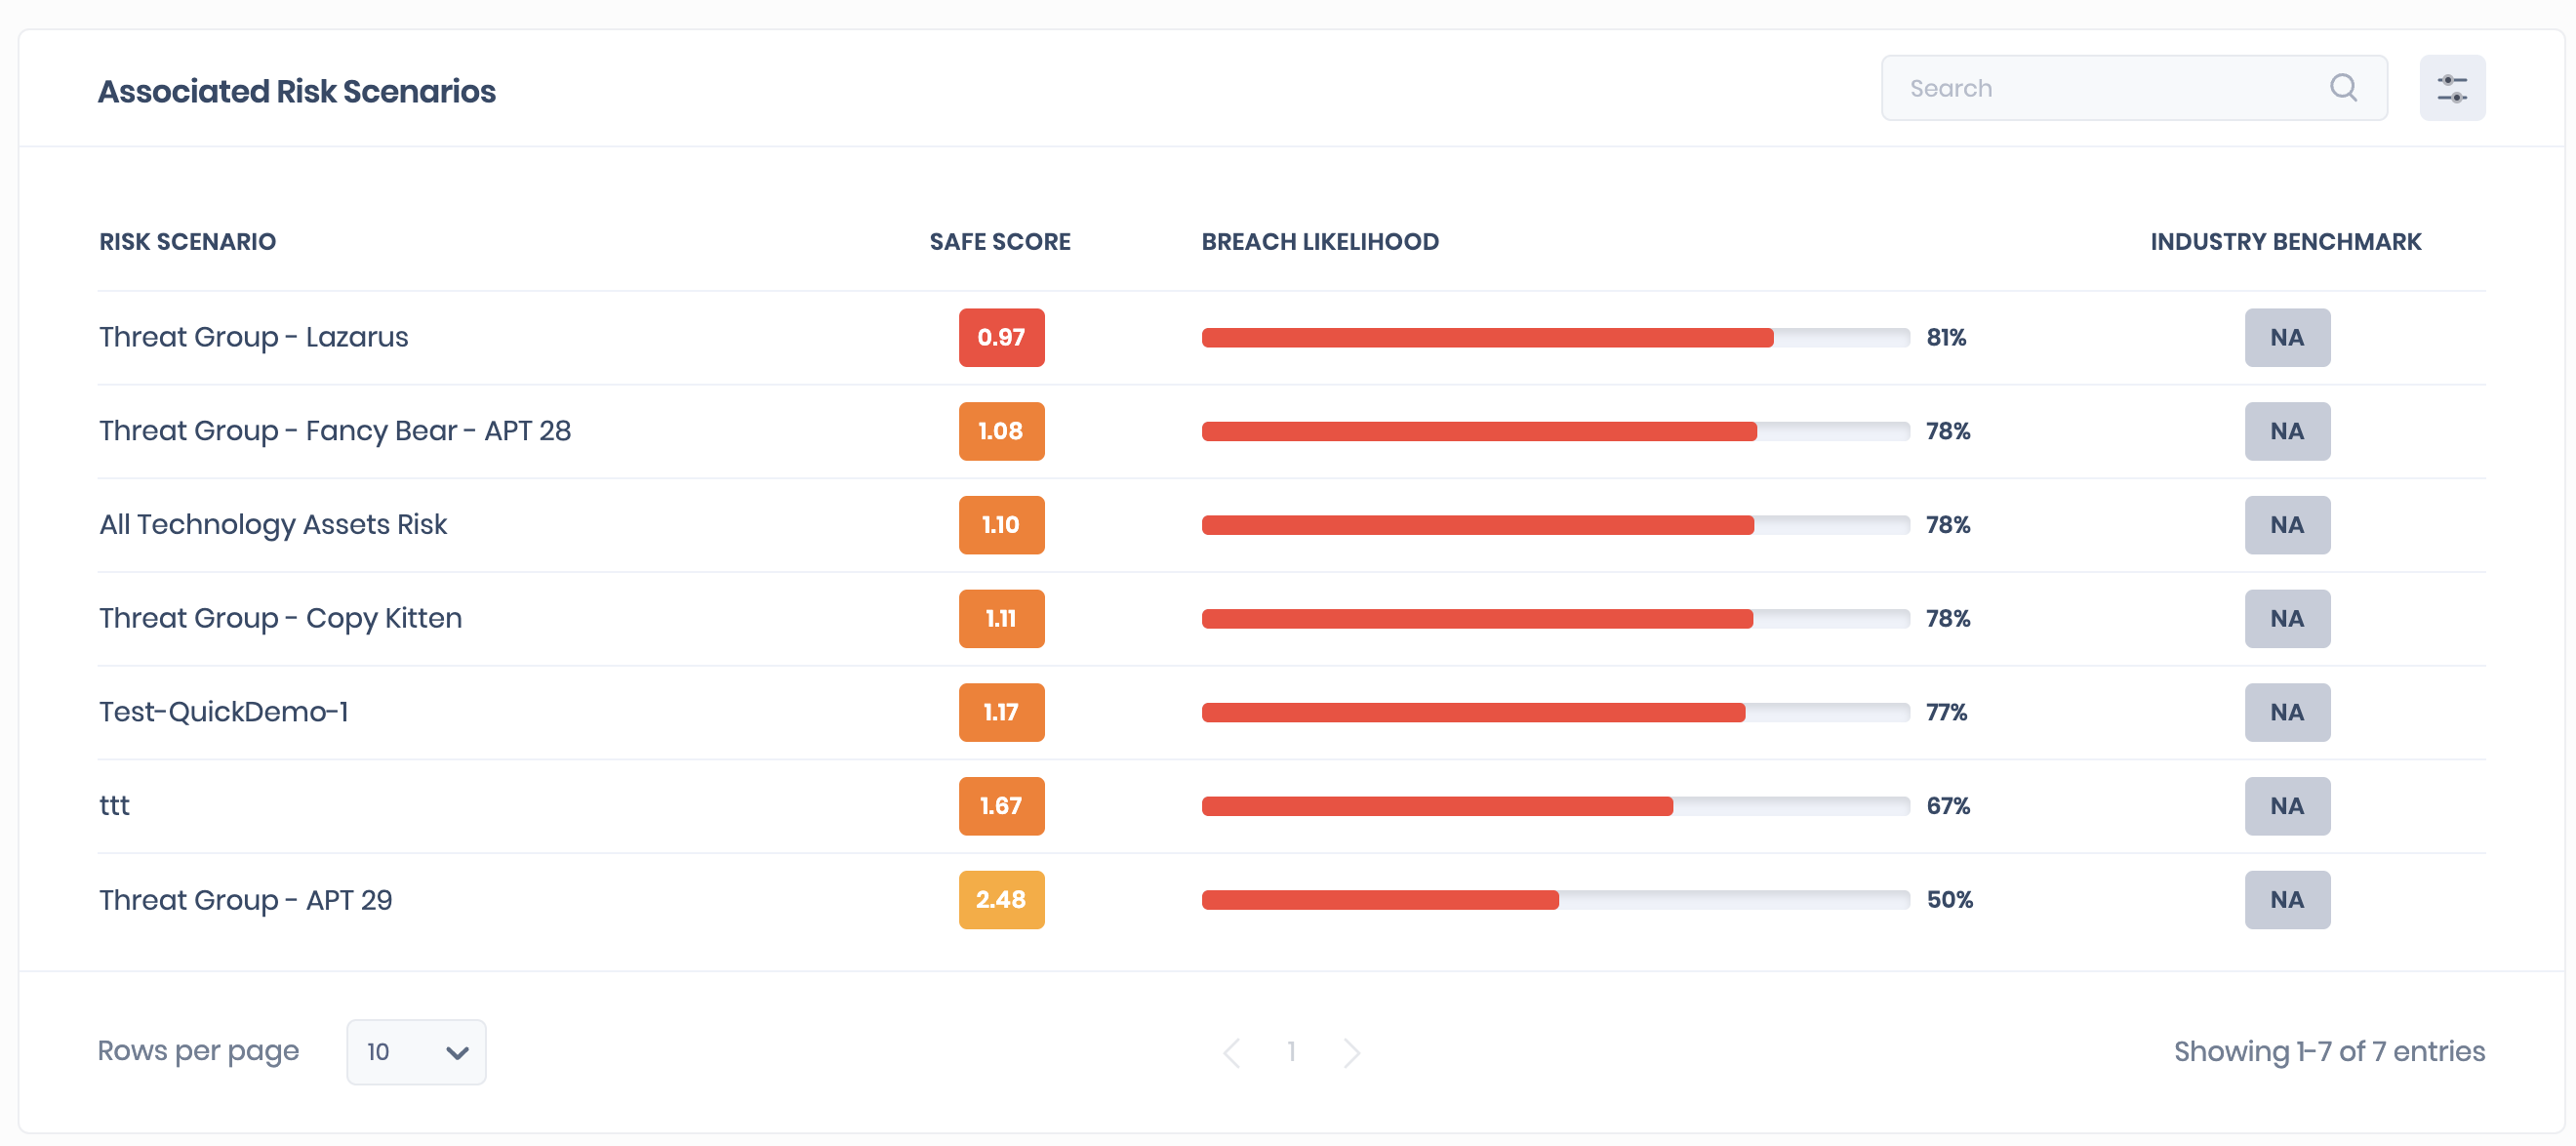
The sections list all the associated risk scenarios with the group. Clicking a risk scenario, the system redirects you to the risk scenario page.
Entity List
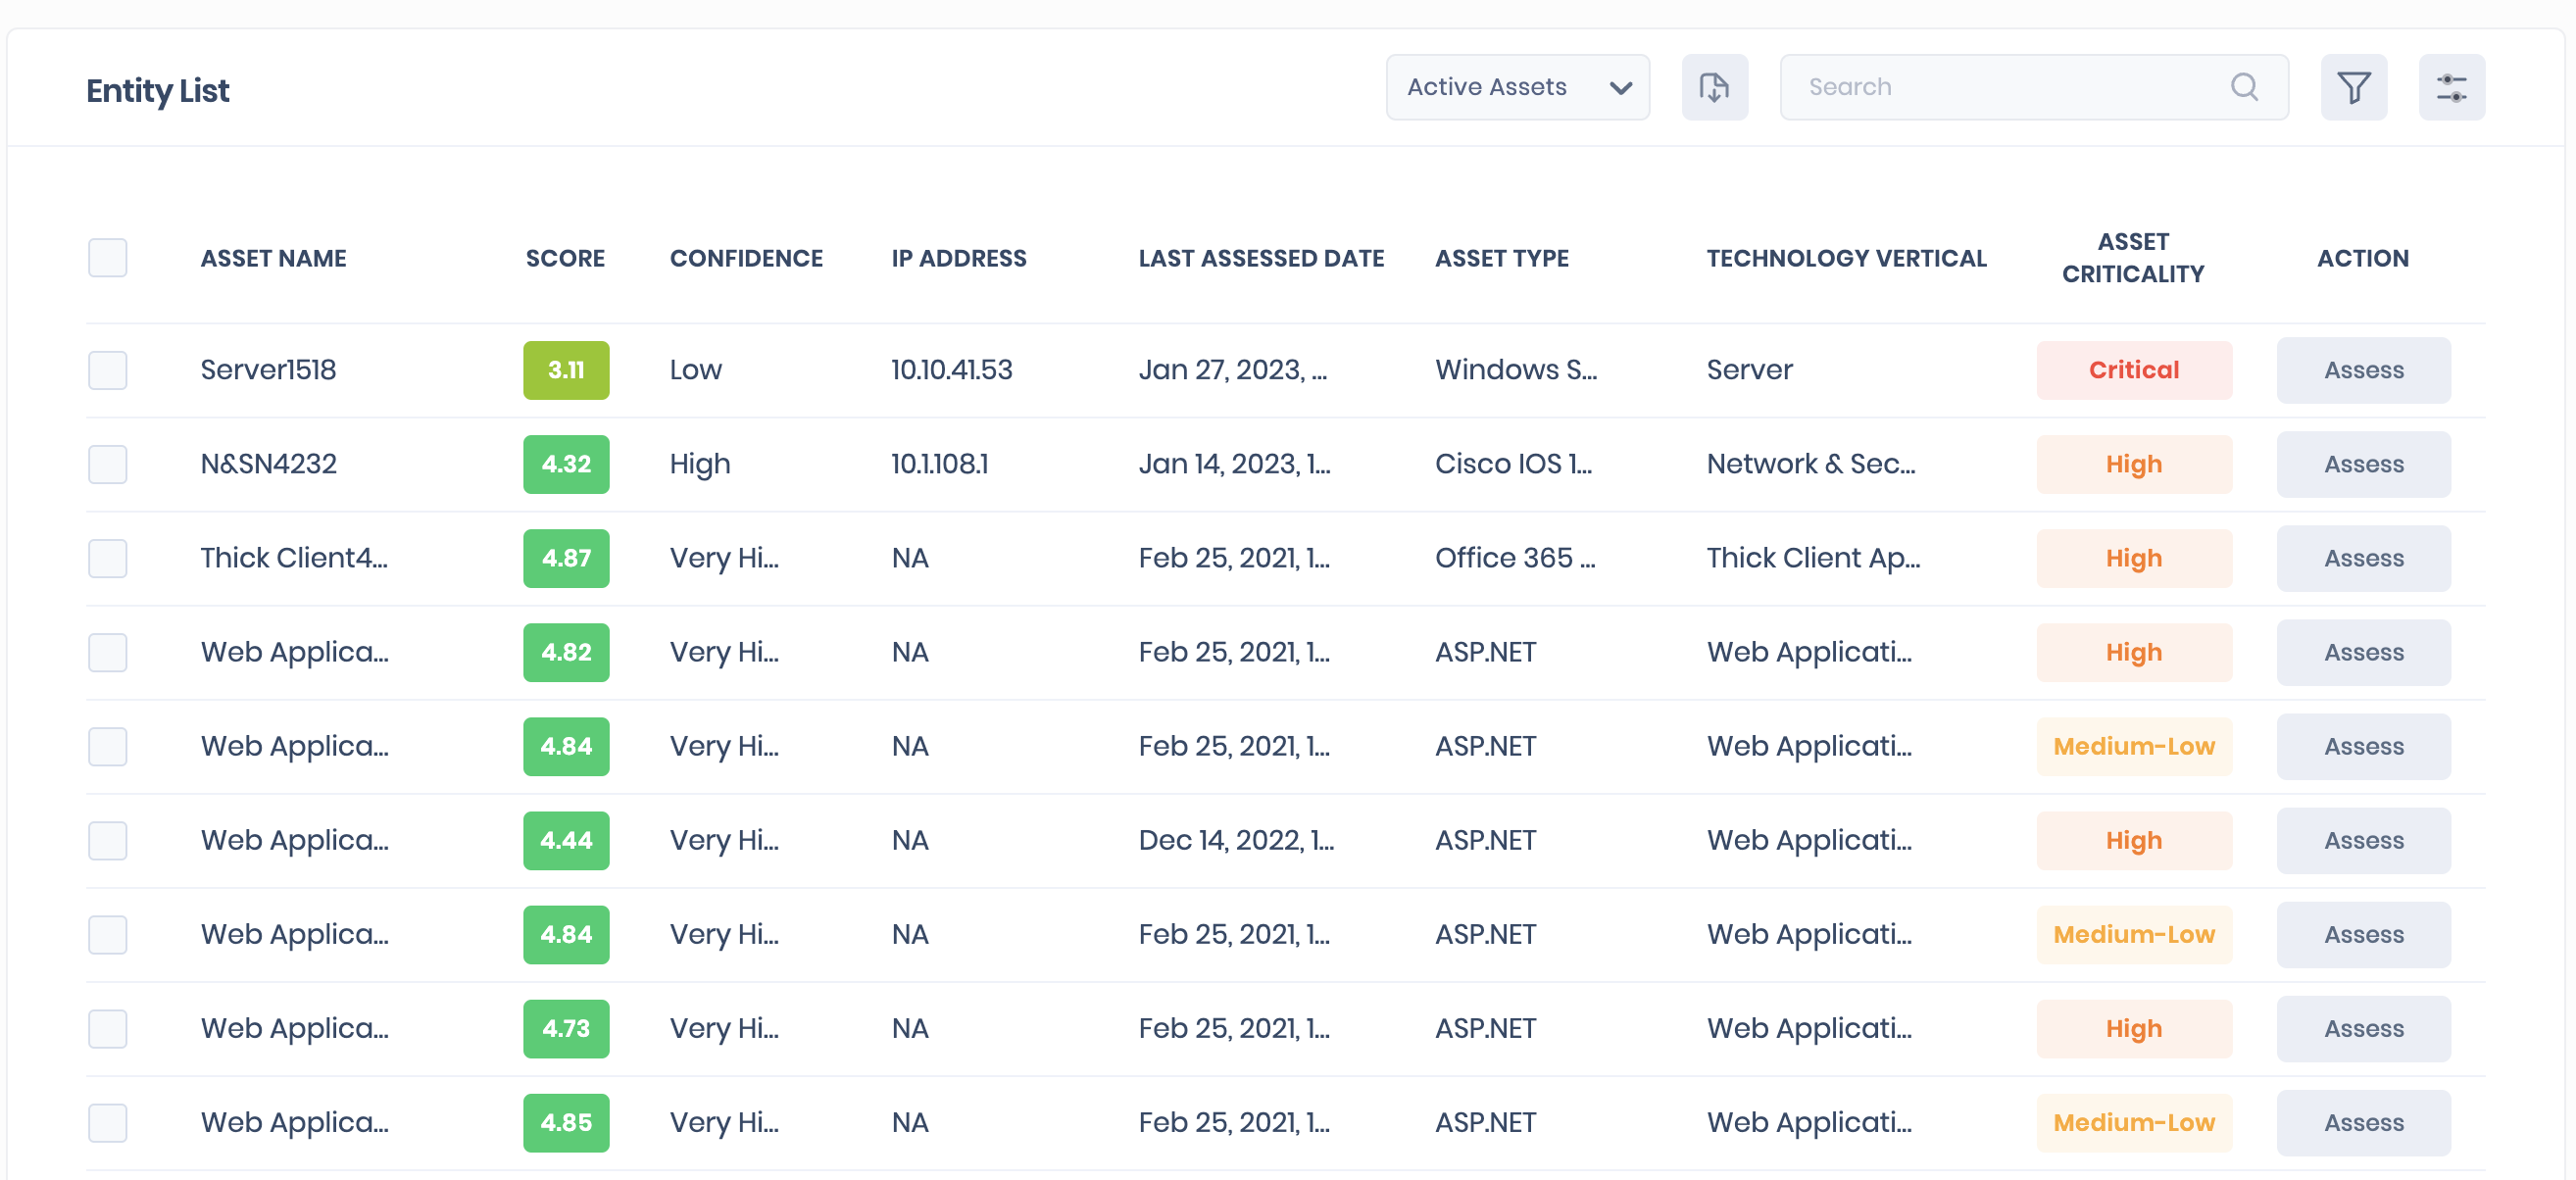
This list displays all the assets belonging to the group with their details. You can also click the Assess button to navigate to the Asset Assessment page. Here you can view the controls and their status.
