Create a Group
To create a Group:
Navigate to Groups.
On the Create Group page, enter the Group details:
Group Name: Enter a group name.
Group Tags: You can select multiple tags from the dropdown. You can also manually add a tag for the Group.
Owner Email: Enter your email.
Description (Optional): Enter a short description for the group.
Enter the Firmographic details:
Industry: Select the industry relevant to this group.
Micro Industry: Select a micro-industry from the dropdown.
Country: Select a country.
Internet Facing (for Groups): Select internet-facing options for the group.
Employee Count: Enter the number of employee counts.
Revenue: Enter the revenue details.
Click Next.
Select a Group Type:
If you select Smart Group, first apply a filter to see the asset list. The system automatically selects the assets that match the filter criteria.
If you select Static Group, the system will display a list of all the assets. Apply filters to the asset list and then manually select assets by marking the checkboxes.
If you select No Asset Group, the system allows you to create a group without any asset. Select the Attack Surfaces applicable to this Group.
Click Next.
Select the Questionnaires from the questionnaire list as per the business requirements of your organization. The Financial Impact Questionnaire is mandatory for a Group.
Click Next.
Review the group information and click the Create Group button. The system creates the group.

Info: Once you create a Group, you must create Risk Scenarios for the Group and assess the controls. Go to the Risk Scenario tab on the Group Details page and start creating a Risk Scenario.
Edit a Group
Navigate to Groups.
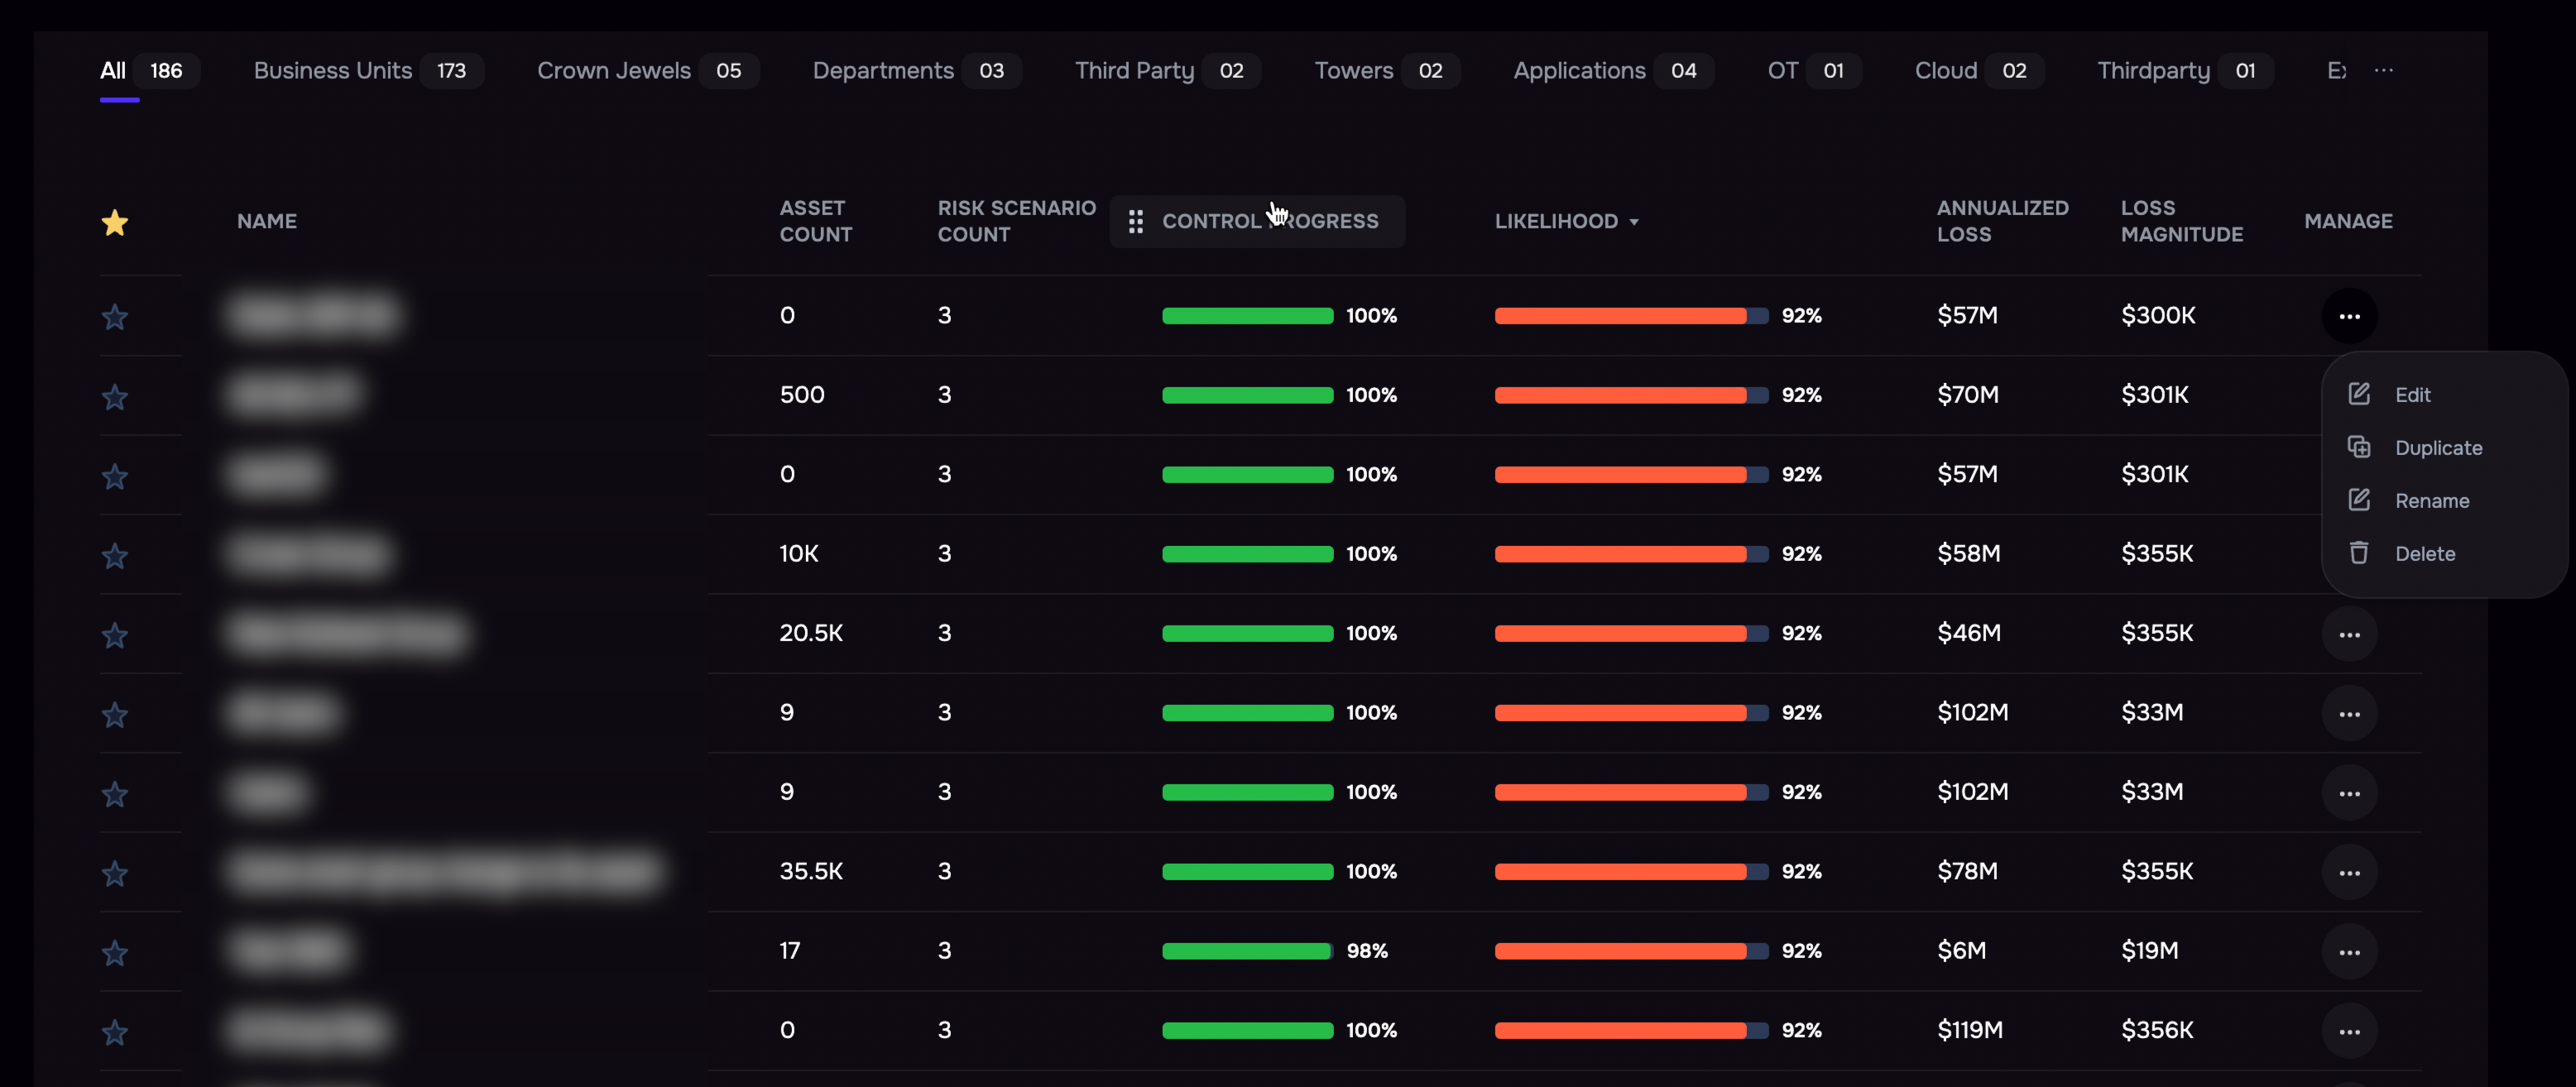
Click the three-dot options menu available in the manage column of the group list.
Click the Edit option.
Update the details based on your requirements.
Click the Update Group button in the final step of the wizard.

Duplicate a Group
Note: Duplicating a group will copy the CAM controls and questionnaire assessments. However, the Risk scenarios will need to be created for the new Group.
Navigate to Groups.
Click the three-dot options menu available in the manage column of the group list.
Click the Duplicate option.
Enter a name for the new group.
Click the Duplicate button.
Delete a Group
Navigate to Groups.
Click the three-dot options menu available in the manage column of the group list.
Click the Delete option.
On the confirmation screen, click Yes.