Google Workspace
- 5 Minutes to read
- Print
- PDF
Google Workspace
- 5 Minutes to read
- Print
- PDF
Article summary
Did you find this summary helpful?
Thank you for your feedback
About this document
This document gives you the step-by-step procedure to configure Google Workspace in SAFE.
Introduction
SAFE allows you to onboard and assess your Google Workspace account for its configuration assessment. SAFE admins can configure the Google Workspace integration in SAFE from the Google Workspace card available on the SAFE Hooks page.
Prerequisites
To onboard a Google Workspace account in SAFE, you need the following privileges:
- Users must have the SAFE Admin Role.
- The user must have the Admin Role in the GCP console.
Generate Connection Details
1. Create a new project in the GCP console
- Login to the GCP console.
- Click the dropdown menu on the top left of the page, located between the Google Cloud Platform label and the search bar.
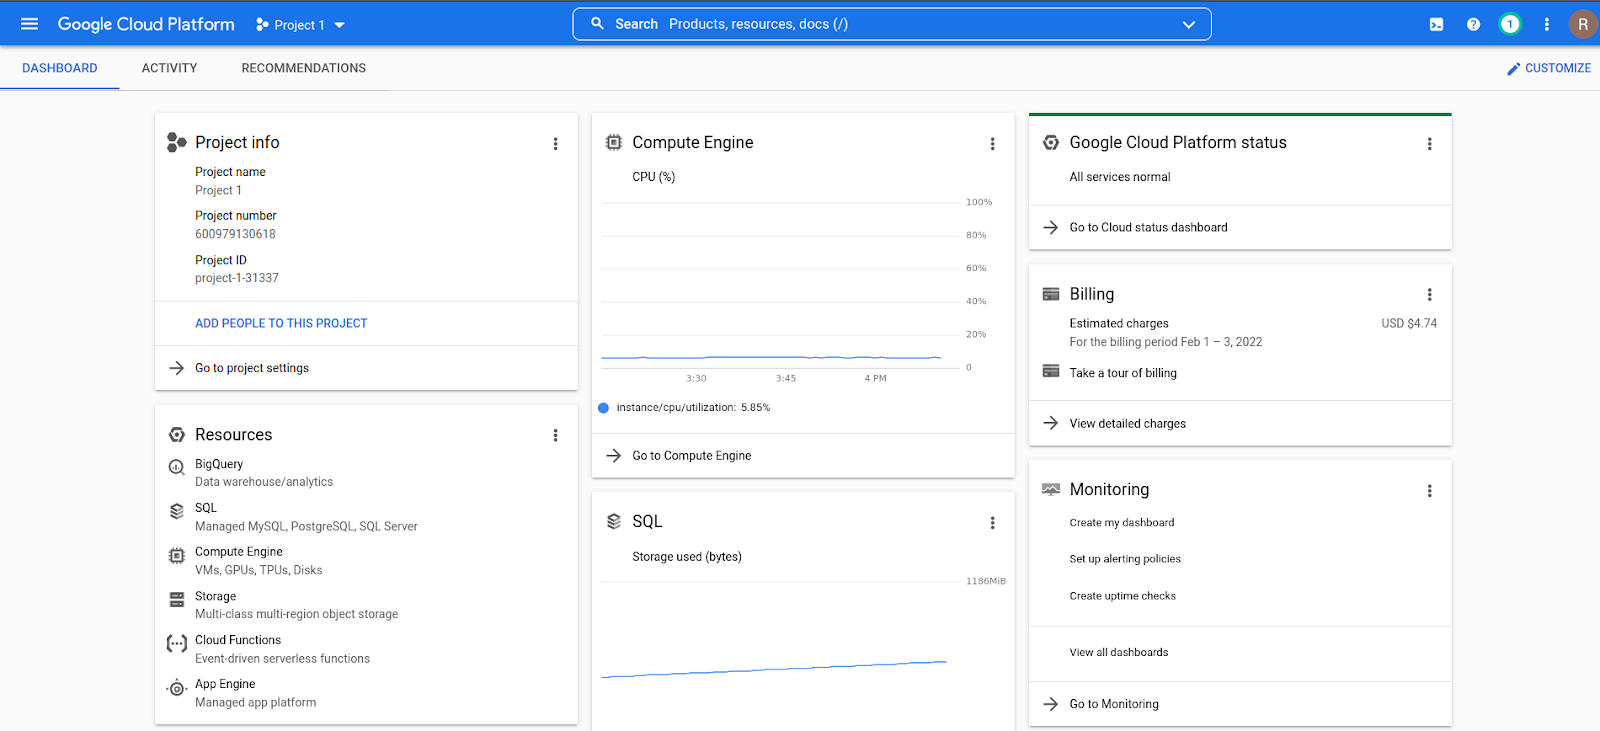
- The subsequent pop-up lists the hierarchical structure of the organization and all the existing folders and projects within it.
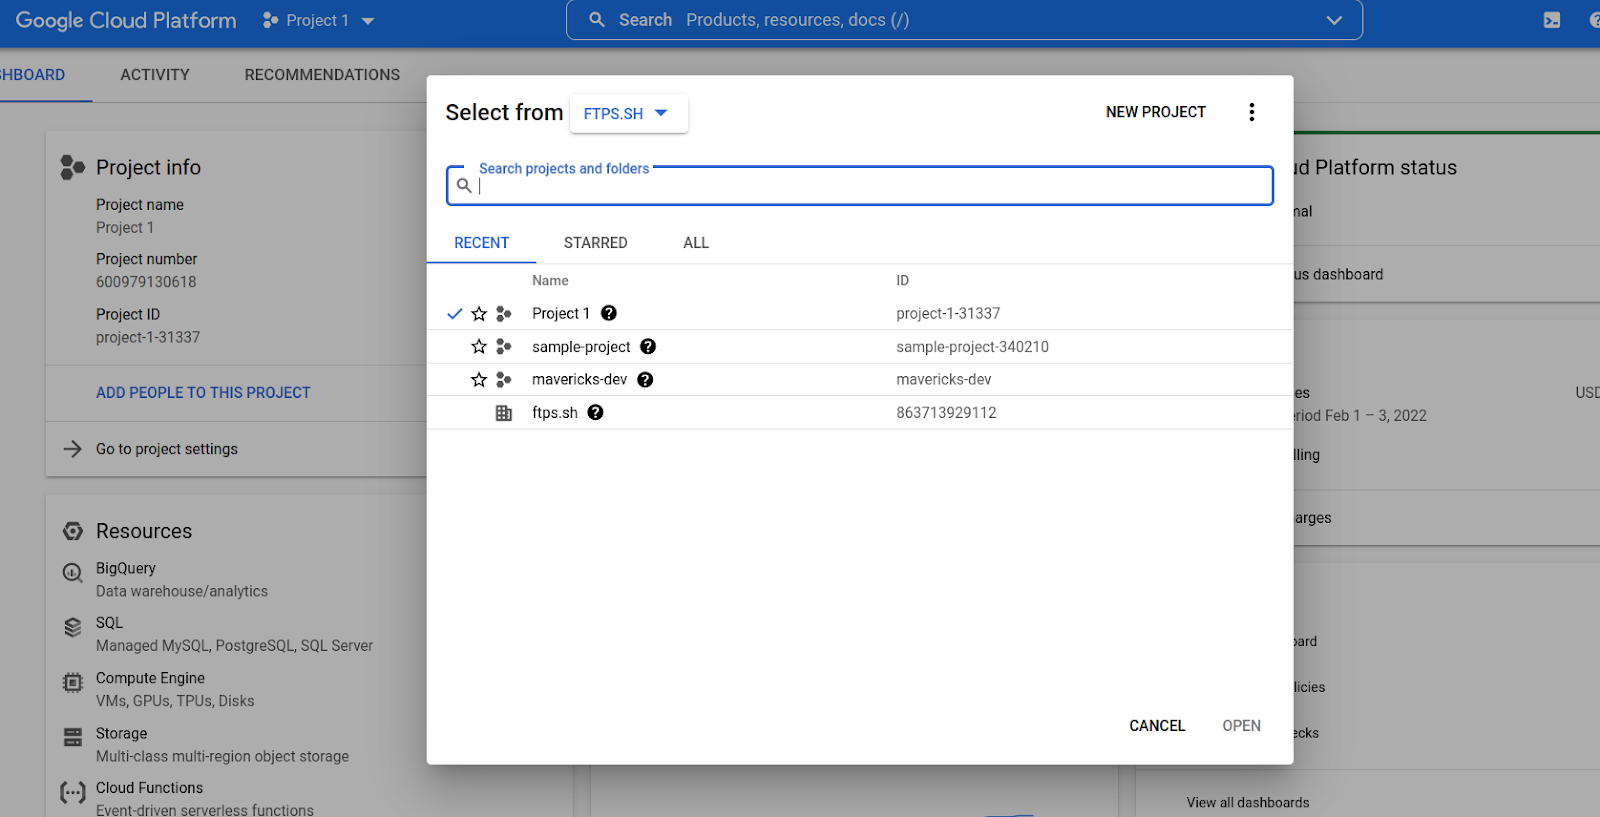
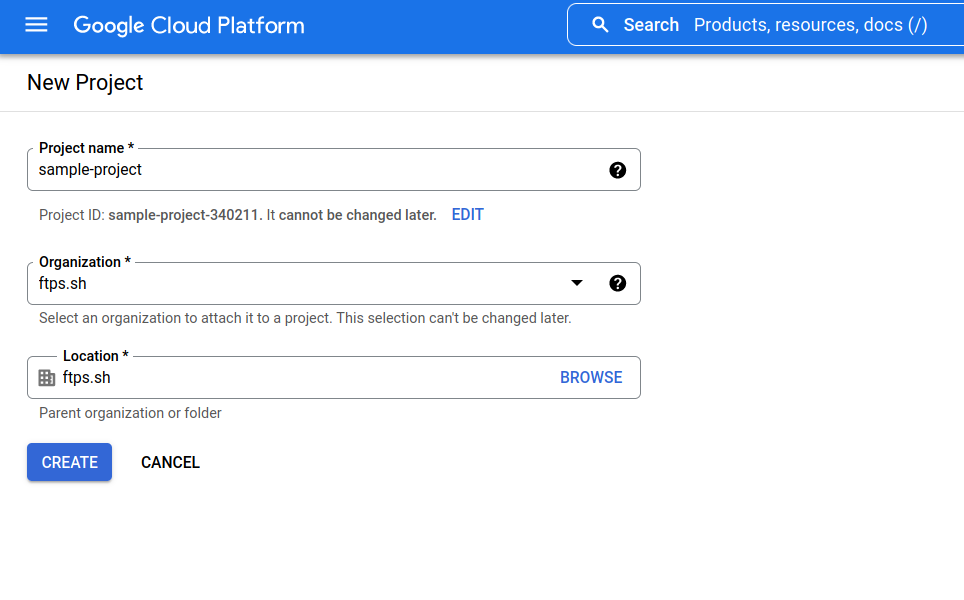
- Click the New Project button.
- Enter a name for the Project.
- Click the Create button.


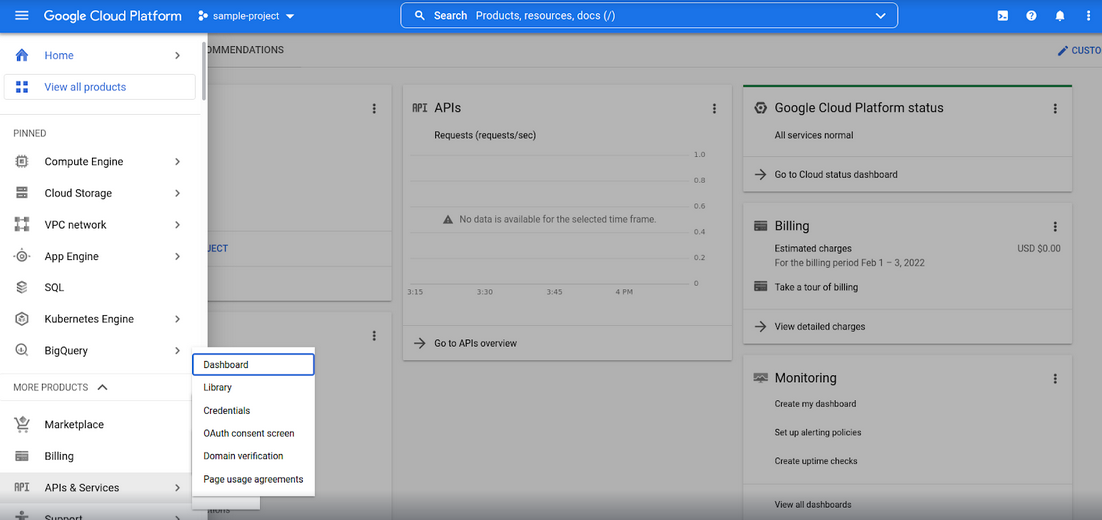
2. Enable API services on the project
- On the Project’s dashboard, click the options menu at the top left corner to open the navigation bar,
- Scroll down and click the APIs & Services option.
- On the APIs and Services page, click Enable APIs and Services to go to the APIs Library page.

- Search for Admin SDK API in the API Library search bar.
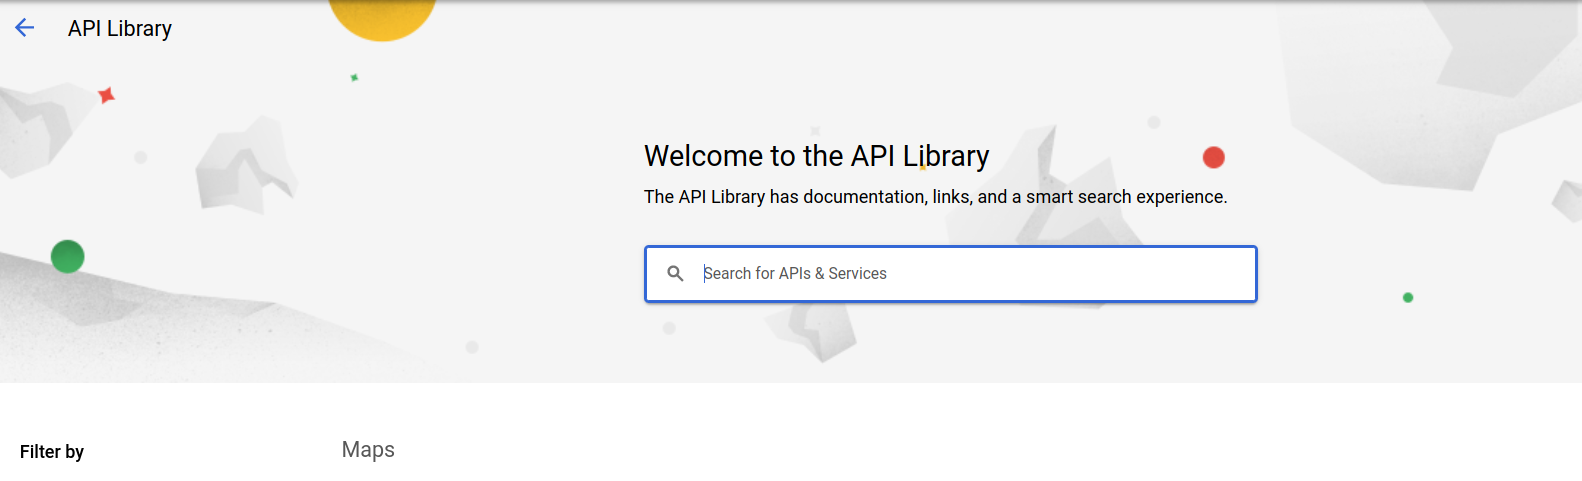
- Click on the link of the Admin SDK API in the search results.
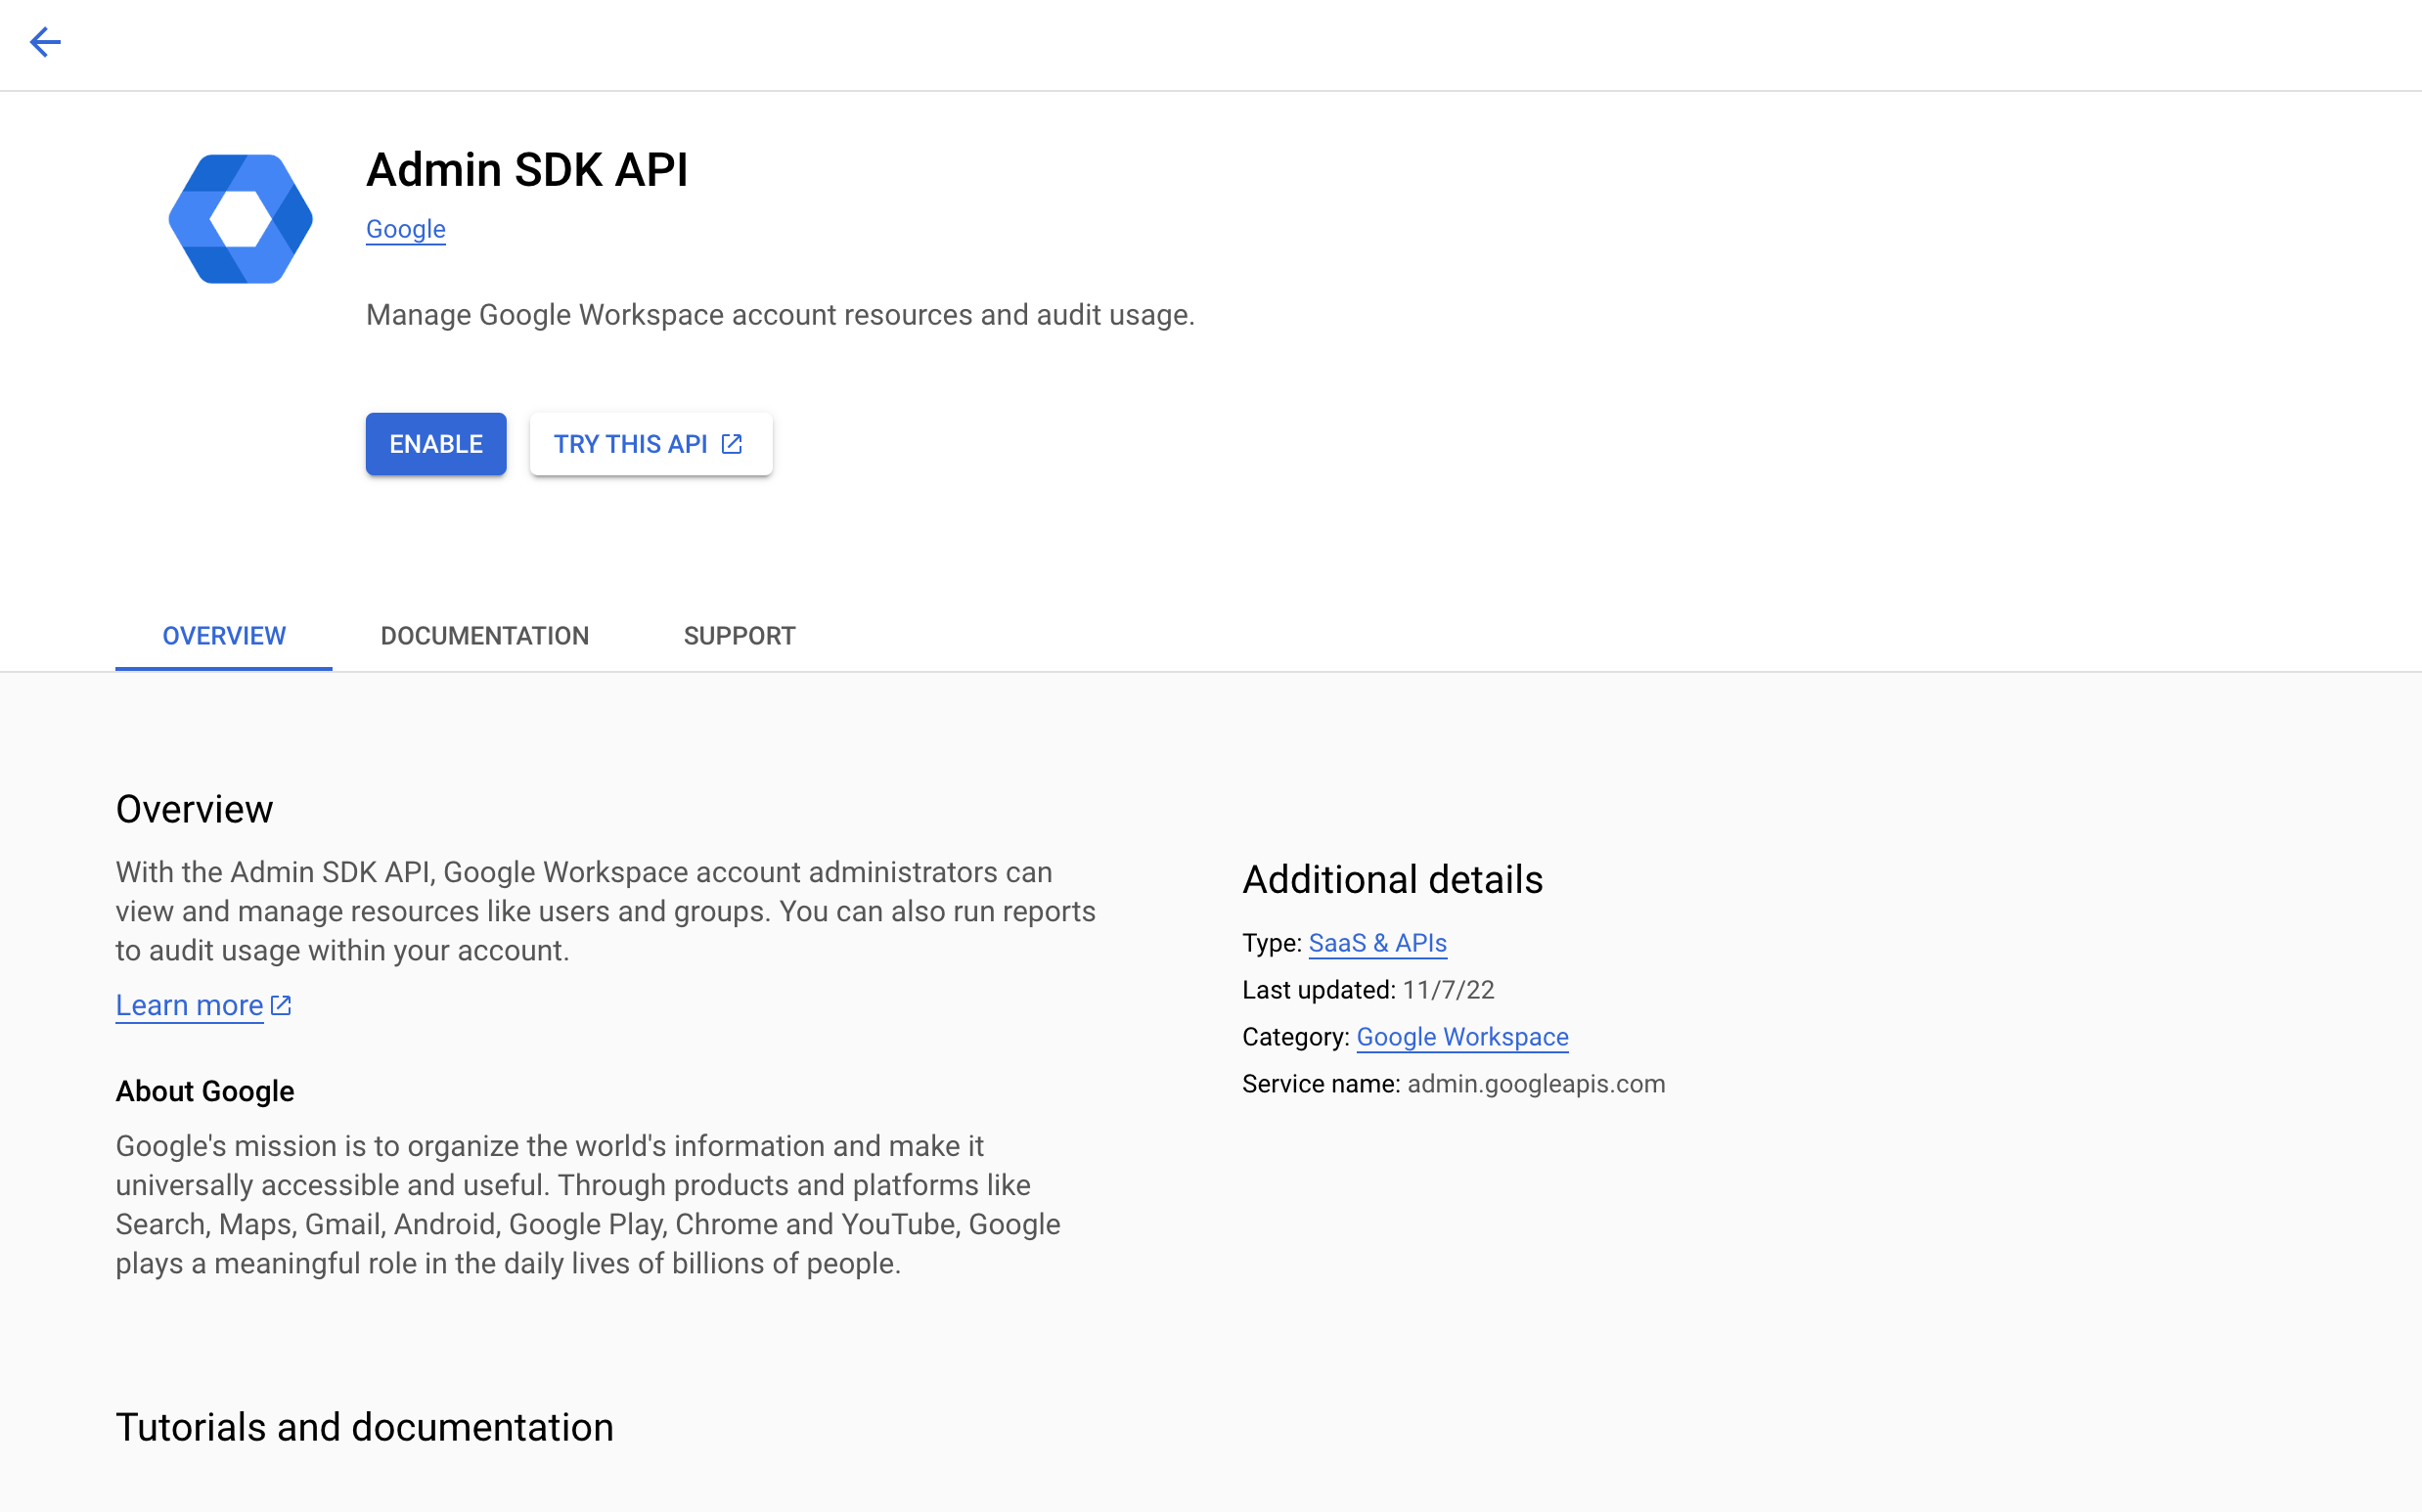
- Click the Enable button. Once the process is complete, it can be verified by revisiting the page again. The API Enabled label will be available on the page.
- Repeat the previous two steps to enable the following APIs:
- Resource Manager API
- Security Token Service API
- IAM Service Account Credentials API
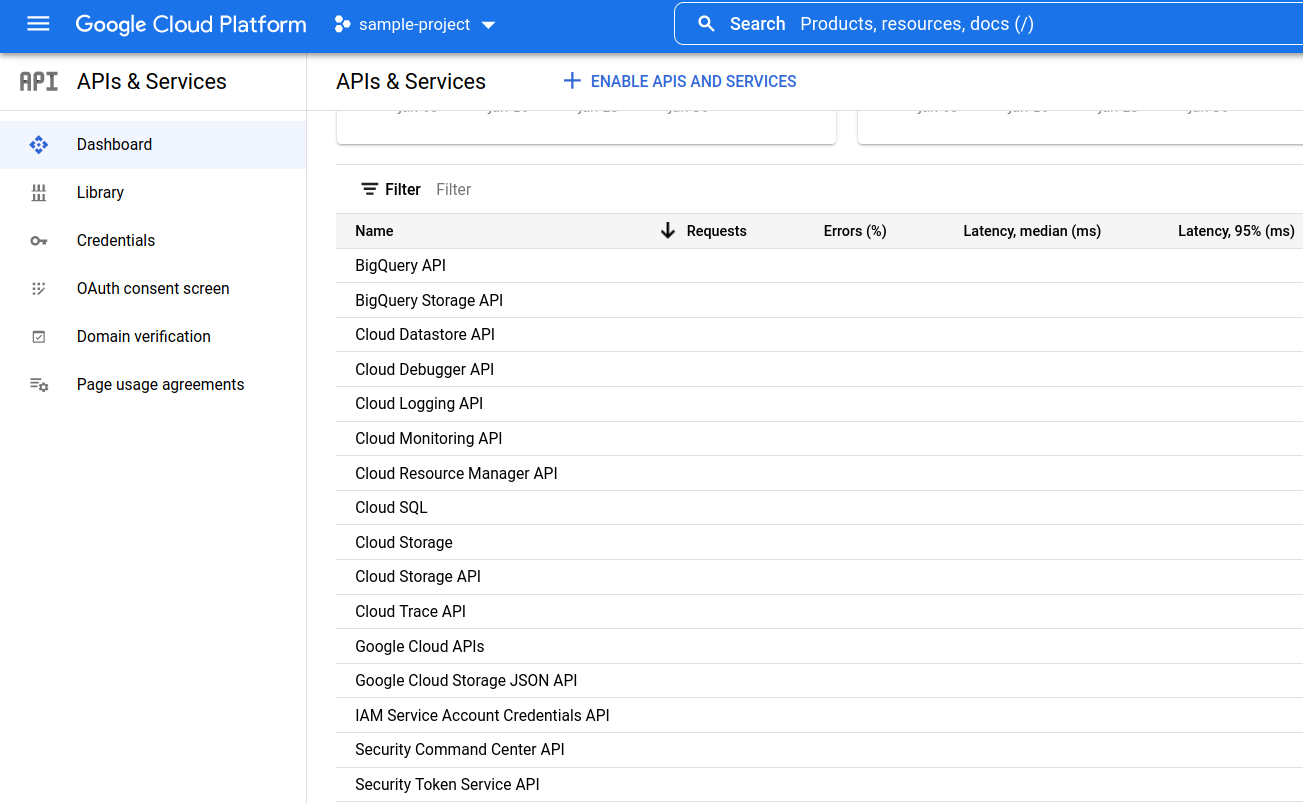
- To verify that all the required APIs have been enabled, go back to the APIs & Services dashboard and check the table at the bottom of the page for the names of these four APIs.


3. Create a custom role for the Service Account
We need to create a custom IAM role at the organization level that can be assigned to the SAFE Project’s service account to enable SAFE to fetch misconfigurations.
- On the Project’s dashboard, click the left navigation, scroll down, and click IAM & Admin.
- On the IAM & Admin page, click the drop-down at the top left and select the parent Organization’s name. This will open the Organization level IAM view and its principal users.

- Click Roles in the left navigation bar. All the roles currently assigned to users in the organization will be listed on this page.
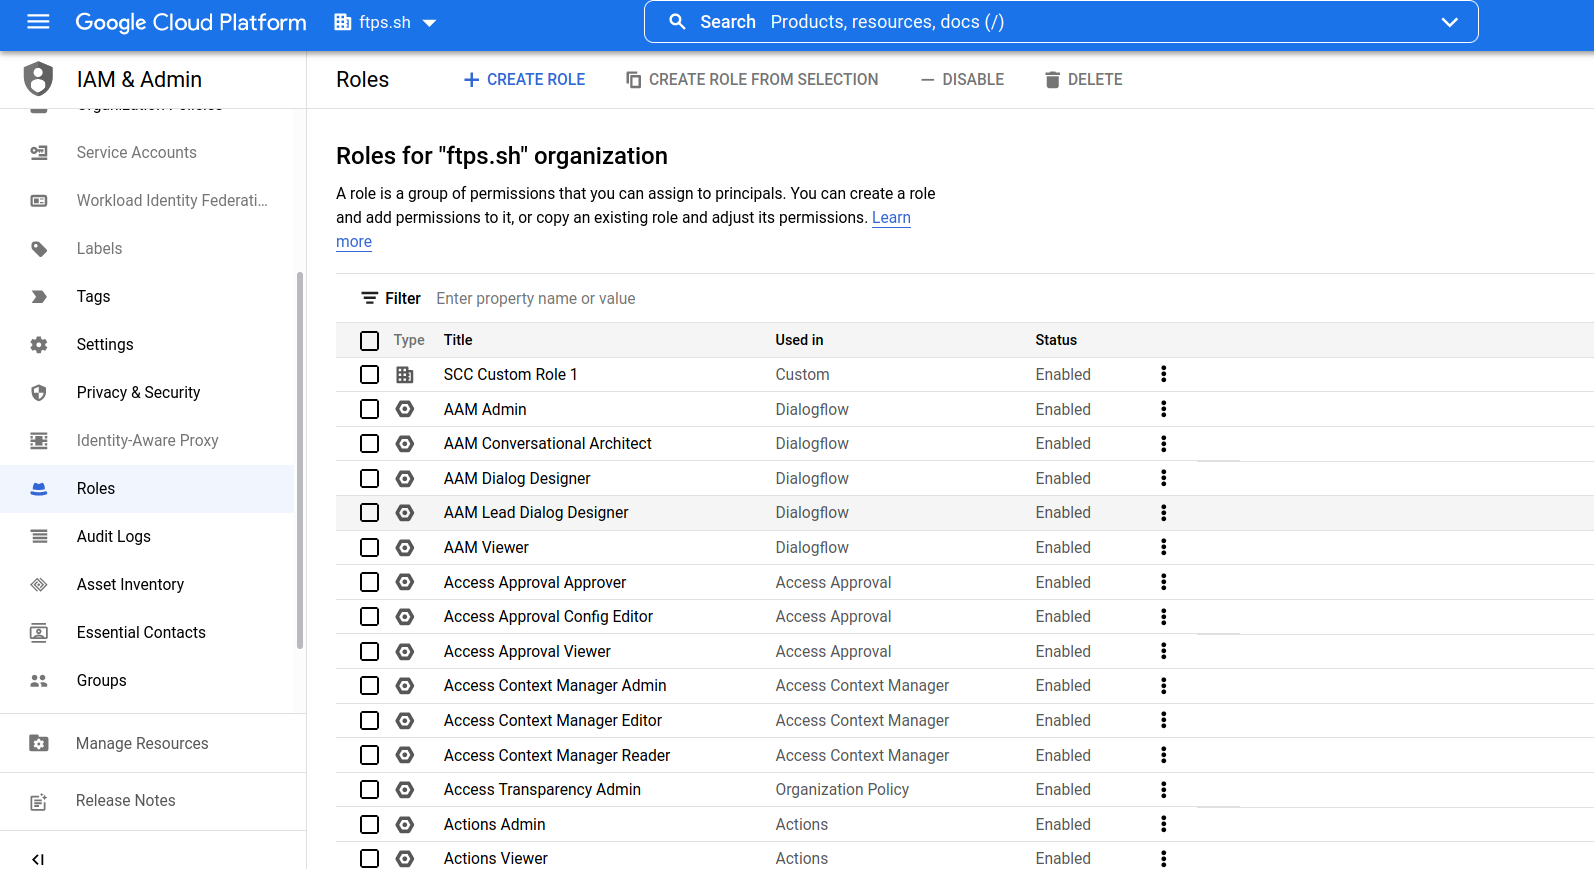
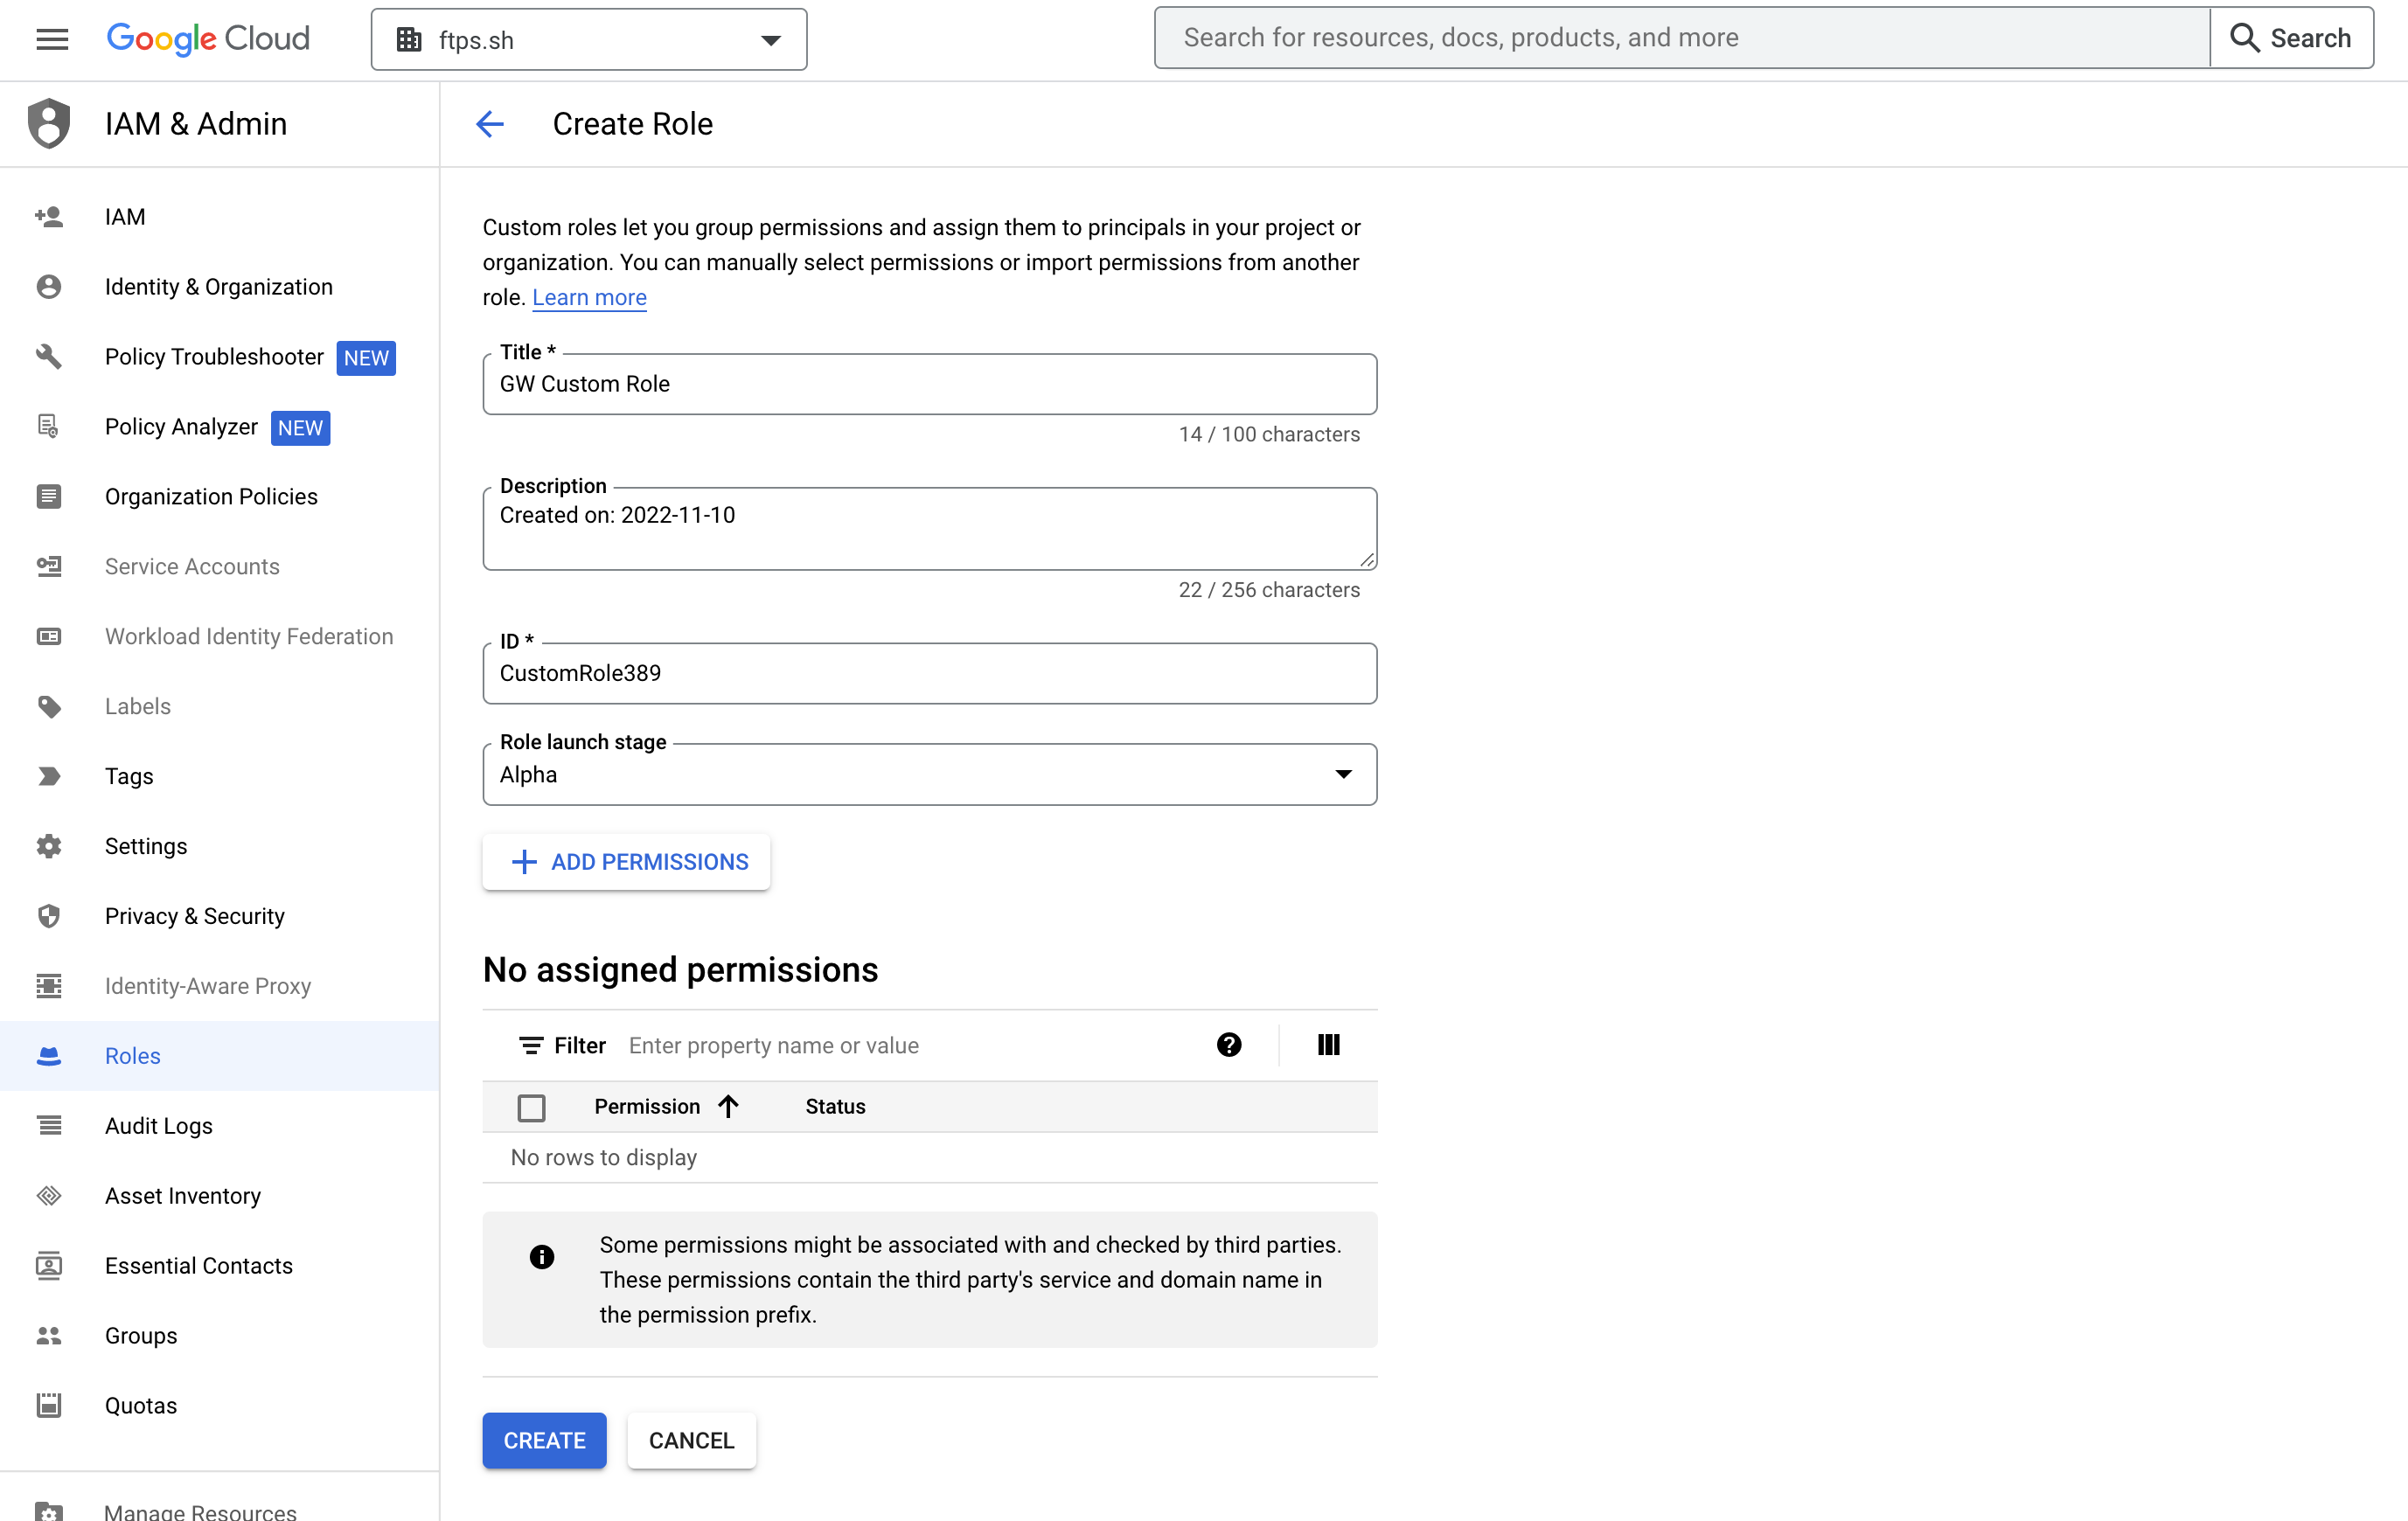
- Click the Create Role button.
- Enter a title for the new custom role.
- Scroll down and click the Add Permissions button.
- In the add permissions pop-up, search and select the permission resourcemanager.organizations.get, and click the Add button.
- Similarly, search and add the permission resourcemanager.projects.get.
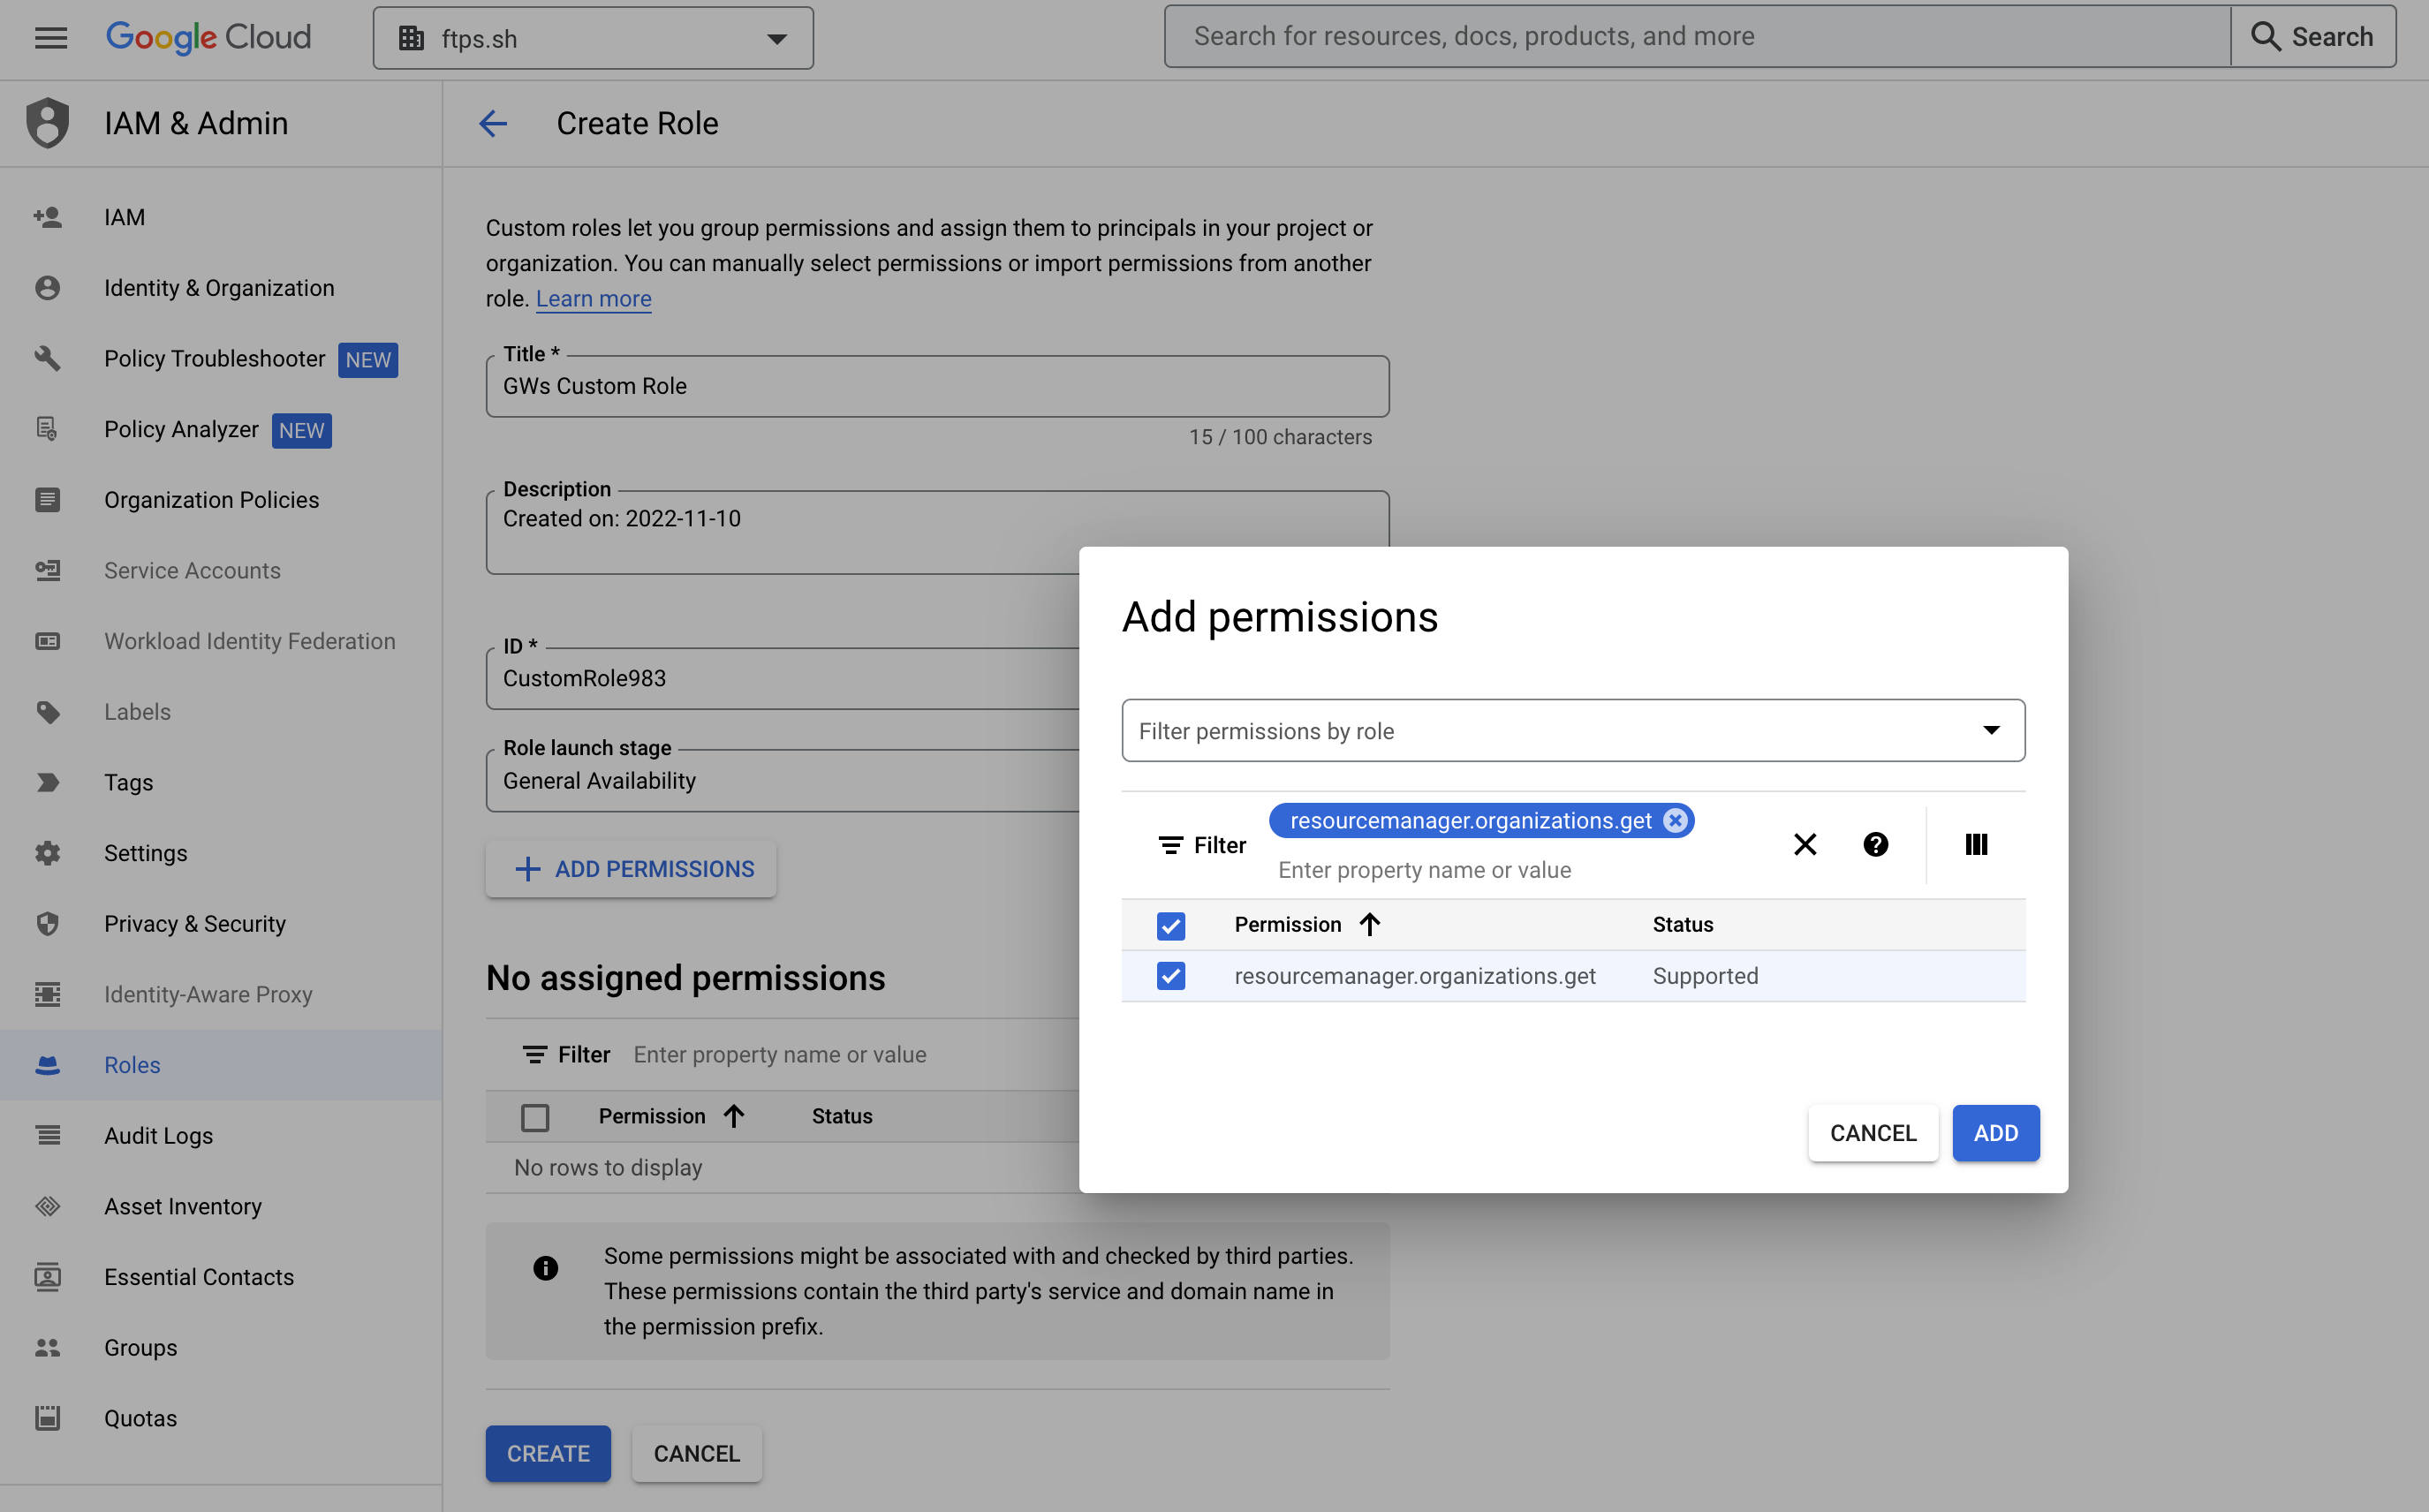
- Once the permission is added, click the Create button.
- The new role should now be visible on the IAM Roles page at https://console.cloud.google.com/iam-admin/roles for the Organization’s view.


4. Creating a Service Account
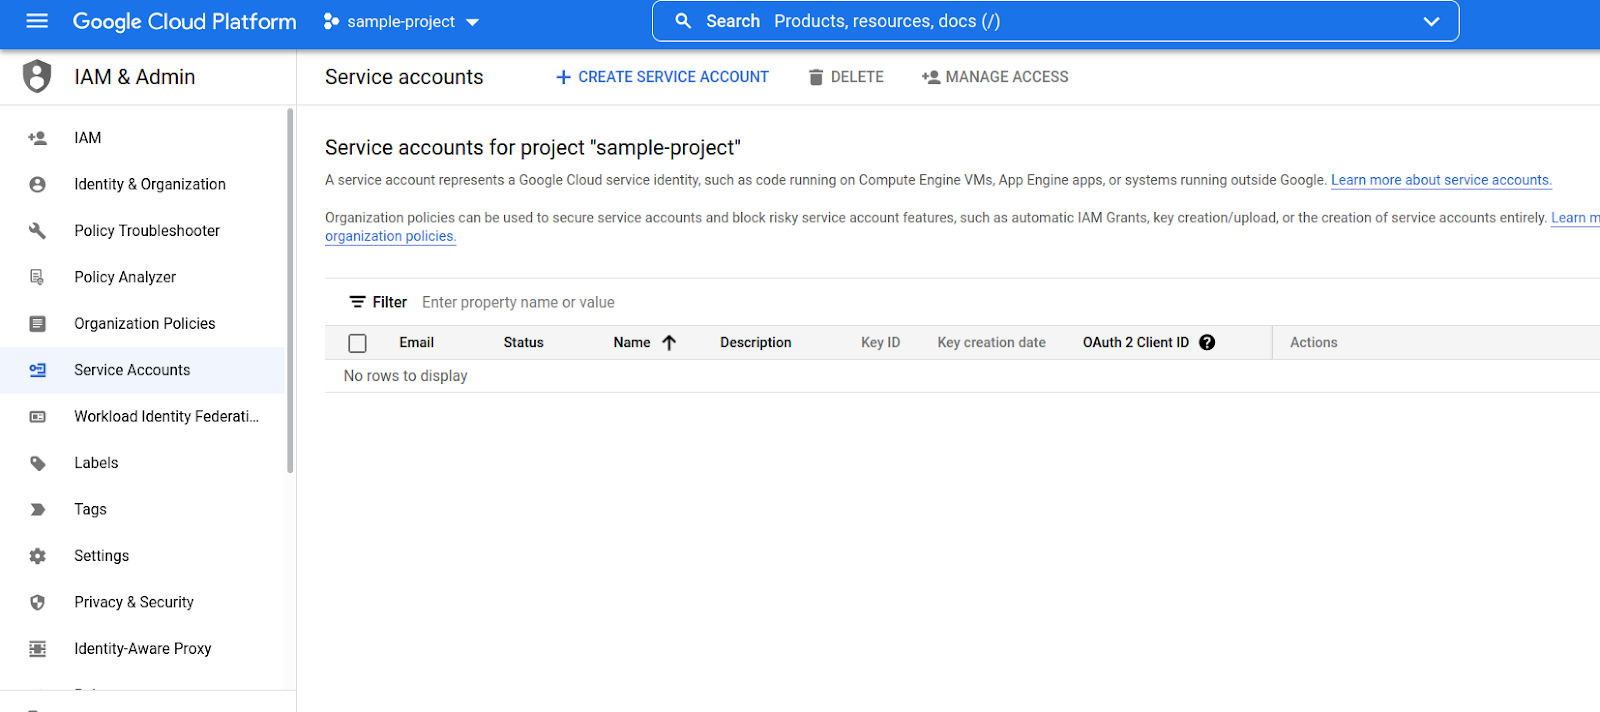
- On the Project’s dashboard, click the left navigation, scroll down, and click IAM & Admin.
- Click on Service Accounts.
- Click the Create Service Account button.
- Enter a name for the service account, and click the Create and Continue buttons.
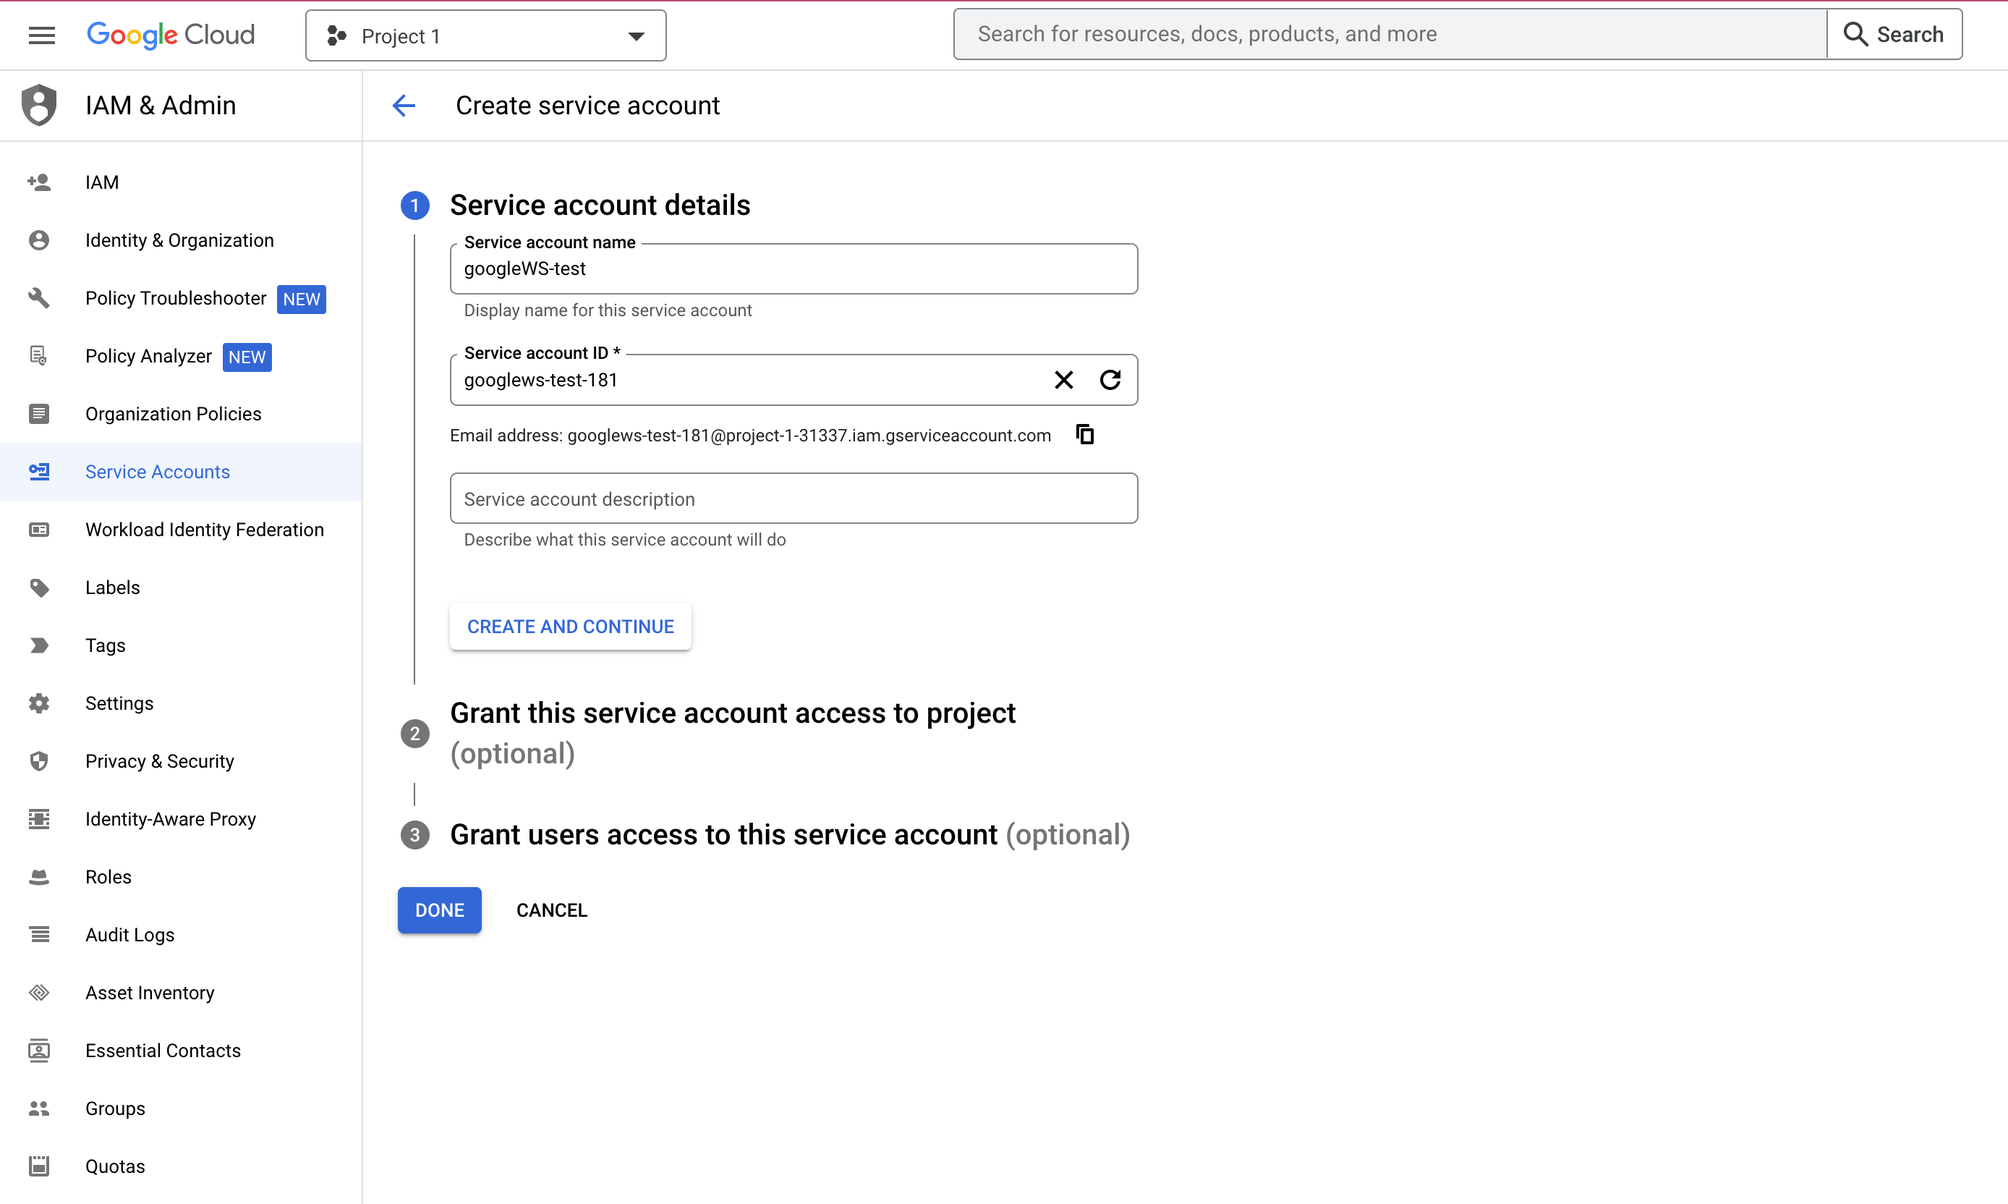
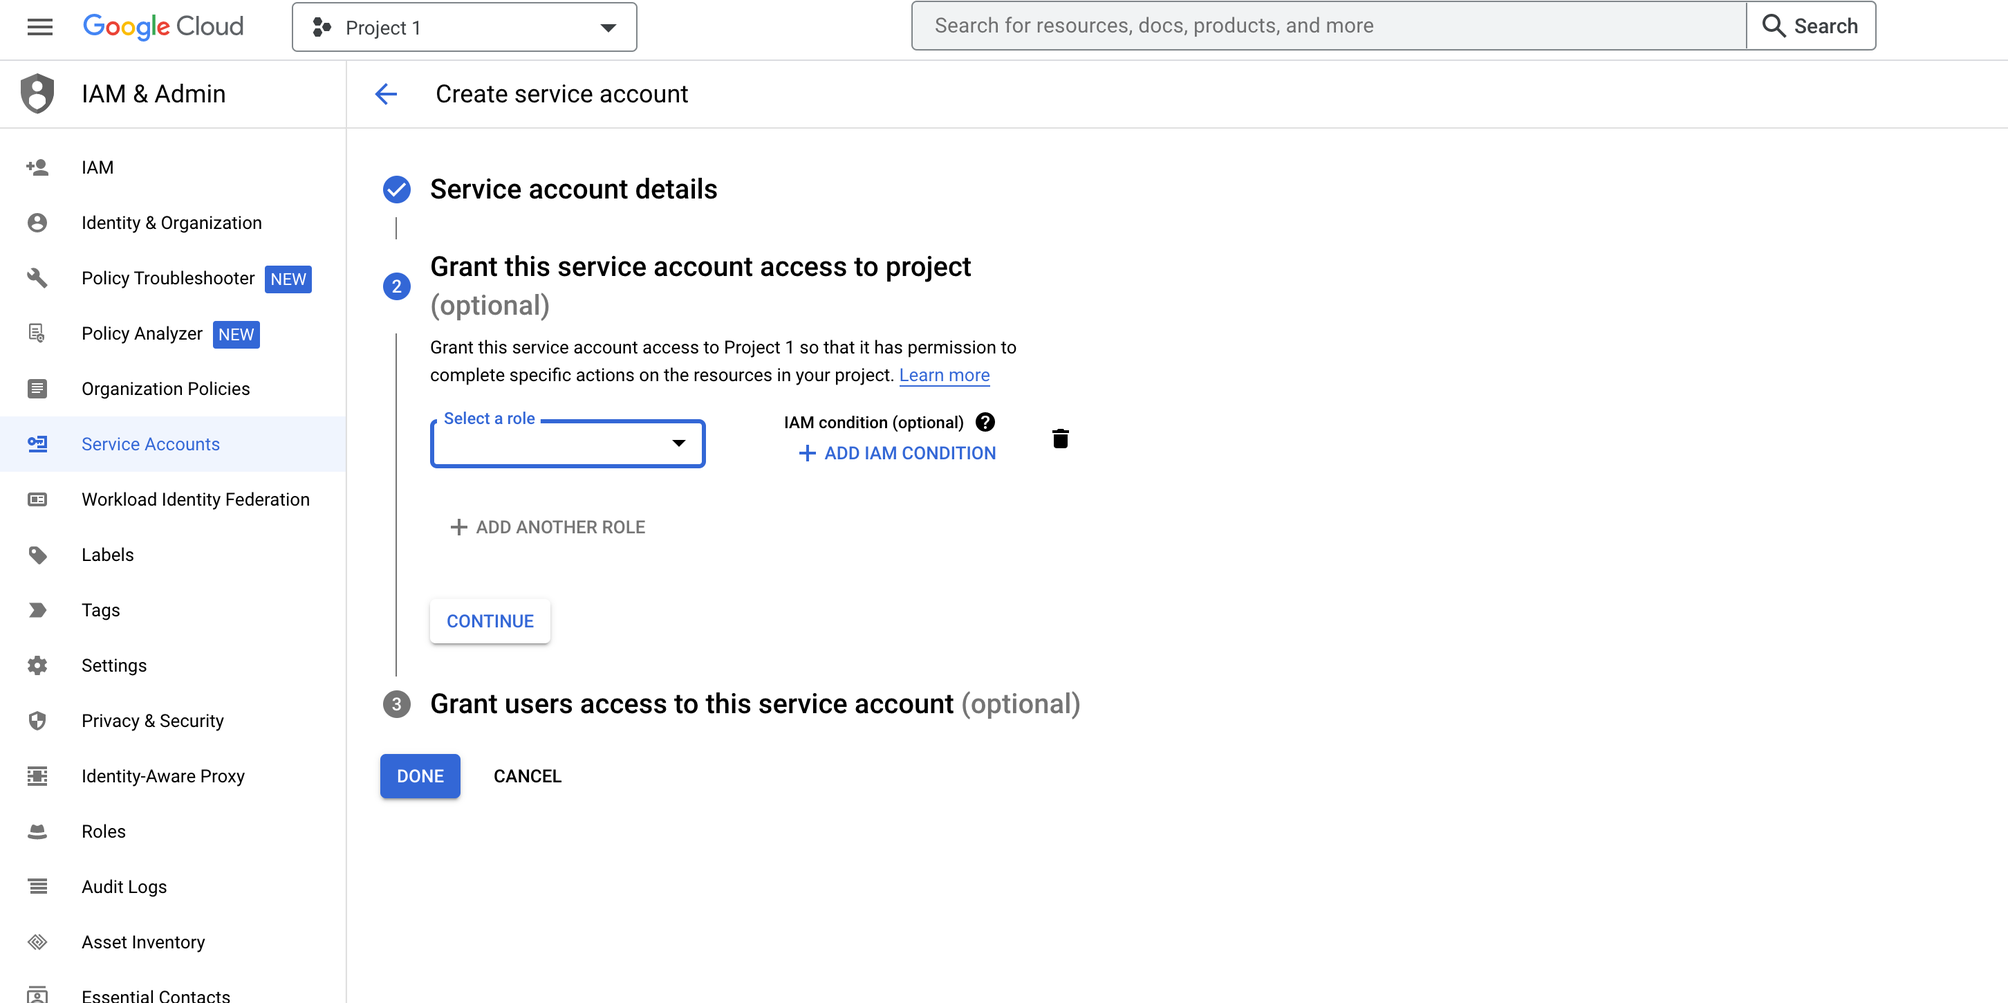
- Under the "Grant this service account access to the project," select the custom role created earlier from the drop-down menu and click the Continue button.
- Click the Done button to complete the process of service account creation.
The new service account should be present under the list of service accounts for the project at https://console.cloud.google.com/iam-admin/serviceaccounts - Now, we have to assign the custom role at the Organization level so that the service account can use this role's permissions for all the organisation's projects through inheritance.
- Click on IAM in the left navigation bar to go to the IAM principals table, then select the Organization view from the drop-down menu.
- Click on Add, enter the service account’s complete address in the New principal's field, and select it. Subsequently, select the custom role created earlier in the Role drop-down.
- Click the Save button. The system displays an entry for the new service account in the table of IAM principals for the Organization at https://console.cloud.google.com/iam-admin/iam.


5. Grant domain-wide access to the Service Account
- Sign in to the Google Workspace Admin portal.
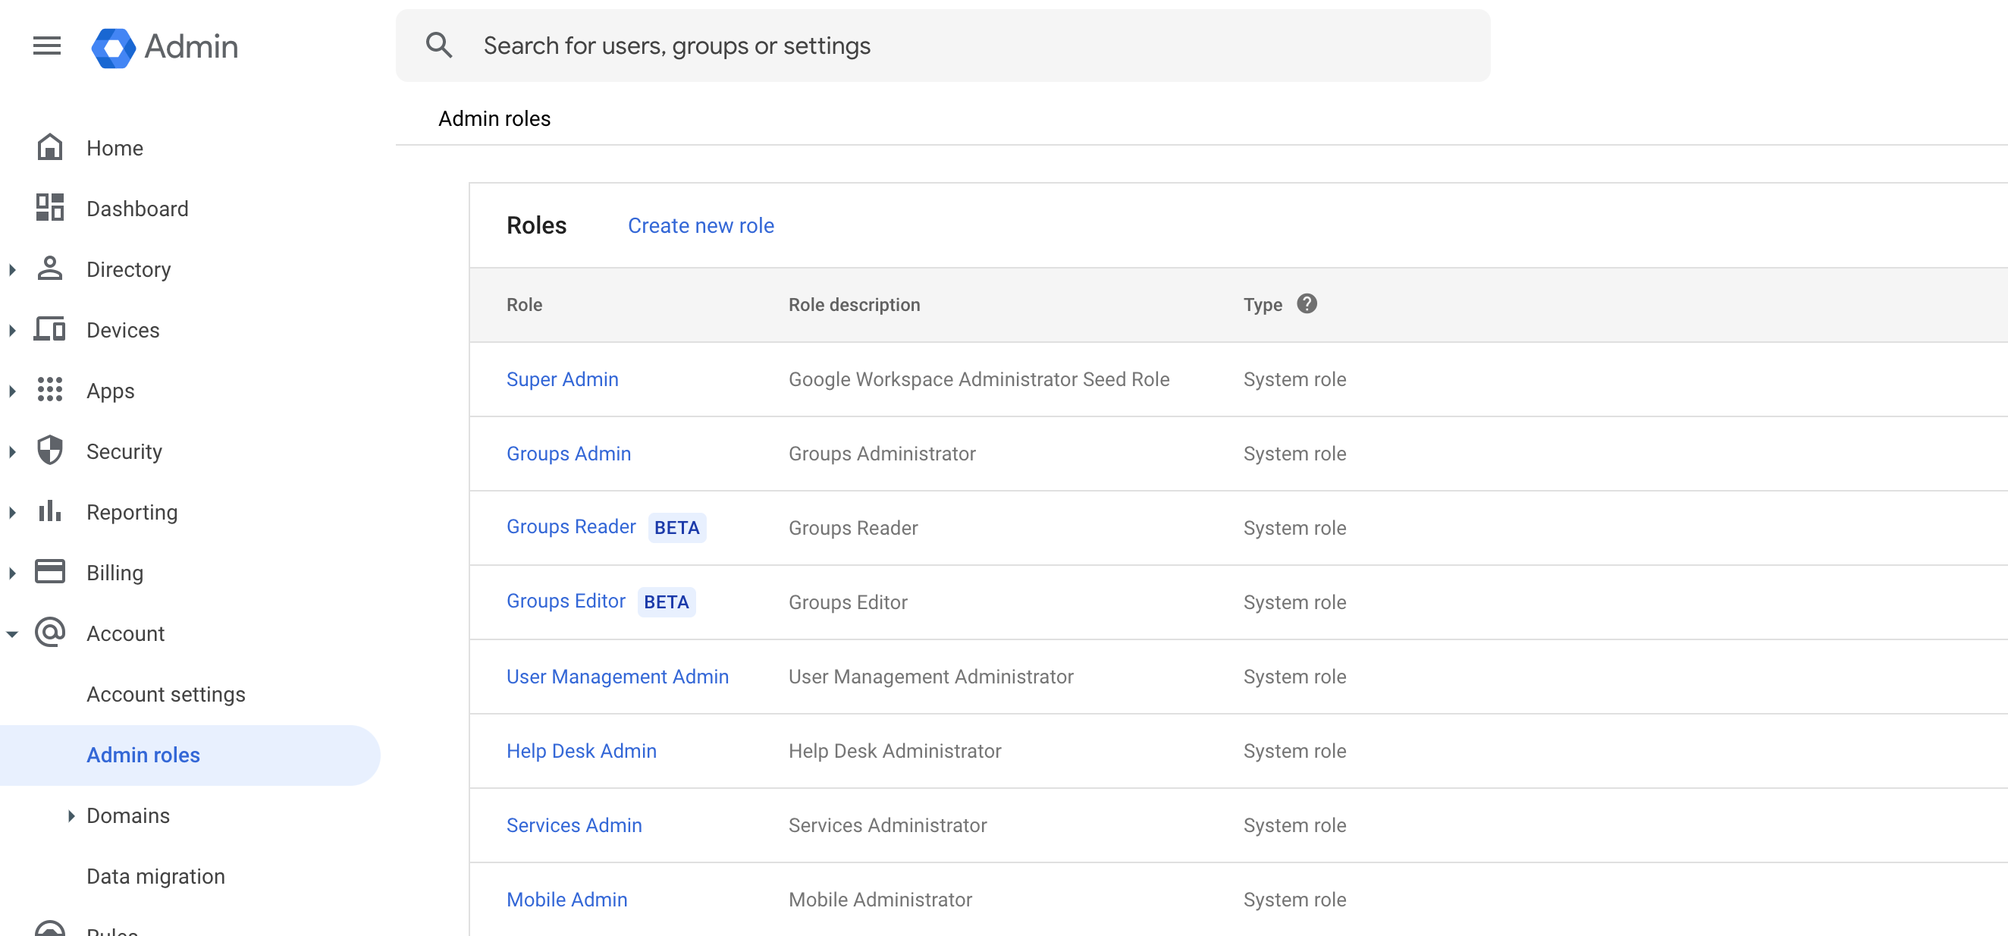
- From the left navigation, Go to Account > Admin Roles.
- Click the Create new role button.
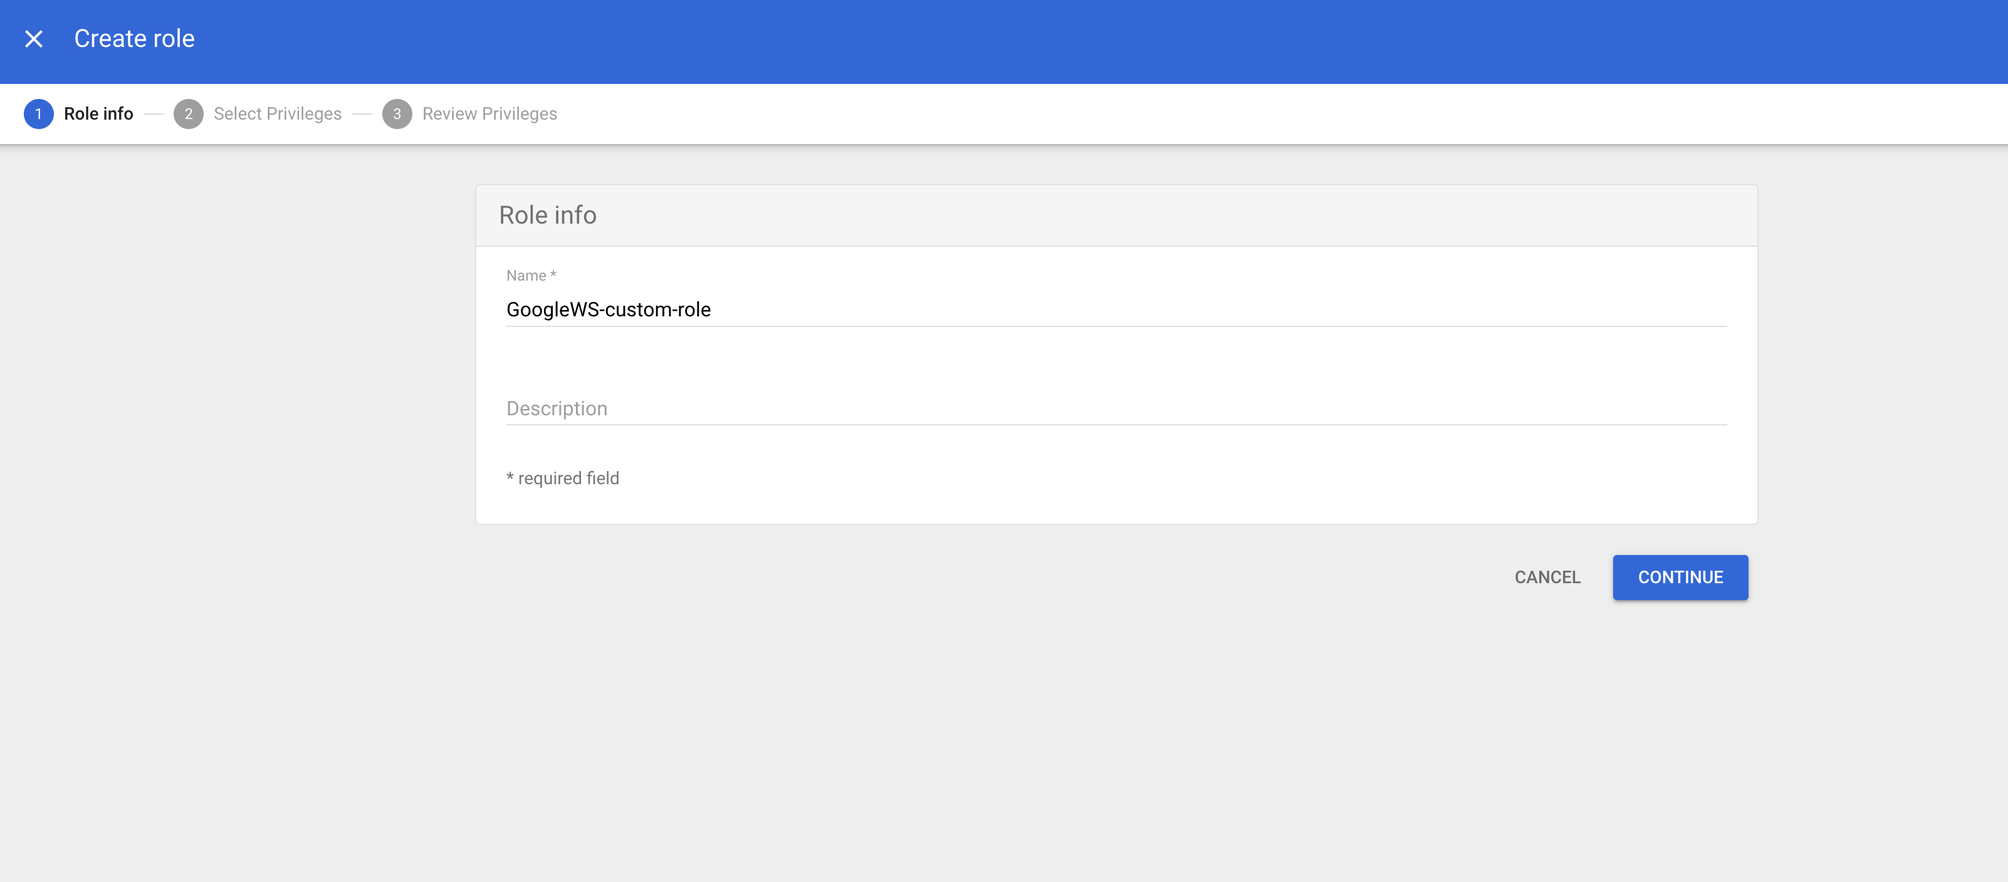
- Enter the name and description, and click the Continue button.
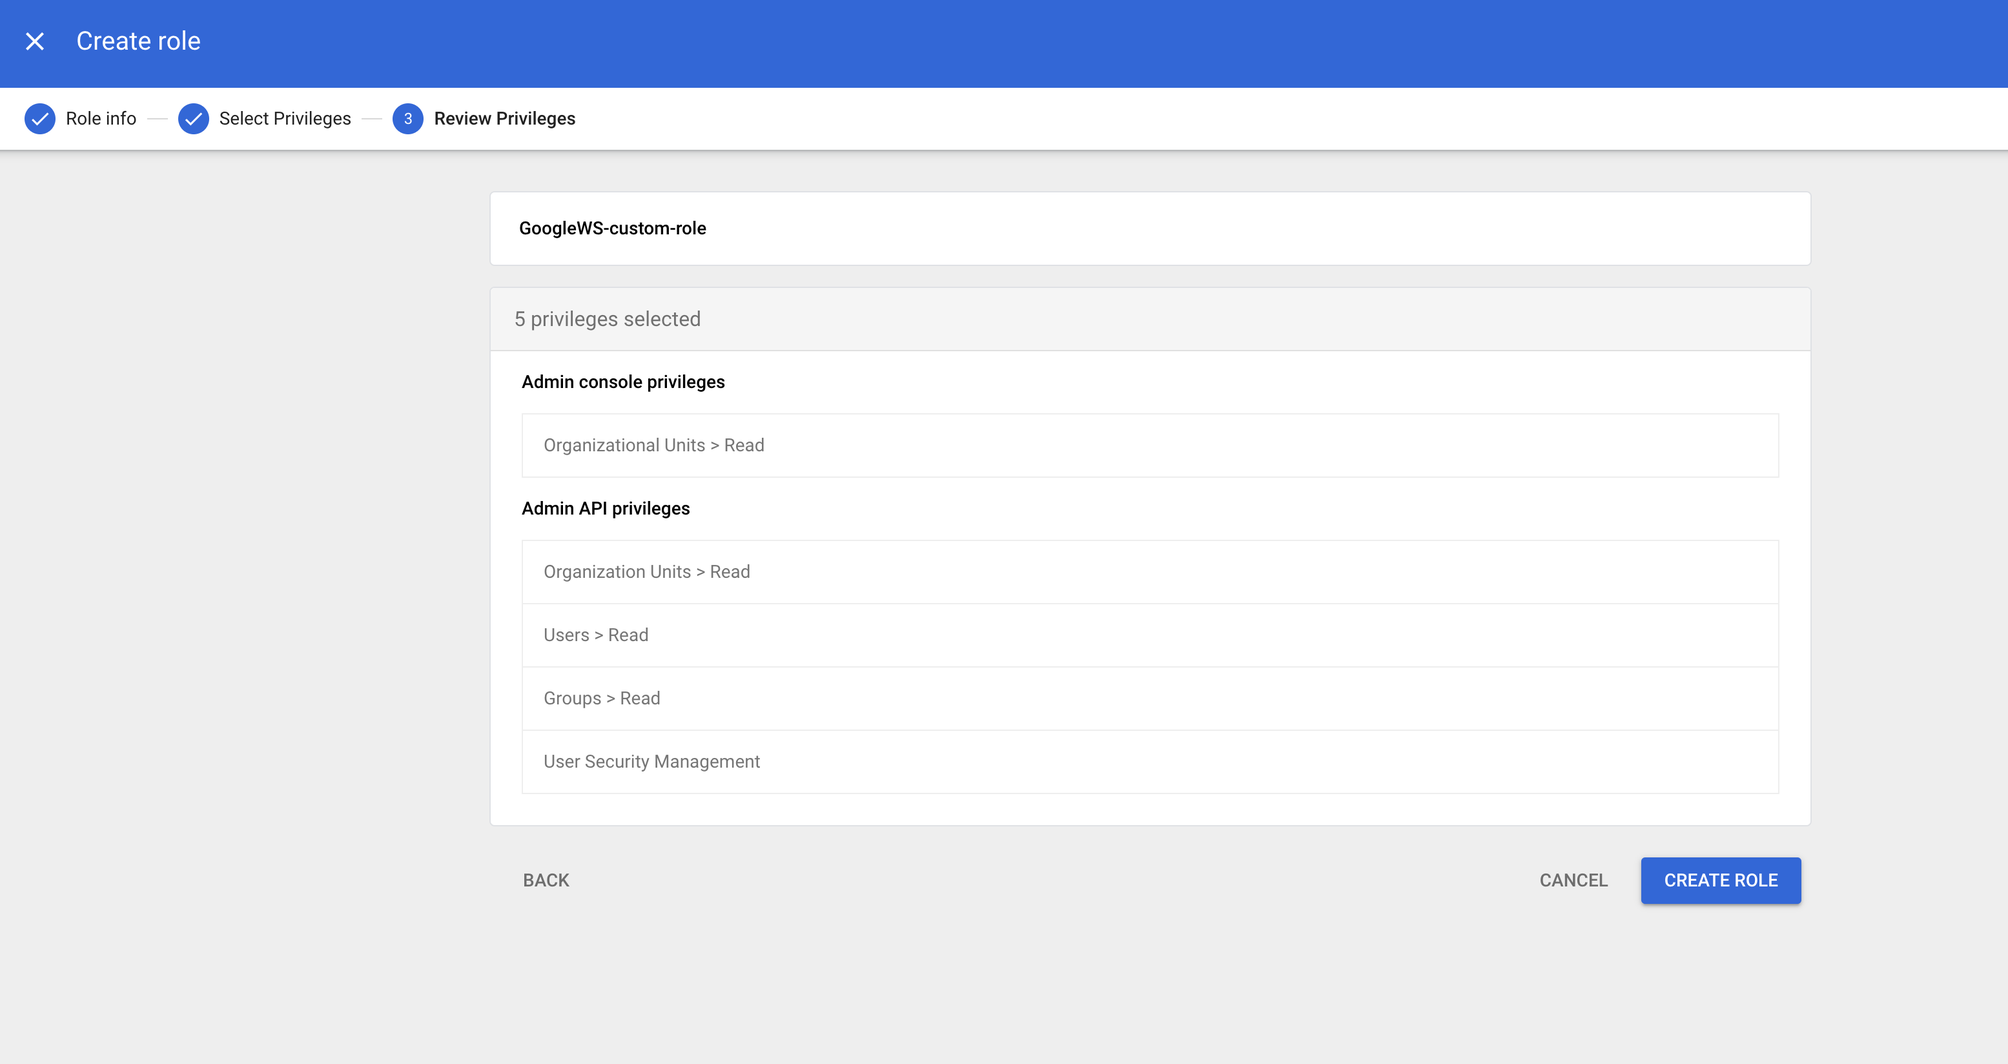
- Scroll down to the Admin API privileges section.
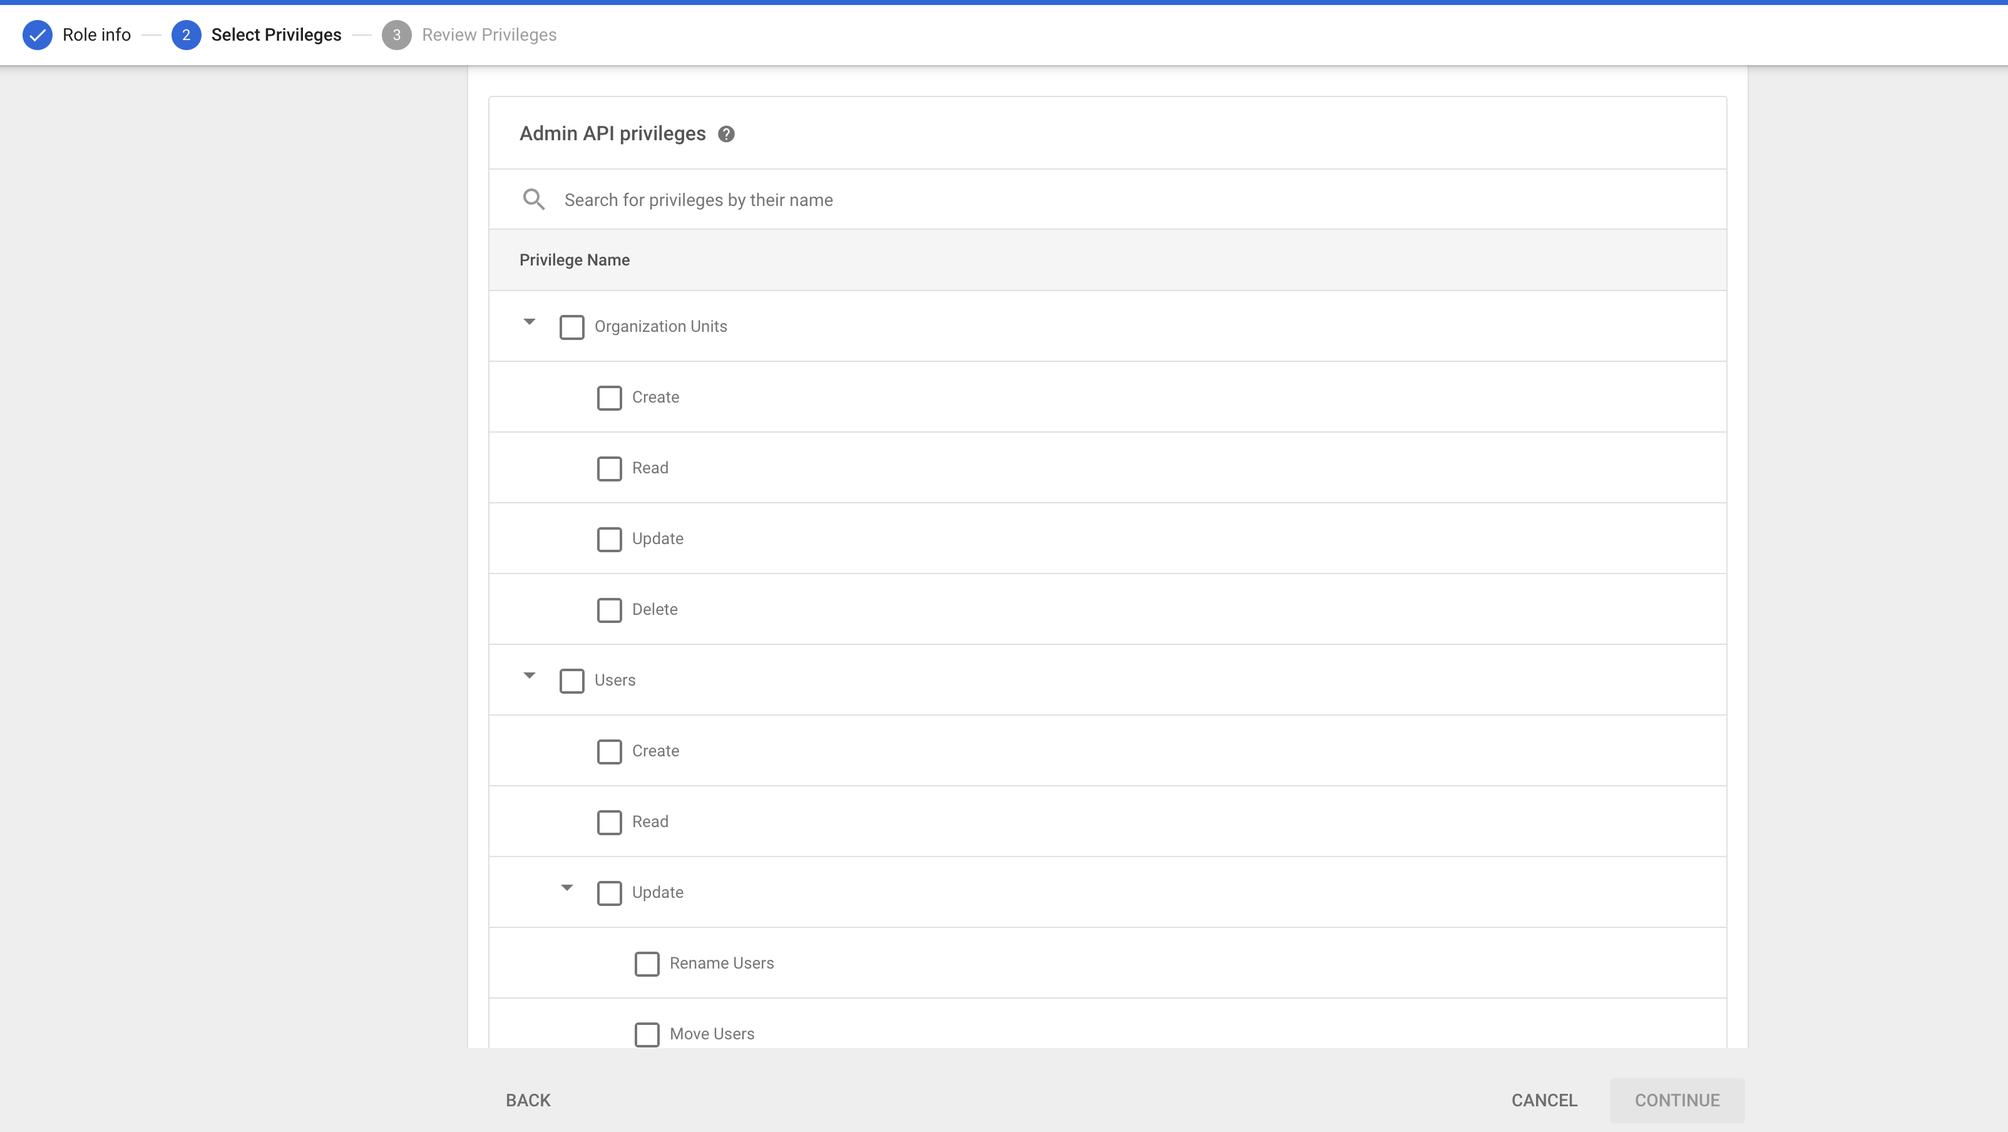
- Select the checkboxes of the following permissions in the section:
- Organization Units: Read
- Users: Read
- Groups: Read
- User Security Management
- Review the Role permissions and then click on Create Role button.
- On the next page, click the Assign service accounts option.
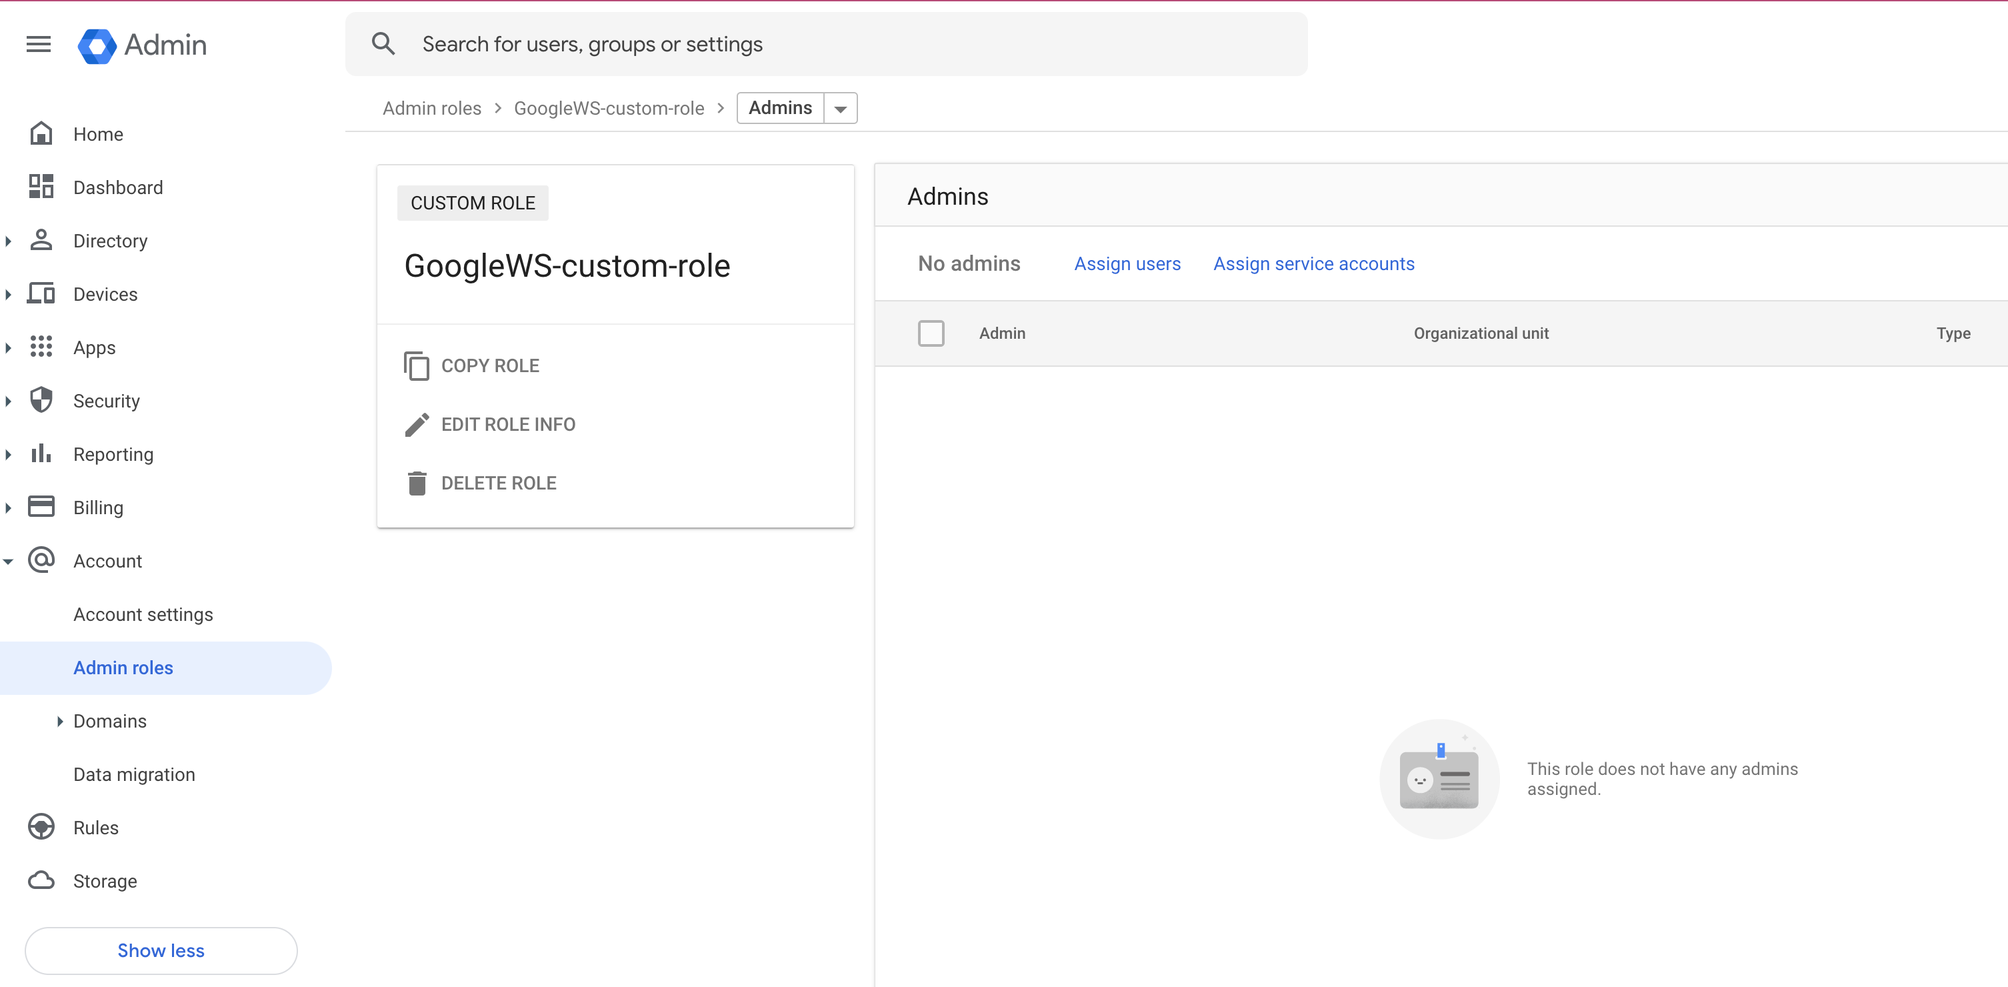
- Enter the ID belonging to the service account created in the previous step, and then click the Add button and then the Assign Role button.


6. Creating a WIF (Workload Identity Federation) Pool and Identity Provider
- Click the left navigation on the project’s dashboard and go to IAM & Admin.
- Click the Workload Identity Federation.
- If there are no Identity Pools configured, the below page comes up:
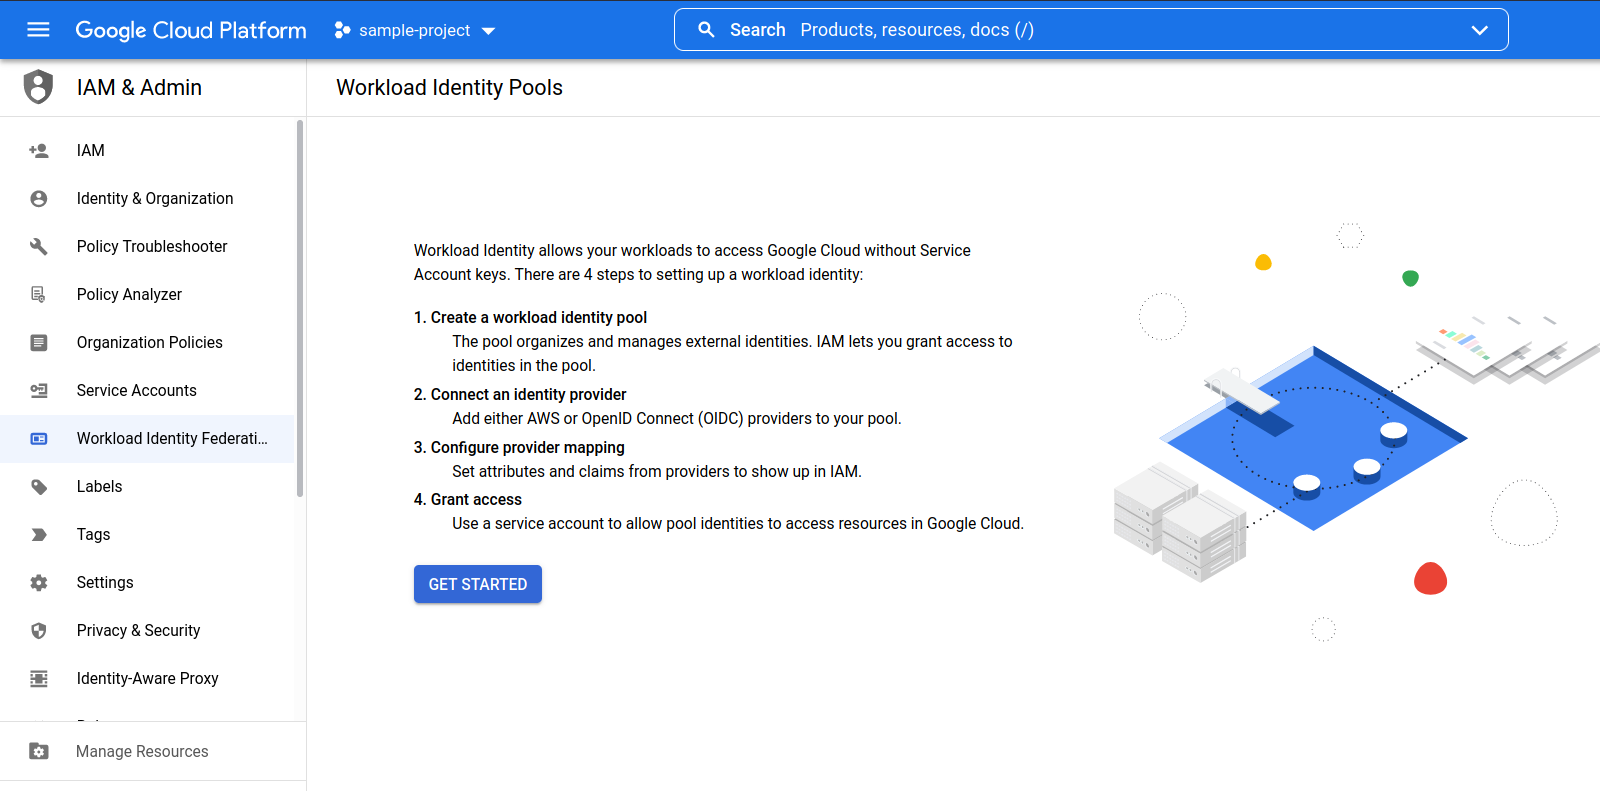
- Click the Get Started button.
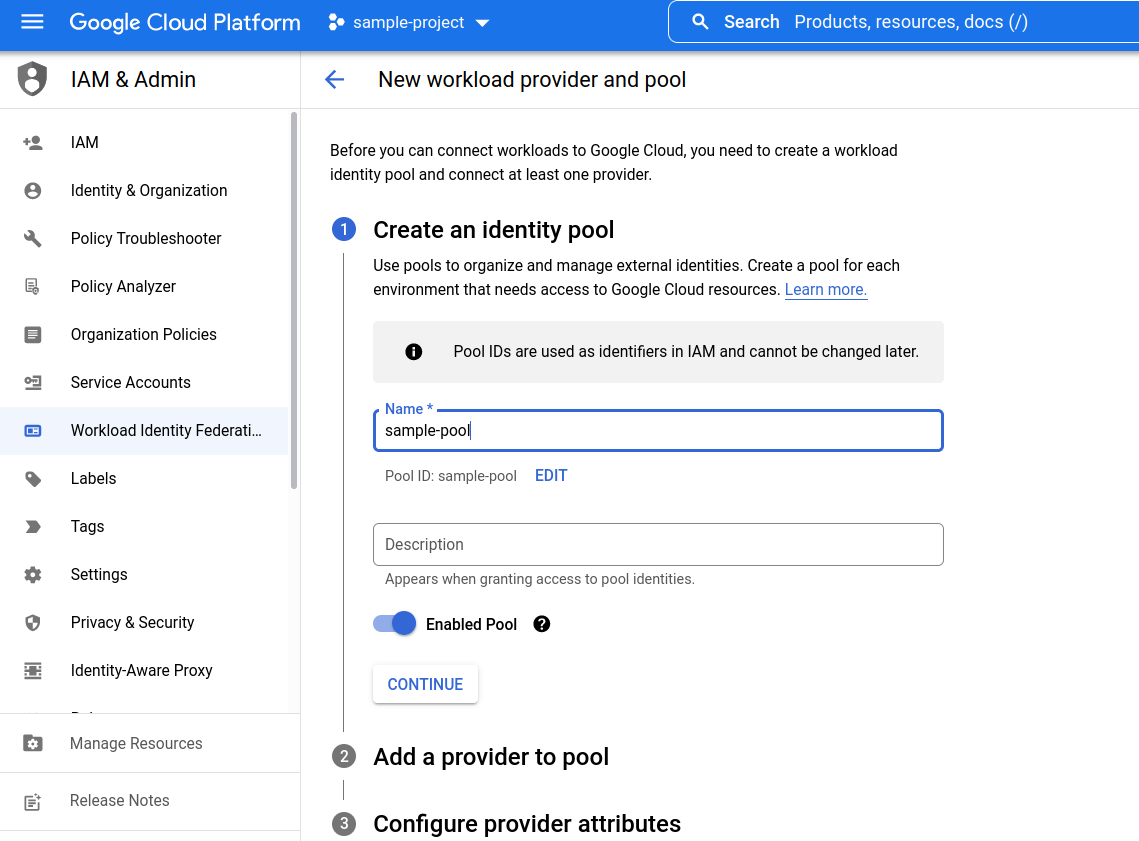
- Enter a name and ID for the new Identity Pool and click the Continue button.
- Information about the Identity Provider (AWS in this example) must be provided. This includes a user-provided name and the Account ID of the AWS account which will host the external application.
The AWS Account ID of SAFE's production account needs to be entered here. Contact the SAFE support team to get theAWS Account ID of SAFE's production account. - Click the Continue button.
.png)
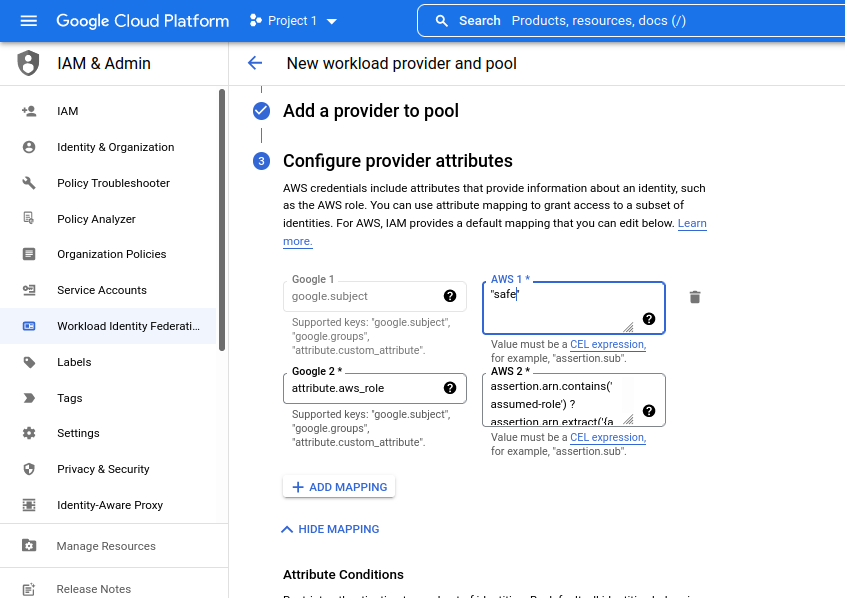
- Alter the default attribute mapping under configure provider attributes to change the value of google.subject field to "safe."
- Once this is done, click the Save button to finish the identity pool creation process.
- The system creates a new identity pool with the identity provider configured. On the next page, Click the Grant Access button. It will open a window where the service account which was created earlier should be selected.
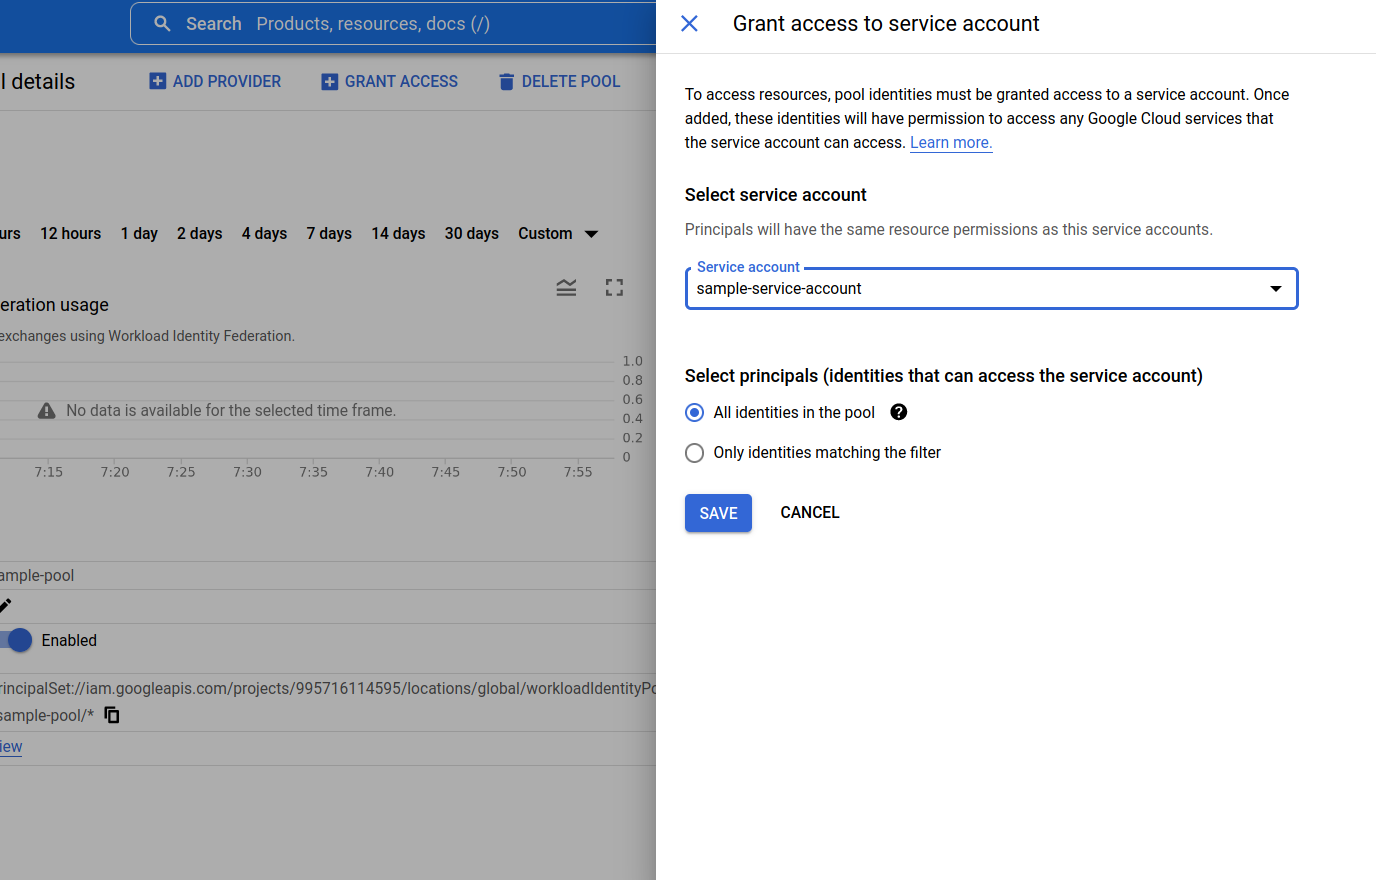
- Click the Save button. The system opens a window asking the user to download a Config file.
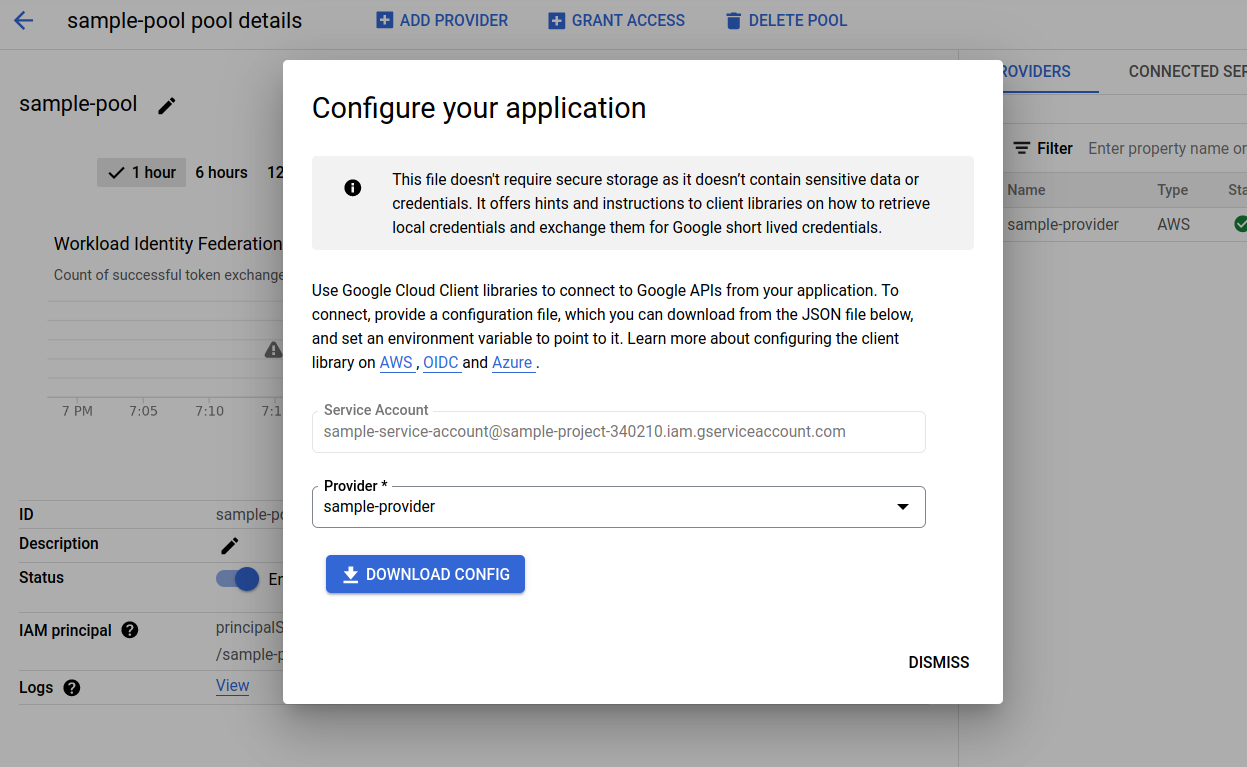
- Click the Download Config button. A config file with all the connection details required to configure Google Workspace in SAFE will be downloaded to your system. Refer to below sample file.


.png)


"type": "external_account",
"audience": "//iam.googleapis.com/projects/<project-id>/locations/global/workloadIdentityPools/<pool-name>/providers/<provider-name>",
"token_url": "https://sts.googleapis.com/v1/token",
"subject_token_type": "urn:ietf:params:aws:token-type:aws4_request",
"service_account_impersonation_url": "https://iamcredentials.googleapis.com/v1/projects/-/serviceAccounts/<service-account-id>:generateAccessToken"
"credential_source": {
    "url": "http://169.254.169.254/latest/meta-data/iam/security-credentials",
    "region_url": "http://169.254.169.254/latest/meta-data/placement/availability-zone",
    "environment_id": "aws1",
    "regional_cred_verification_url": "https://sts.{region}.amazonaws.com?Action=GetCallerIdentity&Version=2011-06-15"
}
7. Get the organization ID of the project
As part of the config object, the user needs to send the organization id of the organization whose assets will get pulled into SAFE and assessed. Refer to Google Documents to get the organization ID.
Configuring Google Workspace
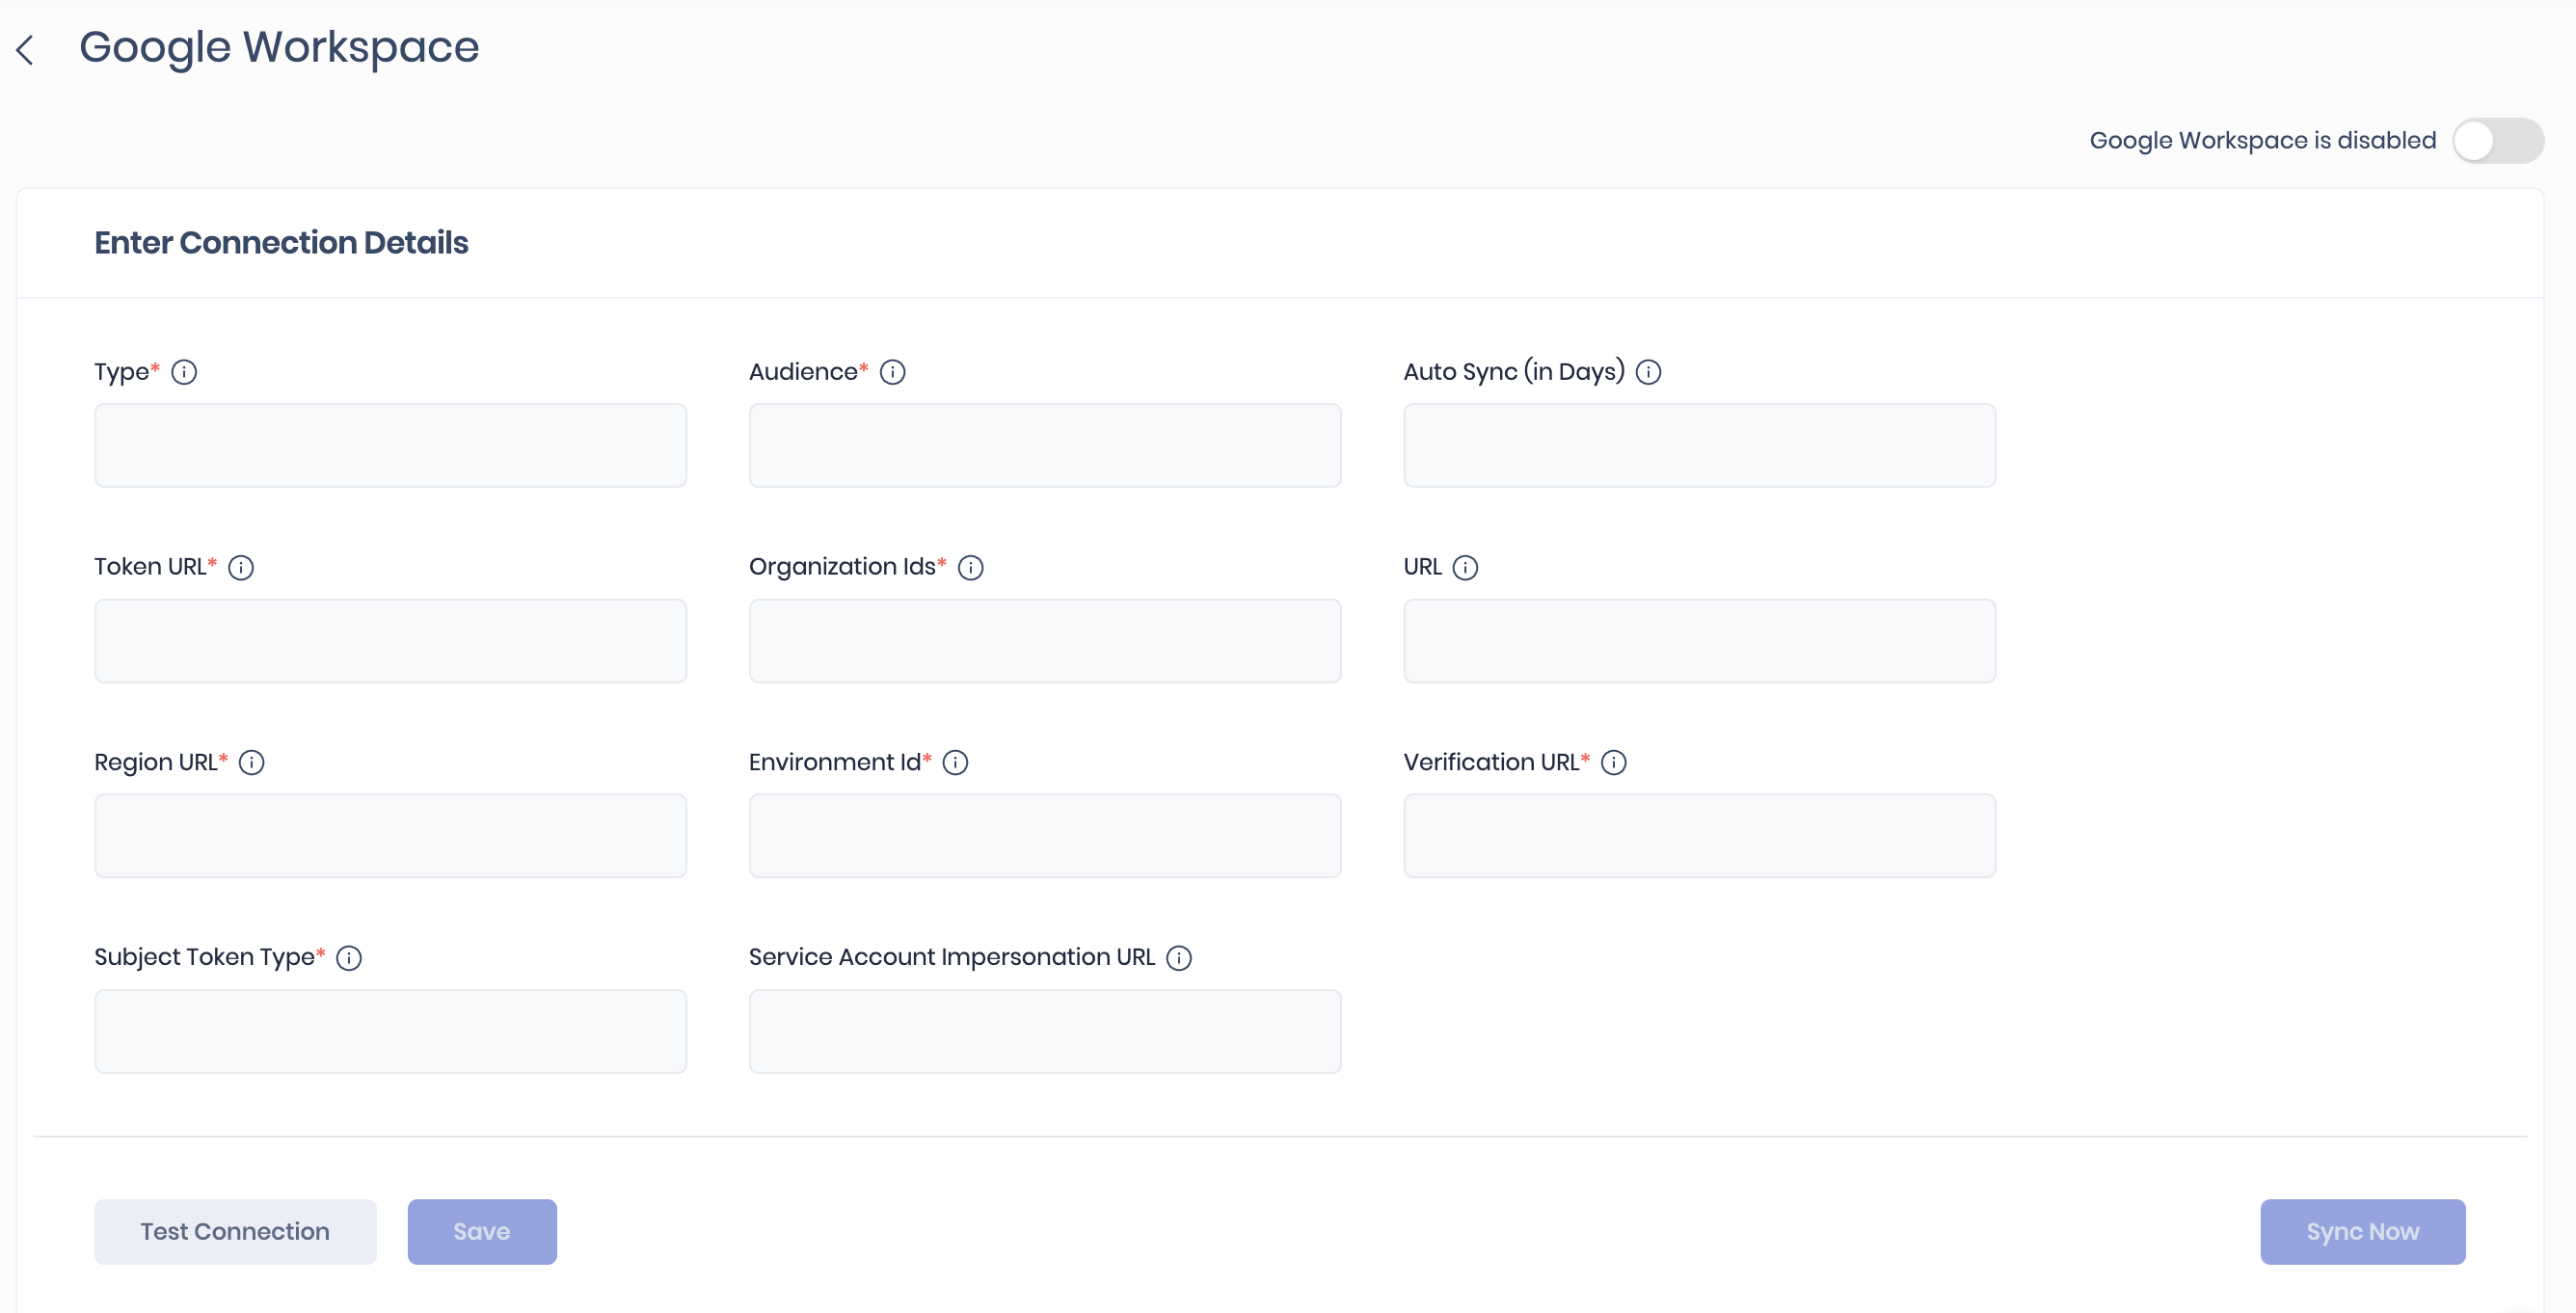
- Navigate to SAFE Hooks and click the Google Workspace card.
- Enter the following required fields by referring to the config file downloaded:
- Type
- Audience
- Token URL
- Organization Ids
- Region URL
- Environment Id
- Verification URL
- Subject Token Type
- Enter the Auto-Sync Frequency.
- Click the Test Connection button.
- Once the connection is verified, click the Save button to save the configuration.
- Once the configuration is saved, click the Sync Now button to trigger the on-demand sync outside the scheduled auto sync.

View Result
After a successful sync, the Google Workspace assets are automatically imported into SAFE.
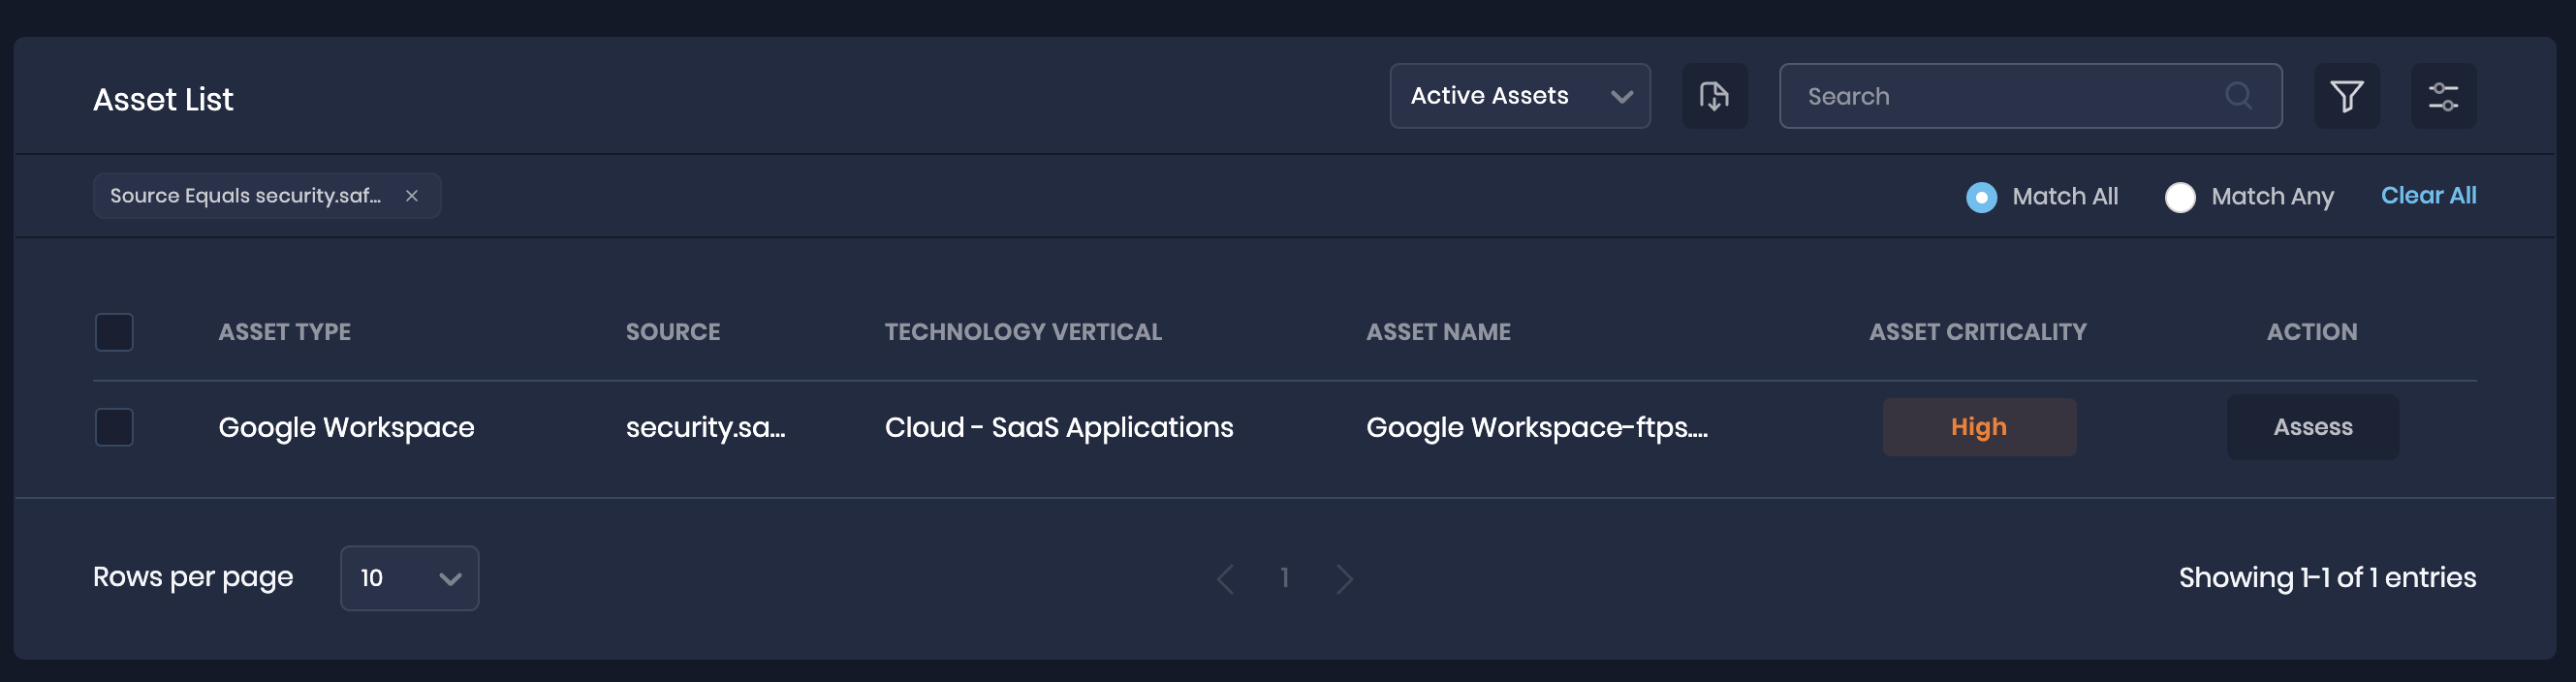
To view the assets pulled from Google Workspace:
- Navigate to Technology > Assets.
- Filter the asset list with source as security.safe.saas.googleworkspace. The system displays the Google Workspace asset.
- Click any asset from the list. The system displays the controls and their status for Google Workspace assets.

Was this article helpful?