About this document
This document provides a comprehensive, step-by-step guide to configuring custom SMTP in SAFE, enabling email notifications to be sent from your organization’s own email infrastructure.
Overview
SAFE supports sending outbound emails through:
Microsoft Exchange / Microsoft 365 SMTP (OAuth-based)
Custom SMTP servers
Once configured, SAFE routes all email notifications, based on your chosen scope, through the configured mail server instead of the default SAFE mail service.
Prerequisites
SAFE Admin Access is required to configure SMTP settings.
SMTP Server connection details
Hostname or IP of the SMTP Server
SMTP Port - Port number used for SMTP communication
SMTP Timeout (ms) – Time (in milliseconds) SAFE will wait before timing out
Username and password for the SMTP server
Email Identifier – Email address used to send SAFE notification emails
Test Email Recipient – Email address to receive the test email during configuration
Configure Custom SMTP in SAFE
Navigate to Integrations.
Click the + icon and search for SMTP.
Click on the Custom SMTP card.
.png)
Alternatively, you can also navigate to Settings > Advanced > Email Accounts, and click the + icon.
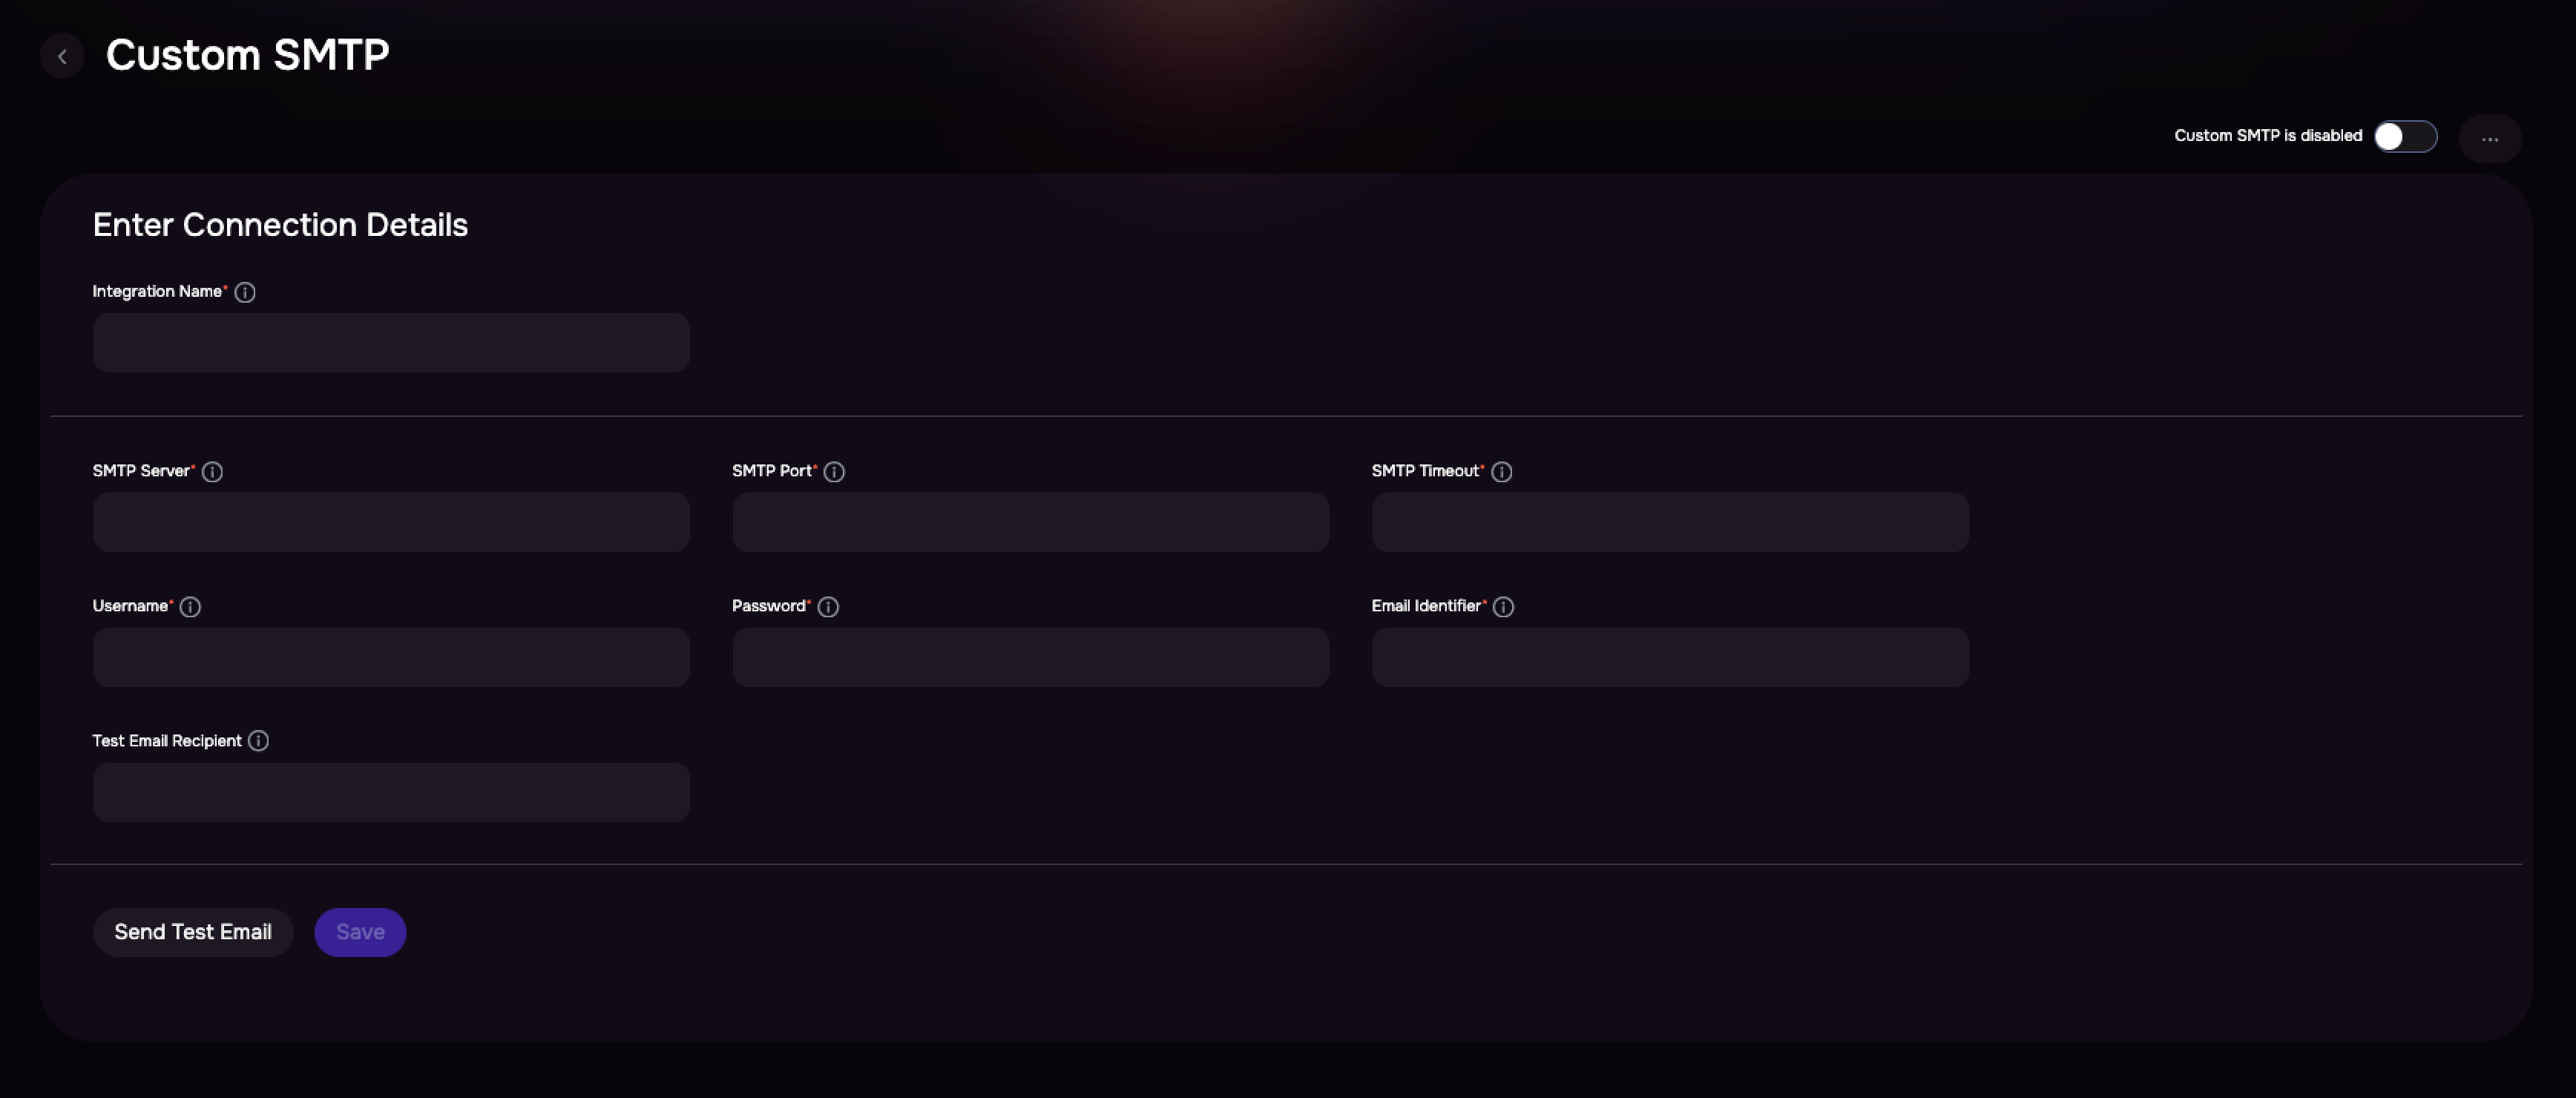
Enter the connection details:
Hostname or IP of the SMTP Server
SMTP Port - Port number used for SMTP communication
SMTP Timeout (ms) – Time (in milliseconds) SAFE will wait before timing out
Username and password for the SMTP server
Email Identifier – Email address used to send SAFE notification emails
Test Email Recipient – Email address to receive the test email during configuration
Enter the Email Identifier (Provide the email address that SAFE will use as the sender for all notifications).
Enter the Test Email Recipient (Enter an email address that will receive the test email).
Click Send Test Email to validate the SMTP configuration.
Click the Save button.
All SAFE notifications will now be sent through the configured SMTP.
Note
SAFE allows configuring multiple Microsoft or Custom SMTP profiles, but only one can be active at a time. To use another SMTP configuration, you must first disable the existing one from Settings > Advanced > Email Accounts.