About this document
This document provides the step-by-step procedure to configure Zoom in SAFE.
Introduction
SAFE allows you to onboard and assess your Zoom account for its configuration assessment. SAFE admins can configure the Zoom integration in SAFE from the Zoom card available on the SAFE Hooks page.
Prerequisites
The Zoom account should be a Business or Enterprise account.
Zoom application with account:read:admin permission. This scope allows API to read account settings.
For configuring Zoom in SAFE, you will need the following credentials:
Account ID of your Zoom account
Zoom Administrator User Credentials
Client ID
Client Secret
Generate Client ID and Client Secret
To generate the connection details:
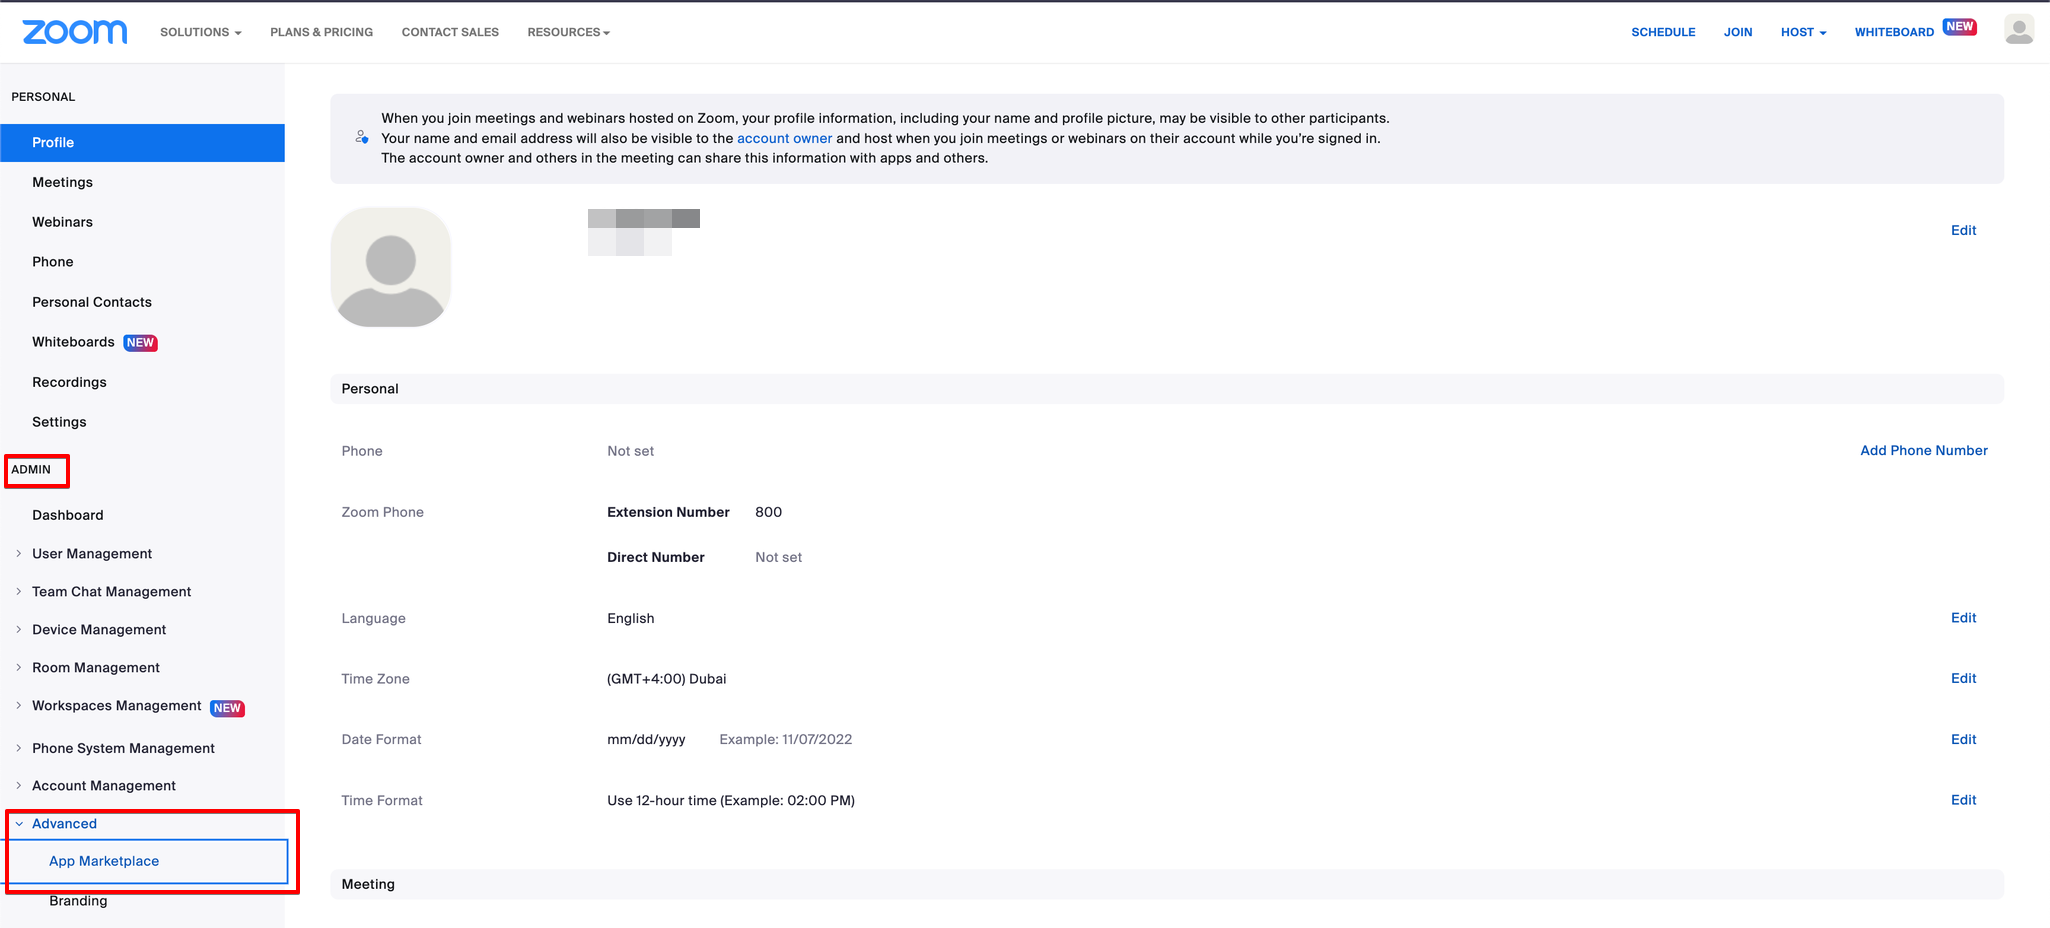
Login to your Zoom account as Admin.
Navigate to Admin > Advance > App Marketplace from the left navigation.
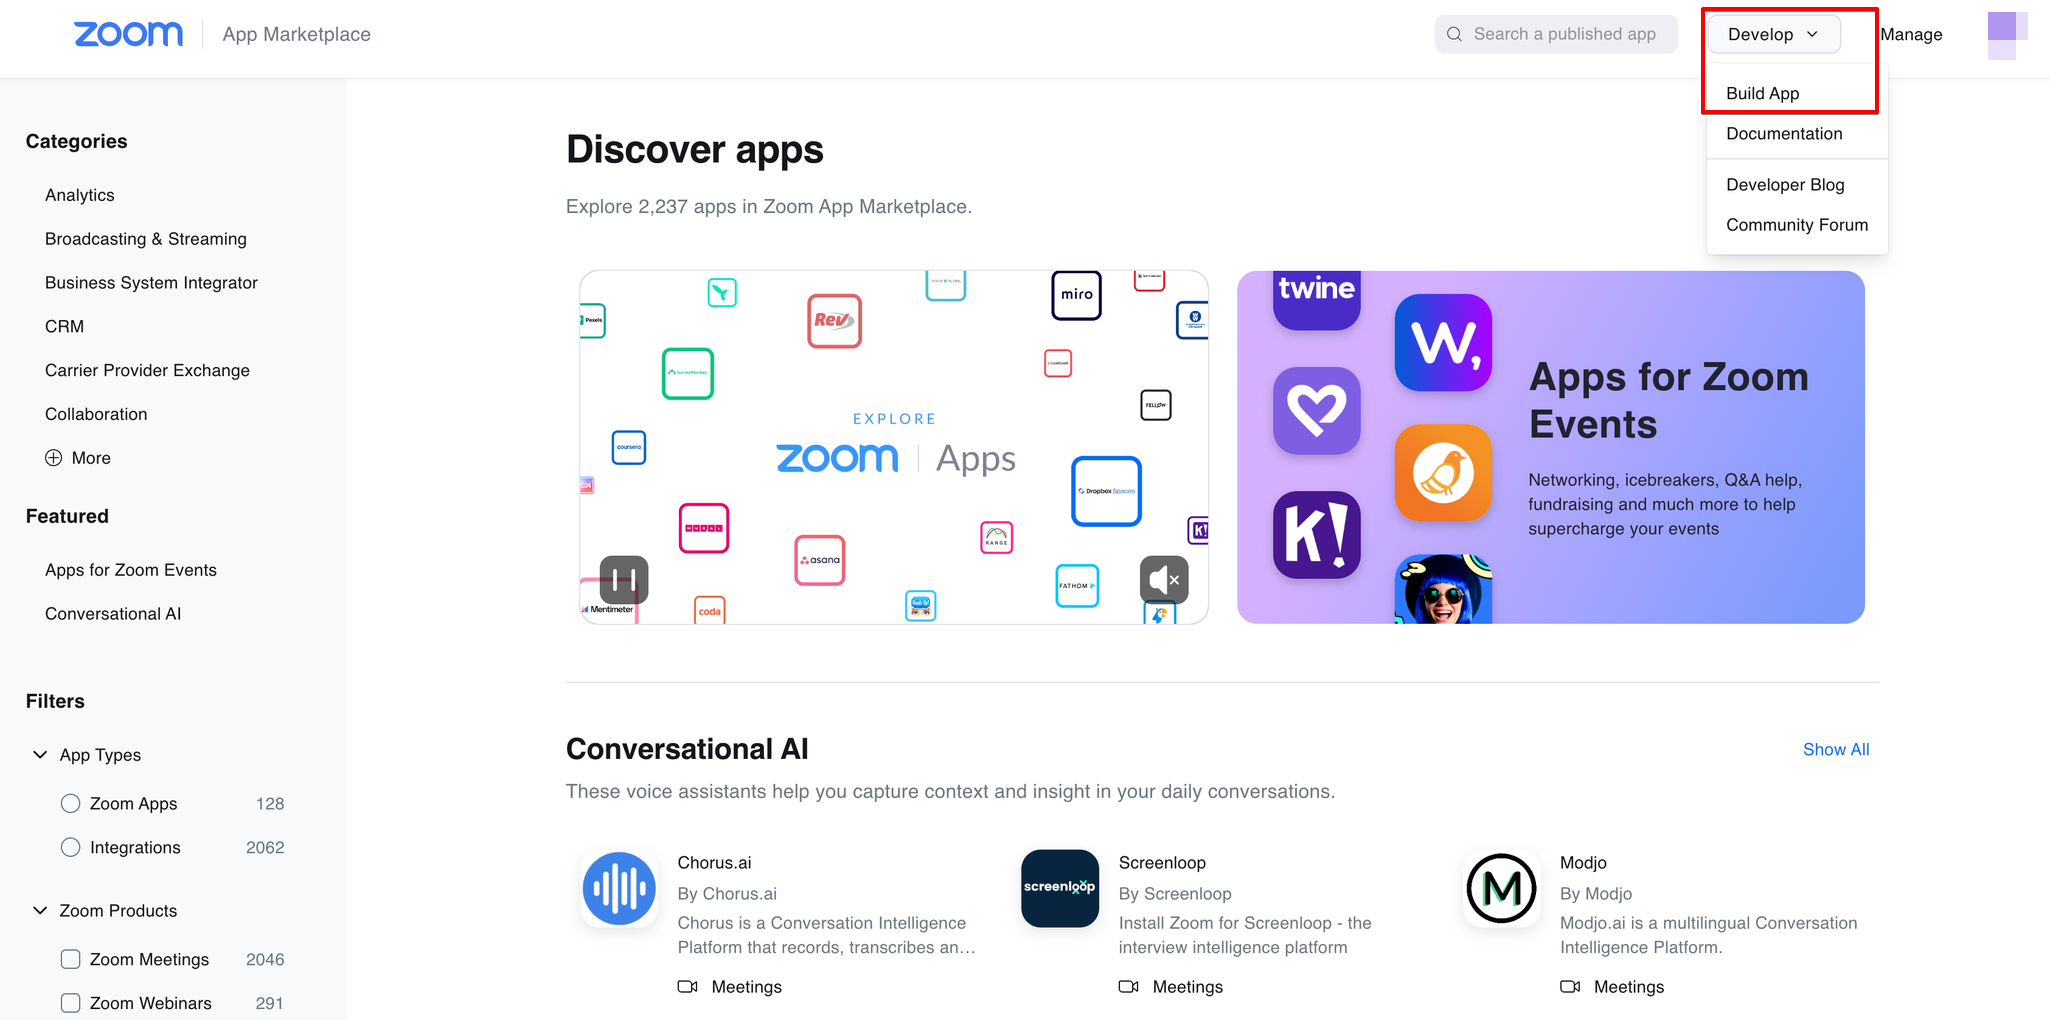
From the Develop drop-down, click the BuildApp option, available at the top-right of the screen.
Click the Server-to-Server OAuth App type.
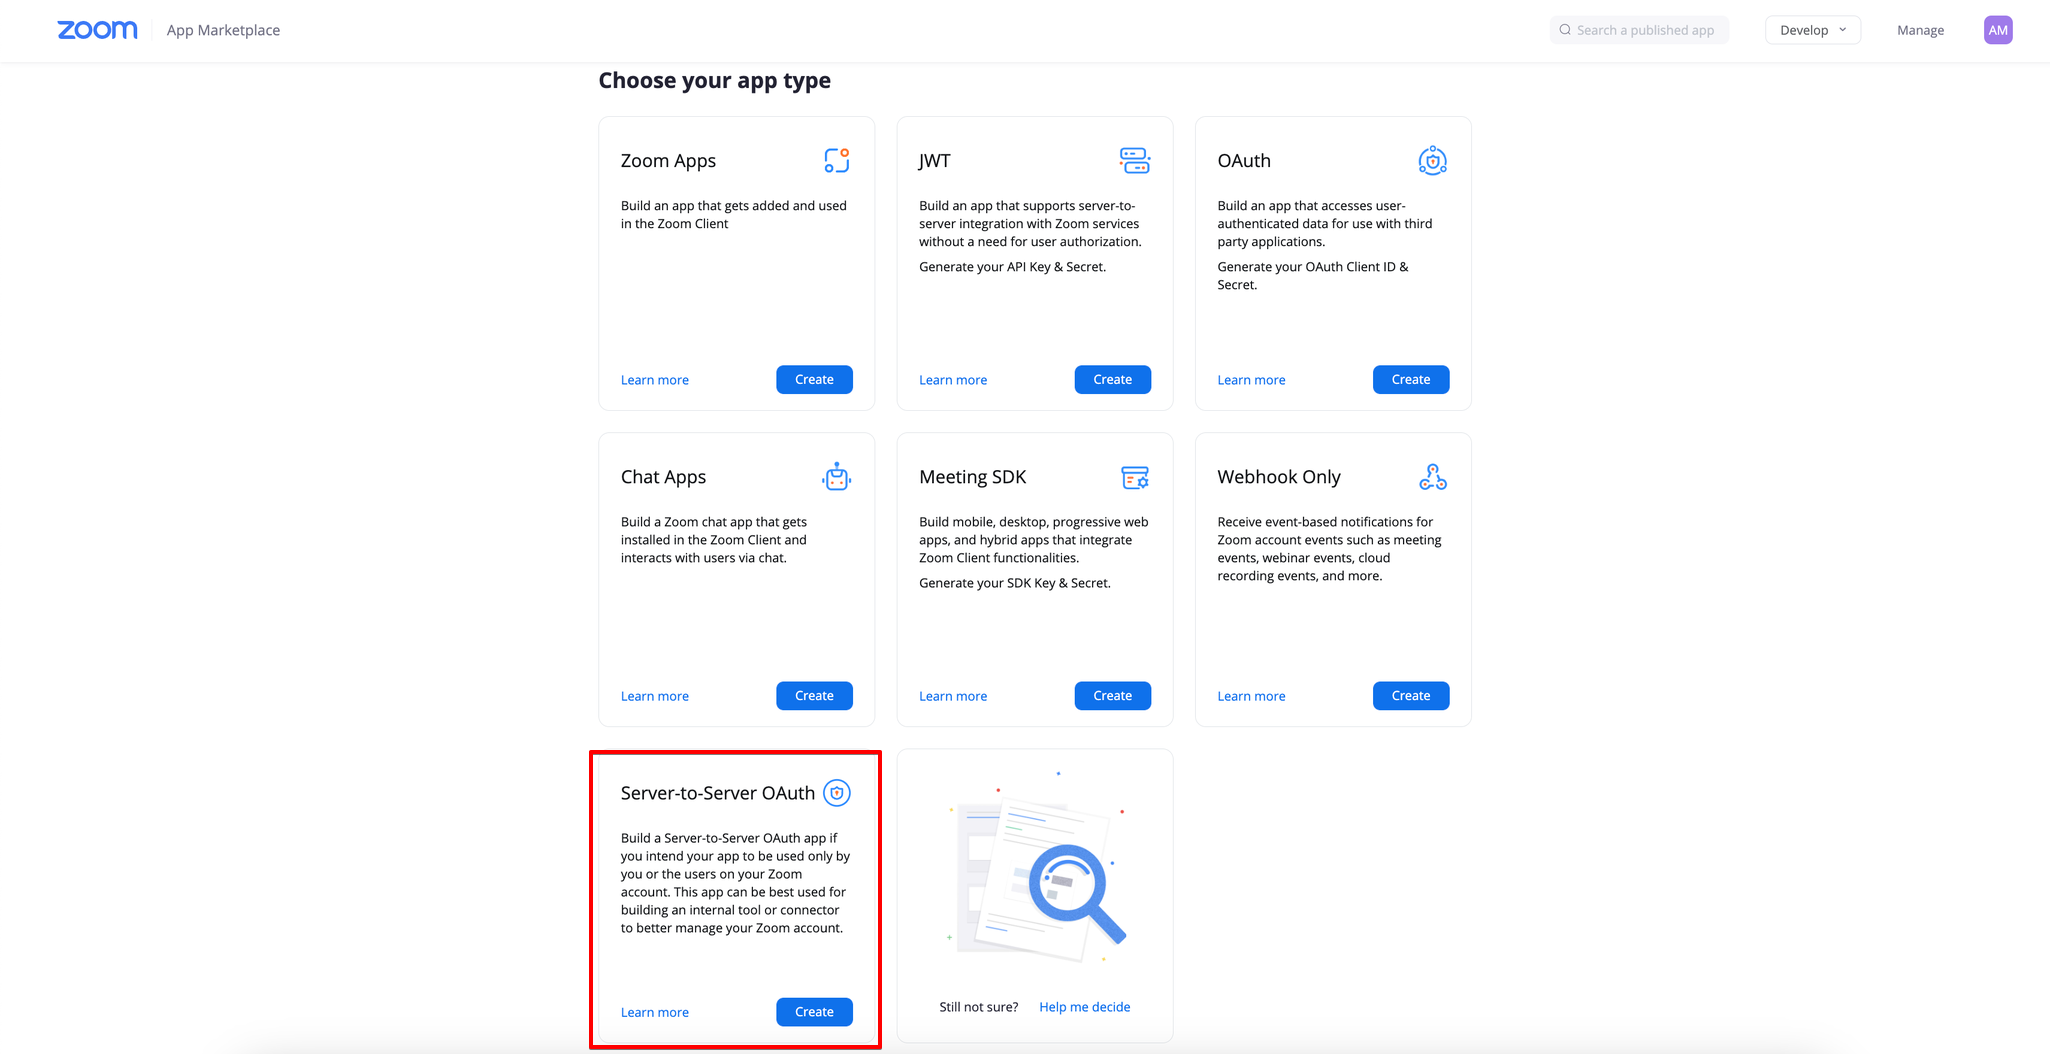
Enter the name of your app. For example, SAFE Integration.
.png "image(30).png")
Click Create. The system creates the App.
Go to the App details page and click the App credentials option.
Here, the system displays the Account ID, Client ID, and Client Secret.
Copy and save these credentials to use while configuring Zoom in SAFE.
.png "image(28).png")
Tip
Add information such as a short description and developer contact information (name and email address) for the app. This information is required for the app activation.
Click on Scopes.
Click Add Scopes.
Search and add the scope account:read:admin.
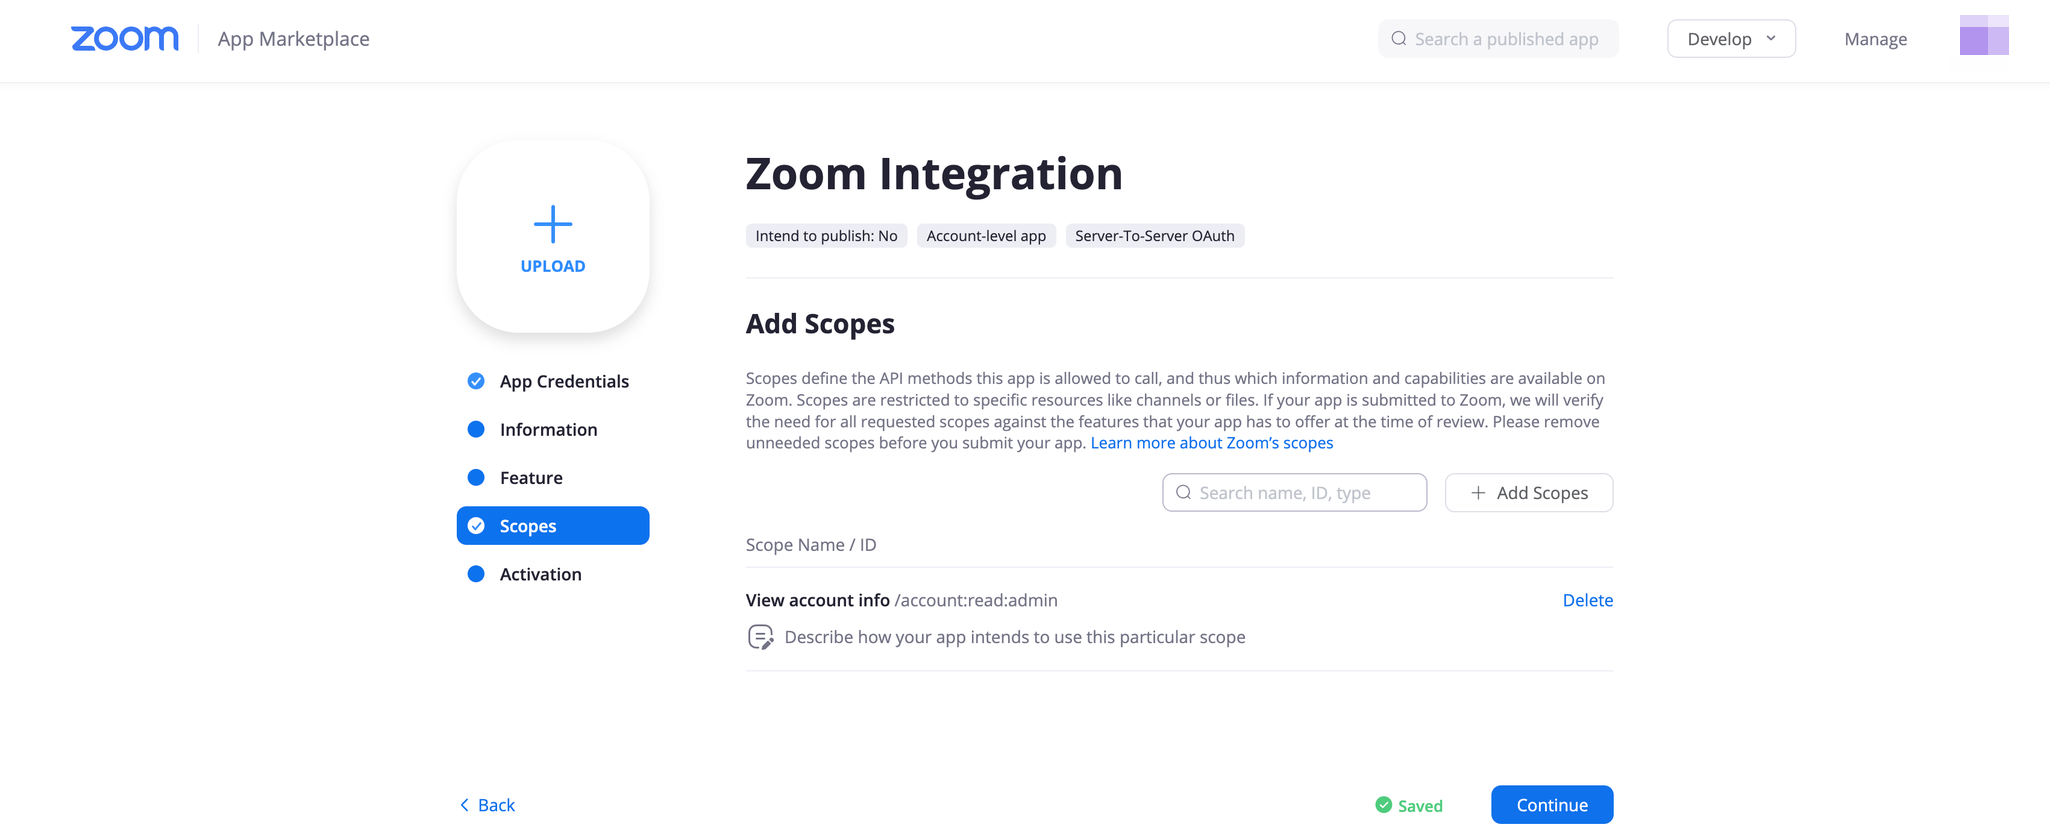
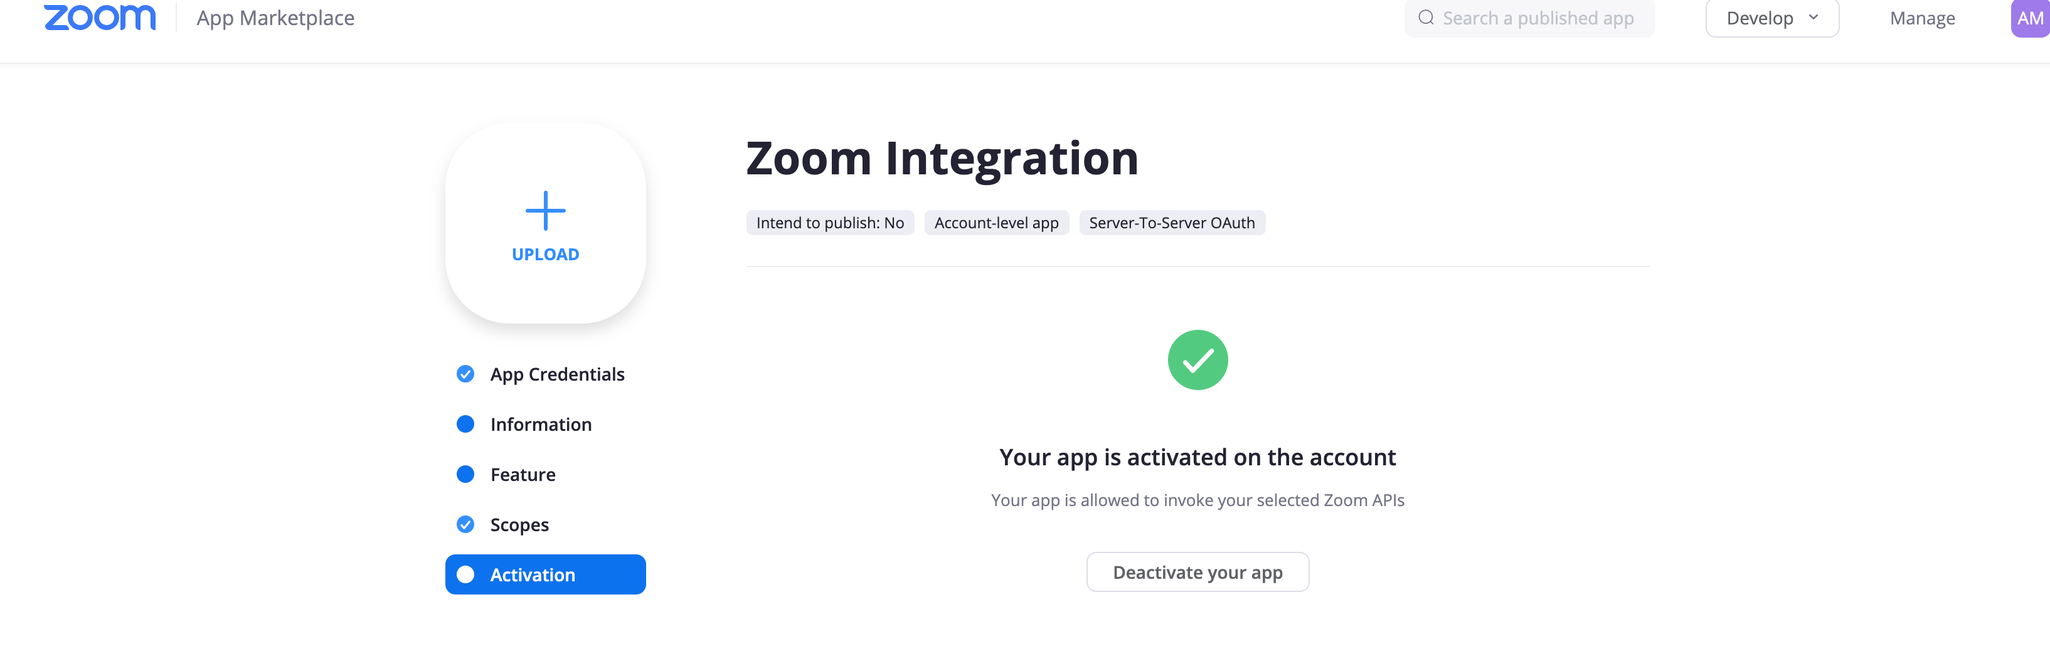
Click the Continue button. Your app will get activated.
Configure Zoom
To configure Zoom in SAFE:
Go to the SAFE Hooks.
Click the Zoom card.
Enter the Account ID, Client ID, and ClientSecret.
Enter the Autosync frequency.
Click the Test Connection button.
Once the connection is verified, click the Save button.
Once the configuration is saved, click the Sync Now button to trigger the on-demand sync outside of the Scheduled Auto Sync.

View Result
After a successful sync, the Zoom assets will be automatically imported into the SAFE.
To view the assets pulled from Zoom:
Navigate to Technology > Assets.
Filter the asset list with Asset Type in Zoom.
.png "image(31).png")
To view the results for an asset:
Navigate to Technology > Inside-out.
Go to the Cloud - SaaS Applications page and under Asset List filter out Zoom.
The system displays all the controls and their status for Zoom.