About this document
This document provides step-by-step instructions to upload a phishing report in CSV format in SAFE.
Introduction
SAFE allows users to upload phishing campaign results obtained from any phishing tool via the Phishing report upload functionality.
You can now download a phishing campaign result report from the source Phishing tool, convert it into a format that SAFE supports, and upload it to SAFE.
Phishing Report Template
Download Phishing Report Template
You can download the Phishing Report Template CSV file from SAFE by following the below step-by-step procedure:
Go to Integrations, on the left navigation.
Click the Phishing Report Upload card.
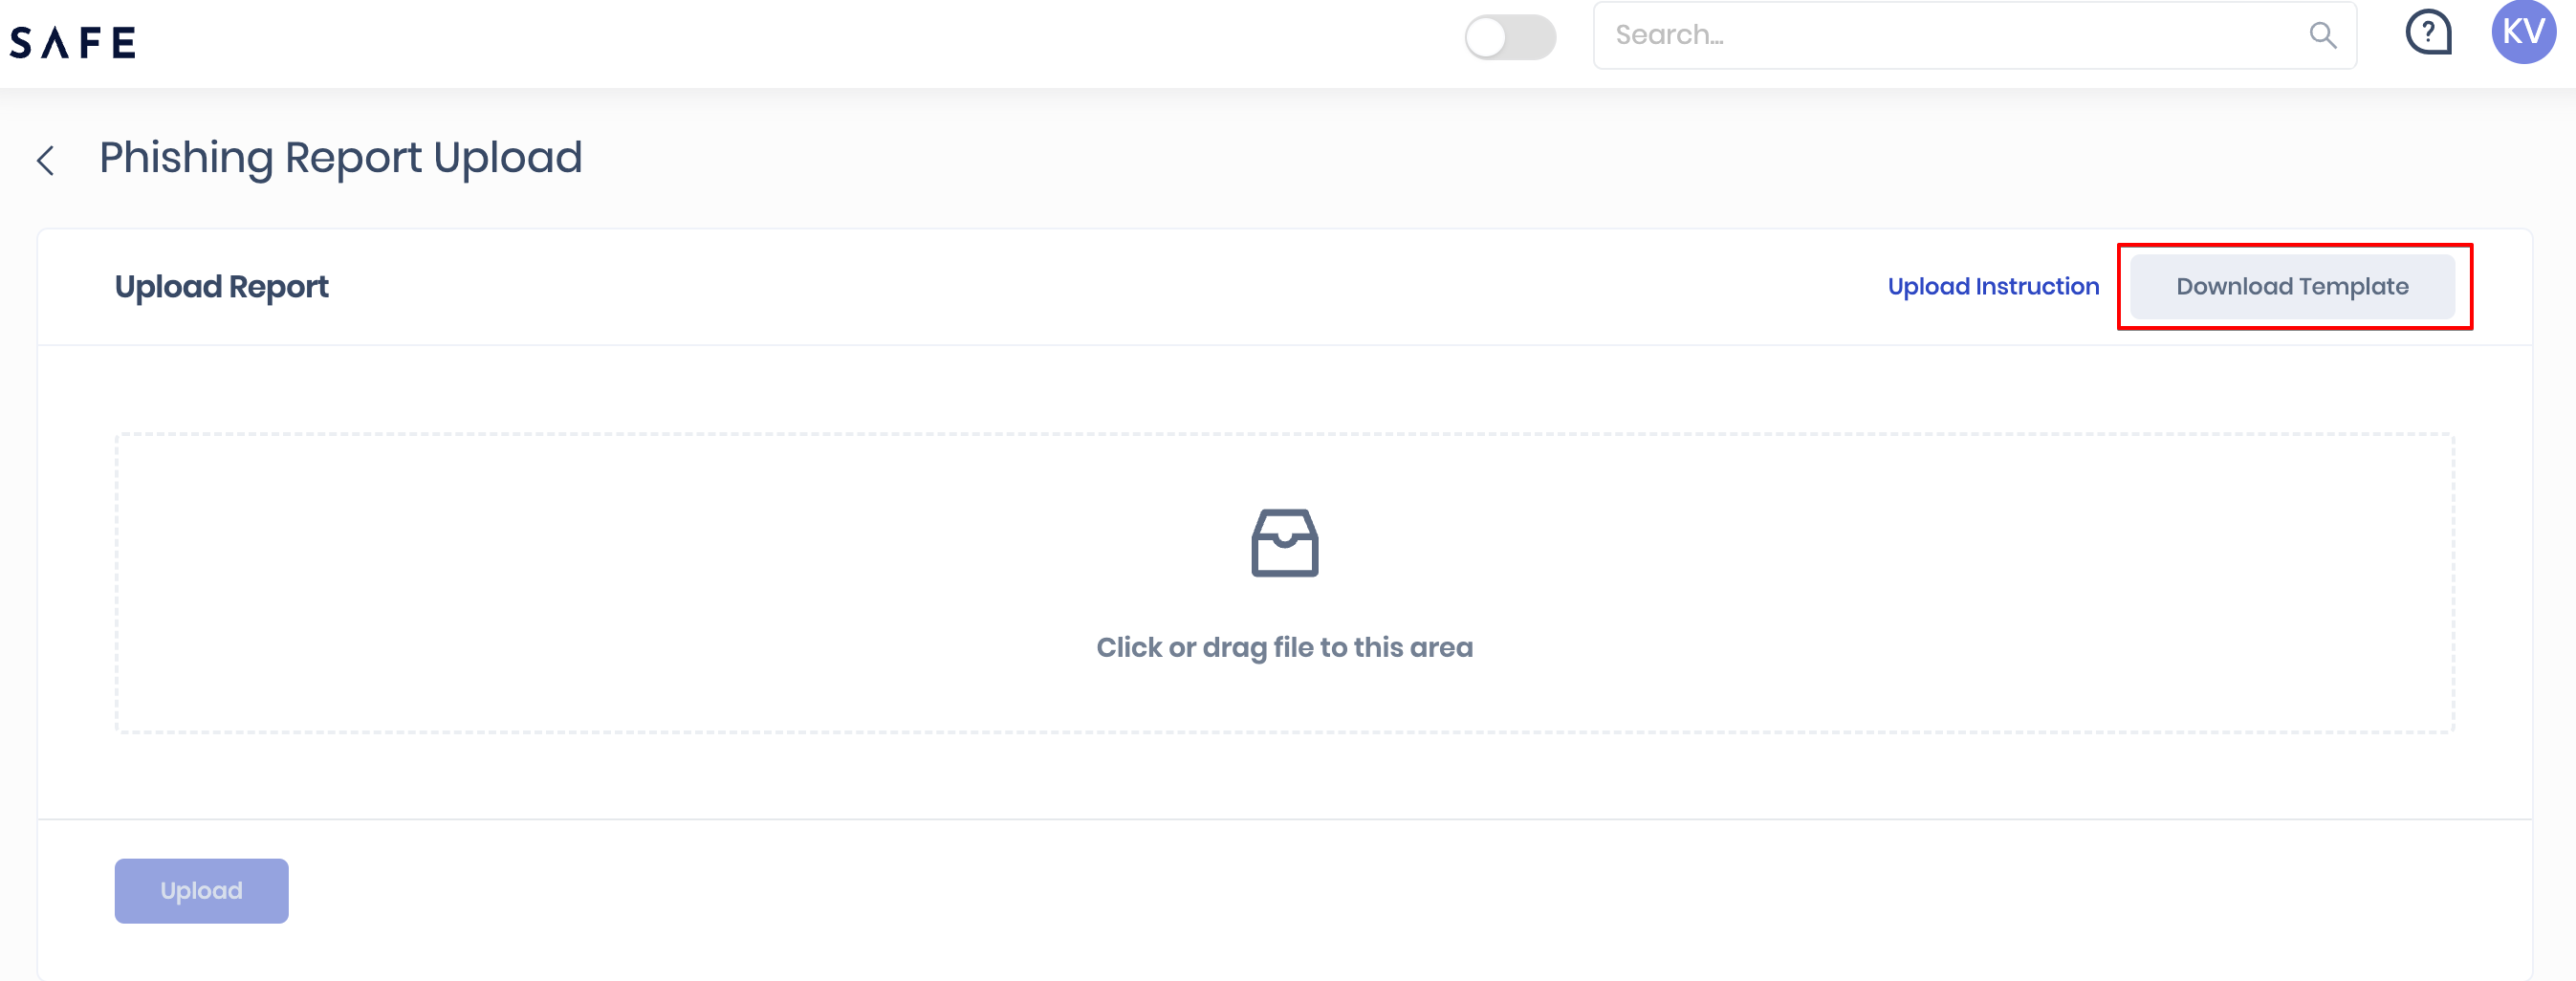
On the upload report page, click the Download Template button available at the top-right corner of the page.
The system downloads a CSV template file on your system.
Instructions to fill the Phishing report template
CSV files of up to 1 GB are allowed.
The phishing report CSV file supports uploads of up to 1M rows.
Each row provides details about the actions the user performed during the phishing campaign, along with the user's details.
.png)
Phishing Report Upload Fields
Mandatory Fields
Email ID: Email Id of the users that have participated in the campaign.
Last Action Date: Timestamp of the last action performed by the participant in ISO format.
Example: 2022-12-05T05:21:04.000Z.Sent Date: Timestamp when the phishing email was sent to the participant in ISO format.
Example: 2022-12-05T05:21:04.000Z.Last Action: Last Action that the user performed during the campaign. Note that the following supported values are case sensitive:
Clicked Link
Submitted Data
Opened Attachment
Email Replied
No Action
Optional Fields
Department: Name of the department to which the participant belongs.
Location: Location of the participant.
Designation: Participant's designation or Job Title.
Campaign Name: Name of the phishing campaign.
Campaign Start Date: Start date of the campaign.
Campaign End Date: End date of the campaign.
Expiry Date: Expiry Date of the control(assessment) for a particular asset.
The details of the campaign, i.e., Campaign Name, Campaign Start Date, and Campaign End Date for which the phishing results are uploaded, will be visible in the control's observations.
Upload Phishing Report
Once you have the report prepared, perform the following steps to upload the report:
Navigate to the Integrations, on the left navigation.
Click on the Phishing Report Upload card.
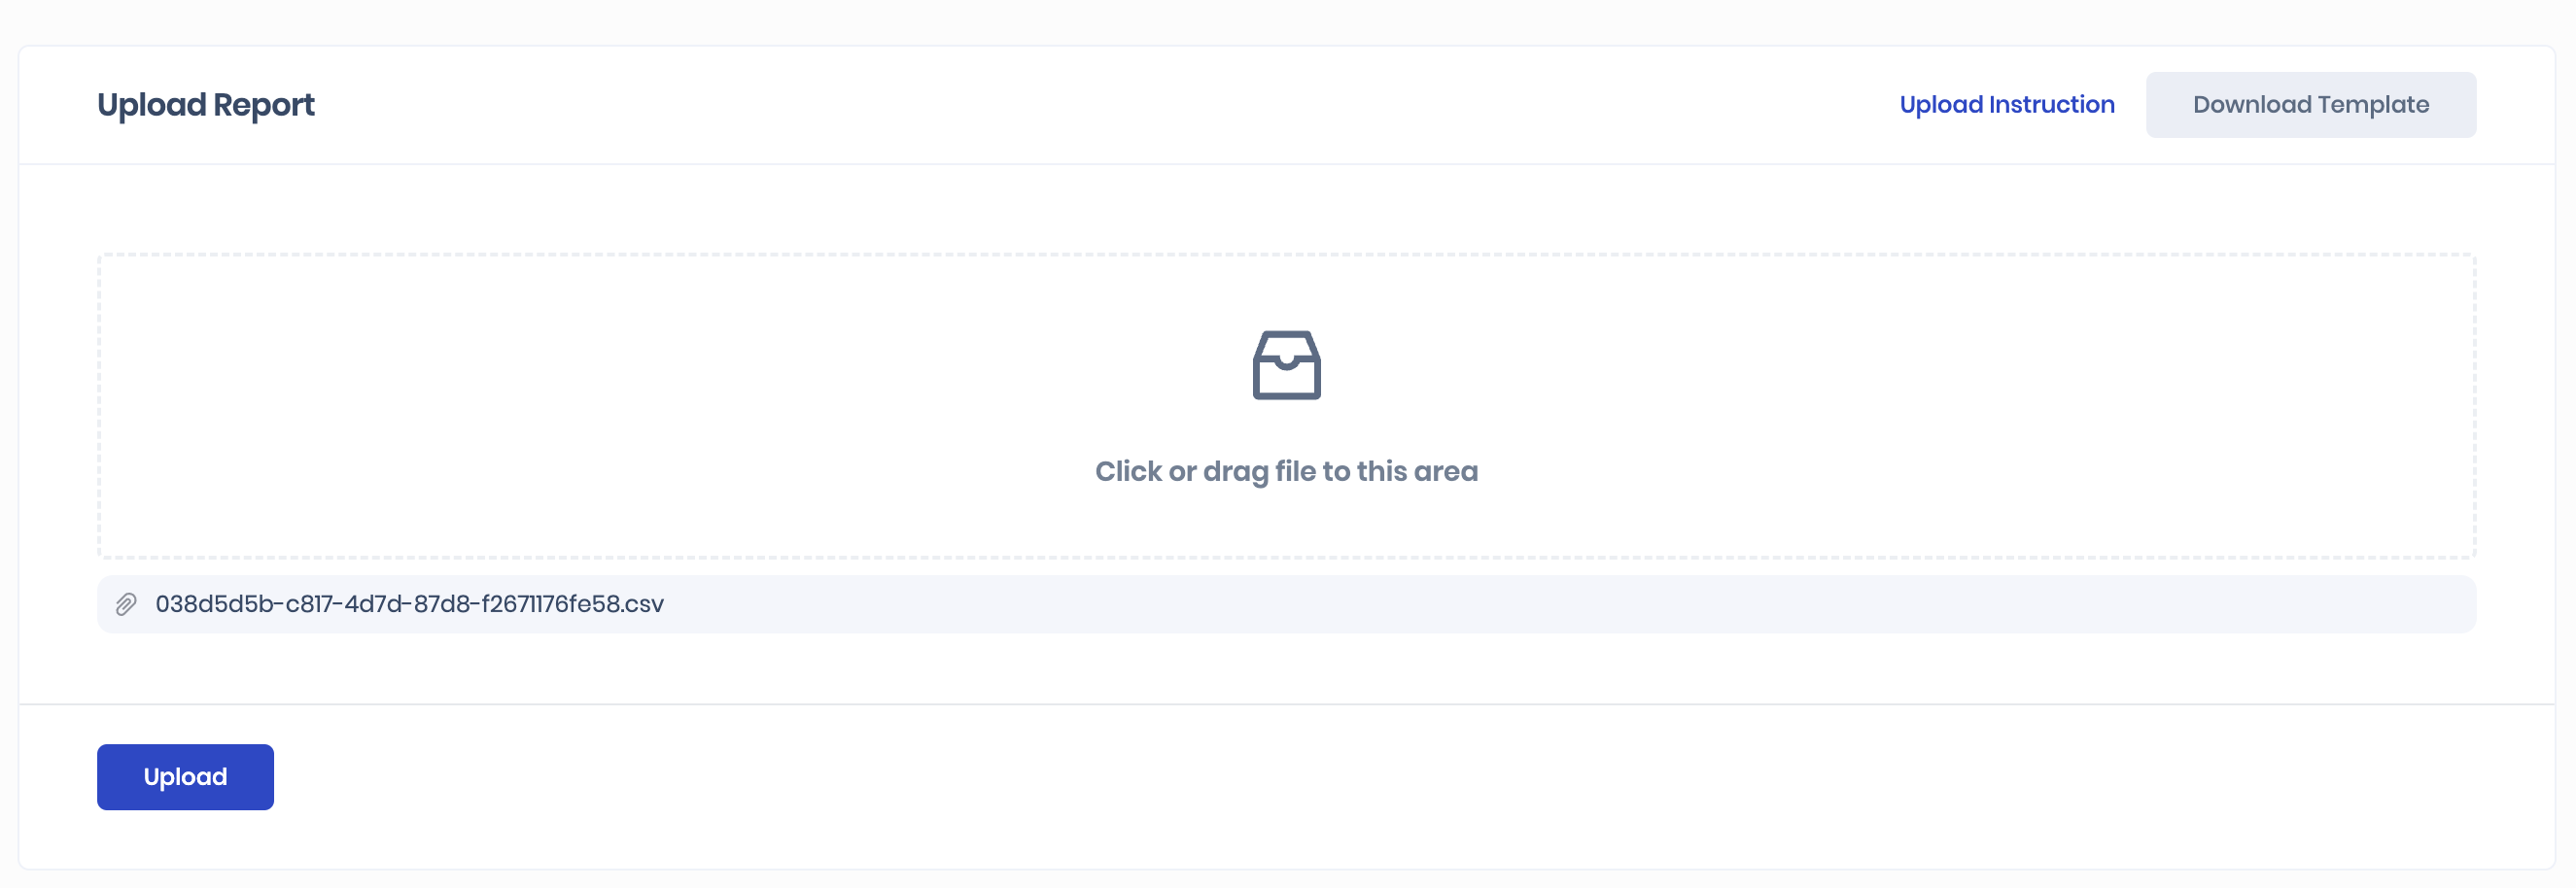
On the Phishing Report Upload page, drag the report CSV file directly or browse and upload the file.
Click the Upload button. Once the report is uploaded, the system displays the report in the Upload History table.
Checking Upload History
The upload history table provides information about all historical report uploads, including the original file name, the user who uploaded the report, the timestamp when the report was uploaded, and the current processing status of the report.
Once the system processes the report, the status of the report in the table will be updated to either Success, Failed, or Validation Failed.
If the report ends up with a failure status, the table allows the user to download the processed CSV file with per-row outcomes. This can help you understand why the report was not processed successfully.
.png)
View Results
You can view the result of a phishing report uploaded on the People page.
Processing Statuses
When uploading a phishing report, one can encounter multiple processing statuses. Here are the details:
In Progress: If the system has accepted the report for processing and the processing has started, then the report status will be In Progress.
Validation Failed: During the report processing, if the system encounters any row which does not qualify the data validation checks, the report is moved to Validation Failed status. In this scenario, the user can download the result CSV, remediate the validation issues given in the error column for each row, and re-upload the CSV. No rows will be processed in the system till all validation failures in the CSV are fixed.
Failed: During the report processing, if the report data is valid, but the system fails to parse the rows present in the report, then the report ends up in a Failed state. In this scenario, one can check the API response or result in CSV for additional details.
Success: If all the rows in the phishing report are parsed and validated successfully, the report ends up in a Success state. However, the processing of the report will happen in the background.