About this document
This document provides a comprehensive, step-by-step guide to configuring Microsoft Exchange SMTP in SAFE, enabling email notifications to be sent from your organization’s own email infrastructure.
Overview
SAFE supports sending outbound emails through:
Microsoft Exchange / Microsoft 365 SMTP (OAuth-based)
Custom SMTP servers
Once configured, SAFE routes all email notifications, based on your chosen scope, through the configured mail server instead of the default SAFE mail service.
Prerequisites
SAFE Admin Access is required to configure SMTP settings.
Microsoft 365 Administrator Account (Global Admin or Application Administrator)
Access to the Azure Portal
Your Microsoft 365 email address
Generate Connection Details
Log in to the Azure portal.
Navigate to Microsoft Entra ID (Azure Active Directory).
Register a New application.
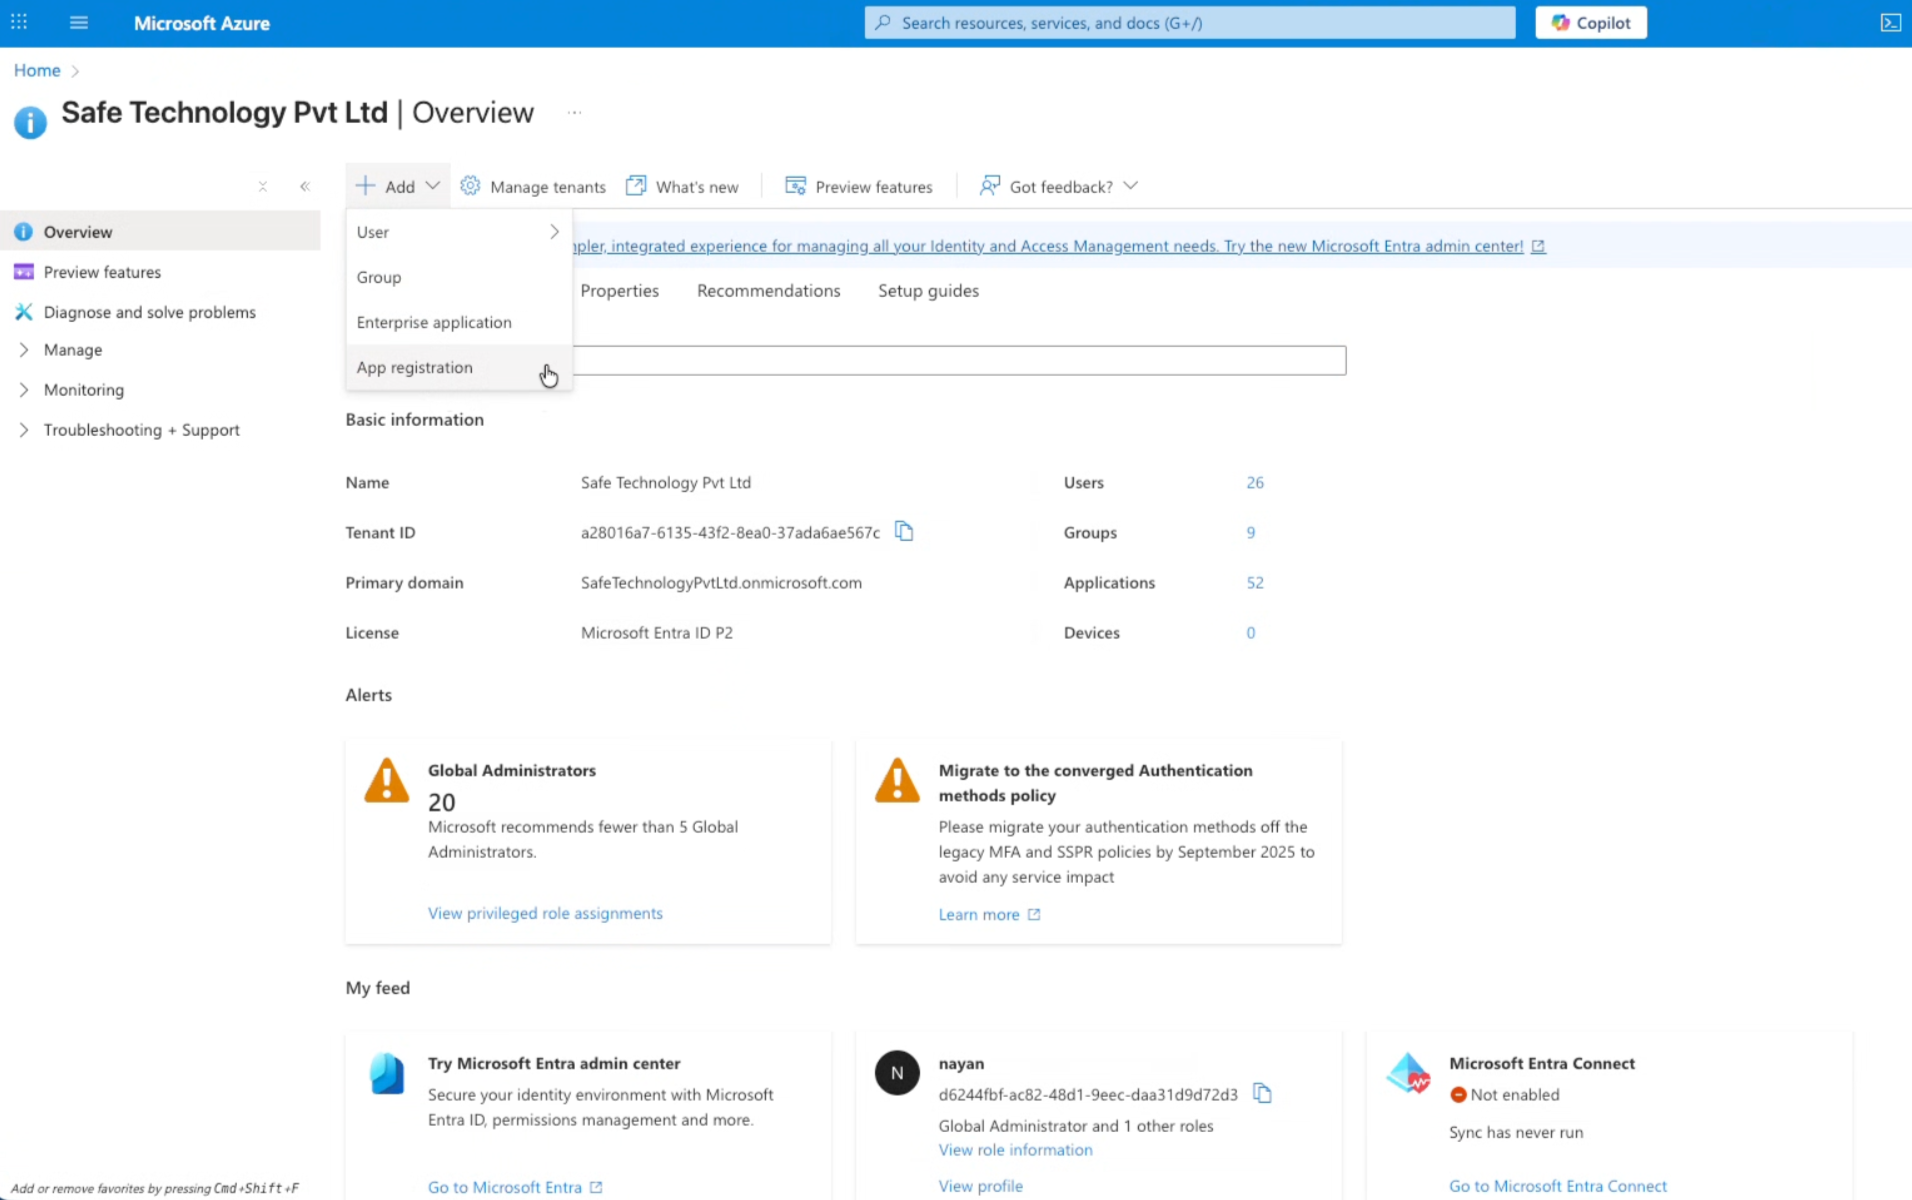
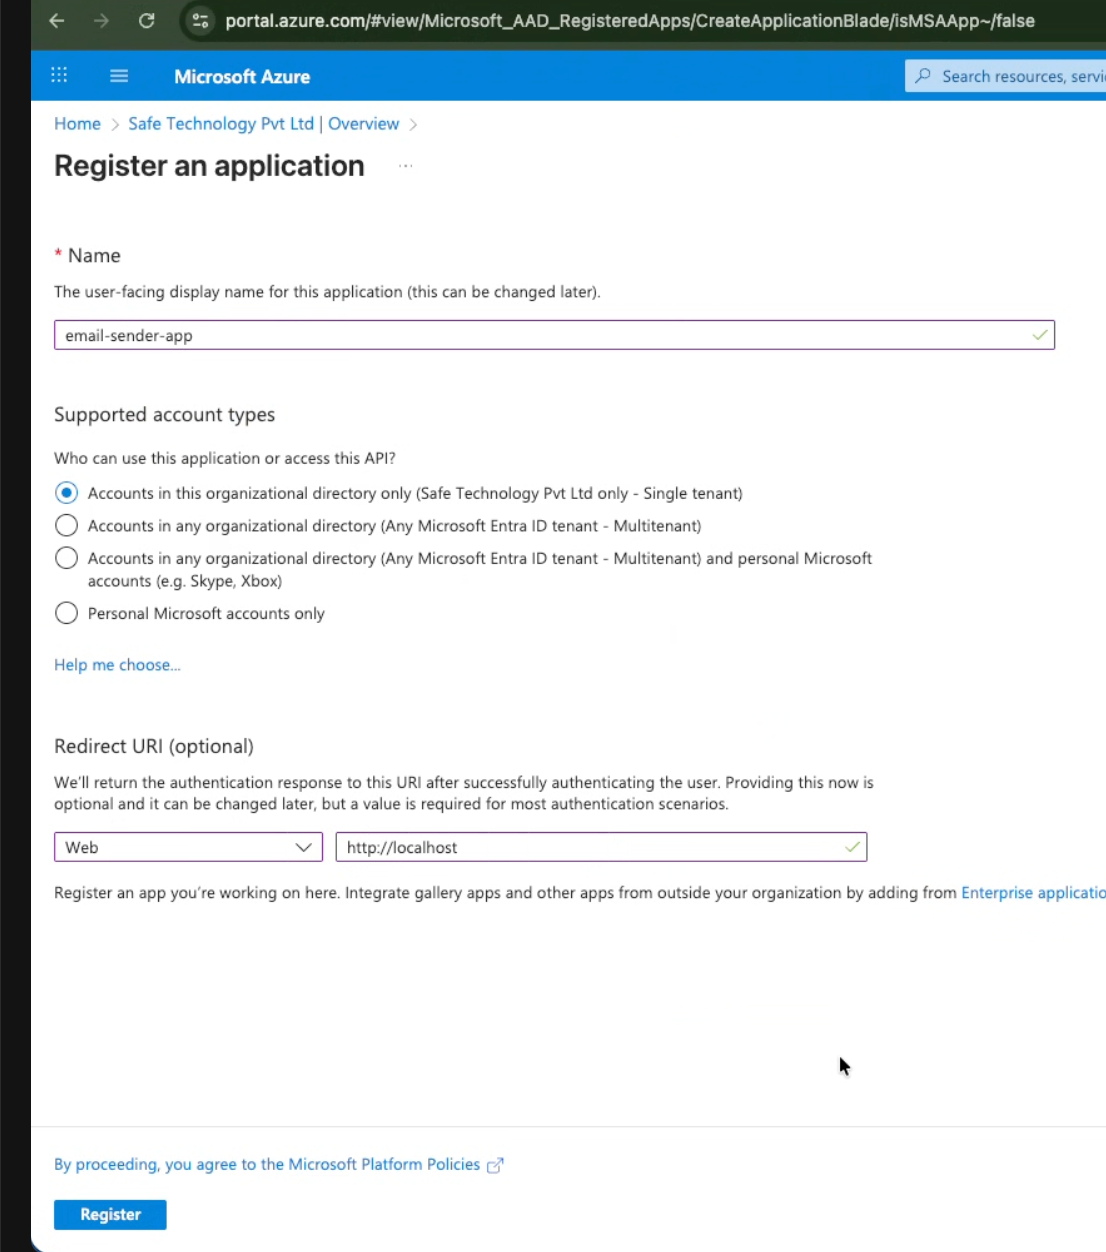
Enter the details:
Name
Supported account types: Select the “Accounts in this organizational directory only.”
Redirect URI: Enter the Platform as Web and URI: http://localhost (for desktop application)
Click Register.
Once the registration is completed, the details will be displayed on the Overview page. Copy the connection details from the Overview page.
Client ID (Application ID)
Tenant ID (Directory ID)
.png)
Click Certificates & secrets from the left navigation.
Click the + New client secret button.
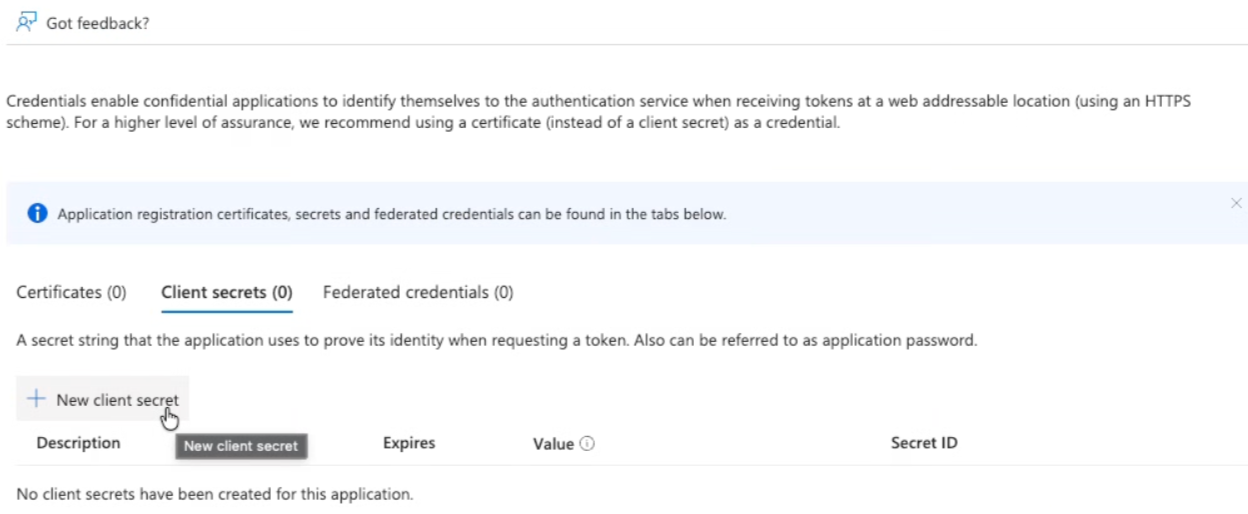
Enter the details:
Description
Expiry
Start and End Date
Click the Add button.
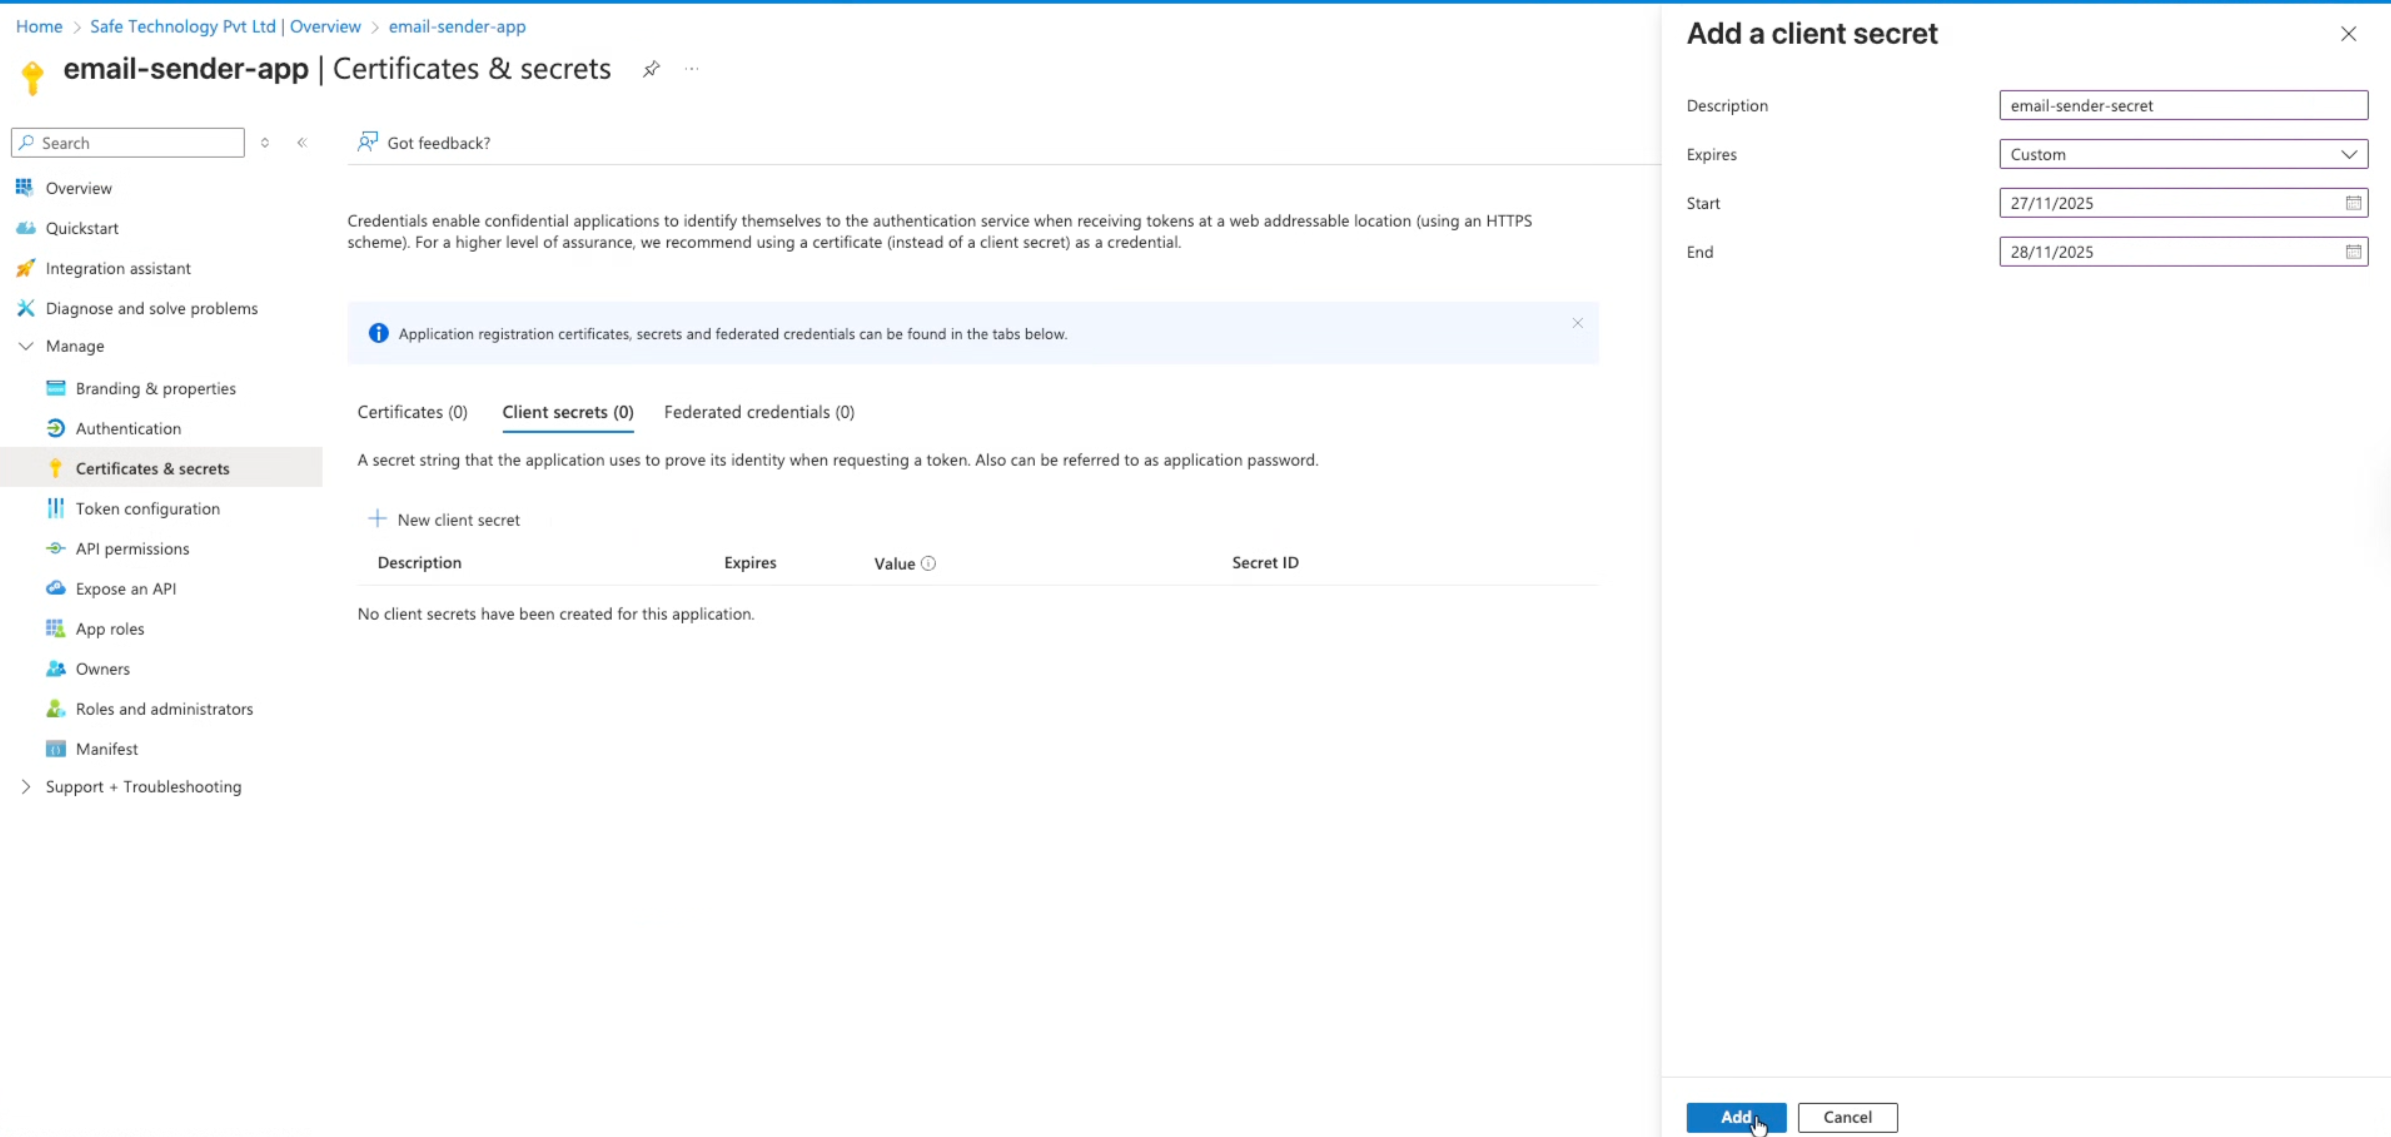
Copy and save the Client Secret displayed in the Value column. The system displays this value only once.

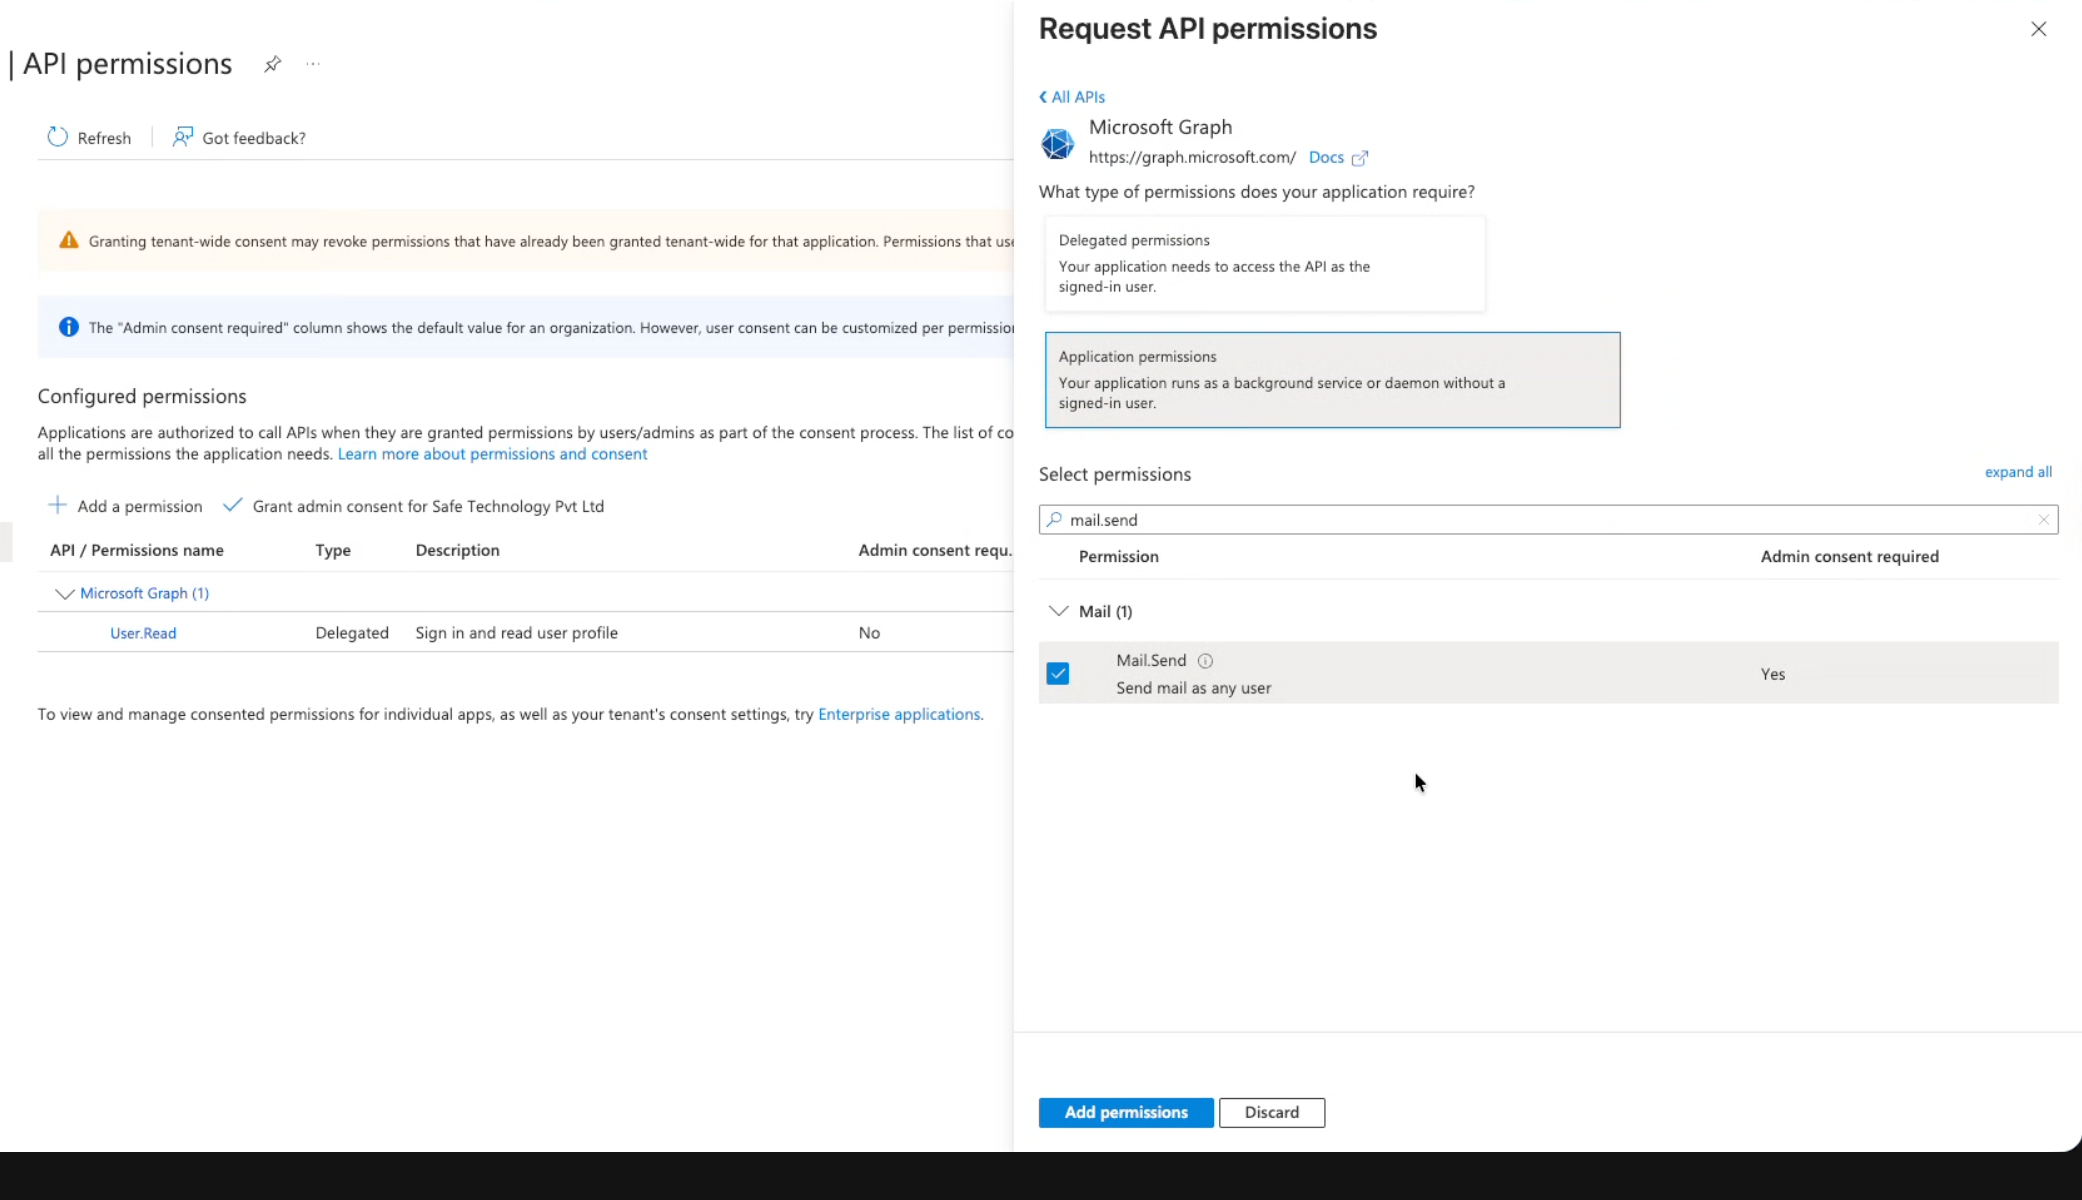
Click API permissions from the left navigation.
Click the + Add a permission button.
Select Microsoft Graph.
Choose “Application permissions” as the permission type option.
Search and select “Mail.Send” as permission.
Click the Add permissions button.
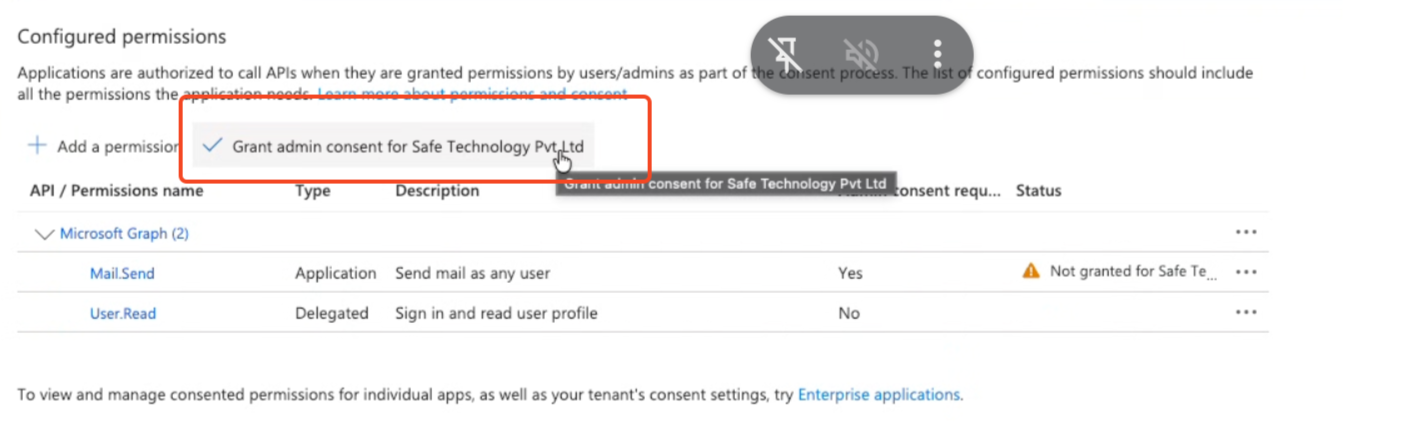
After adding permissions, you'll see a yellow warning about admin consent.
Click “Grant admin consent for Your Organization”.
Click Yes to confirm. The status will be changed to "Granted for [Your Organization]".
Configure Microsoft Exchange SMTP in SAFE
Once you have completed the Microsoft Azure setup and collected the Tenant ID, Client ID, and Client Secret, follow the steps below to configure Microsoft SMTP inside SAFE.
Navigate to Integrations.
Click the + icon and search for SMTP.
Click on the Microsoft SMTP card.
.png)
Alternatively, you can also navigate to Settings > Advanced > Email Accounts, and click the + icon.
Enter the connection details such as Name (any unique name), Tenant ID, Client ID, and Client Secret, generated in the steps above.
Enter the Email Identifier (Provide the email address that SAFE will use as the sender for all notifications).
Enter the Test Email Recipient (Enter an email address that will receive the test email).
Click Send Test Email to validate the SMTP configuration.
Click the Save button.
All SAFE notifications will now be sent through the configured SMTP.
.png)
Note
SAFE allows configuring multiple Microsoft or Custom SMTP profiles, but only one can be active at a time. To use another SMTP configuration, you must first disable the existing one from Settings > Advanced > Email Accounts.