About this document
This document provides step-by-step instructions to configure "Microsoft Defender for Endpoint" in SAFE.
Introduction
This integration allows you to onboard endpoints from MS Defender for Endpoint and fetch vulnerability and/or EDR (Endpoint detection and response) findings in SAFE. SAFE Admins can configure this integration from the "Microsoft Defender for Endpoint" card available on the Integrations page.
Prerequisites
Microsoft Defender for Endpoint Plan 2 is enabled for your Organization.
The following privileges are needed for a user in Azure to generate the connection details:
For manually creating Entra ID applications and assigning permissions:
Sufficient privileges/permissions to create an Entra ID application.
Sufficient privileges/permissions to add API permissions to the created application.
SAFE Admin access.
Generate connection details
To integrate SAFE with Microsoft Defender for Endpoint, we need 3 details to be generated from Azure:
Tenant Id
Client Id
Client Secret
To generate these details, an application will be created in the Azure portal and given the required API read-only permissions.
Register App on Azure
Log in to the Azure Portal.
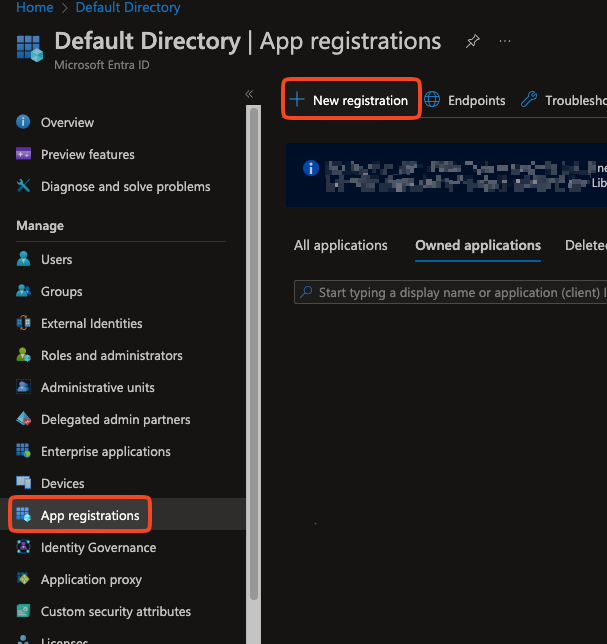
Navigate to Microsoft Entra ID.
Go to the App registrations and click the New Registration button.
On the app registration page, enter the Name for the application, select the Account Type, and Redirect URI.
Name: Enter a name of your choice. For example, SAFE-Defender-For-Endpoint
AccountType: Select the option "Accounts in the organizational directory only (Default Directory only - Single Tenant)"
Redirect URI: This can be left blank.
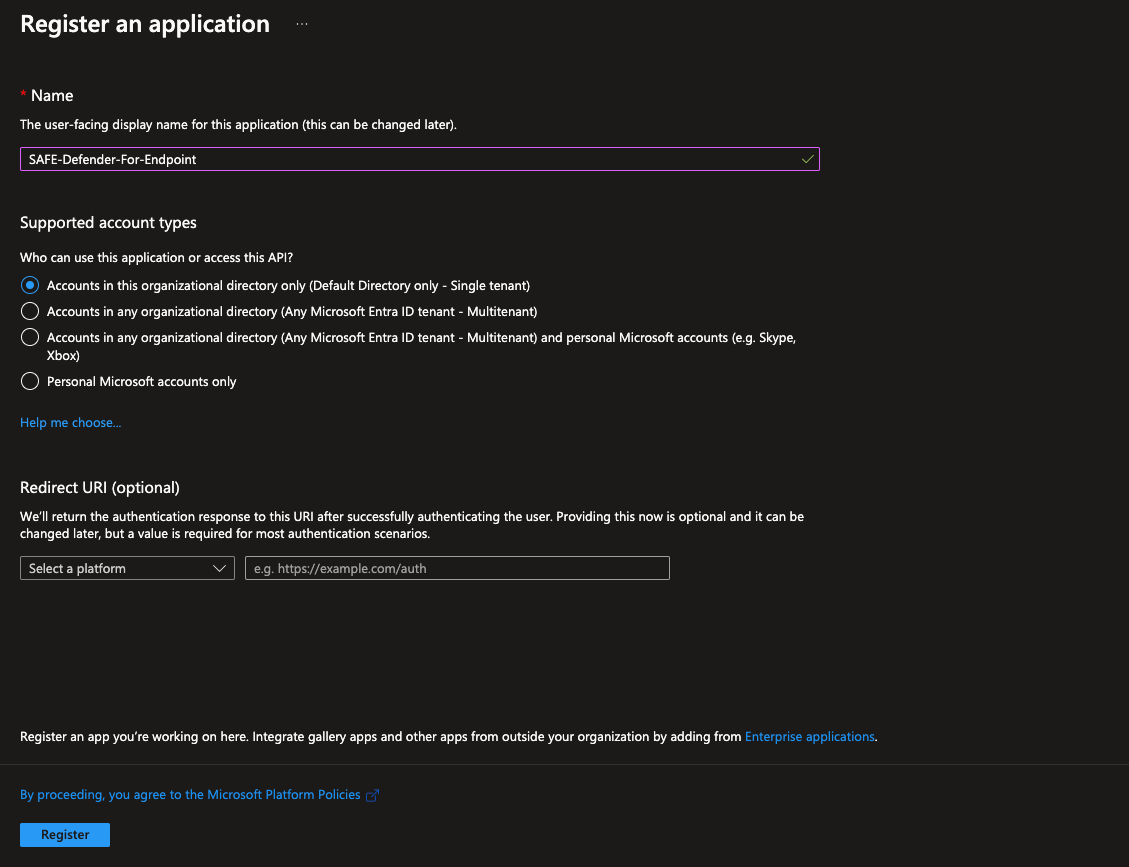
Click the Register button. The system registers the application.
Get the Client ID and Tenant ID
Go to the Application overview page you have created above.
You can find the Client ID and Tenant ID on the application's overview page.
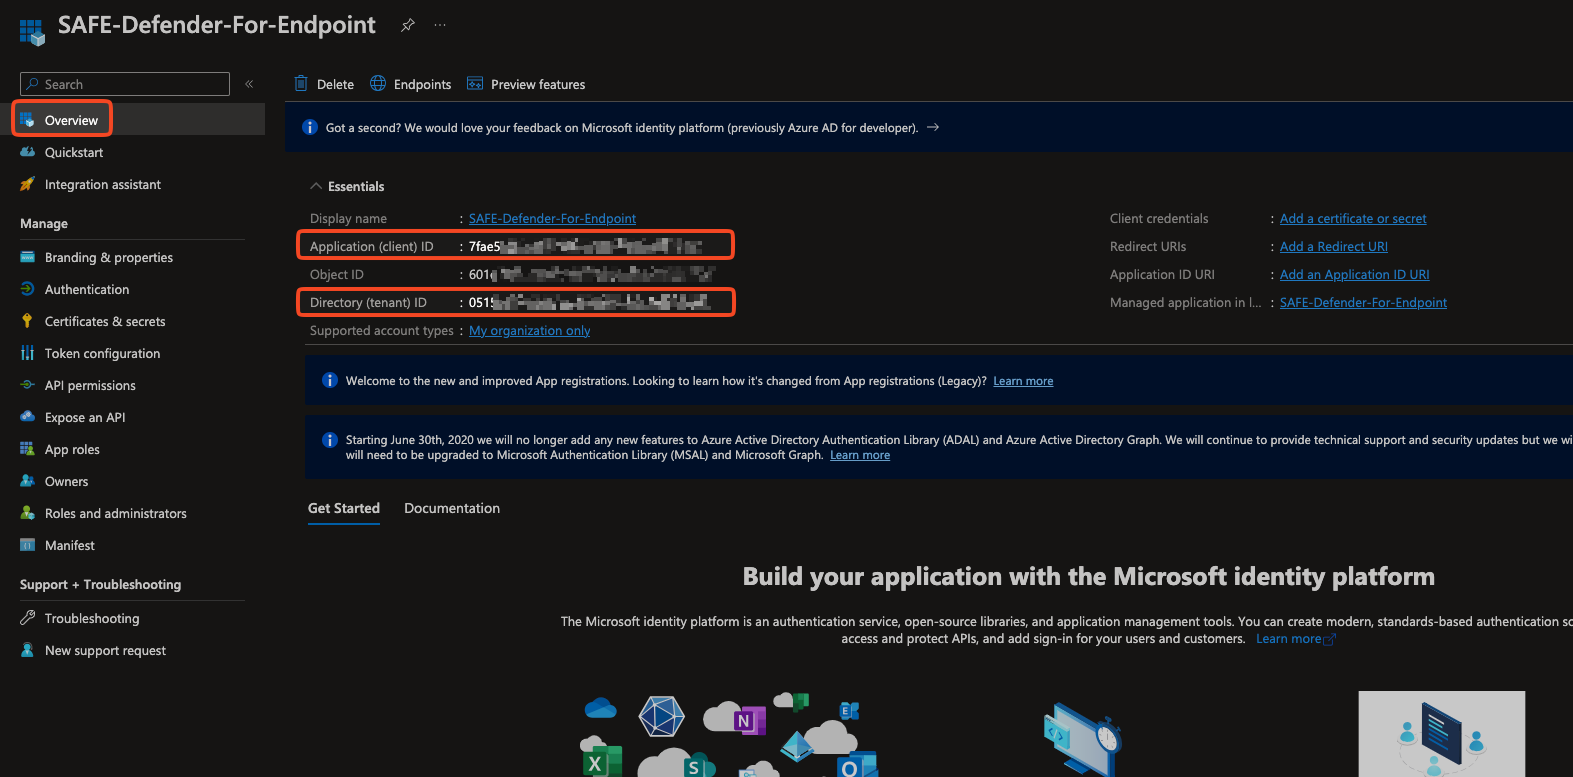
Save the Client ID and Tenant ID on your system for later usage while configuring this integration to SAFE.
Create the Client Secret
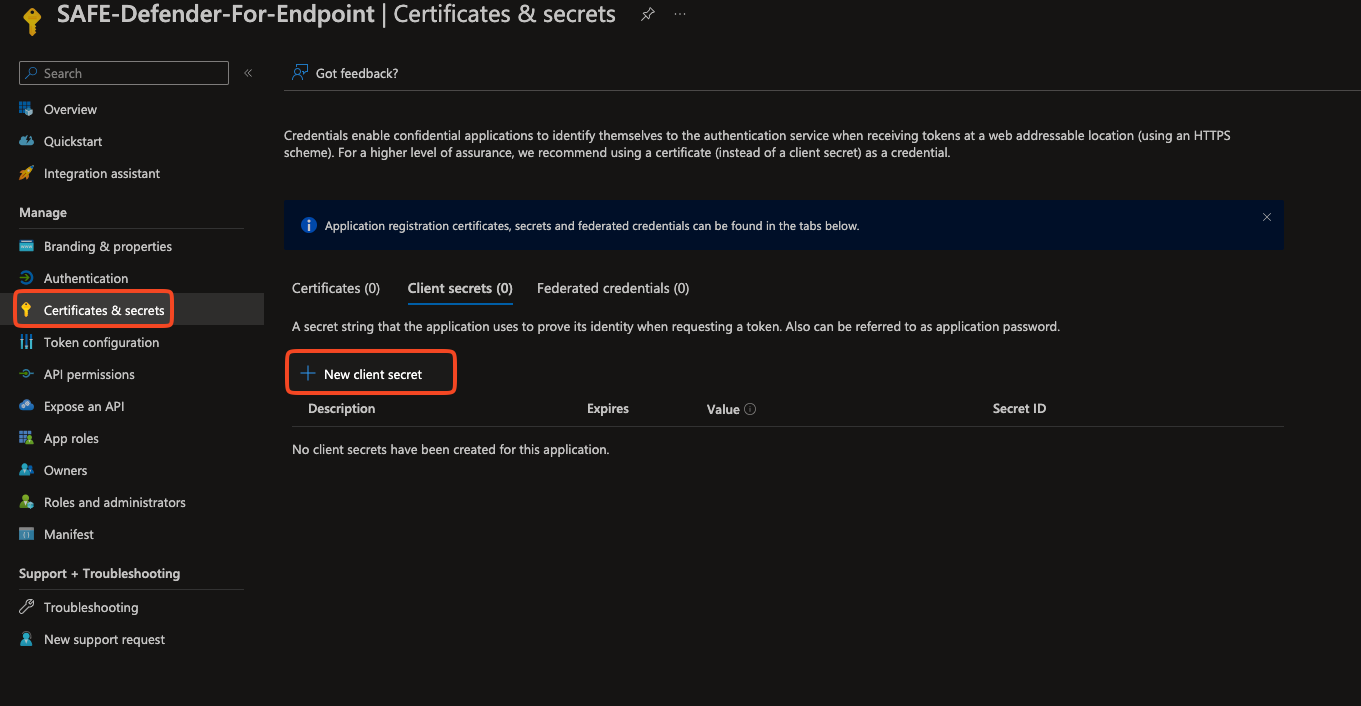
When we register a new application in Azure, it does not have any client secrets. To create a Client Secret:
Navigate to Certificates & Secrets from the left navigation.
Click the New Client Secret button.
Enter the Description and Expiry for the Client Secret.
Click the Add button.
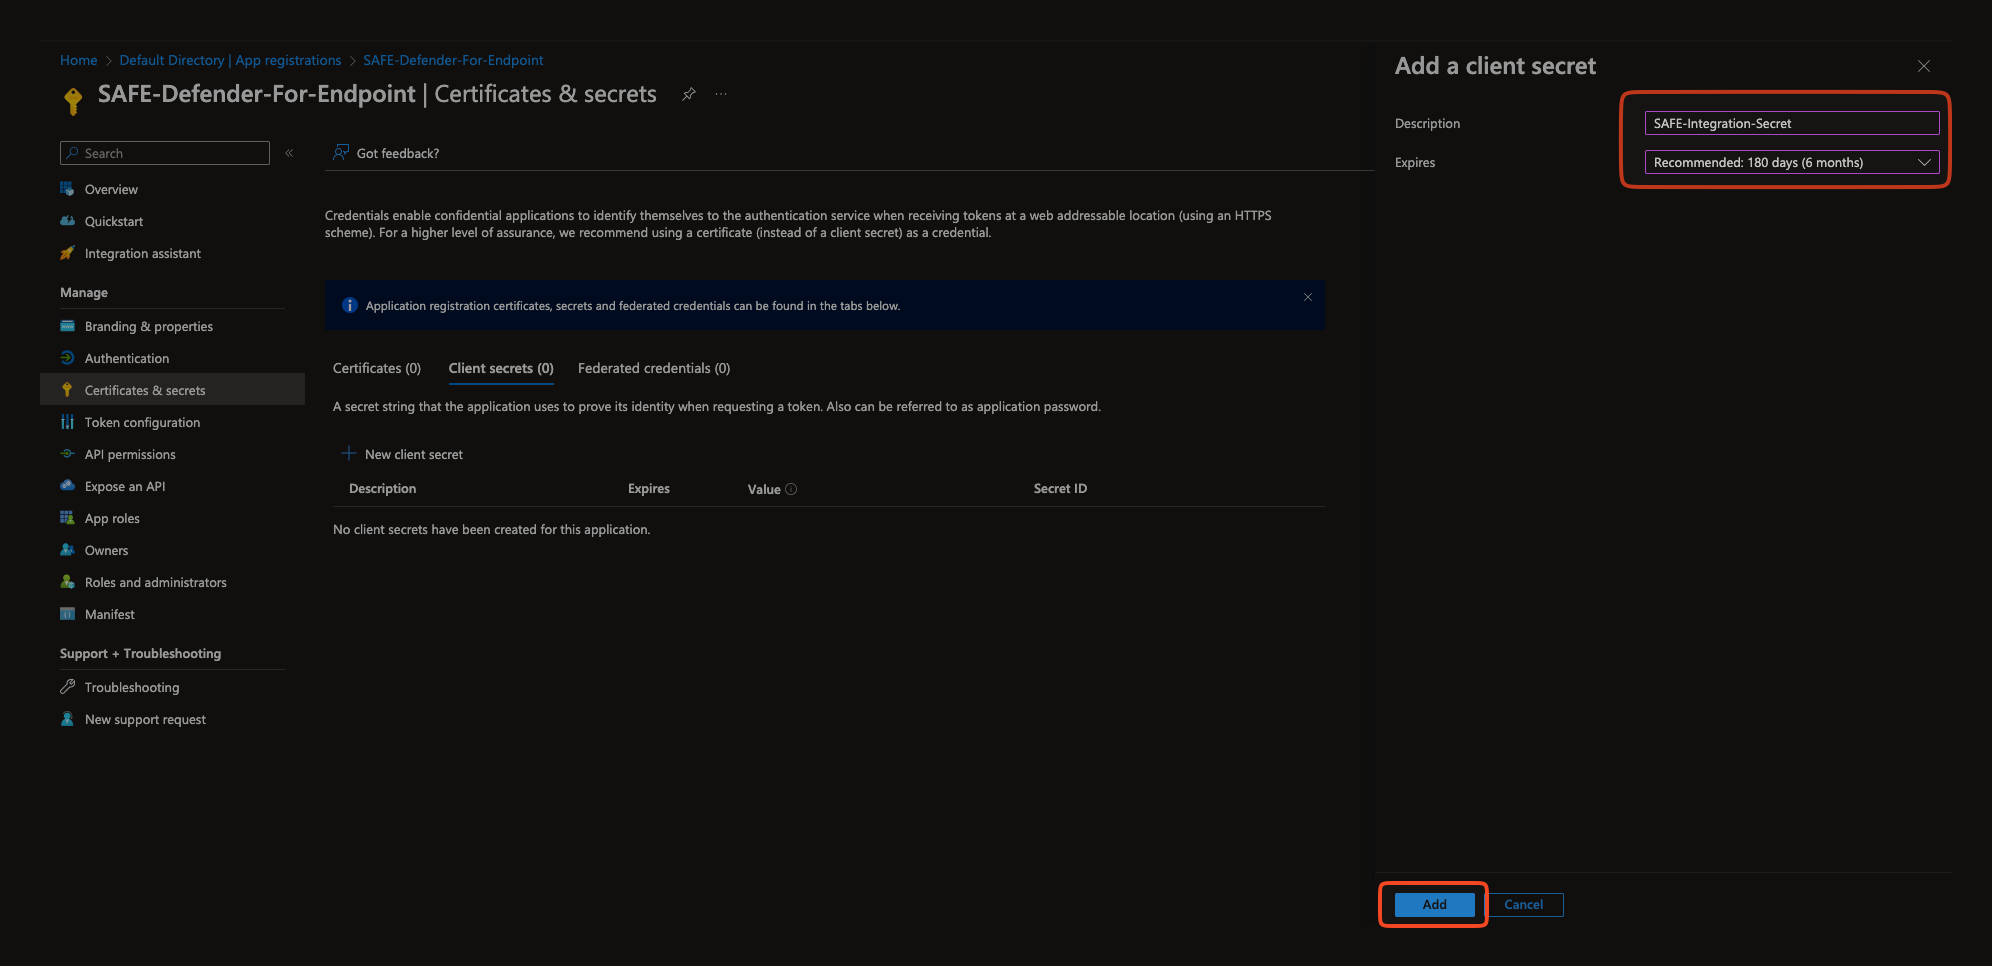
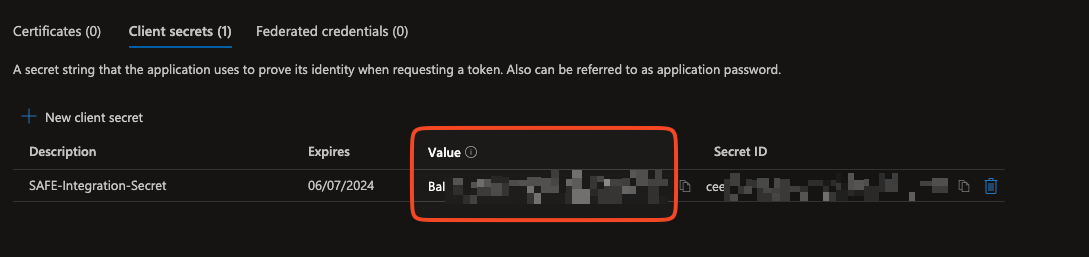
The system adds the Client Secret and displays the details on the same page.
The Value field is the secret created. Copy and save the Client Secret on your system for later usage while configuring the Azure in SAFE.
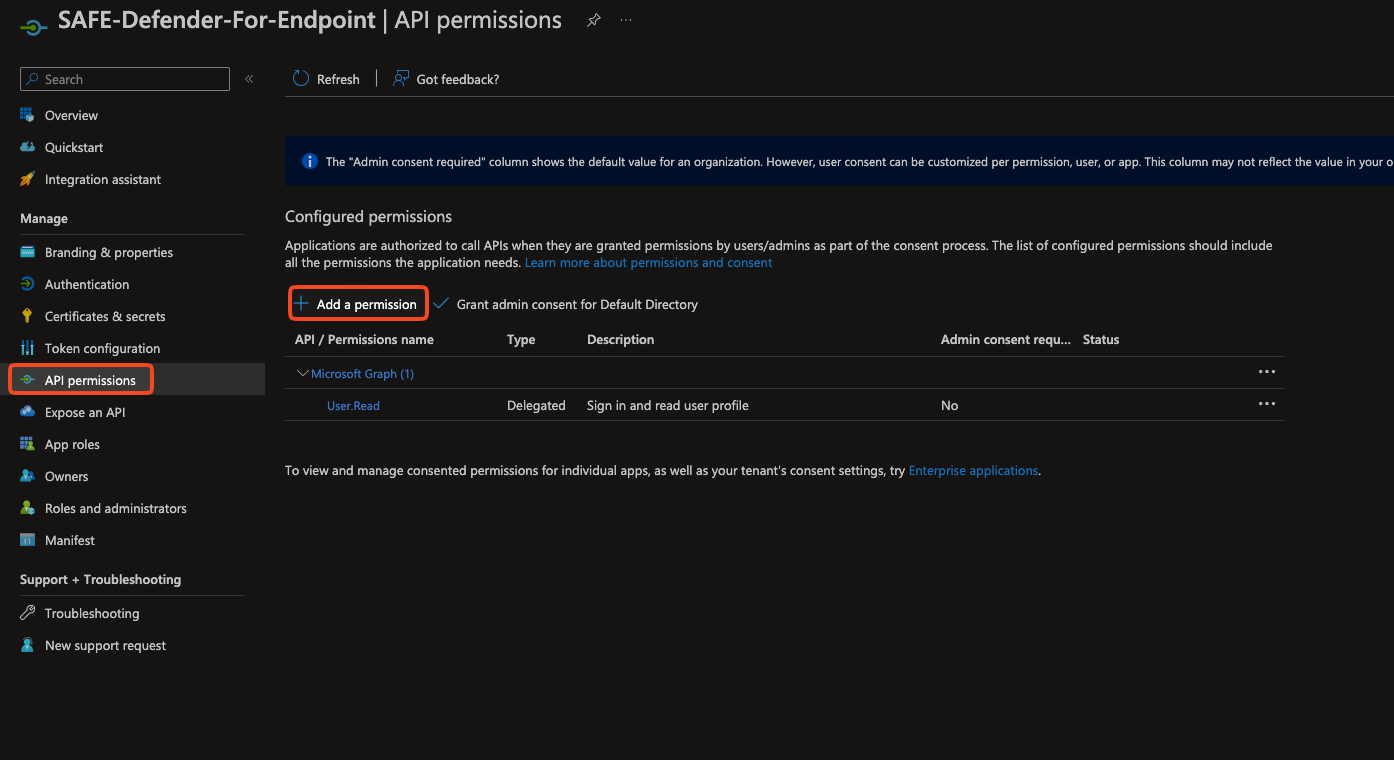
Configure API permissions on the Application
Open the app and navigate to API permissions.
Select + Add a permission.
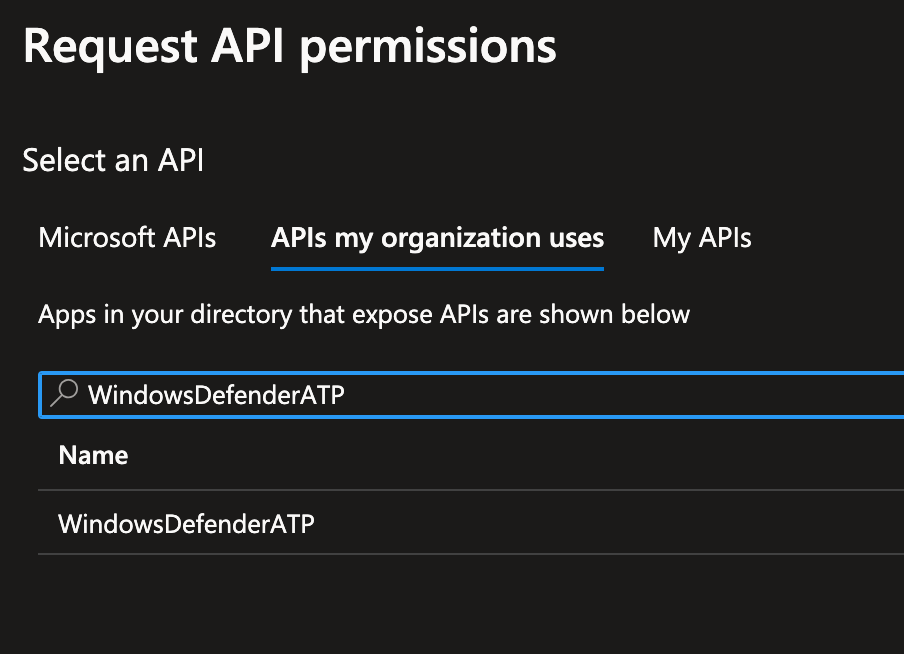
Click on the APIs my organization uses.
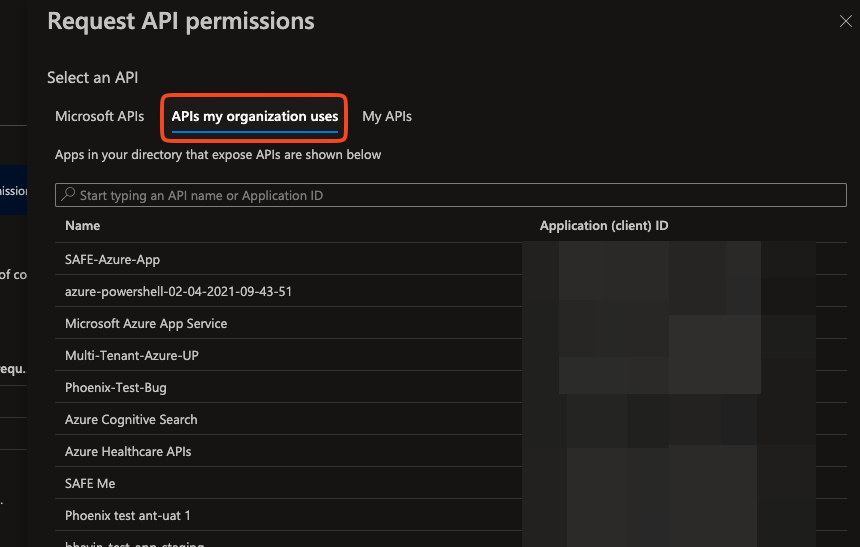
Search for WindowsDefenderATP.
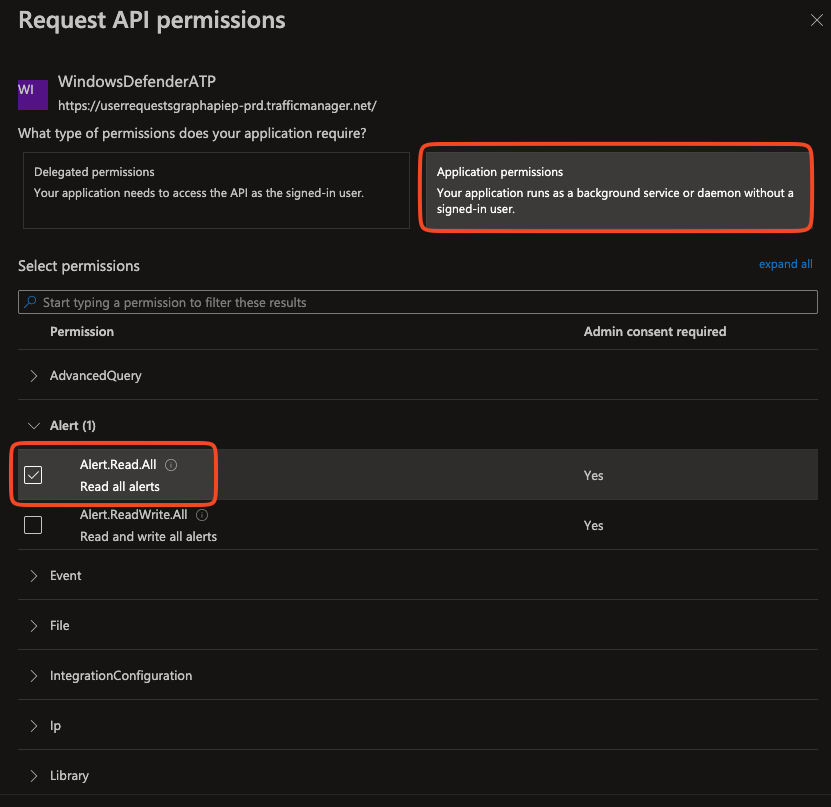
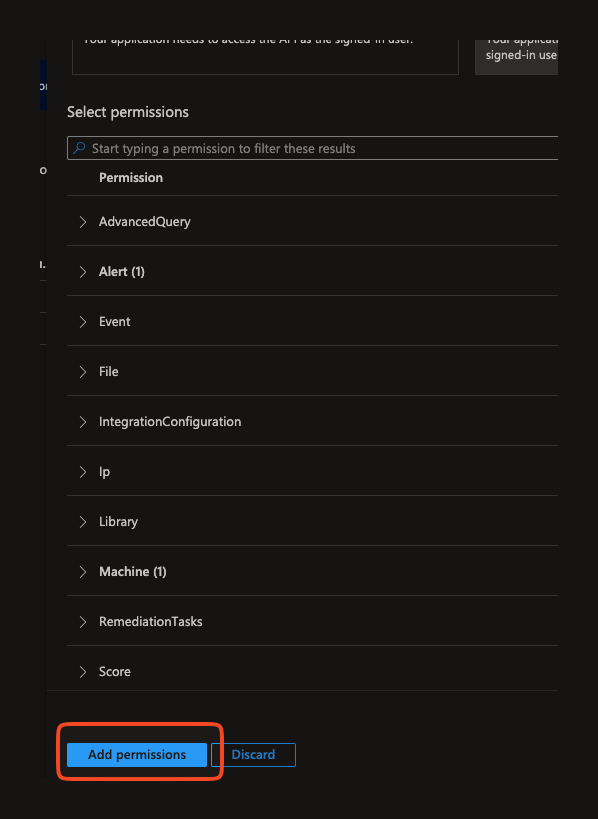
Choose Application Permissions > Expand the Alert section and check Alert.Read.All.
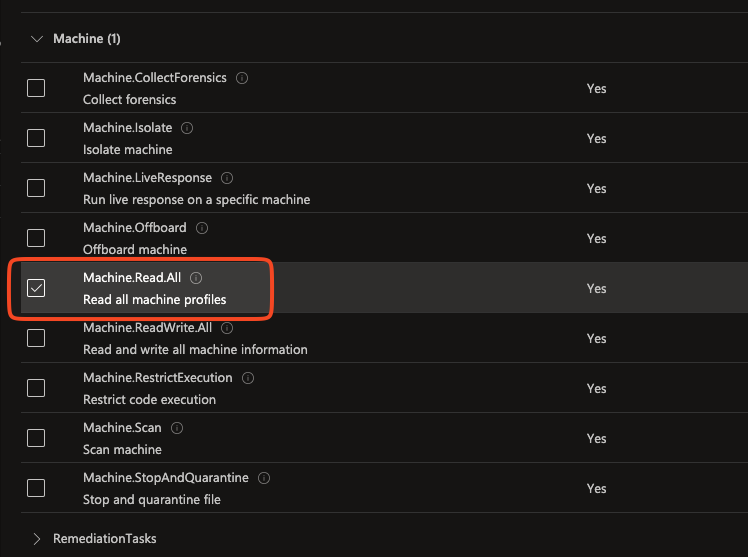
Under Machine, check Machine.Read.All.
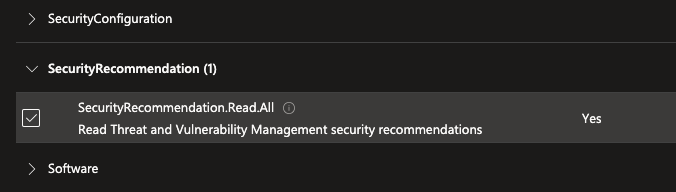
Under SecurityRecommendation, check SecurityRecommendation.Read.All.
Under vulnerability, check Vulnerability.Read.All.

Click Add Permissions.
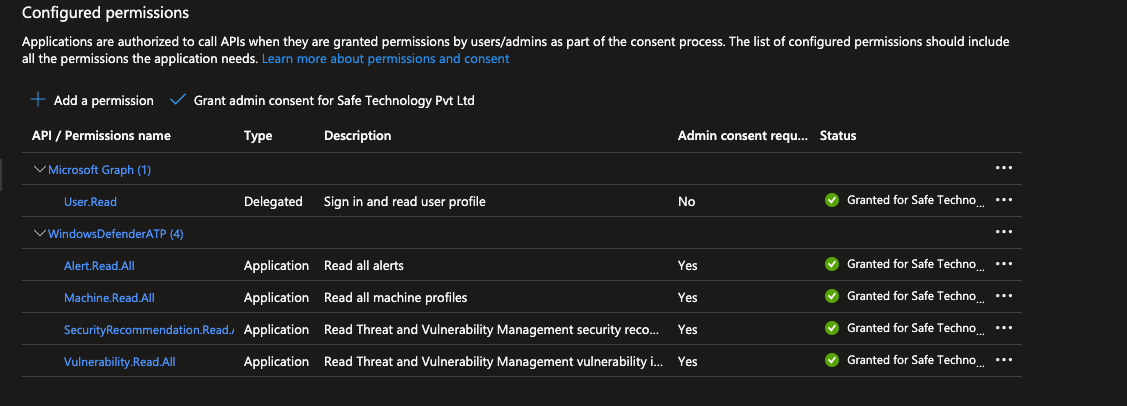
Grant admin consent by clicking this button.
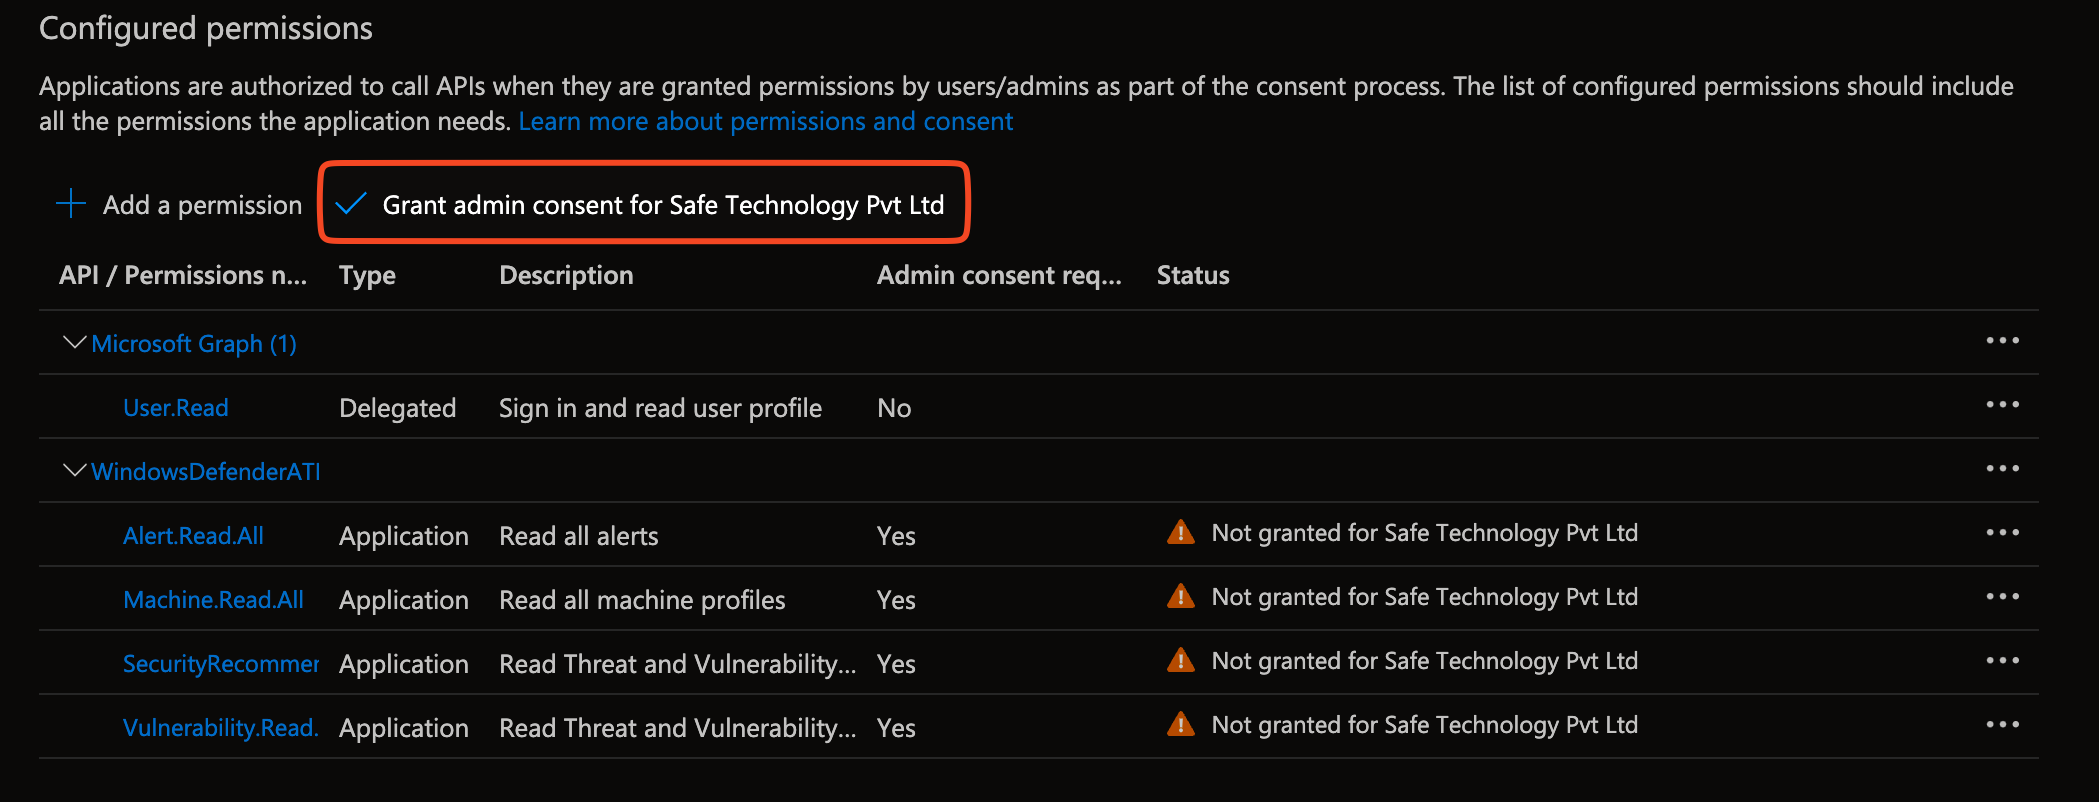
Post this the following permissions should be visible for the application.
Configure Microsoft Defender for Endpoint in SAFE
Go to the Integrations and click the "Microsoft Defender for Endpoint" card.

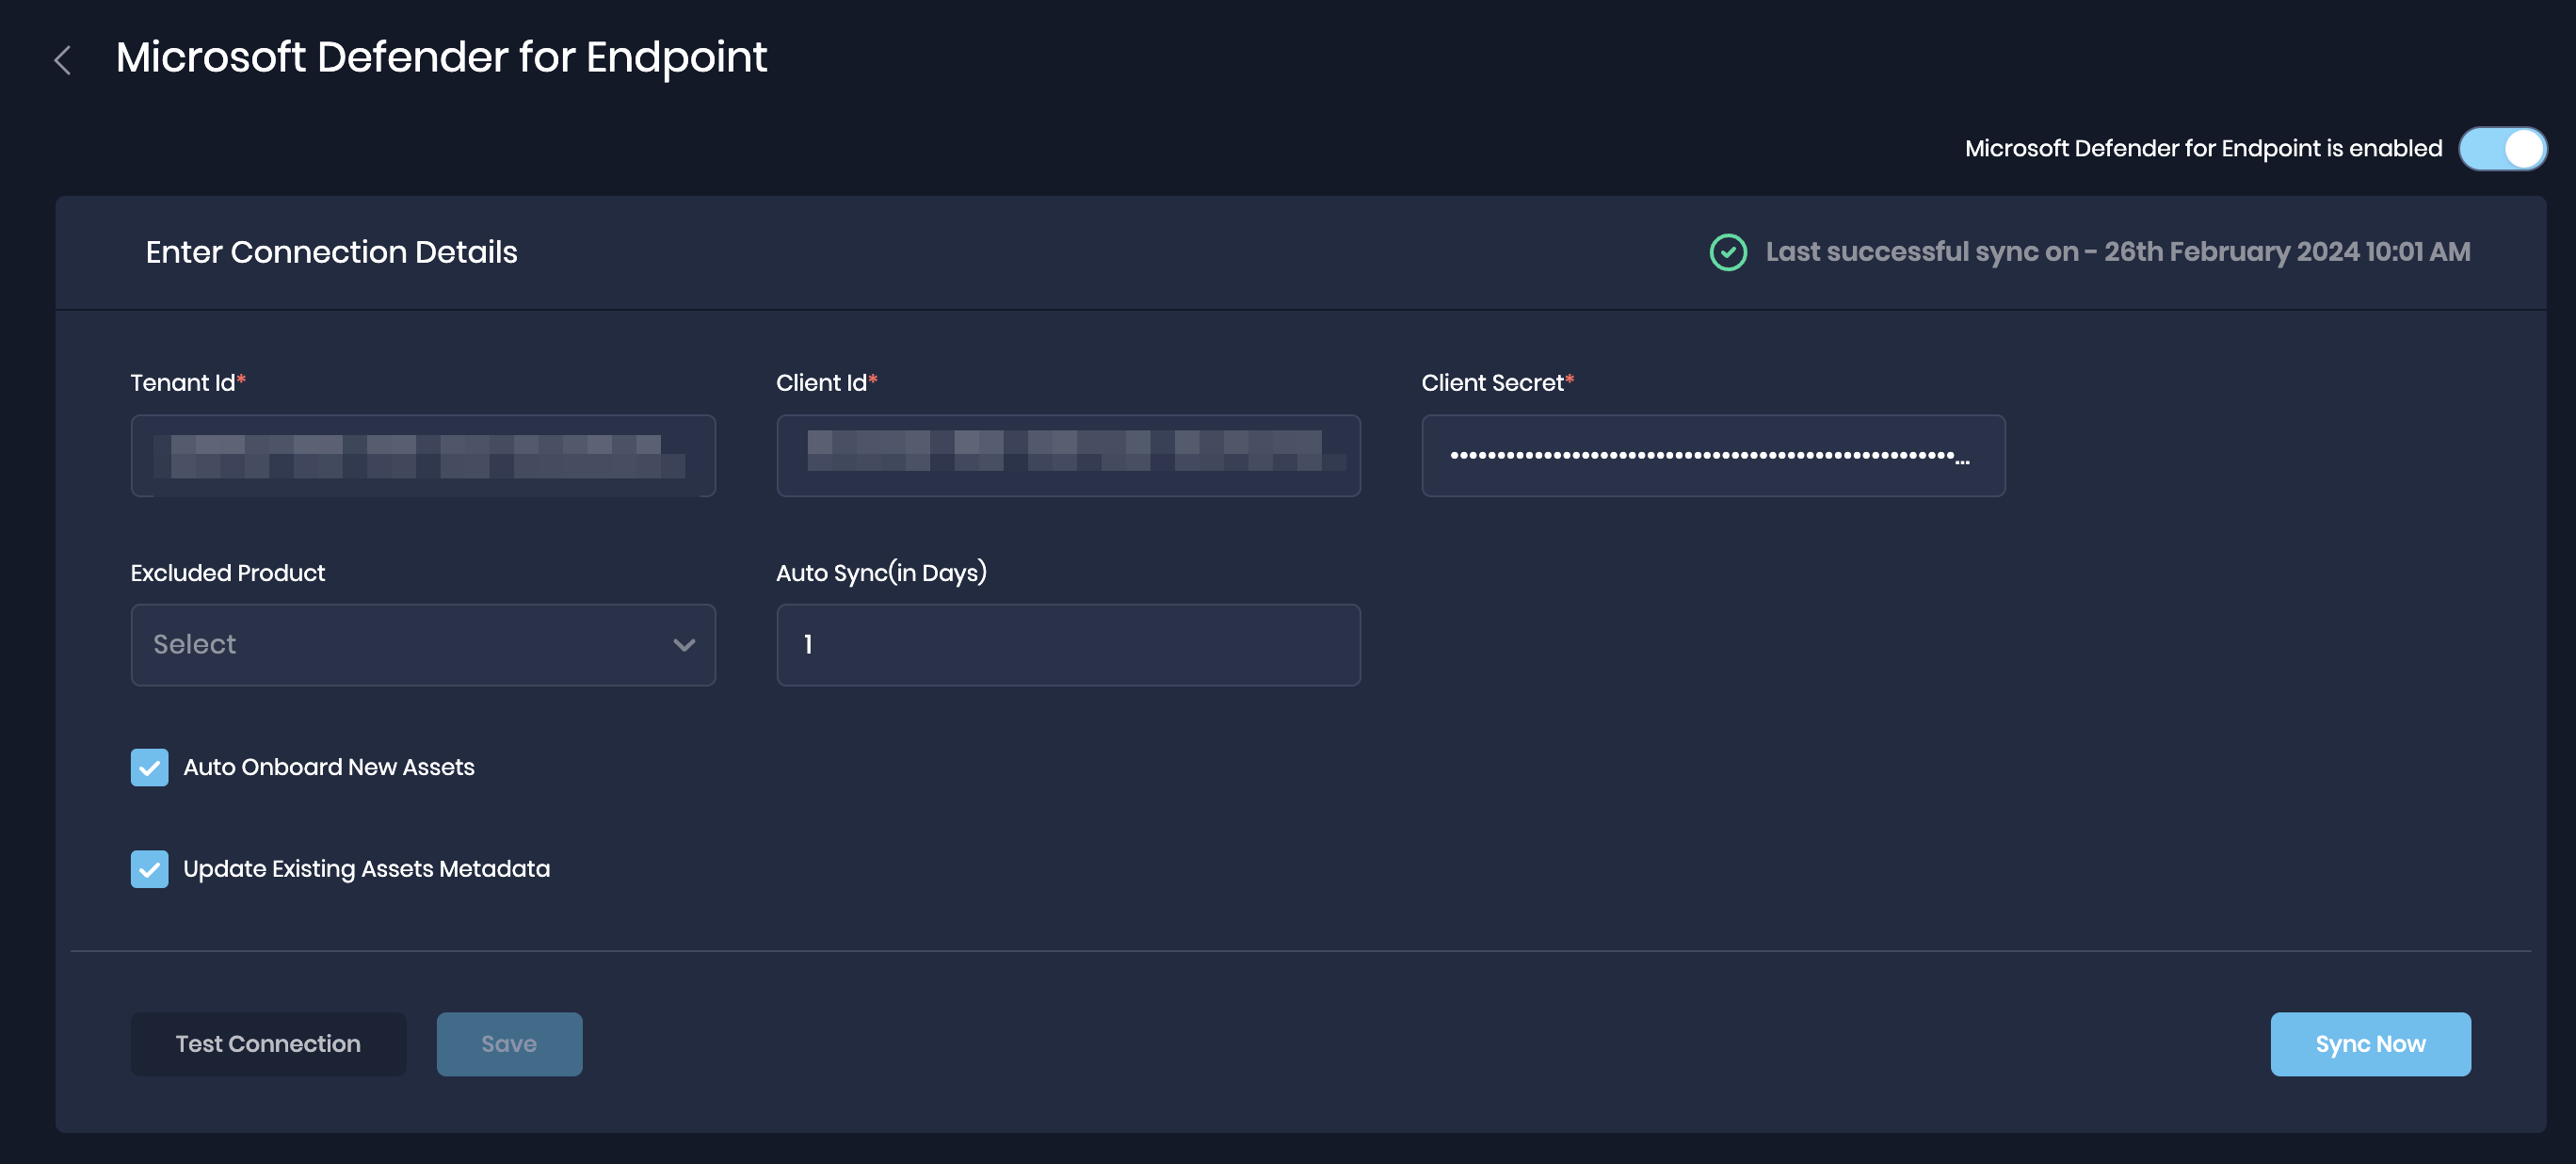
On the Configure page, enter the TenantID, ClientID, and Client Secret generated above.
[Optional] Excluded Finding Types: This option can be used to exclude sync for Vulnerability (Security Recommendations) OR EDR (Malware Alerts) assessment data between SAFE and Microsoft Defender for Endpoint. If both data are needed, then this option can be left blank and nothing will be excluded from sync.
Note: At least one of the products should be enabled for a successful sync.Enter a value for the Auto-Sync Frequency. This controls how often SAFE will synchronize with Integration for the most recent data.
If needed, uncheck the "Update Existing Assets Metadata" checkbox.
Update Existing Assets Metadata: If this checkbox is marked, the asset's metadata, such as asset name, IP address, etc., will get updated based on the data pulled from CrowdStrike.If needed, mark the Auto Onboard New Assets checkbox.
Onboard Assets - By default, any assets in CrowdStrike that are not found in SAFE will be onboarded. This option can be unchecked to limit the integration to pull in findings of only the assets present in SAFE.Click the Test Connection button.
Once the connection is validated, click the Save button.
Once the configuration is saved, click the Sync Now button to trigger the on-demand sync outside the scheduled auto sync.
Import for Tags via Custom-fields
Microsoft Defender for endpoint integration supports importing Tags by creating a custom-field in SAFE.
Go to Settings > Custom Fields in SAFE and add a new custom field with the name ms-defender-endpoint-tags
.png "image(229).png")
The next scheduled sync will import the Tag values for assets and populate them into the above custom field.
.png "image(231).png")
View Result
Click on the AWS integration for the Finding View and Asset View.
Findings View: This tab displays all the findings details pulled from Microsoft Defender for Endpoint.
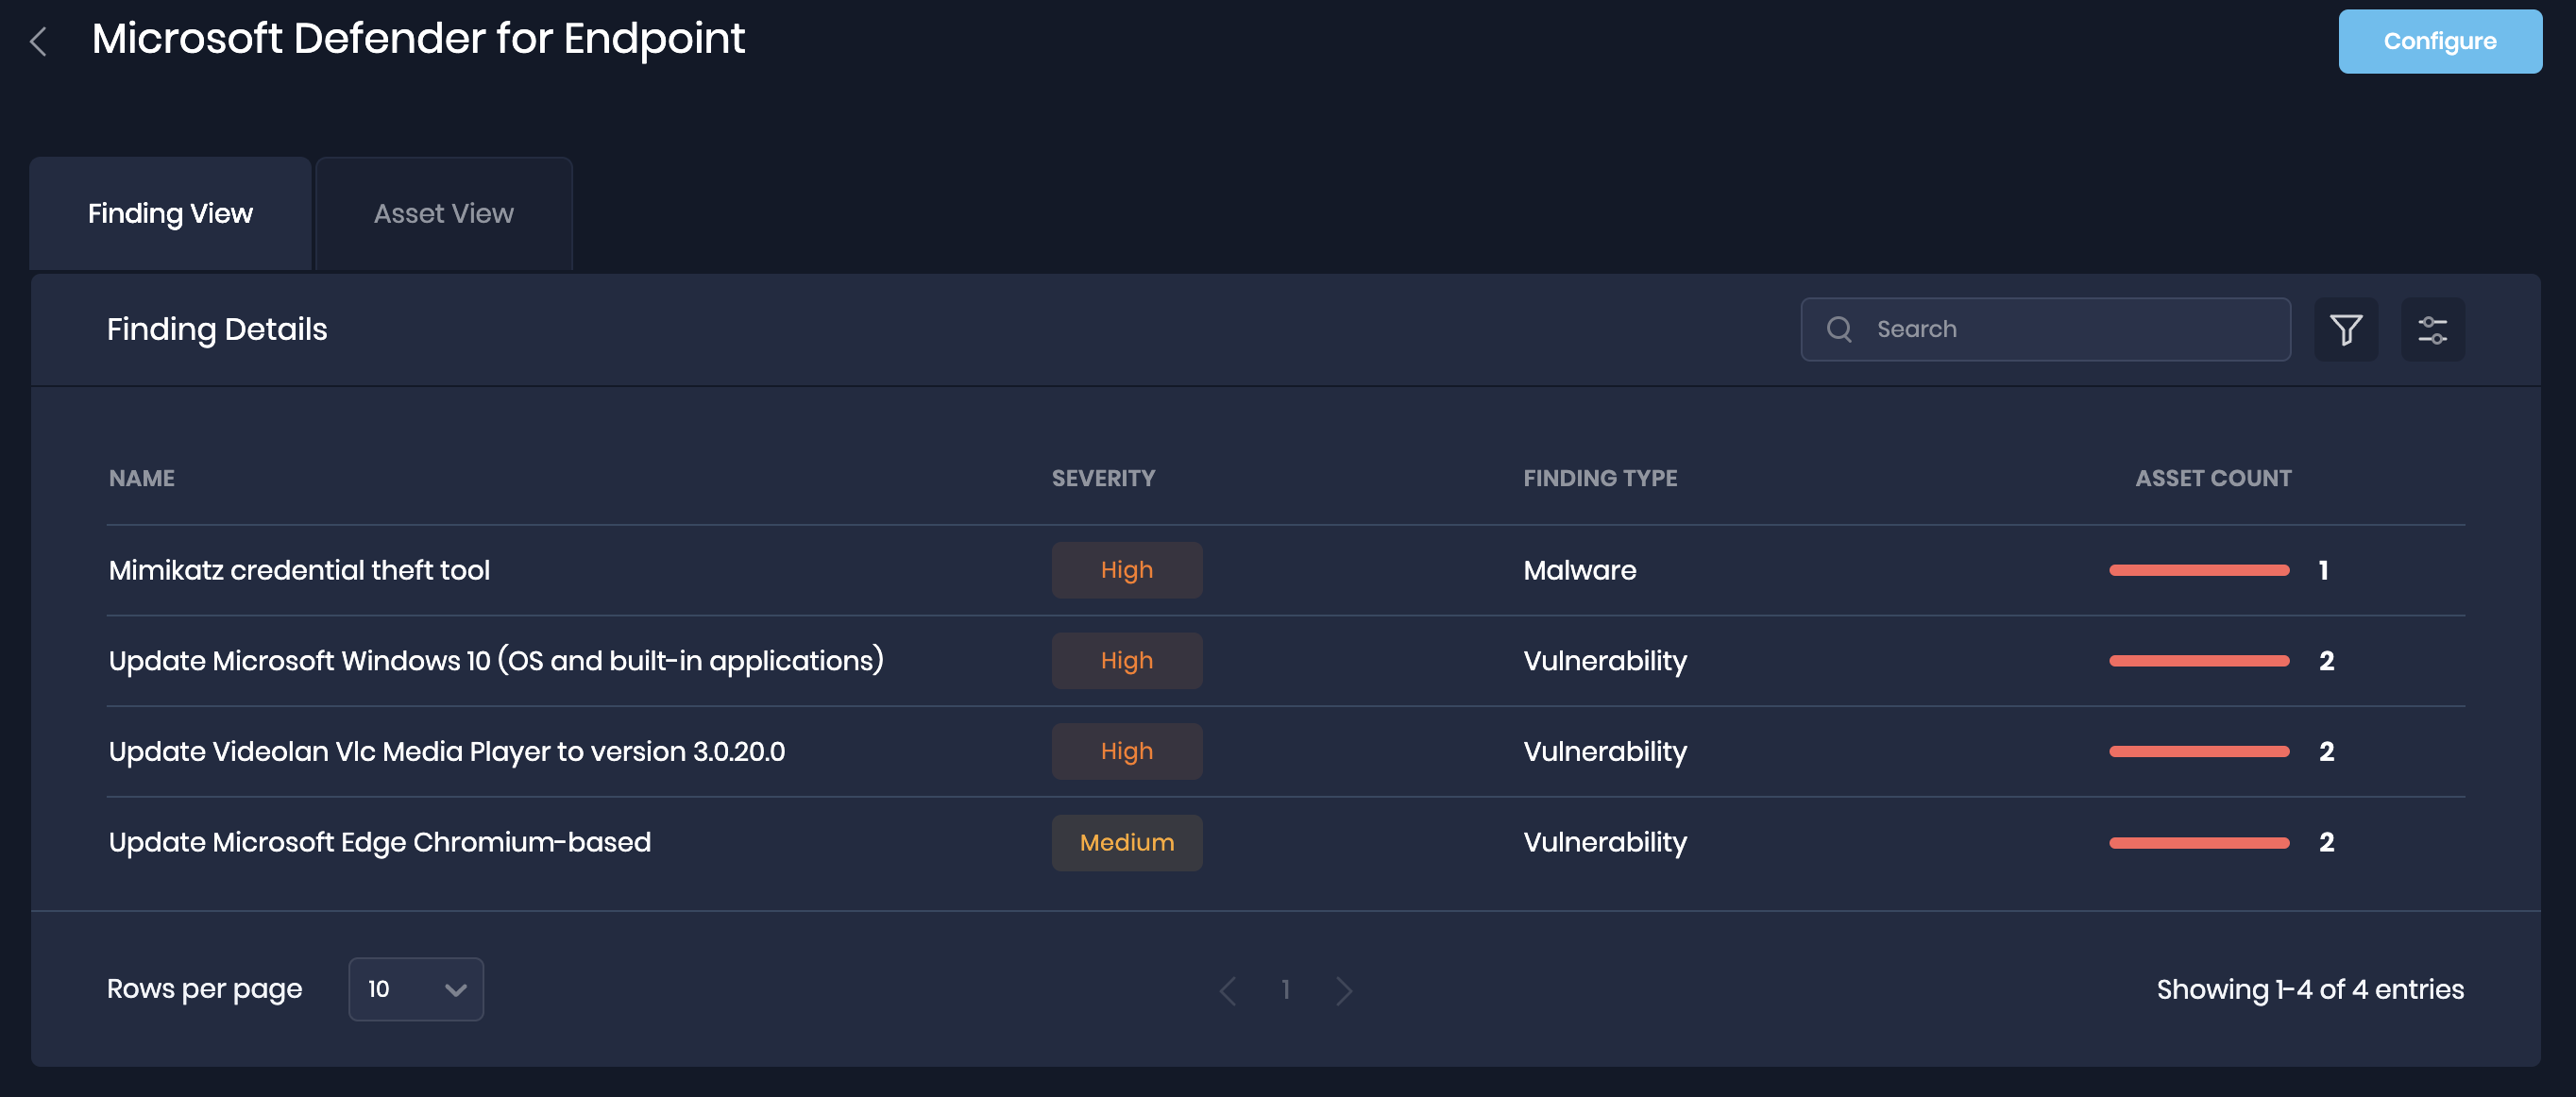
Assets View: This tab displays all the assets pulled from Microsoft Defender for Endpoint.
.png "Screenshot 2024-05-22 at 9.40.42 PM(1).png")
FAQs
1. What assessment data does SAFE pull from Microsoft Defender for Endpoint, and which type of assets?
SAFE does not perform any native assessment of the Microsoft Defender for Endpoint assets. SAFE pulls the security recommendations and/or Alerts from the tool and adds/updates them as VA and/or EDR findings in SAFE.