About this document
This document provides a step-by-step procedure to configure KnowBe4 in SAFE.
Introduction
SAFE seamlessly integrates with KnowBe4 KMSAT, allowing SAFE to pull phishing results from KnowBe4 at predefined intervals, thereby eliminating the need for manual data uploads. These phishing results serve as signals for users, providing information about MITRE ATT&CK techniques that may be relevant to these users.
Prerequisites
To configure KnowBe4 in SAFE, you need the following details:
Base URL (Refer to KnowBe4 documentation to get the Base URL)
API Key
Generate API Key
Follow the below step-by-step procedure to generate the KnowBe4 API Key:
Log in to the KnowBe4 account as admin.
Go to the Account Settings.
Click the Account Integrations from the left menu.
Click the API option.
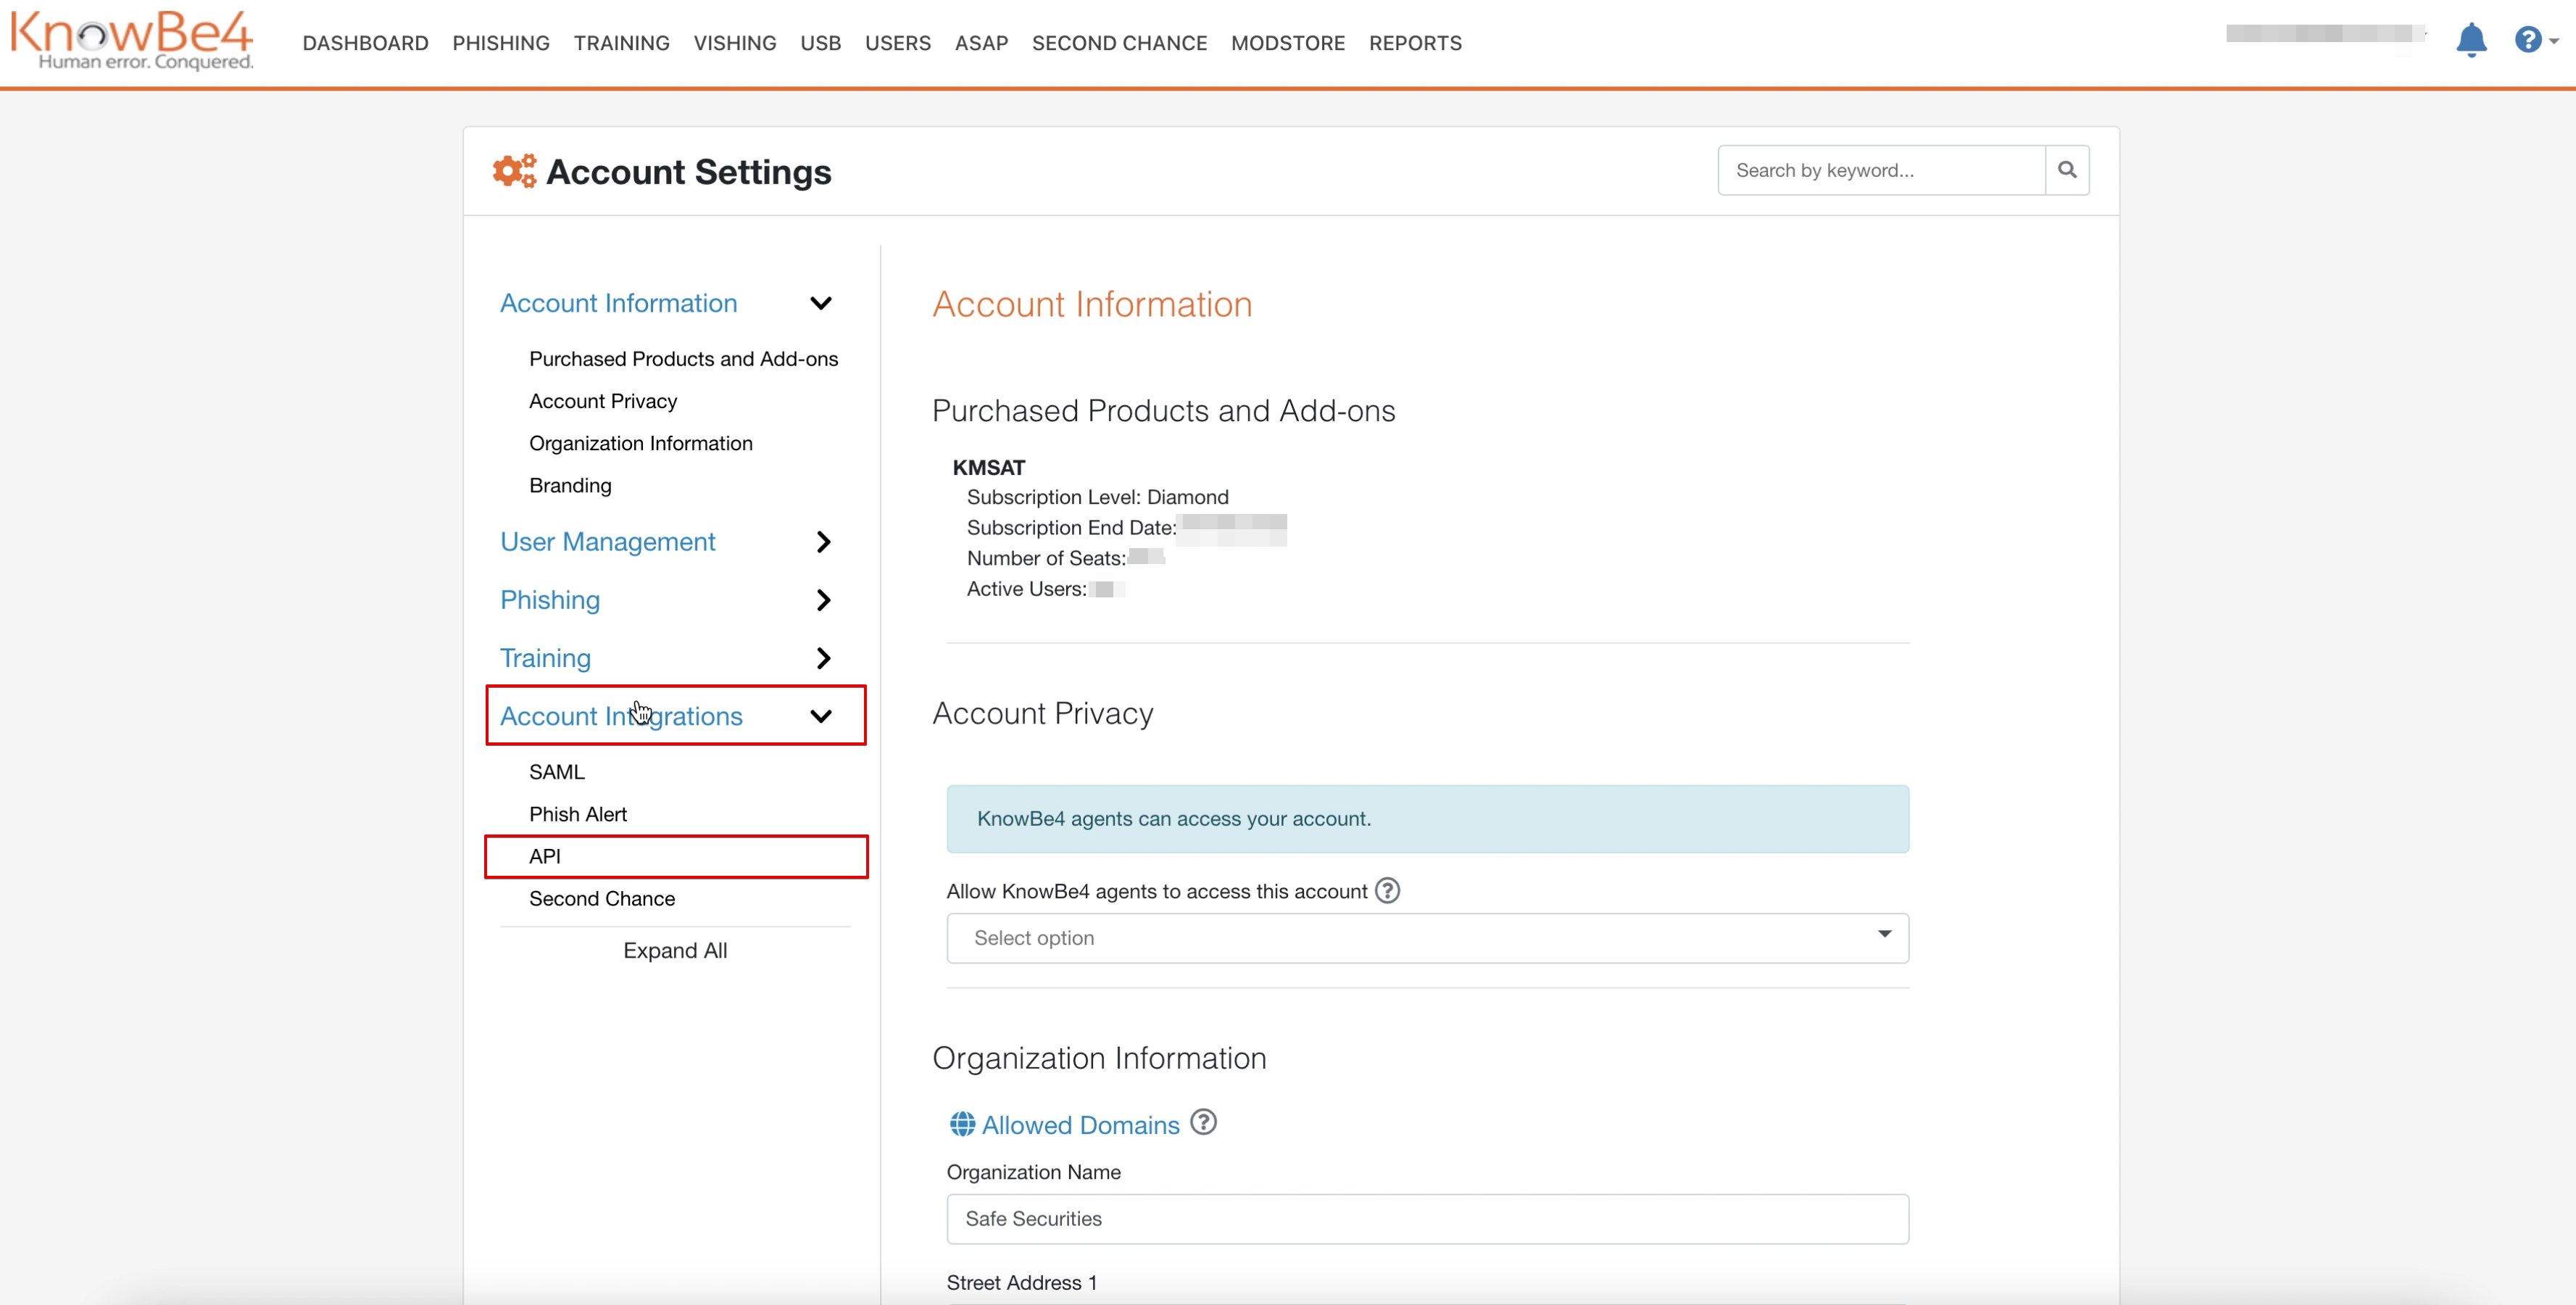
Mark the "Enable Reporting API Access" checkbox.
The system generates an API Key. Save this API Key. You need to use this API Key while configuring the KnowBe4 in SAFE.
.png)
Configure KnowBe4
To configure the KnowBe4 in SAFE:
Log in to your SAFE account as Admin.
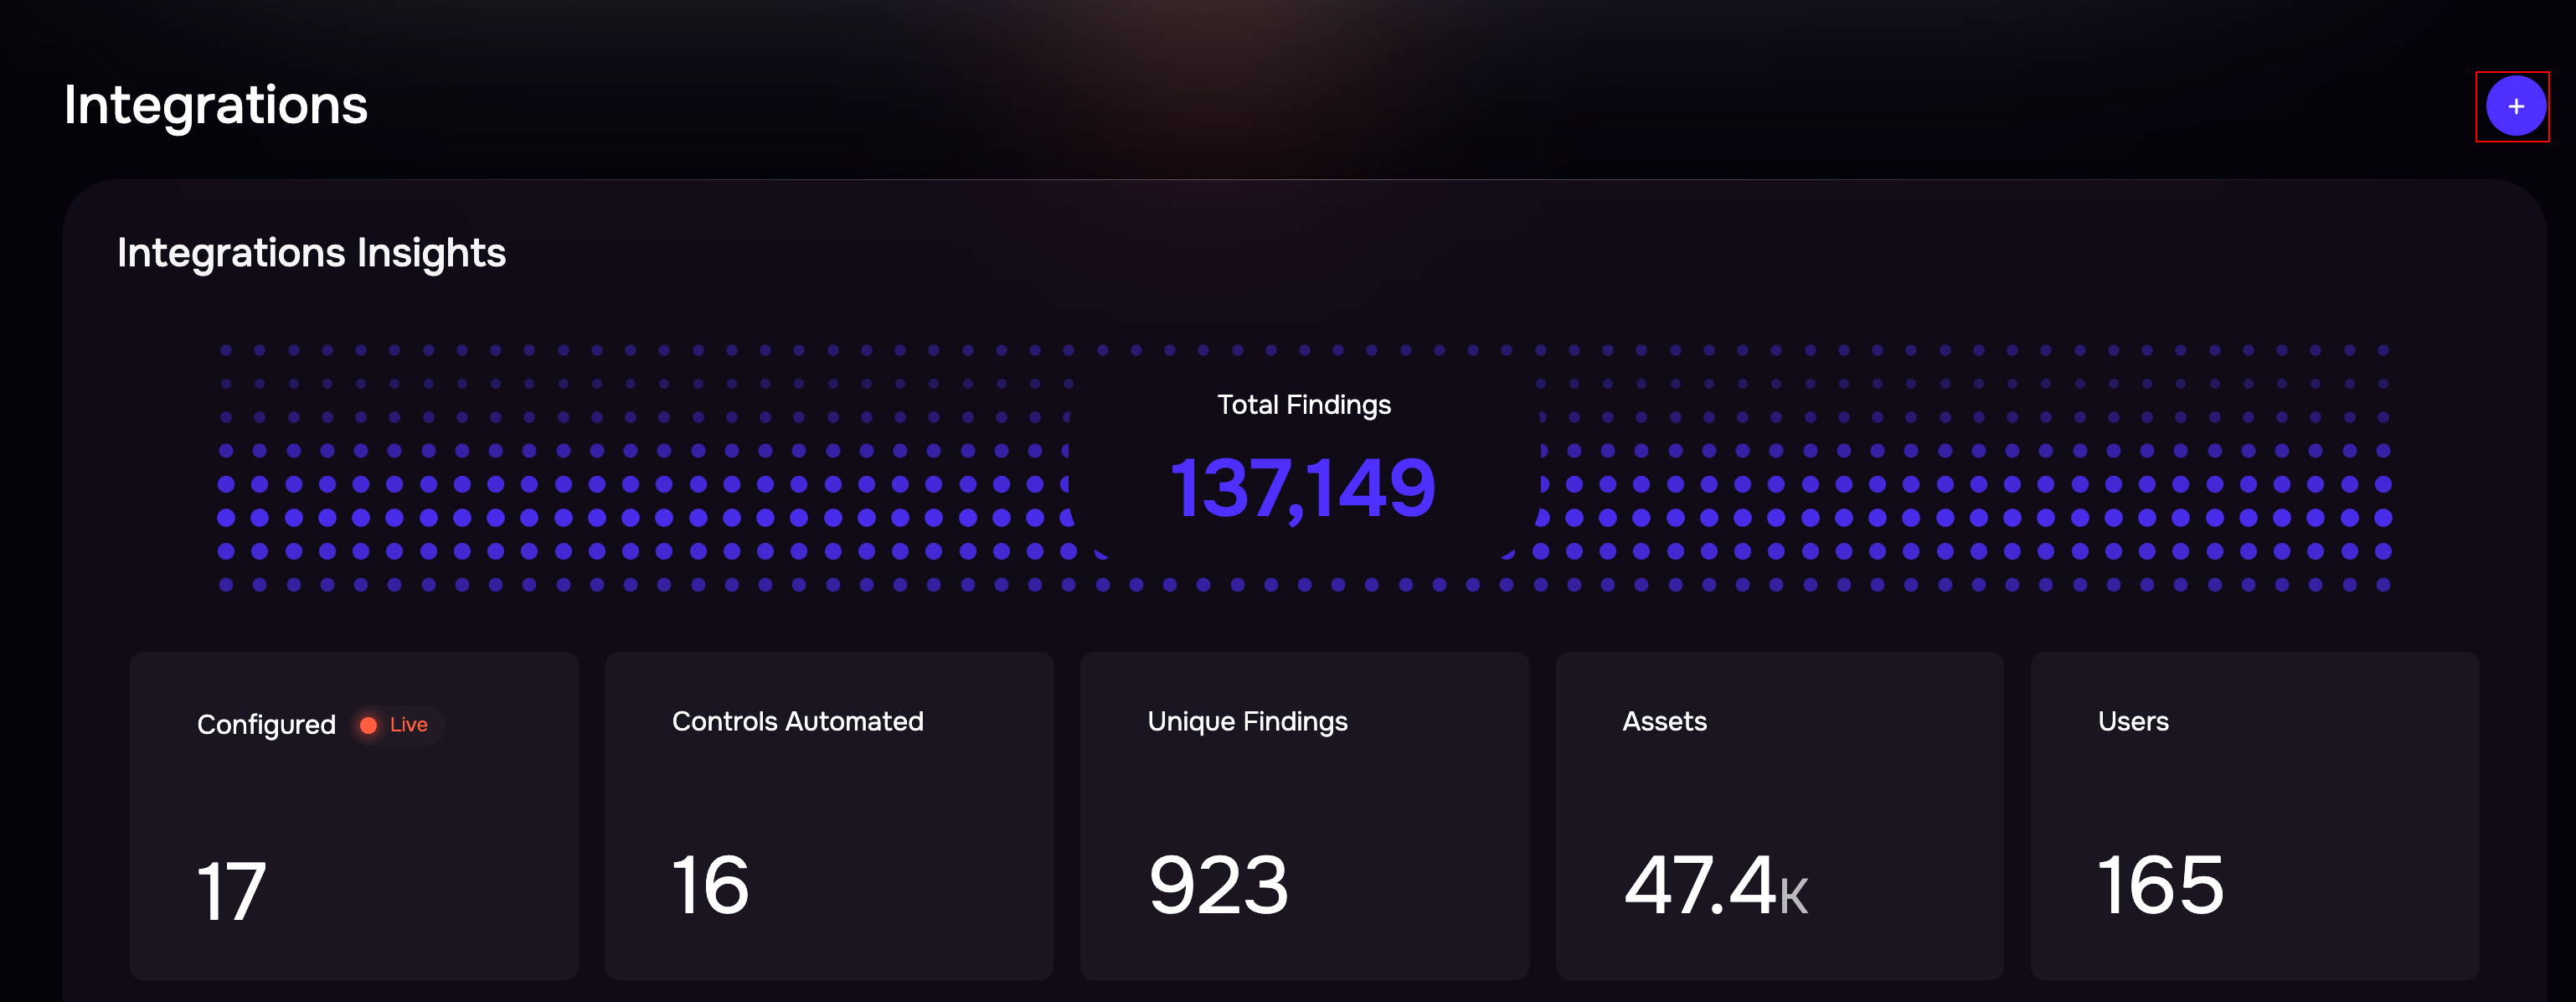
Click Integrations on the left navigation.
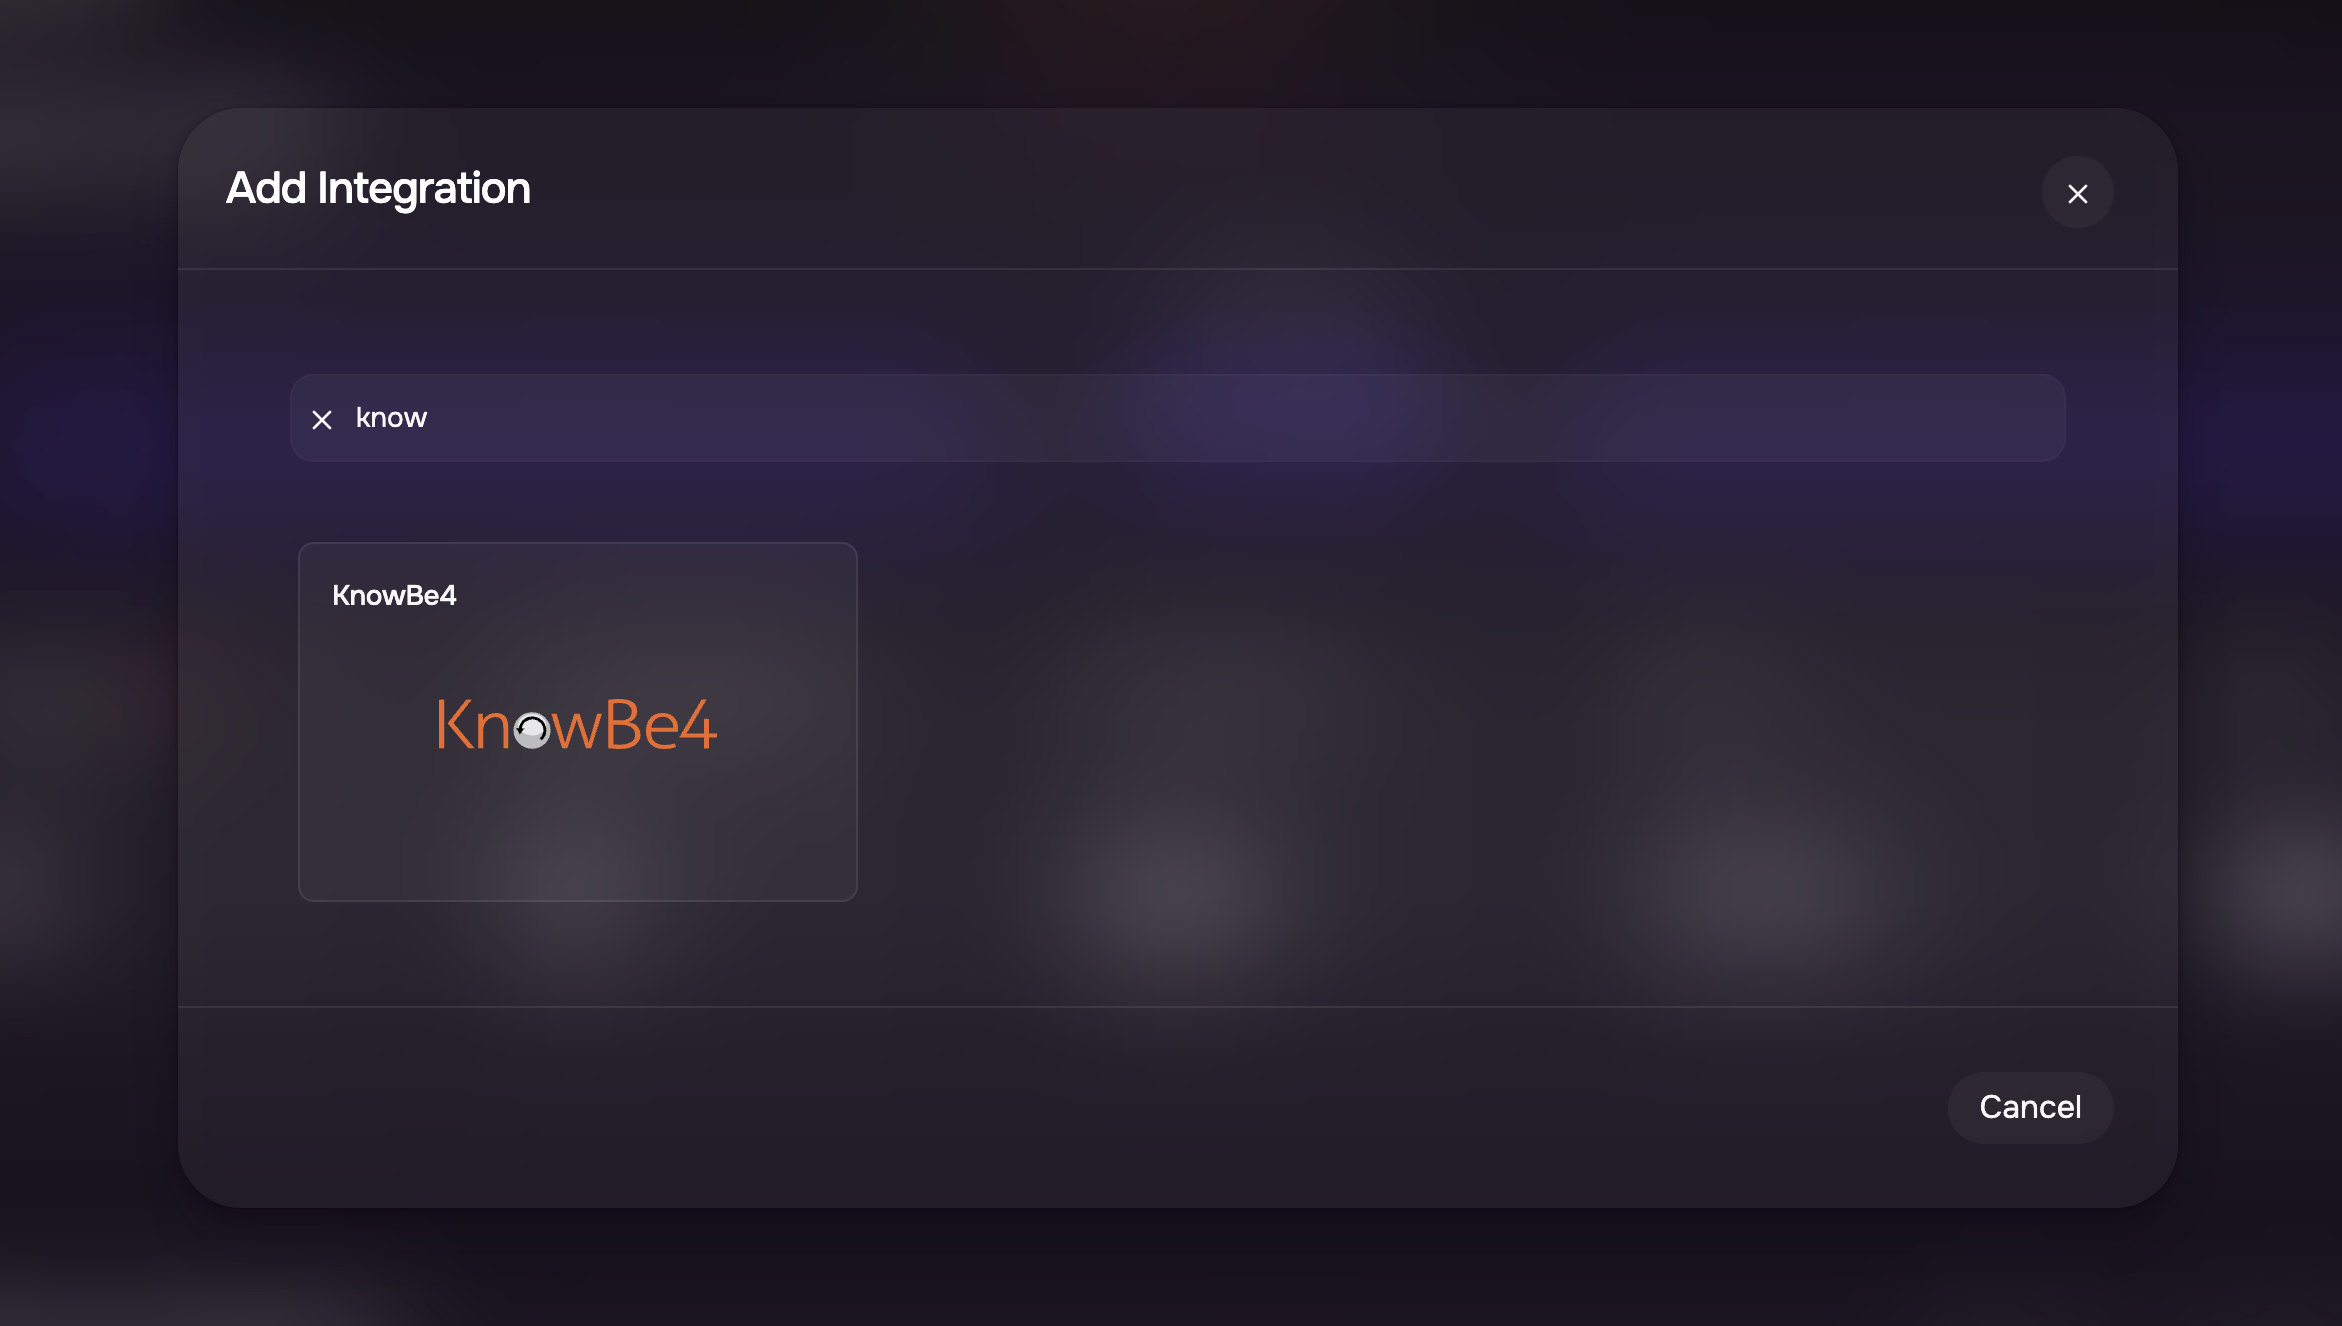
Click the + Icon and search KnowBe4 card.
Clicking this card, the system opens the KnowBe4 configuration page.
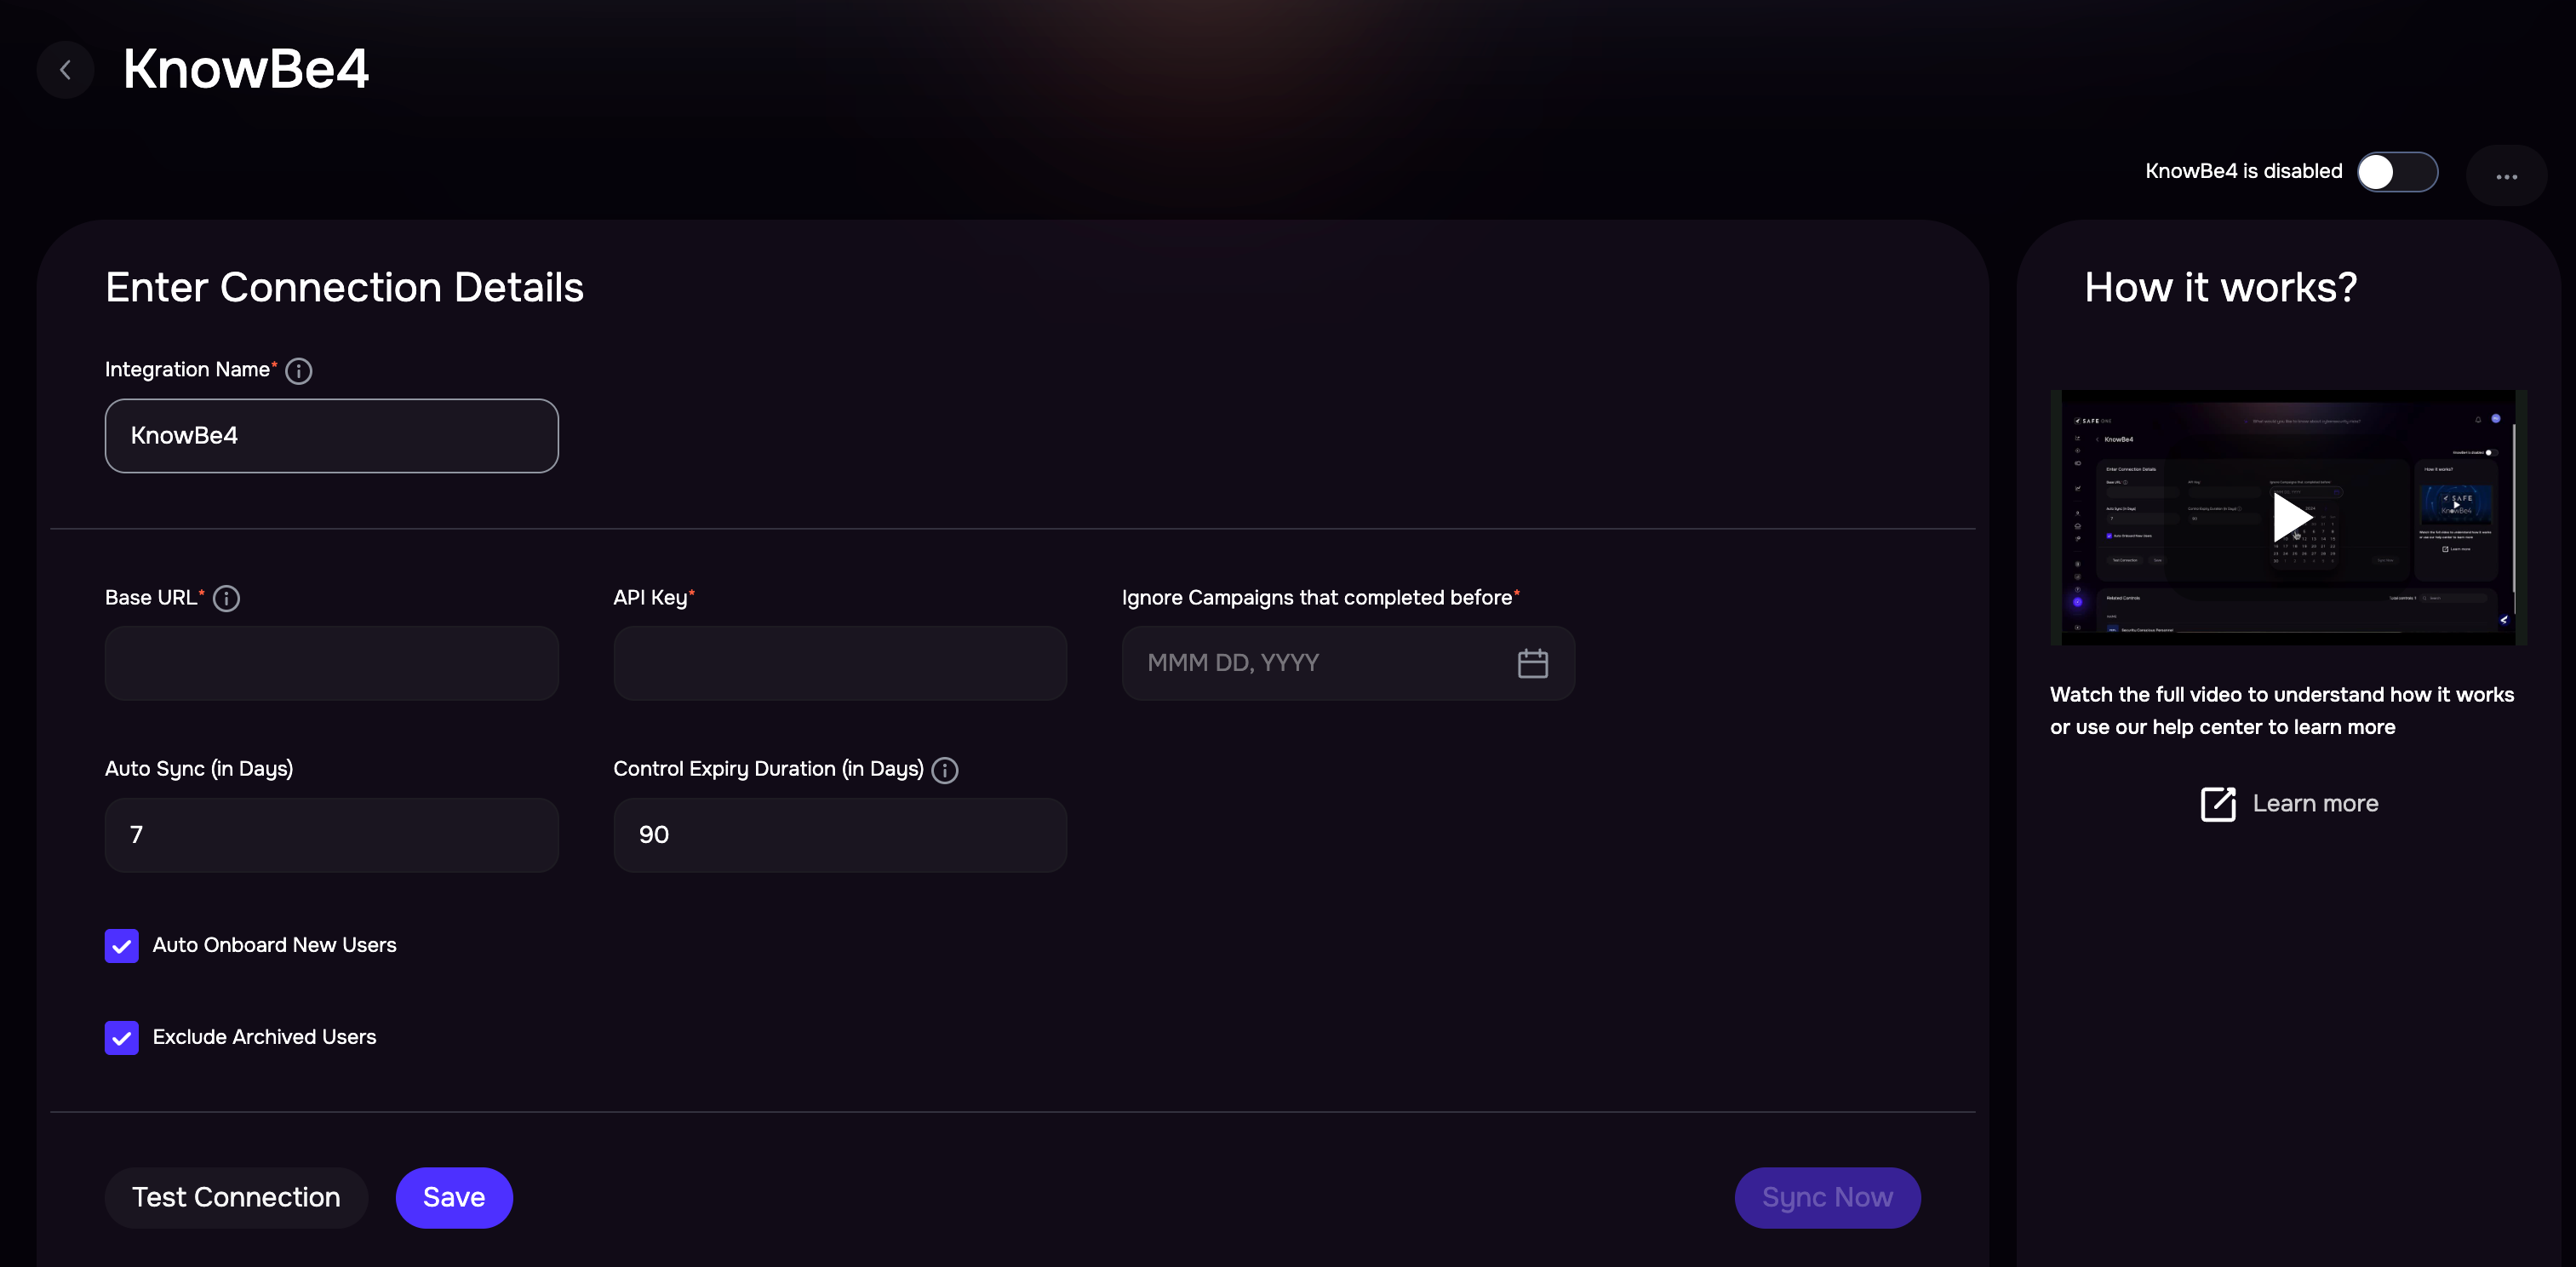
Enter the Base URL and API Key.
Select a date in the "Ignore Campaign that completed before" field. Any Phishing Security Tests (PSTs) that have finished before this date will not be considered in the assessment process. SAFE only considers the most recent phishing campaign results for a user. Therefore, there is no need to retrieve data from older campaigns.
Enter the Auto Sync Frequency in the number of days.
Enter the "Control Expiry Duration" in the number of days. This determines how long an assessment from Knowbe4 remains valid for a user without updates.
For example, if it's set to 15 days, an assessment without updates for 15 days will be removed. The setting should match the frequency of the organization's phishing campaigns, ensuring that old results are not removed before new ones are available.If necessary, clear the Auto Onboard New Users checkbox. If enabled, this will automatically add newly discovered users to SAFE. If this is not required, uncheck the option to prevent automatic onboarding.
If applicable, select the Exclude Archived Users checkbox. When enabled, SAFE will ignore archived users.
Click the Test Connection button to validate the connection details.
Once the connection is validated, click the Save button.
Once the configuration is saved, click the SyncNow button to trigger the on-demand sync, which occurs outside of the scheduled auto sync.
View Result
Clicking the configured KnowBe4 card on the integrations page displays the Finding and Asset View.
Finding View: This tab displays all the findings details pulled from KnowBe4.

Asset View: This tab displays all the Asset details pulled from KnowBe4.
